



 My Orders




14384 - Overview
Models starting with 14384
Click on the best match to narrow your results.
- 143840601 Kenmore Heater (Forester Room Heater)
- 143840652 Kenmore Heater (Automatic Wood Burning Circulator)
- 14384066 Kenmore Air Conditioner (BLOWER KIT)
- 143840660 Kenmore Air Conditioner (BLOWER KIT)
- 14384067 Kenmore Air Conditioner (BLOWER KIT)
- 143841540 Kenmore Heater (Airtight Wood Burning Room Heater)
- 143841640 Kenmore Heater (Thermostatically Controlled Wood Burning Room Heater)
- 143842660 Kenmore Air Conditioner (BLOWER KIT)
- 14384300 Craftsman Engine (Craftsman 4-Cycle Engine)
- 14384301 Craftsman Engine (Craftsman 4-Cycle Engine)
- 14384302 Craftsman Engine (Craftsman 4-Cycle Engine)
- 143844 Craftsman Lawn Tractor (Tecumseh Transaxle)
- 14384520 Kenmore Fireplace & Insert (Fireplace)
- 14384540 Kenmore Fireplace & Insert (Fireplace)
Enter a part description. DIY Heroes keep it simple, eg. "belt" or "pump".
Search filter:
Clear Filter
Your search term must have 3 or more characters.

$21.45
In Stock
Direct Drive Motor Coupling
Part #285753A
This direct drive motor coupling (Direct Drive Washer Motor Coupling, Motor Coupling, Washer Motor Coupling, Coupling Kit) provides a cushioned connection between the transmission and the motor shaft. It attaches to the direct-drive transmission and the motor shaft. If this part is defective it will affect the agitator in your washer beca...Read moreuse of its direct connection with the motor. Your washer may not agitate, spin slowly, or not spin at all. The coupling must be replaced when there is no longer a consistent connection between the transmission and the motor shaft. The coupling can wear over time because of its location between two major parts of the dryer. It is subject to material fatigue over time from normal use, or breakage caused by frequent overloading. The part measures approximately 2 inches in diameter, and is constructed of plastic and metal. This model comes in black/white.
Read less

$59.47
In Stock
Dryer Heating Element
Part #WP3387747
When connected to electricity the dryer heating element glows red hot and generates heat. When air is blown over it, it heats the air which is used to dry the clothes. The heating element fits inside the heater housing inside the dryer. Wear and tear on the heater coil from use will eventually cause the coil to break and the element to fa...Read moreil. When this part fails it can cease to produce any heat. Alternately, the coil could break and short to ground allowing the dryer to continue to heat even when turned off. The latter is a fire hazard and the dryer should be disconnected from power until the element is replaced. If the element coil breaks, the element needs to be replaced. This model is 11 by 5 inches with 5/16” terminals, metal and ceramic, and comes in black. It is sold individually.
Read less

$20.37
In Stock
Dryer Disposable Thermal Fuse
Part #WP3390719
This part attaches to the exhaust duct of your clothes dryer.

$7.47
In Stock
Washer Hose Clamp
Part #WP596669
This hose clamp is used in a wide variety of household appliances. Most often it is found in washers, dishwashers, refrigerators, freezers, dehumidifiers, garbage disposals, or air conditioners. This clamp is used to securely attach a hose to another part of your appliance, which helps prevent leaks from those connections. Depending on th...Read moree appliance, it can attach hoses to drain pumps, water inlet valves, pressure switches, and injector nozzles. We recommend you refer to model-specific diagrams for appropriate uses and exact placement. This hose clamp is made of metal, and is sold individually. To access and replace this part you will need a nut driver, pliers, and screwdrivers. Before you begin any repair work, make sure you have unplugged your appliance, and shut off the water supply if applicable.
Read less

$54.24
In Stock
Lint Filter
Part #W10874409
This lint filter screen has a white handle. This filter collects lint as it passes through the dryer vent.

$7.47
In Stock
Dryer Single Door Spring
Part #WP337186
***The manufacturer suggests to replace both springs at the same time.***

$44.23
Special Order

No Longer Available
Door Gasket
Part #312238

$5.28
Special Order
Gasket
Part #26756
This item is available as an individual replacement part. The gasket attaches to the intake pipe and is made out of a thin material. During replacement, it may require a screwdriver to help install this part correctly. It will require replacing if it breaks. This genuine item is supplied by the original equipment manufacturer for use with...Read more lawn mowers, lawn tractors, and snowblowers made by Tecumseh, Toro, and Lawn Boy.
Read less

$25.75
Special Order
"8""PORC R/PAN "
Part #PM32X143

No Longer Available
Belt Drive Motor Kit with Capacitor
Part #285222
This two-speed motor performs 1725 revolutions per minute in one speed, and 1140 revolutions per minute in the other speed. It runs at 1/2 horsepower and carries 115 volts.

$8.25
In Stock
Oil Drain Plug
Part #36083
It is an authentic item which is supplied directly from the original equipment manufacturer for use with lawn and garden equipment. This is an identical replacement for a missing or faulty oil drain plug that was originally installed on a new unit, please make sure to check the appropriate diagrams of your model for the correct location a...Read morend application of this hardware. Keep in mind this high-quality item is made of durable plastic and is sold individually.
Read less
Exact Part matches for your search term

No Longer Available
$275.48
Special Order
Common Symptoms of models starting with 14384
How this model fails, and the parts that fix it.
Will not agitate
Fixed by
these parts
these parts

Show All
Not Heating
Fixed by
these parts
these parts


Show All
Spins slowly
Fixed by
these parts
these parts
Show All
Spinning Issues
Fixed by
these parts
these parts
Show All
Will not drain
Fixed by
these parts
these parts
Show All
Leaking
Fixed by
these parts
these parts

Show All
Burning smell
Fixed by
these parts
these parts
Show All
Will Not Start
Fixed by
these parts
these parts
Show All
Too hot
Fixed by
these parts
these parts
Show All
Won’t Start
Fixed by
these parts
these parts
Show All
Door won’t close
Fixed by
these parts
these parts

Show All
Noisy and Marks Left on Clothes
Fixed by
these parts
these parts
Show All
Noisy
Fixed by
these parts
these parts
Show All
Touchpad does not respond
Fixed by
these parts
these parts
Show All
Draining Issues
Fixed by
these parts
these parts
Show All
Watch our pros, then fix it yourself.
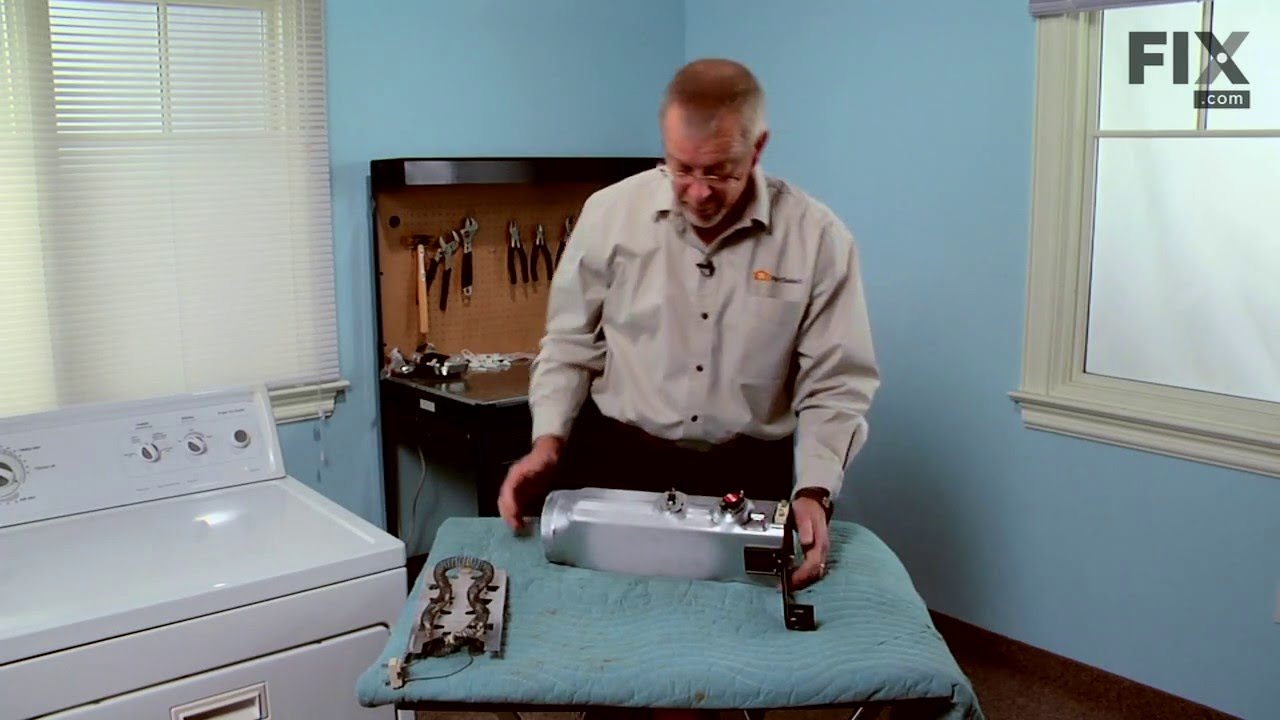

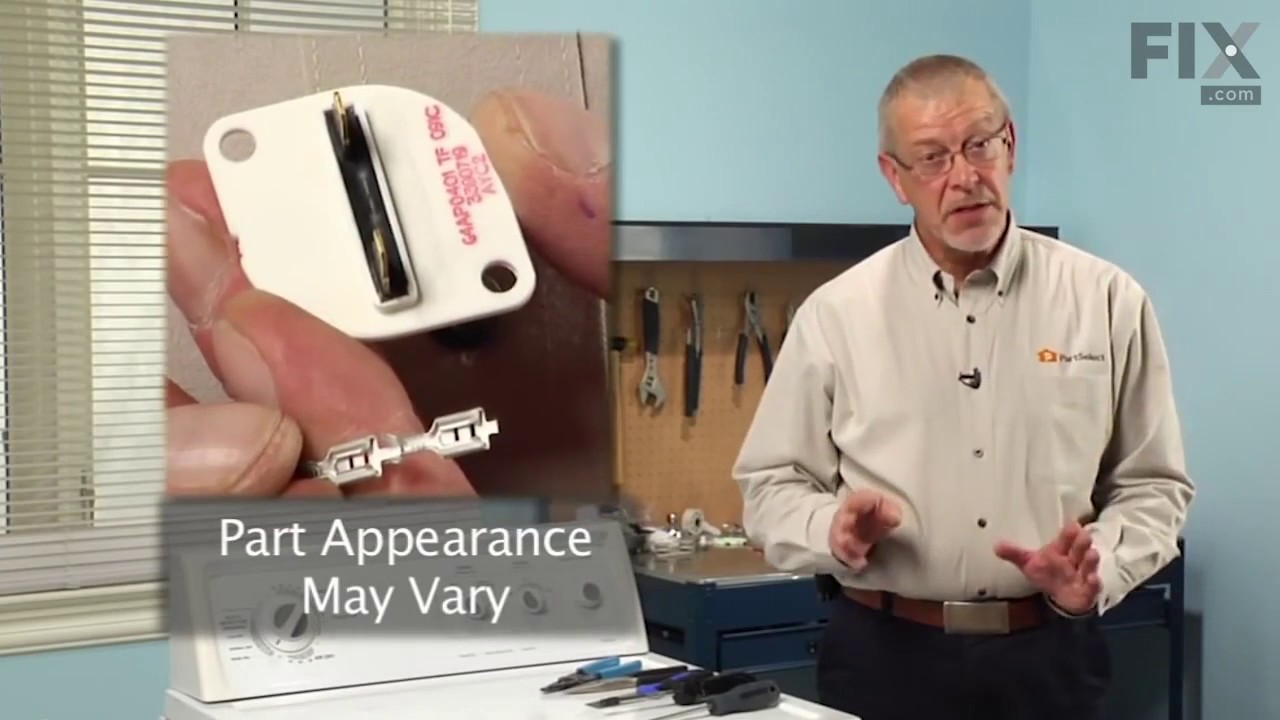
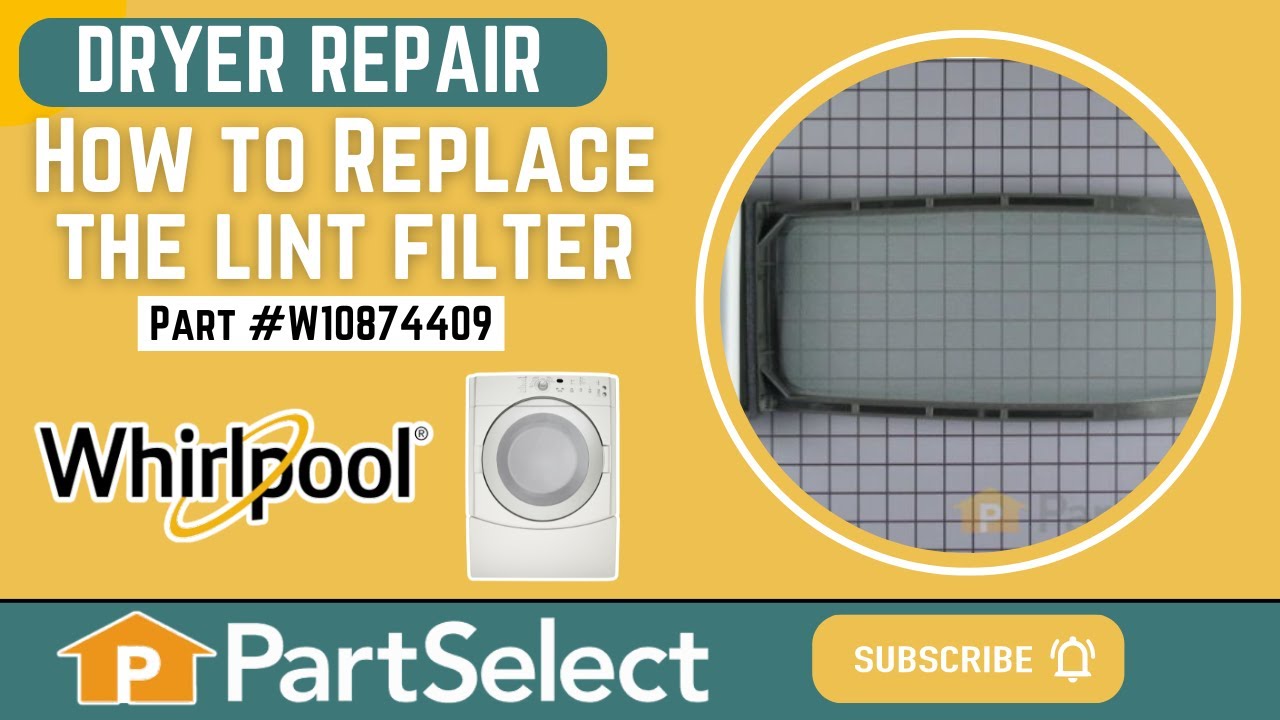

See how others fixed this model. Time, tools, difficulty, and steps that lead to victory!
View More