



 My Orders




1352W06 Roper Range - Overview
Diagrams for 1352W06
See every part. Know exactly what you need.


Enter a part description. DIY Heroes keep it simple, eg. "belt" or "pump".
Search filter:
Clear Filter
Your search term must have 3 or more characters.

$56.33
In Stock
Surface Burner Element Switch, Large Burner
Part #WP3149400
This surface burner element switch is for an 8-inch surface burner on an oven, stove, or range. The element switch controls the heat of the surface burner. Disconnect power to your range before completing this repair because you will be working closely with electrical circuits. Remove the screws from back panel and the console, and remove...Read more the console to expose the switch. It is recommended to check for overheating or arcing on the wiring harness in case they need to be replaced as well. The harness that connects to the switch features a slip-on terminal for easy installation.
Read less

$47.40
In Stock
Surface Element Switch
Part #W10900107
A surface element switch, also known as a burner/infinite switch, is a device used to control and regulate the heat output of the burners on a stovetop or cooktop. This switch is controlled with a knob on the user interface of the cooktop or stovetop and is adjustable by the user. This burner switch is compatible with various ranges and c...Read moreooktops and is a genuine OEM part that is sold with all of the necessary hardware to secure it, such as the Philips-head and flat-head screws, brackets, bolts, washers, palnuts (also known as a push-on nut) and terminals. Over time, this switch can wear out or become faulty, leading to heating issues for your stovetop and cooktop, such as not heating, overheating, or staying at the same heat level. Depending on the orientation of your cooktop, you will need to install this switch with or without the bracket and palnut, so reference your user manual for that information when replacing this switch. You will need a screwdriver and set of pliers during the replacement and installation process, and simply need to follow the instruction manual included with this switch to correctly replace and rewire it.
Read less

$49.50
In Stock
2 Piece Broiler Pan
Part #4396923
This broiler pan and roasting rack set is designed to help reduce mess while cooking by allowing grease to drain away from food. Its durable porcelain-coated construction stands up to high temperatures and makes cleanup simple. With approximate dimensions of 16 3/4 inches long, 12 3/4 inches wide, and 1 3/4 inches high, it offers a convenient size for everyday broiling and roasting.

$7.47
On Order
Range Hex Nut
Part #WP112432
This 10-32-inch hex nut works with multiple appliances in your home as a fastener. This specific model is sold individually. Hex nuts usually have 6 even sides and together they are used with bolts and screws in order to hold items firmly together. This piece is a fastener that attaches one item to another. This part has several advantage...Read mores, the main one being that it is universal and can be used with most pieces and appliances in your home. This hex nut is an original equipment manufacturer part, meaning it is directly sourced from the manufacturer.
Read less

$67.82
In Stock

$7.47
Special Order

No Longer Available

No Longer Available
Hinge
Part #WP238456

No Longer Available
Broil Element
Part #326795
This is a five-loop broil element for an oven, range, or stove. It is approximately 11-3/4 inches wide and 18-5/8 inches long with approximately 11-3/4 inches between terminal connections. It features a.25-inch male terminal push-in connection for easy replacement and a hanger style mount. It is 3000/2500 watts and 240/208 volts. This bro...Read moreil element is located on the inner upper wall of your oven. Be sure your element wires do not fall through the wall of your oven when you uninstall the existing part. The wires are short and will make your repair more difficult because they are difficult to retrieve.
Read less

No Longer Available
Heater Wire - 240V
Part #WPY311946
Made for use with older model Maytag brand series 06 Halo of Heat style electric clothes dryers, this pre-stretched heating element coil carries 240 volts.

No Longer Available
Thermostat Knob
Part #WPY0310527

No Longer Available
SWITCH-INF
Part #4391990
This switch is a NON push-to-turn infinite switch. It has a break-off shaft and plastic adapters. This part can be used with 6 or 8" elements.
Manuals & Care Guides for 1352W06
Click to downloadCommon Symptoms of the 1352W06
How this model fails, and the parts that fix it.
Element will not heat
Fixed by
these parts
these parts


Show All
Oven is too hot
Fixed by
these parts
these parts
Show All
Will Not Start
Fixed by
these parts
these parts
Show All
Noisy
Fixed by
these parts
these parts

Show All
Will not program
Fixed by
these parts
these parts
Show All
Oven not heating evenly
Fixed by
these parts
these parts
Show All
Watch our pros, then fix it yourself.
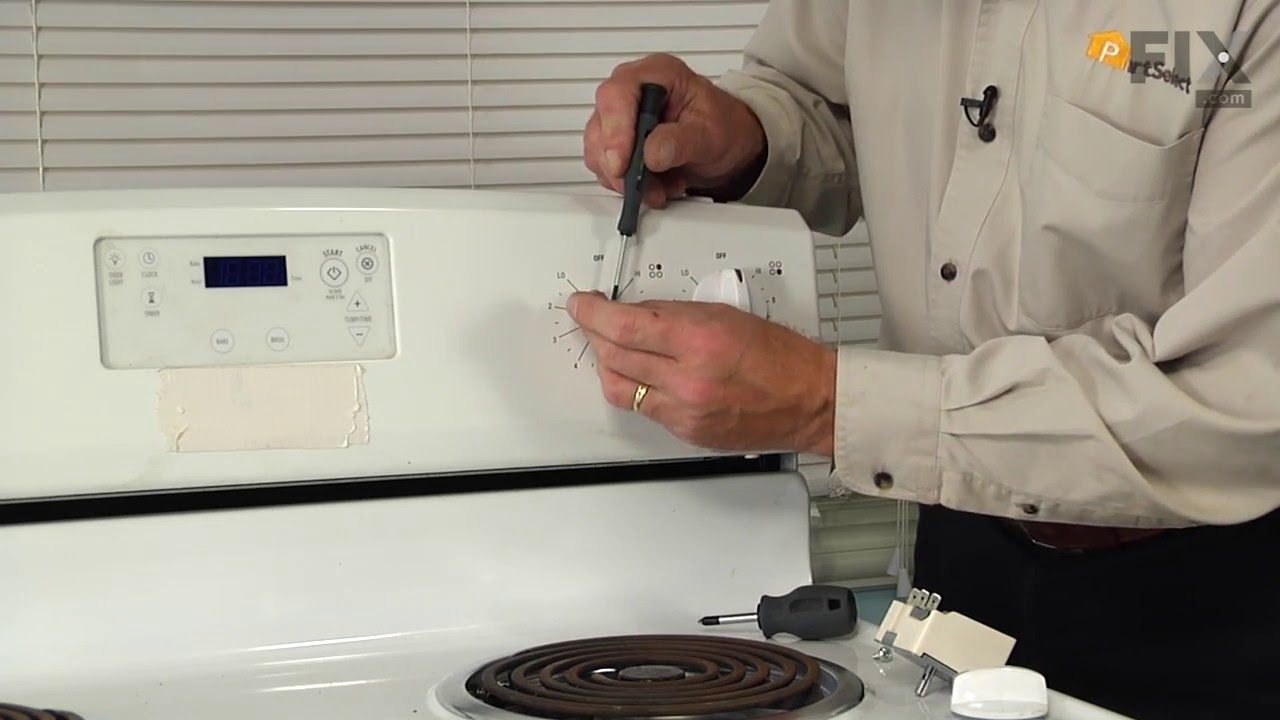


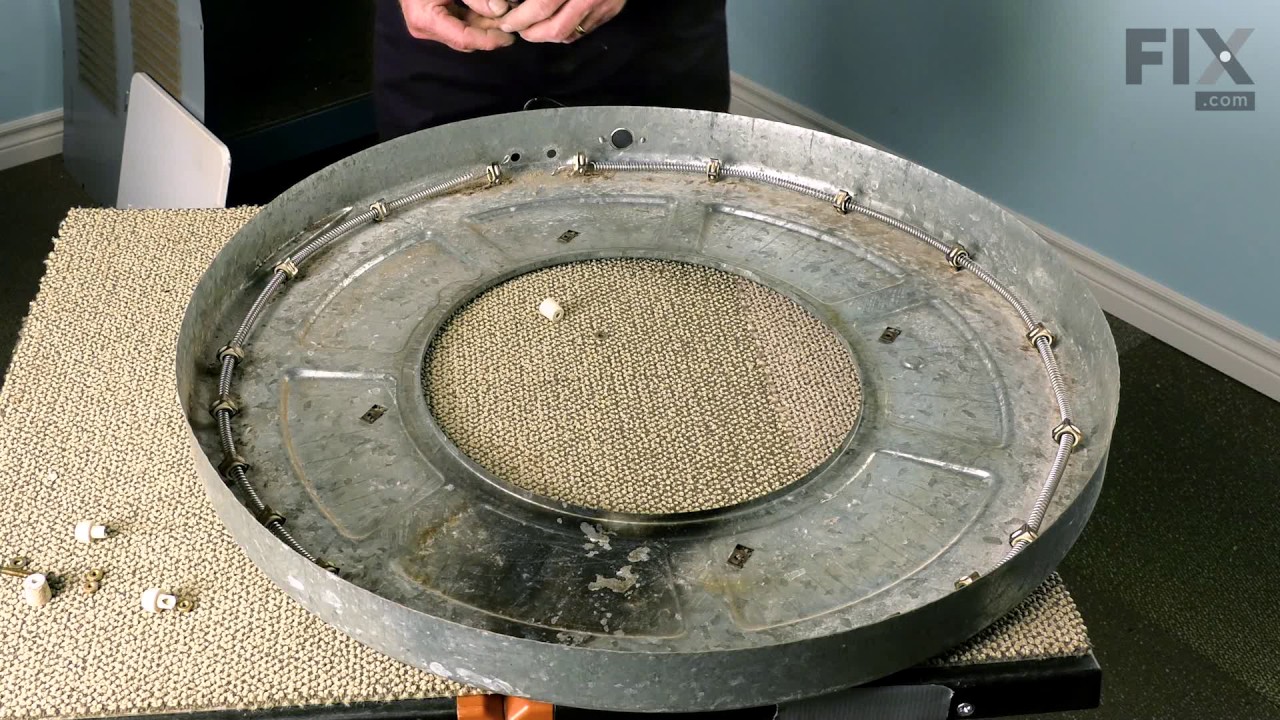
See how others fixed this model. Time, tools, difficulty, and steps that lead to victory!
View More