EasyApplianceParts is now PartSelect! We've merged our sites to provide a better shopping experience for you.   Full Details

Find Parts

Parts Departments

Top Model Types

Top Brands

Repair Help

Expert Repair Videos

Keep typing for more specific results...

1259A26 Whirlpool Range - Overview

Diagrams for 1259A26

See every part. Know exactly what you need.

Enter a part description. DIY Heroes keep it simple, eg. "belt" or "pump".

Search filter:
Clear Filter
Your search term must have 3 or more characters.
Surface Burner Element Switch, Large Burner – Part Number: WP3149400
$56.33
In Stock
Surface Burner Element Switch, Large Burner
★★★★★
★★★★★
(56)
Part #WP3149400
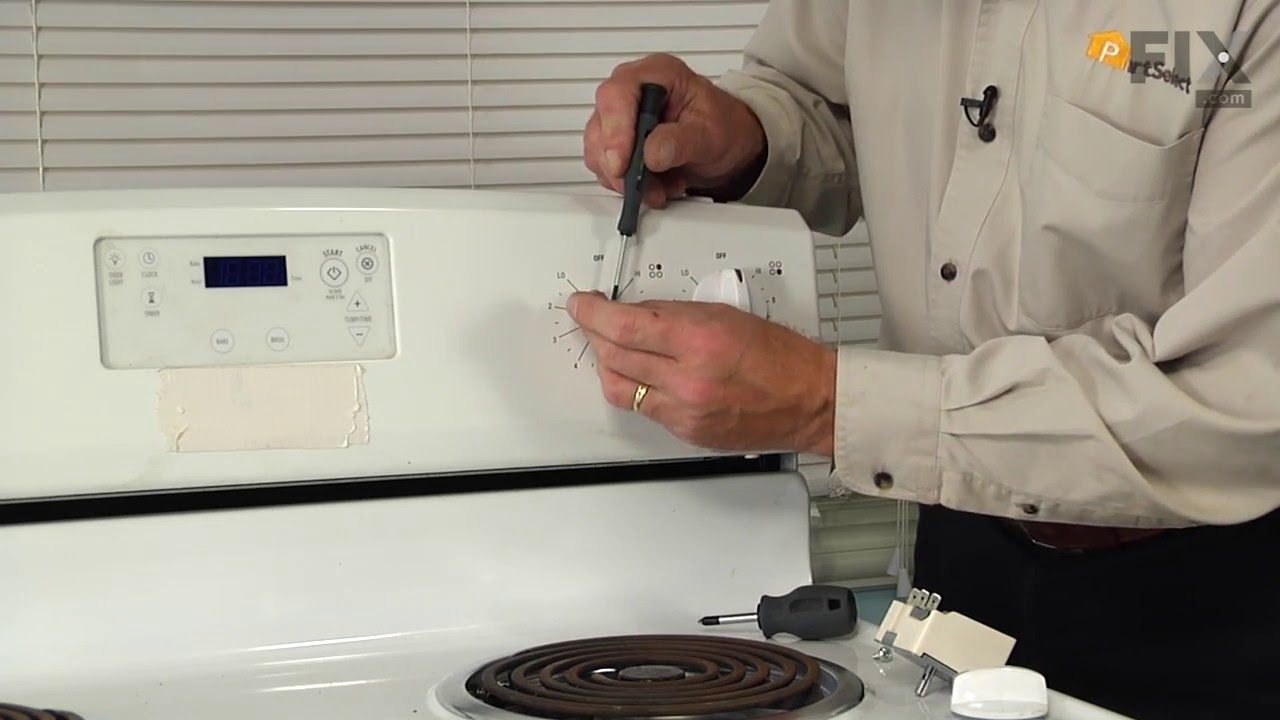
This surface burner element switch is for an 8-inch surface burner on an oven, stove, or range. The element switch controls the heat of the surface burner. Disconnect power to your range before completing this repair because you will be working closely with electrical circuits. Remove the screws from back panel and the console, and remove the console to expose the switch. It is recommended to check for overheating or arcing on the wiring harness in case they need to be replaced as well. The harness that connects to the switch features a slip-on terminal for easy installation.
Range Round Carborundum Oven Igniter – Part Number: 4342528
$52.75
In Stock
Range Round Carborundum Oven Igniter
★★★★★
★★★★★
(14)
Part #4342528
This round style gas oven igniter, or also known as a broil or bake igniter, has an amperage range between 2.5 and 3.0. It glows white hot to ignite the gas for the oven. The igniter does this by attracting electrical currents through the safety valve to open it. *Please note: this does not replace the flat style igniters. If your gas igniter does not start, glows but does not light, or produces little to no heat when baking, replacing this part could be the solution to your problem. Refer to the diagram provided by the manufacturer for further instructions and guidance.
Spark Module – Part Number: 4372836
No Longer Available
Spark Module
Part #4372836
This part sends enough current to the igniter to create a spark to the bottom of the burner cap.
SWTCH-LITE – Part Number: WP8189867
No Longer Available
SWTCH-LITE
Part #WP8189867
Round Chrome Drip Pan – Part Number: 4330786
No Longer Available
Round Chrome Drip Pan
Part #4330786
This single round chrome drip pan is 7-7/16 inches in diameter. Its center hole has a diameter of three and a half inches wide. Use this chrome drip pan for your Whirlpool brand gas range or cooktop.
DISCONTINUED – Part Number: 4331308
No Longer Available
DISCONTINUED
Part #4331308
DISCONTINUED – Part Number: 4329749
No Longer Available
DISCONTINUED
Part #4329749
DISCONTINUED – Part Number: 4330126
No Longer Available
DISCONTINUED
Part #4330126
DISCONTINUED – Part Number: 4330147
No Longer Available
DISCONTINUED
Part #4330147
DISCONTINUED – Part Number: 4330151
No Longer Available
DISCONTINUED
Part #4330151
DISCONTINUED – Part Number: 4330725
No Longer Available
DISCONTINUED
Part #4330725
DISCONTINUED – Part Number: 4331948
No Longer Available
DISCONTINUED
Part #4331948

Common Symptoms of the 1259A26

How this model fails, and the parts that fix it.

Watch our pros, then fix it yourself.

See how others fixed this model. Time, tools, difficulty, and steps that lead to victory! View More

Search repair tips from other customers using simple keywords like "replace", "fit", "remove", "inspect". DIY doesn't mean you have to do it alone!

Search filter:
Clear Filter
Your search term must have 3 or more characters.
the element did not turn compleatly off, the on light stayed on.
88 of 108 people found this instruction helpful.
  • chaz from fairplay, CO
  • Easy
  • 15 - 30 mins
  • Screw drivers
removed the screws holding the back metal panel, this exposed the wires to the switch. tested the wires to find that they were live when the switch was in the off position. ordered a new switch. UNPLUGED THE STOVE. removed the knob on the front of the stove. this exposed 2 screws, removed screws and the switch came away from the stove. re moved each wire from the old switch and replaced them in the same position on the new switch. inserted new switch into the stove and attached the 2 screws. replaced back panel and pluged in stove. all tested well
Was this helpful?
Thank you for voting!
The lower burner would not ignite.
80 of 87 people found this instruction helpful.
  • Mark from Rego Park, NY
  • Easy
  • Less than 15 mins
  • Screw drivers, Socket set
First I removed the oven racks. Then I loosened the two screws in the back of the oven floor and figured out how to remove it. Then I loosened the two screws at the front of the diverter and, with some pushing and pulling and twisting, was able to get that to come out, too. Then I tried lighting the oven and noticed that the igniter wa s not glowing. When I saw that the upper (broiler) burner was working fine, I hoped that the problem was the lower igniter itself. I checked the wires and they seemed fine. I saw that two bolts held the igniter onto its bracket, so with a socket wrench (which size I got right on the first guess!) I removed those bolts and the igniter came loose. I found the connecter for the wires when I removed the drawer under the oven and was able to pull it apart easily. The igniter came out completely. There was nothing unusual about it, but I decided to take a chance and order a new one, hoping that replacing it would solve the problem. I put the rest of the oven together and waited. About three days later the part arrived (it was sent on a holiday; FedEx is soooo much better than USPS). I retraced the steps of taking the oven apart, put the two bolts into the new igniter to attach it to the bracket, and went back underneath behind the drawer to connect the wires. Then came the moment of truth: I tried turing on the oven. I held the button down to keep the light off, and after a few seconds I saw it: IT GLOWED!! It worked!! After yelling a satisfying "YEAH!!," I turned it off, put back the drawer, the diverter (more pulling and pushing and twisting), and the oven floor. Now it's all working perfectly and it took a very short time to fix. And a little luck that the problem was with such a simple part.
Was this helpful?
Thank you for voting!
Burner would go high without warning
60 of 63 people found this instruction helpful.
  • John from Clinton, CT
  • Easy
  • 15 - 30 mins
  • Pliers, Screw drivers
We felt the only possible problem could be the switch assembly. I removed the switch panel, removed the wires from the old switch, one at a time, removed the old switch assembly and installed the new switch assembly. The extended stem did have to be snapped off (per your instructions) and that too was a very simple task.
Was this helpful?
Thank you for voting!