


 My Orders




11B-060A033 (2001) MTD Lawn Mower - Overview


Enter a part description. DIY Heroes keep it simple, eg. "belt" or "pump".
Search filter:
Clear Filter
Your search term must have 3 or more characters.

$6.40
In Stock
Lawn Mower Hex Washer Head Screw
Part #710-0599
This is an original replacement part sourced directly from the manufacturer. The screw is commonly found in yard equipment from Craftsman, such as lawn tractors, snow blowers, and edgers. This part is made of metal, and may be found in various locations in the machine, depending on model. Please be aware that there are different screws...Read more used in the machine. Refer to the parts diagram to be sure of ordering the correct part. You will require a wrench when replacing this item. The screw is sold as an individual replacement part.
Read less

$6.40
In Stock
Bell Blade Support
Part #736-0524B-1
The Blade Support (Bell Blade Support) fits between the bottom of the blade and the blade bolt to provide support for the blade. It is installed underneath the cutting deck on the blade. Installation requires a hammer, 5/8 socket and torque wrench, and is rated as "Easy" by our customers. If broken or damaged (likely due to fatigue) you m...Read moreay hear a rattling sound coming from it, and the part should be replaced. This part is dark gray/silver, individually sold, and measures approx 3.5 x 1.25 inches. Refer to your make, model and diagrams to check if this is the correct part for you.
Read less

$6.40
In Stock
Screw, 3/8-24 x 1.50 (w/25mm Blade Adapter)
Part #710-1044
The hex bolt attaches to the washer and the square key. This part is an OEM from Craftsman for use in snowblowers and lawn mowers. It is available as an individual replacement part and is made of metal. If this item becomes broken or stripped it will need to be replaced and may require a socket set during the installation.

$6.57
In Stock
Washer-lock 5/16
Part #936-0119
This silver metal lock washer helps prevent the nut on the drive belt pulley shaft from backing off during operation, it has a 5/16-inch inner diameter and a 1/2-inch outer diameter. one washer is included, replace it if fatigue or damage allows the connected shafts to spin freely, verify fit using the equipment model or owner manual

$29.38
In Stock
Use 748-0376c
Part #748-0376E
This OEM keyed blade adapter connects your lawn mower blade to the spindle, enabling it to rotate and cut the grass. It has a length of 1.19 inches, an inside diameter of 7/8 inches, and a bow tie center pattern. If you notice unusual grinding or rattling sounds coming from your mower, or if you feel excessive vibration in the handle or c...Read moreutting deck, it could indicate a broken blade adapter. Similarly, if the blade is not engaging properly or wobbling, it may be a sign that the adapter is worn out and needs replacement. To replace the adapter, start by tilting your machine backward to access the blade. Use a socket or wrench to unscrew the bolt that secures the blade. Then remove the support, blade, and adapter. When installing the new adapter, make sure to align the key on the adapter with the keyway on the shaft. Before operating your lawn mower, ensure that all of the components within the blade assembly are installed properly and securely in place. Please note that this replacement part does not include any accompanying hardware.
Read less

$24.06
In Stock
Throttle Hsg. w/o Lever
Part #746-0883
This throttle housing is a genuine OEM sourced item, it is not an aftermarket imitation. It is specially designed use with lawn mowers and snow blowers. Please note, the cable, trigger, spring and the screws are all sold separately. Please note, this plastic housing is sold individually. To complete this repair you will need a screwdriver.

$6.74
In Stock
Screw-hex
Part #710-0654A
This is a genuine replacement part manufactured for use with outdoor power equipment. The screw includes a lock washer and is commonly used to secure the motor to the frame. This screw has various applications based on the model of the machine it is used with. The screw is sold as an individual replacement part, please see model diagram for part location and usage.

$6.40
In Stock
Rope Guide
Part #710-1205
This is an original replacement part manufactured for use with walk-behind lawnmowers. The metal rope guide mounts to the side rail of the handle, and is secured by a handle knob. The rope guide keeps the starter rope on the upper handle for ease of access, and to keep the rope out of the way while operating. The rope guide is sold individually.

$9.99
In Stock
Hex Bolt 3/8-24 x 1.5" Lg.
Part #710-0459A
This hex bolt is a genuine OEM fastener used in various lawn and garden equipment and machinery. It has a hexagonal shaped head, with a diameter of 3/8 inches. The bolt shaft is 1.5 inches long with 24 threads per inch. The hexagon shape makes the bolt easier to grip and tighten using a wrench or a set of pliers. Over time, it is normal f...Read moreor the bolt to crack, corrode, or for the shaft threads to wear down. Inspect all the bolts on your equipment and replace all those that show visible signs of wear. Use a socket wrench to remove the faulty bolt(s) and thread the new one into position. Each bolt is sold individually. Secure it with a wrench or pliers and be careful not to over tighten as this could damage the bolt and equipment.
Read less

$31.62
In Stock
Cable-control-43 I
Part #946-0551
This is an authentic replacement part manufactured for use with walk-behind lawnmowers. This cable is connected to the control handle that is pressed down while running the lawnmower. The cable has shaped connections at each end to attach it to the handle and engine. This cable is sold individually.

$66.54
Special Order
Handle-lower
Part #749-0907B
This lower handle assembly forms the base of the operator handle on walk-behind outdoor power equipment. It bolts directly to the deck or frame and provides structural support for the upper handle used to steer and control the machine. Replacing a bent or damaged lower handle restores proper handle alignment, stability, and safe operation.

No Longer Available
Deflector Asm-chut
Part #931-1034B
This discharge chute is a genuine OEM sourced replacement part that is specially made for walk-behind lawn mowers. It is mounted to the side of the mower deck to direct the grass clippings away from the unit. This item includes the durable plastic chute with the metal hinge bracket assembly which is used to secure it to the deck. Please n...Read moreote that the hardware to attached this discharge chute is not included, it is sold separately.
Read less
Watch our pros, then fix it yourself.
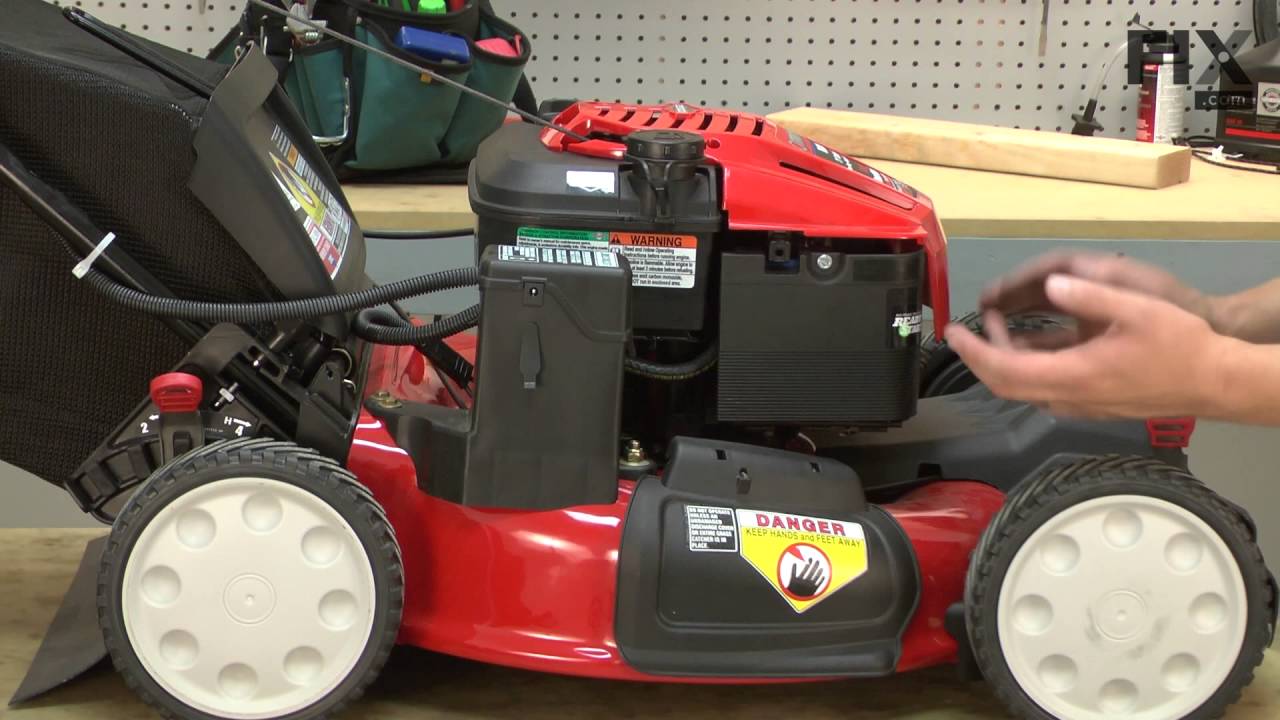
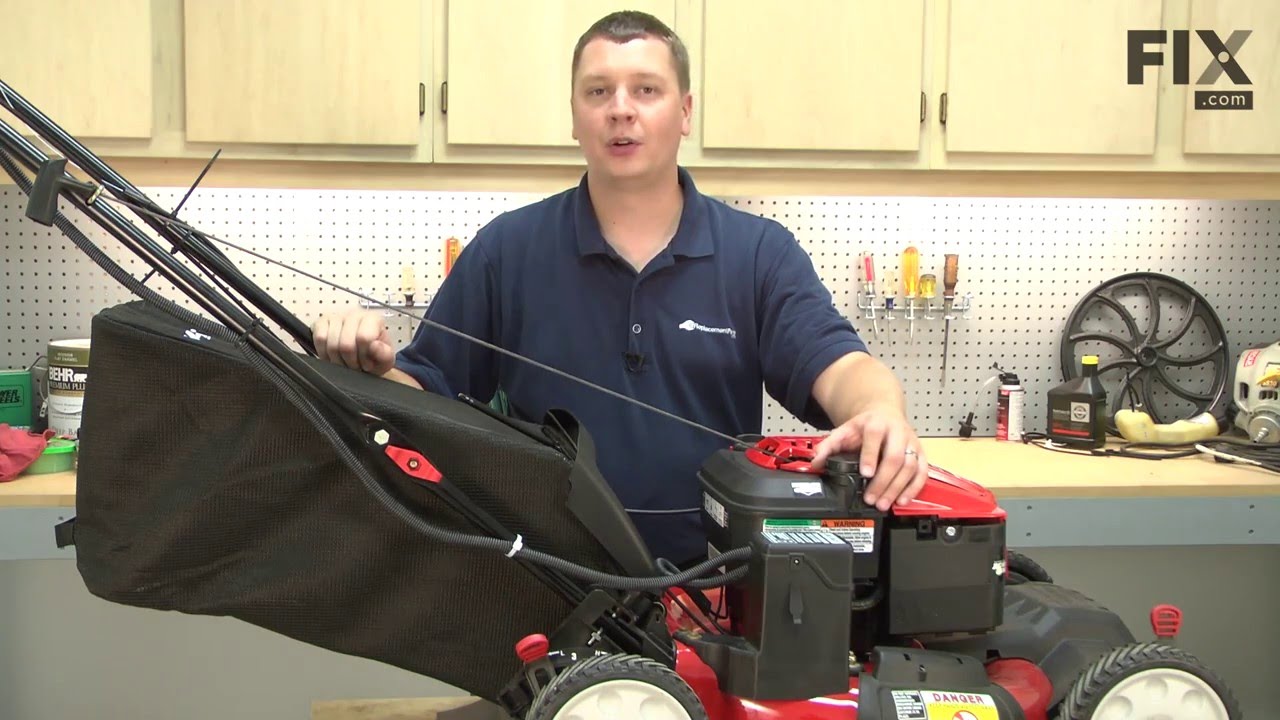
See how others fixed this model. Time, tools, difficulty, and steps that lead to victory!
View More