


 My Orders




11773820 Kenmore Range - Overview

Enter a part description. DIY Heroes keep it simple, eg. "belt" or "pump".
Search filter:
Clear Filter
Your search term must have 3 or more characters.

$62.51
In Stock
Hinge with Roller - Right Side
Part #WB14X104
This is a hinge with roller for the oven door on your range. The roller allows you to open and close the door with ease and control. If your door is not opening easily, you may need to replace this part. To make this repair you will need a Phillips screwdriver and a pair of pliers. Take note that this model is only for the right-hand side...Read more of your unit, to replace the left-hand side, see the related parts section. We recommend replacing both hinges at the same time.
Read less

$65.86
In Stock
Hinge with Roller - Left Side
Part #WB14X103
This is known as a hinge with roller and it is for the oven door of your range. The hinge with roller allows you to easily open and close your oven door without much effort. Take note that your appliance requires two hinges, one located on each side of the door. We recommend changing both at the same time. This model is made for the left ...Read moreside of your unit, if you are looking to purchase one for the right side see the related parts section below.
Read less

No Longer Available

No Longer Available
CLIP
Part #WB2X9105

No Longer Available
SPACER-HNDL
Part #WB2X9037

$11.77
Special Order
Leveling Leg
Part #WB2X9025

No Longer Available
Door Seal
Part #WB2X9028
This oven door seal prevents heat from escaping the oven cavity when in use.

No Longer Available
PAN BRO
Part #WB49T10002

No Longer Available
BROILER PAN GRID
Part #WB49T10003

No Longer Available
INSULATION-OV BODY
Part #WB35K5074

$42.12
Special Order
INSULATION
Part #WB2X9430
No Longer Available
UNKNOWN
Part #WB56X1886
Common Symptoms of the 11773820
How this model fails, and the parts that fix it.
Door won’t close
Fixed by
these parts
these parts


Show All
Door won’t open after self cleaning cycle
Fixed by
these parts
these parts
Show All
Watch our pros, then fix it yourself.
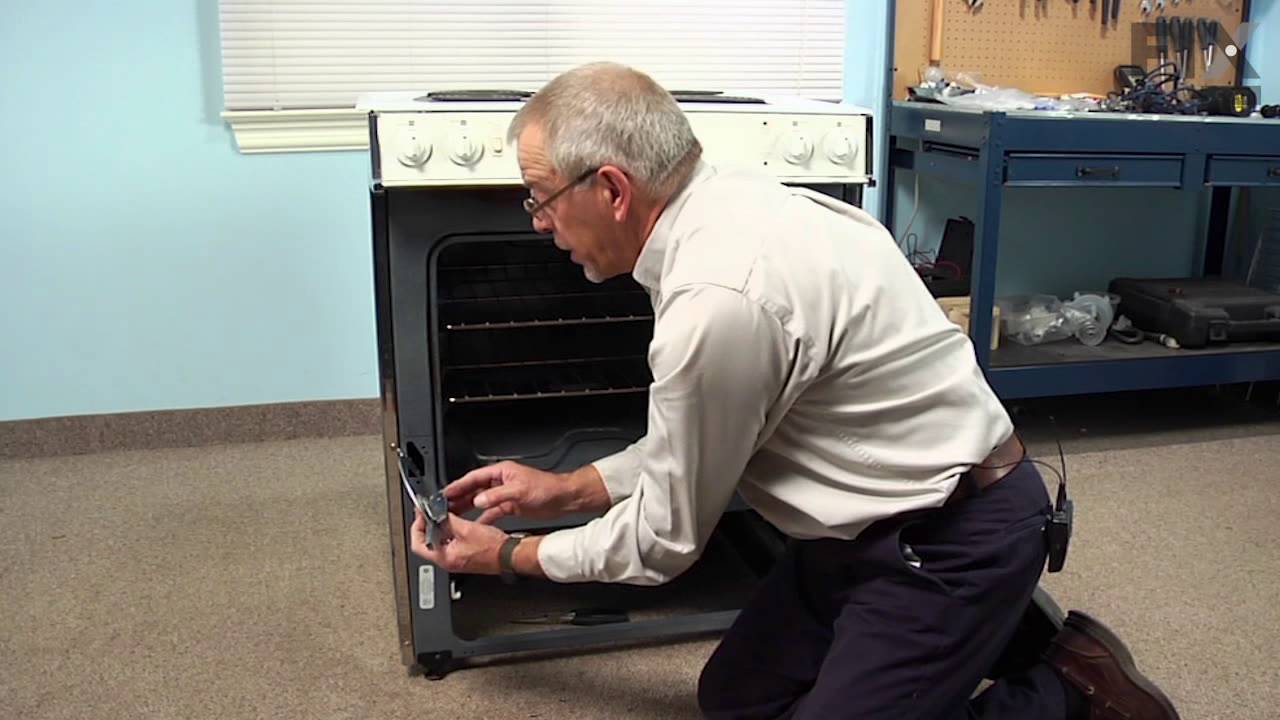
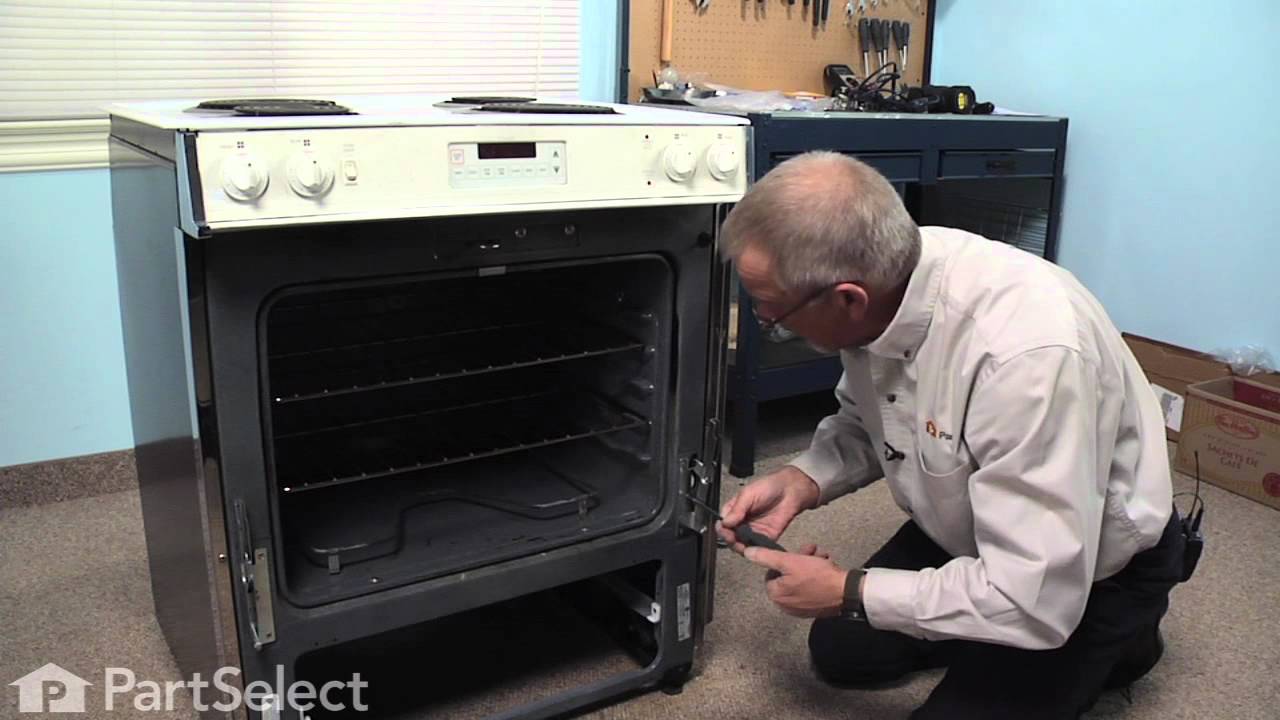
See how others fixed this model. Time, tools, difficulty, and steps that lead to victory!
View More
Search repair tips from other customers using simple keywords like "replace", "fit", "remove", "inspect". DIY doesn't mean you have to do it alone!
Search filter:
Clear Filter
Your search term must have 3 or more characters.
The right side hinge assembly broke. Replaced both sides
43 of 45 people
found this instruction helpful.
First I removed the door by lifting it off the hinge assemblies.
Then I removed the drawer to access the spring.
Removed the spring, noting which attachment hole was used.
Removed the hinge assembly with a Phillips screwdriver.
Replacef the unit.
Repeated for the other hinge assembly. ... Read more
Note: it took longer to find the correct parts in the parts diagrams than it did to replace them.
Then I removed the drawer to access the spring.
Removed the spring, noting which attachment hole was used.
Removed the hinge assembly with a Phillips screwdriver.
Replacef the unit.
Repeated for the other hinge assembly. ... Read more
Note: it took longer to find the correct parts in the parts diagrams than it did to replace them.
Read less
Other Parts Used:
Was this helpful?
Thank you for voting!
Oven door hinge rollers broke, hard to open door
16 of 18 people
found this instruction helpful.
Before removing screws, I reached in and felt for where the upper end of the spring attached to the hinge. There are three holes in the end of the hinge arm, so I wanted to be sure of which hole to use. (The holes are very close together, so if the spring falls out before you determine which hole it was in, it probably won't matter so l
... Read more
ong as you are sure to use the same hole on both new hinges.) I then removed three Phillips screws per hinge. Once the hinge was loose, I could wiggle it around and release enough of the spring tension to slip the top end of the spring out of the hole on the hinge arm. Then I pulled out the old hinge and inserted the new one and replaced the three screws. Without the tension, the lower end of the spring fell out of the little hole in the oven bottom where it normally attaches. Our gas oven has a broiler rather than a storage drawer, so it was a little difficult to get the lower tip of the spring back into that hole. It actually ended up being easier to get the lower tip of the spring back into that hole first, before trying to reattach it to the hinge arm. Once I got the lower end into that hole, I pulled up on the spring and maintained upward pressure on the spring while I fiddled around to get the upper end into the hinge arm hole. Took about 20 minutes, door works perfectly now. Lots of sharp edges inside the oven, so had to be careful.
Read less
Other Parts Used:
Was this helpful?
Thank you for voting!