


 My Orders




110C69132410 Kenmore Dryer - Overview
Diagrams for 110C69132410
See every part. Know exactly what you need.


Enter a part description. DIY Heroes keep it simple, eg. "belt" or "pump".
Search filter:
Clear Filter
Your search term must have 3 or more characters.

$35.80
In Stock
Maintenance Kit
Part #4392065
The drum support roller kit (Dryer Repair Kit) allows the dryer to tumble properly by supporting the drum cylinder. The idler pulley provides the tension required for a multi-ribbed belt. The belt attaches to the drum, idler pulley, and motor pulley. If your dryer is damaged, it may be making loud, squeaking, and/or squealing noises while...Read more the drum is turning. This is from normal wear and tear. The drum may eventually stop turning all together. This is a sign the part should be replaced. This is one complete maintenance kit. The kit includes the drum belt, drum support rollers, one idler pulley, four tri-rings, and one clip. The parts are constructed of plastic, metal, and rubber, and come in black/white/silver.
Read less

$19.30
In Stock

$26.82
In Stock
Idler Pulley
Part #279640
This Idler Pulley includes the tri-ring and gasket and everything included here is manufacturer-certified. This part maintains correct tension on the drive belt in order to spin the drum properly. If damaged or broken the dryer will not dry properly, will not tumble properly, or may not even start. Installation is rated as "Medium" diffic...Read moreulty. This part is located on the dryer drum, around the tension pulley. Refer to your user manual and model number for repair instructions and to ensure this part is right for you. For this repair project, the tools needed are a Phillips screwdriver, 1/4 inch nut driver, putty knife, small flat blade screw driver, and needle nose pliers.
Read less

$32.63
In Stock
Dryer Thermostat Internal bias
Part #WP8577274
This dryer thermistor is a genuine replacement component designed to monitor and regulate internal temperature in Whirlpool dryers. Mounted on the blower housing, it plays a critical role in controlling the heating element by adjusting resistance as temperatures rise, signaling the control board to maintain safe and efficient drying condi...Read moretions. A malfunctioning thermistor can result in symptoms such as no heat, overheating, premature cycle termination, or failure to start. It may also trigger fault codes like F-22, F-23, E1, or E2. Replacing the thermistor restores proper temperature regulation, protects the appliance from damage, and improves drying performance. Installation should be performed with the dryer unplugged and may require basic tools.
Read less

$11.77
In Stock
Roller Support Tri-Ring
Part #WPW10512946
If you notice that your dryer is noisy or will not tumble, you may need to replace the tri ring. This part is triangular, and is less than an inch in size. Tri rings can be found both on the idler pulley shaft, or on the rear drum roller shaft. In either case, you will need to remove the front panel of the dryer and the drum to access the...Read more part for repair. Once you have accessed the damaged tri ring, you will simply need to slip it off and replace it with the new one. This part is sold individually. Be sure to disconnect the power source from the dryer before you begin this repair.
Read less

$6.40
In Stock
Leveling Foot
Part #49621
If your washer shakes or vibrates loudly when it reaches its max speed, check that the leveling legs are even. To ensure that the washer is firmly on the ground using all four legs, adjust the legs so that the machine is level, and tighten the locking nuts on the legs that are threaded. Keep the washer as close to the floor as possible. Y...Read moreour model might have rear legs that level themselves, or it might have threaded legs all around. Make sure the rubber feet have not worn out. Replace any missing or damaged legs and feet. This replacement part is sold individually.
Read less

$27.36
In Stock
Idler Pulley with Bracket
Part #W10837240
The idler pulley with bracket ensures proper tension on the dryer’s drive belt, allowing the drum to spin effectively. This assembly includes the pulley and arm, making it ideal for replacing a worn or damaged component. Designed for various Whirlpool, KitchenAid, Maytag, Jenn-Air, Amana, Inglis, and Magic Chef dryers, this genuine OEM pa...Read morert guarantees reliability and performance. If your dryer is noisy or the drum is not turning properly, this part may be the solution. Always disconnect power and wear gloves during installation.
Read less

$46.34
In Stock
High Limit Thermostat and Thermal Cut-Off Kit
Part #279973
Also known as Thermal Cut-Off kit. The thermostat acts as a safety mechanism that keeps the dryer from overheating and the fuse is like a backup system - it's set to trip at a higher temperature than the thermostat. Once it trips, it has to be replaced.

$9.62
In Stock
Heating Element Connection Wire Kit
Part #279457
This kit is used for electric clothes dryers, and it comes with a yellow wire nut.

$7.47
In Stock

$7.47
In Stock

$22.52
In Stock
CATCH
Part #W11429587
This door catch Is an authentic OEM replacement part that is designed to fit with dryers. It is responsible for keeping the dryer door securely closed while it is running. When the door is closed, the catch engages with the door strike and snaps into place, holding the door shut until the drying cycle is completed. Over time the catch may...Read more become corroded, worn down, or damaged, or dislodged from frequent use and hard impact. If the catch is faulty, the door may be unable to remain shut. This can lead to heat loss, injury, and potential damage to the dryer itself. If the catch is no longer functional, it is recommended to replace it as soon as possible and avoid using your dryer until the repair is complete.
Read less
Common Symptoms of the 110C69132410
How this model fails, and the parts that fix it.
Noisy
Fixed by
these parts
these parts


Show All
Drum Not Spinning
Fixed by
these parts
these parts

Show All
Not Heating
Fixed by
these parts
these parts


Show All
Door won’t close
Fixed by
these parts
these parts


Show All
Too hot
Fixed by
these parts
these parts

Show All
Won’t Start
Fixed by
these parts
these parts

Show All
Door Pops Open
Fixed by
these parts
these parts
Show All
Marks left on clothes
Fixed by
these parts
these parts

Show All
Touchpad does not respond
Fixed by
these parts
these parts
Show All
Leaking
Fixed by
these parts
these parts

Show All
Door latch failure
Fixed by
these parts
these parts

Show All
Will not agitate
Fixed by
these parts
these parts

Show All
Burning smell
Fixed by
these parts
these parts
Show All
Heat stays on after drum has stopped
Fixed by
these parts
these parts
Show All
Spins slowly
Fixed by
these parts
these parts
Show All
Watch our pros, then fix it yourself.
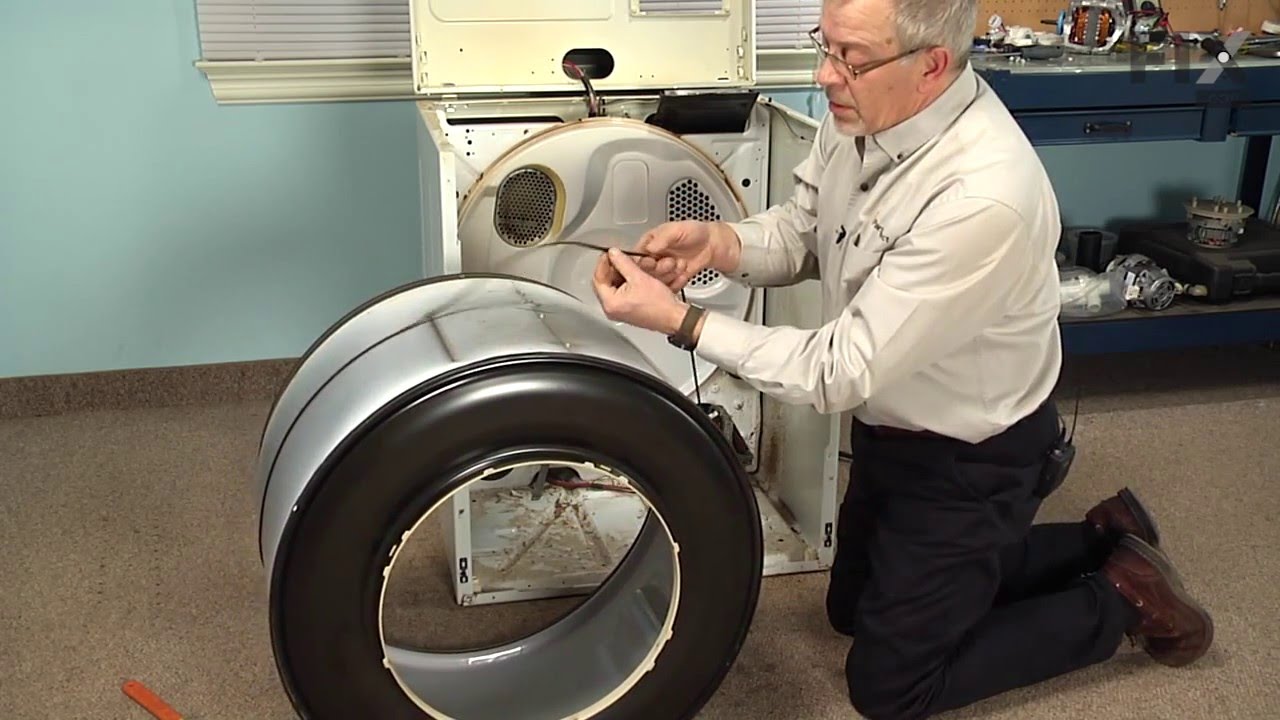
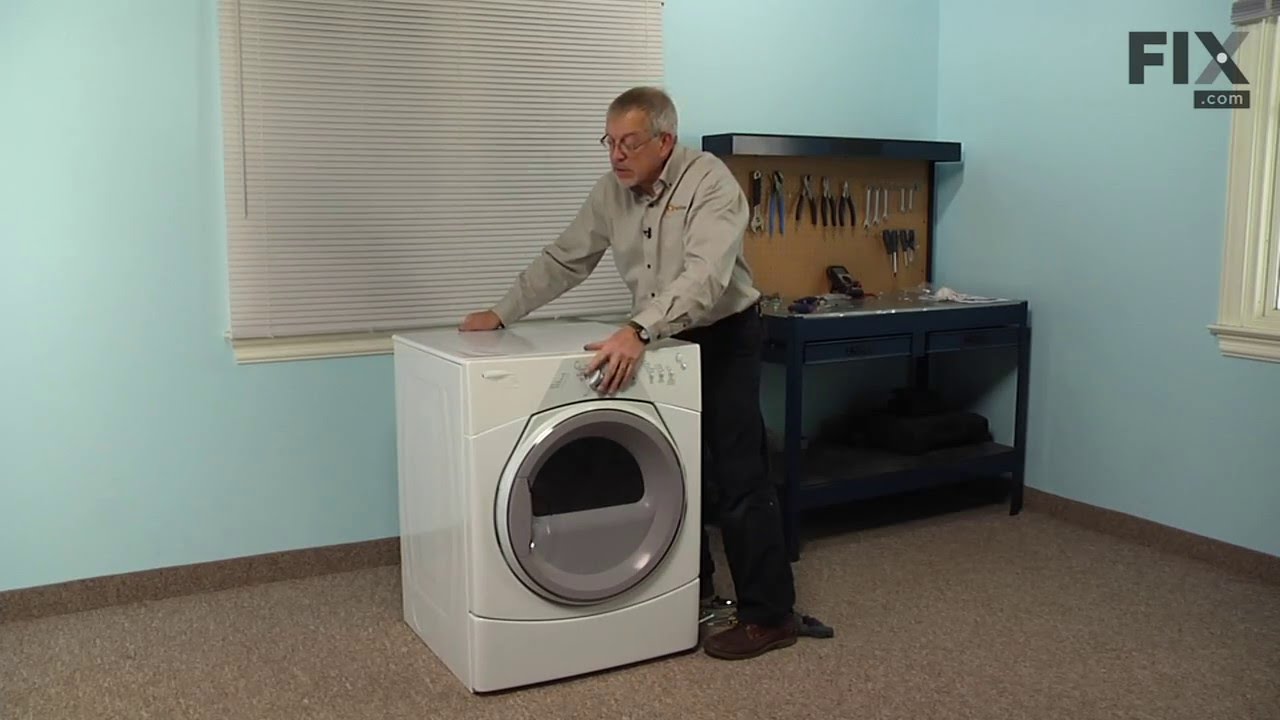
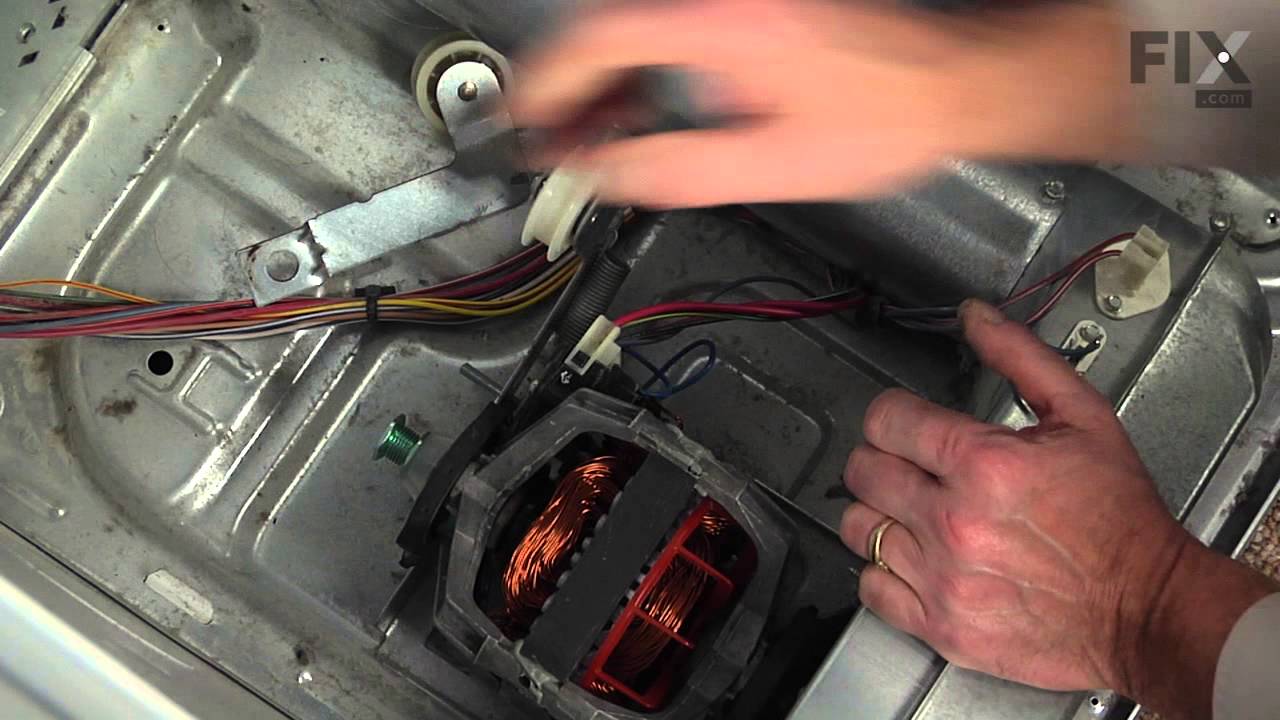
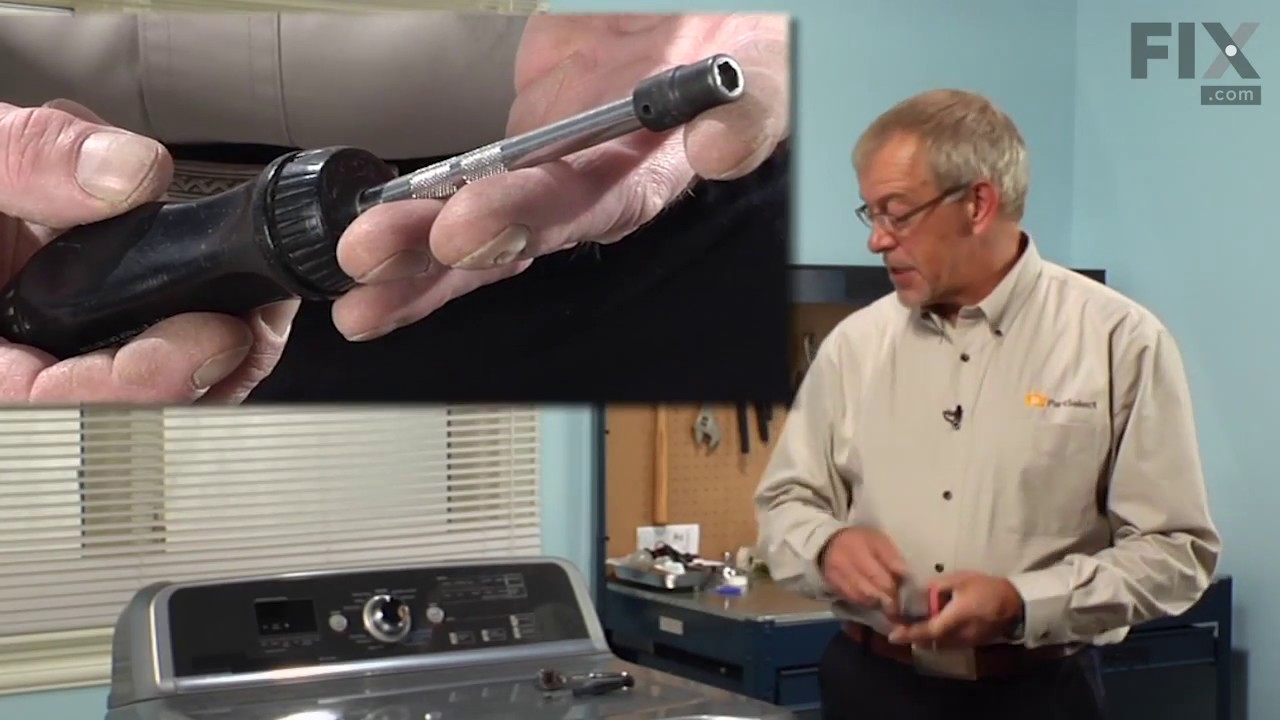
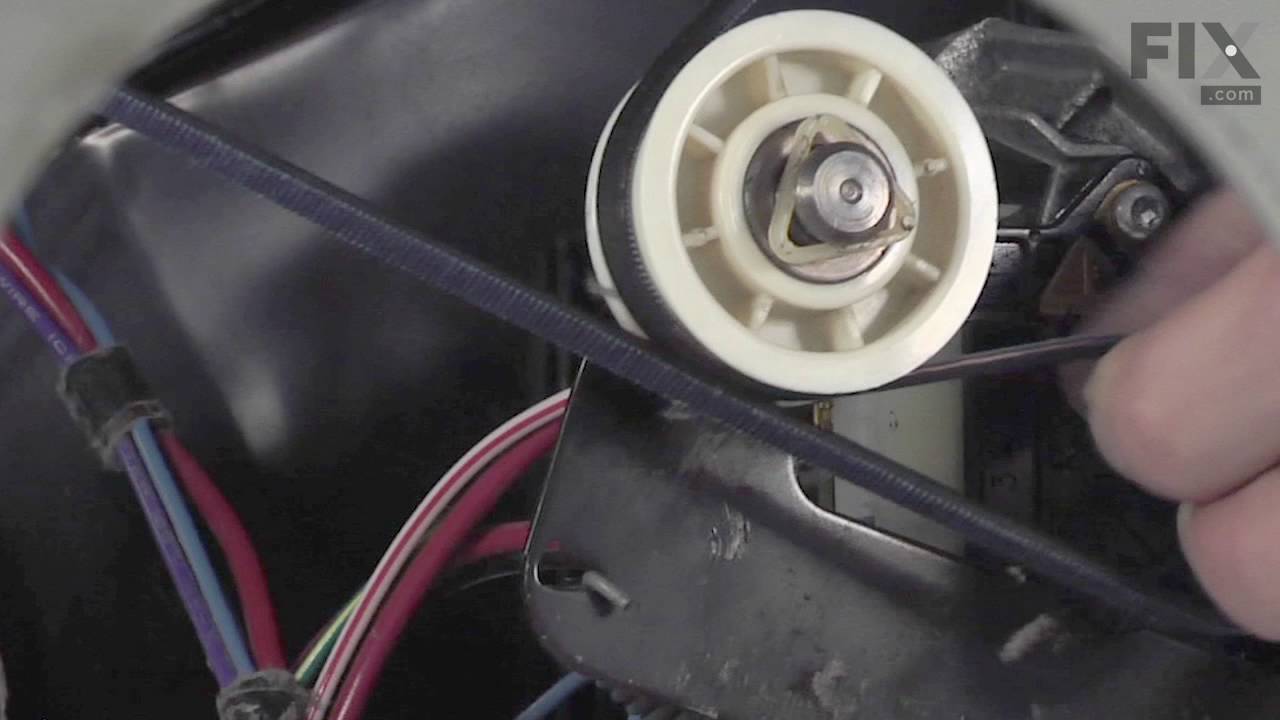
See how others fixed this model. Time, tools, difficulty, and steps that lead to victory!
View More