



 My Orders




1108293130 Kenmore Washer - Overview

Enter a part description. DIY Heroes keep it simple, eg. "belt" or "pump".
Search filter:
Clear Filter
Your search term must have 3 or more characters.

$6.40
In Stock
Agitator Directional Cogs
Part #80040
This kit is used for replacing the agitator directional cogs (Agitator Dogs, Agitator Repair Kit, Washer Agitator Dogs, Agitator Dog Ears). The agitator is what creates the thrusting motion in your washer to tumble your clothes during the washer cycle. Your agitator will rotate one way, and not the other. The agitator dogs are what preven...Read moret the agitator from rotating in both directions, while allowing it to rotate in one direction. Your agitator cogs may be malfunctioning if you can manually rotate the agitator in both directions. If broken they will need to be replaced. Cogs can be found by simply removing the softener dispenser and then removing the agitator cap. The are attached to the agitator. This replacement part features 4 agitator directional cogs. There are 4 cogs per package that are made up of high-quality plastic. This part comes in white/beige.
Read less

$32.63
In Stock
Water Inlet Valve with Mounting Bracket
Part #285805
The water inlet valve on your washing machine is used to fill the tub with cold, warm, or hot water for the wash and rinse cycles. This part could have either a blue or green-colored valve body. There are two ports for water to enter and this valve is compatible with a half-inch ID hose. It has two 3/4-11x1/2 NHT hose threads. You may hav...Read moree a faulty valve if your washer is leaking, has no hot or cold water, will not stop filling with water, will not fill with water, fills and drains at the same time, or is noisy. To confirm that the valve is faulty, unplug the washer when the symptom occurs. If the washer continues to fill, then the inlet valve is defective.
Read less

$6.40
In Stock
Agitator Bolt
Part #WP358237
This kit contains one screw with rubber gasket and threaded sealant. The screw head is 7/16".

$7.65
In Stock
Thrust Spacer
Part #285587
This is a genuine OEM thrust spacer for your washer, and is also commonly known as a retainer ring. The spacer is about 2.5 inches in diameter, is made of plastic, and is white in color. It is used in the agitator assembly of many direct drive washing machine models. The spacer is fitted between the agitator and the agitator auger to supp...Read moreort it as it moves. This part is sold individually. Although it is not included in this part, you should have some dual-action agitator grease for the repair as well.
Read less

$33.69
In Stock
Washer Timer Knob
Part #WP3362624
This washing machine timer knob is a durable replacement component designed for compatible models. Featuring a black dial with a chrome center, it allows users to select and adjust wash cycle settings such as duration, temperature, and mode. Constructed with a sturdy plastic body and reinforced metal shaft, it ensures long-term reliabilit...Read morey and smooth operation. The knob attaches directly to the timer switch post on the control panel, replacing older or damaged knobs that may cause issues with cycle selection or startup. Installation is tool-free—simply align and press the knob onto the shaft until it clicks securely into place.
Read less

$34.74
In Stock
Agitator Repair Kit
Part #285748
This agitator repair kit comes with a long cam, a thrust spacer and four dogs ears (agitator cogs). This repair kit is used to move the upper agitator and it connects the base of the agitator with the agitator top (mover). This part has been updated by the manufacture.

$42.12
In Stock
Lid Switch Assembly
Part #285671
This washer lid switch assembly is a critical safety component that prevents the appliance from operating when the lid is open. It communicates with the control board to initiate wash and spin cycles only when the lid is securely closed. A malfunctioning switch can result in the washer failing to start, spin, or drain properly. Replacing ...Read morethis part restores safe and reliable operation. Installation requires disconnecting the appliance from power and accessing the switch beneath the top panel. Always verify compatibility with your specific model before replacement.
Read less

$7.47
In Stock
Washer Hose Clamp
Part #WP596669
This hose clamp is used in a wide variety of household appliances. Most often it is found in washers, dishwashers, refrigerators, freezers, dehumidifiers, garbage disposals, or air conditioners. This clamp is used to securely attach a hose to another part of your appliance, which helps prevent leaks from those connections. Depending on th...Read moree appliance, it can attach hoses to drain pumps, water inlet valves, pressure switches, and injector nozzles. We recommend you refer to model-specific diagrams for appropriate uses and exact placement. This hose clamp is made of metal, and is sold individually. To access and replace this part you will need a nut driver, pliers, and screwdrivers. Before you begin any repair work, make sure you have unplugged your appliance, and shut off the water supply if applicable.
Read less

$7.47
In Stock
Centerpost Gasket
Part #W10814296
This part may also be referred to as a main outer tub seal. This part prevents leaking from the bottom of the tub. The gasket is approximately 2 inches in diameter to the outer edge, black in color, and made of plastic material. To perform this repair, you will need to disconnect the power, drain hose, and the inlet hose. You will need to...Read more remove the entire outside cabinet to have access to the tub assembly. The tub will need to be removed entirely. This is a genuine part that is sourced directly from the manufacturer.
Read less

$6.40
In Stock
Washer Front Leveling Foot
Part #WPW10001130
The front facing foot is sold individually. It is used on your washing machine and can also be known as an adjustable leveling leg. This specific front facing leveling leg has a rubber foot. It is important that when installing this part you are very careful, if not installed correctly your washer will be off balance which will then cause...Read more it to vibrate and/or shake during the cycle. The function of the adjustable foot is to keep your washing machine supported and to make sure that it is level at all times. The tools you will need for this repair include a pair of channel lock pliers, and a 9/16 wrench.
Read less

$28.55
In Stock

$30.53
In Stock
Washer Drain Hose
Part #WPW10358149
It connects from the pump to the back panel. The clamp is not included.
Common Symptoms of the 1108293130
How this model fails, and the parts that fix it.
Will not agitate
Fixed by
these parts
these parts


Show All
Leaking
Fixed by
these parts
these parts


Show All
No hot or cold water
Fixed by
these parts
these parts
Show All
Will not drain
Fixed by
these parts
these parts


Show All
Will Not Start
Fixed by
these parts
these parts


Show All
Spins slowly
Fixed by
these parts
these parts
Show All
Does not dispense fabric softener or detergent
Fixed by
these parts
these parts

Show All
Spinning Issues
Fixed by
these parts
these parts
Show All
Water Filling Issues
Fixed by
these parts
these parts
Show All
Marks left on clothes
Fixed by
these parts
these parts

Show All
Shaking and Moving
Fixed by
these parts
these parts

Show All
Not cleaning dishes properly
Fixed by
these parts
these parts
Show All
Noisy and Marks Left on Clothes
Fixed by
these parts
these parts
Show All
Lid or door won’t close
Fixed by
these parts
these parts

Show All
Cycle Not Advancing
Fixed by
these parts
these parts
Show All
Burning smell
Fixed by
these parts
these parts
Show All
Watch our pros, then fix it yourself.
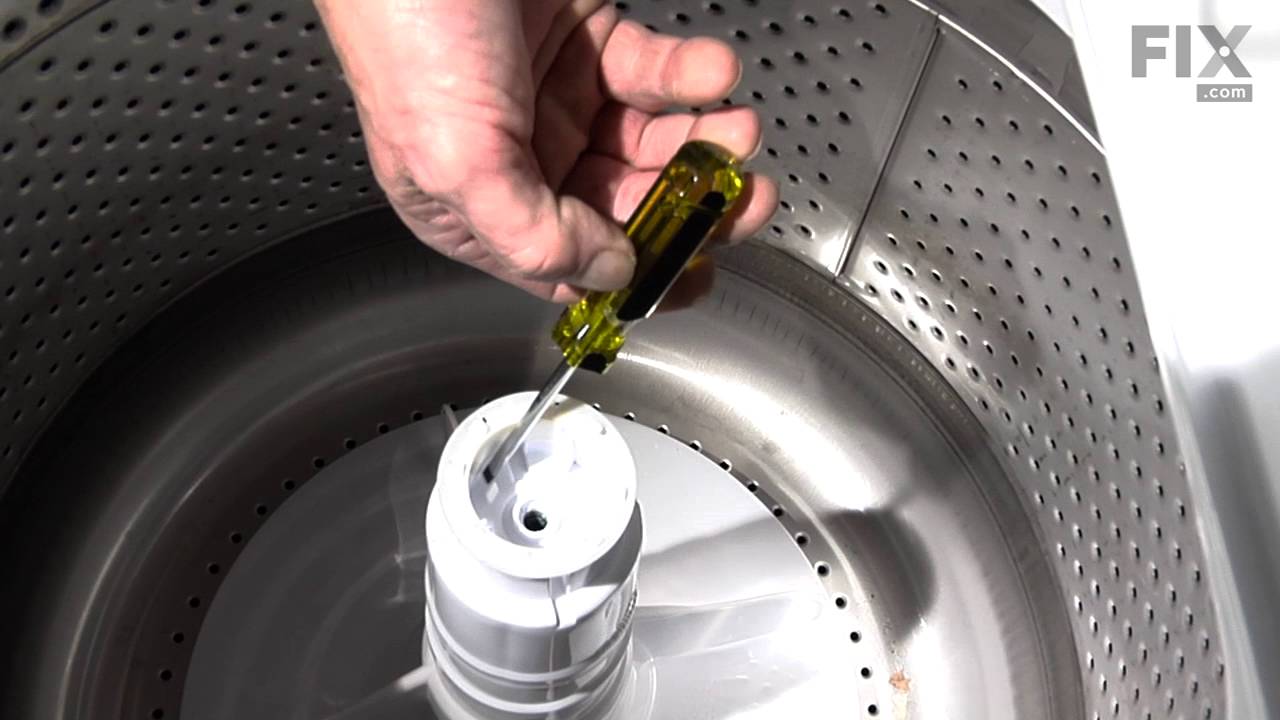
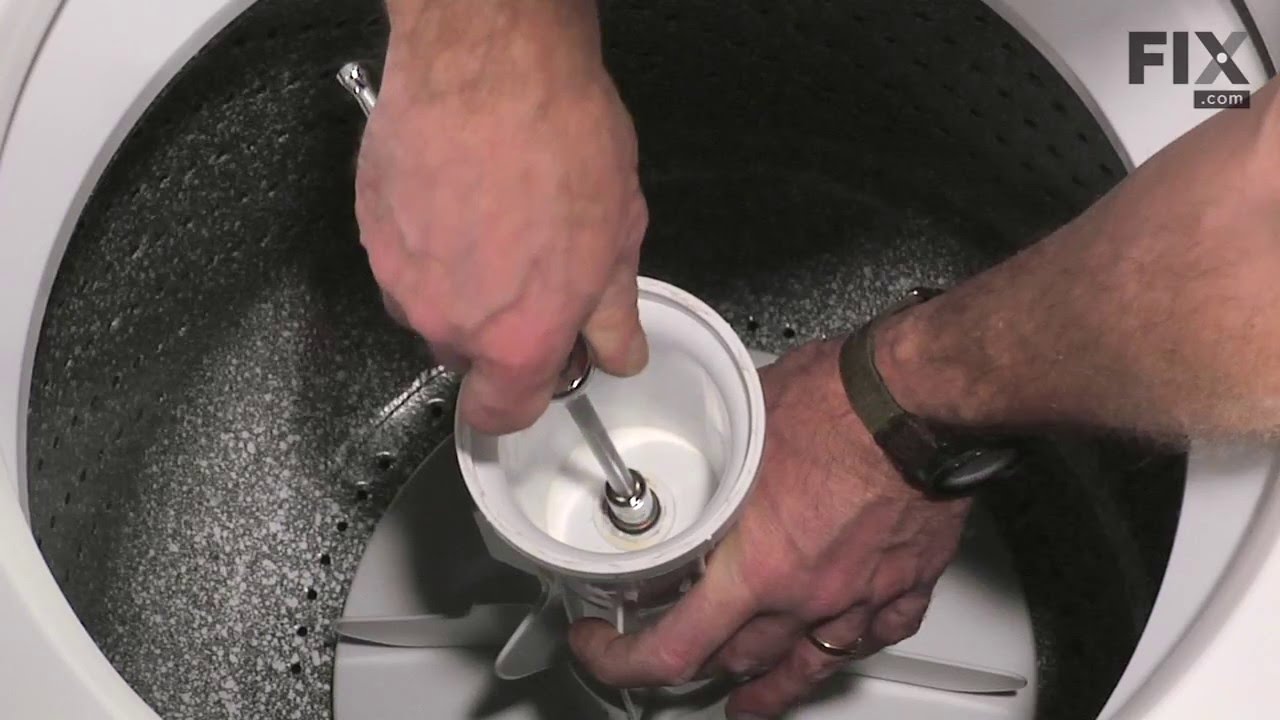
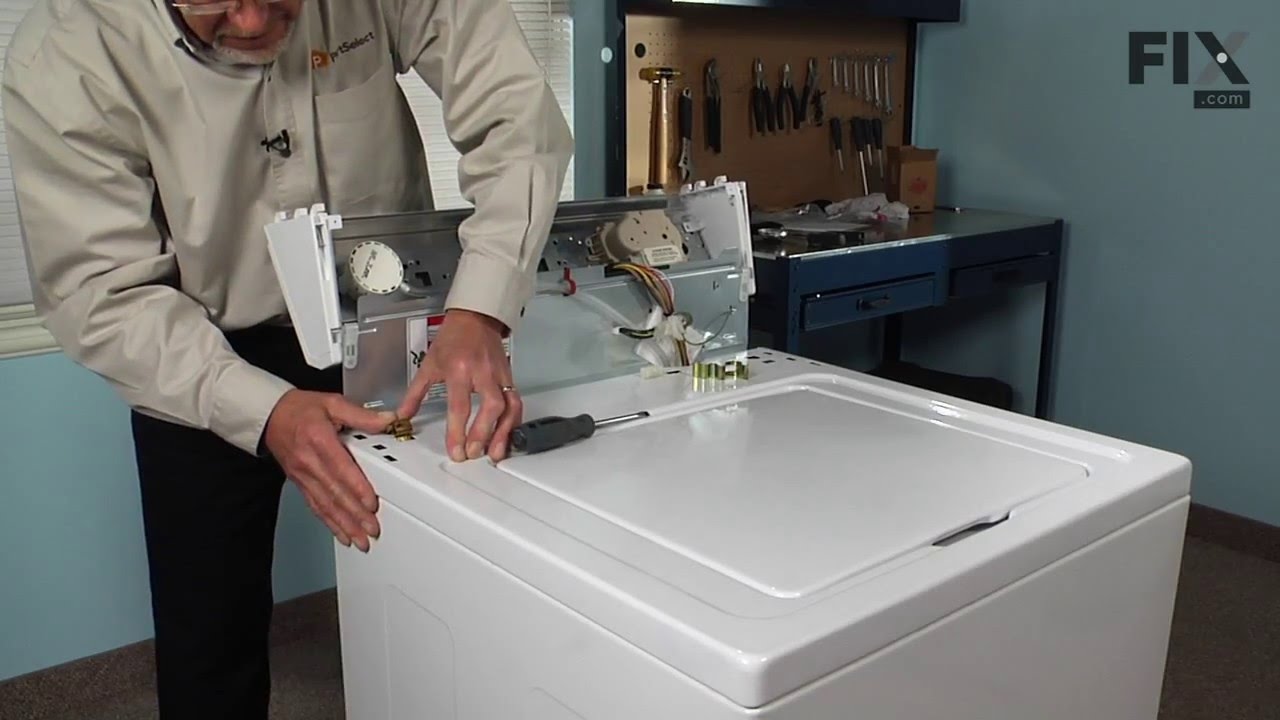
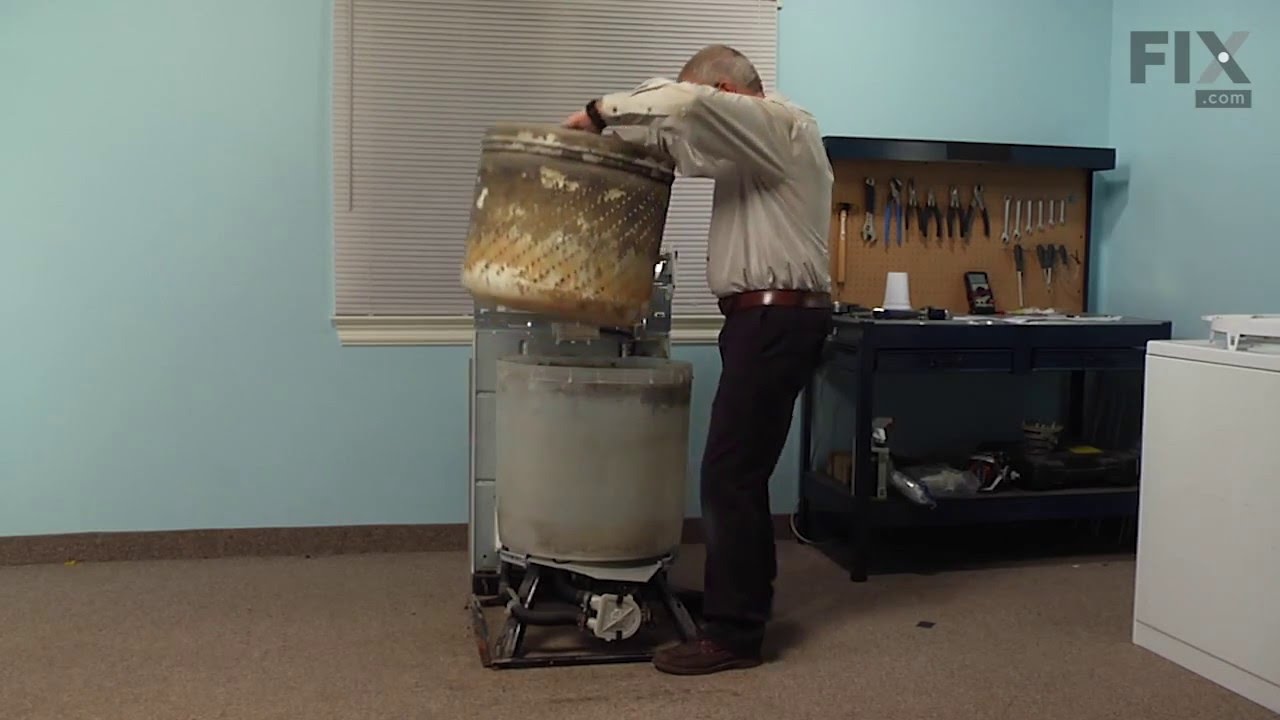
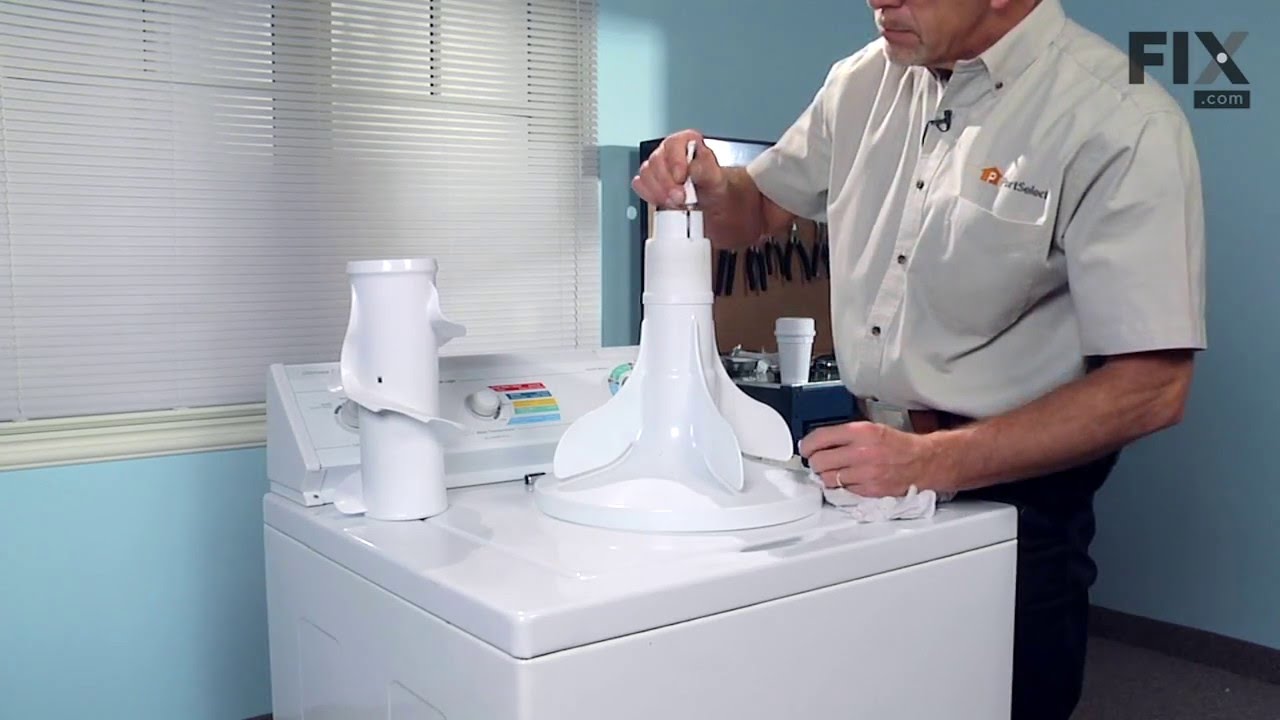
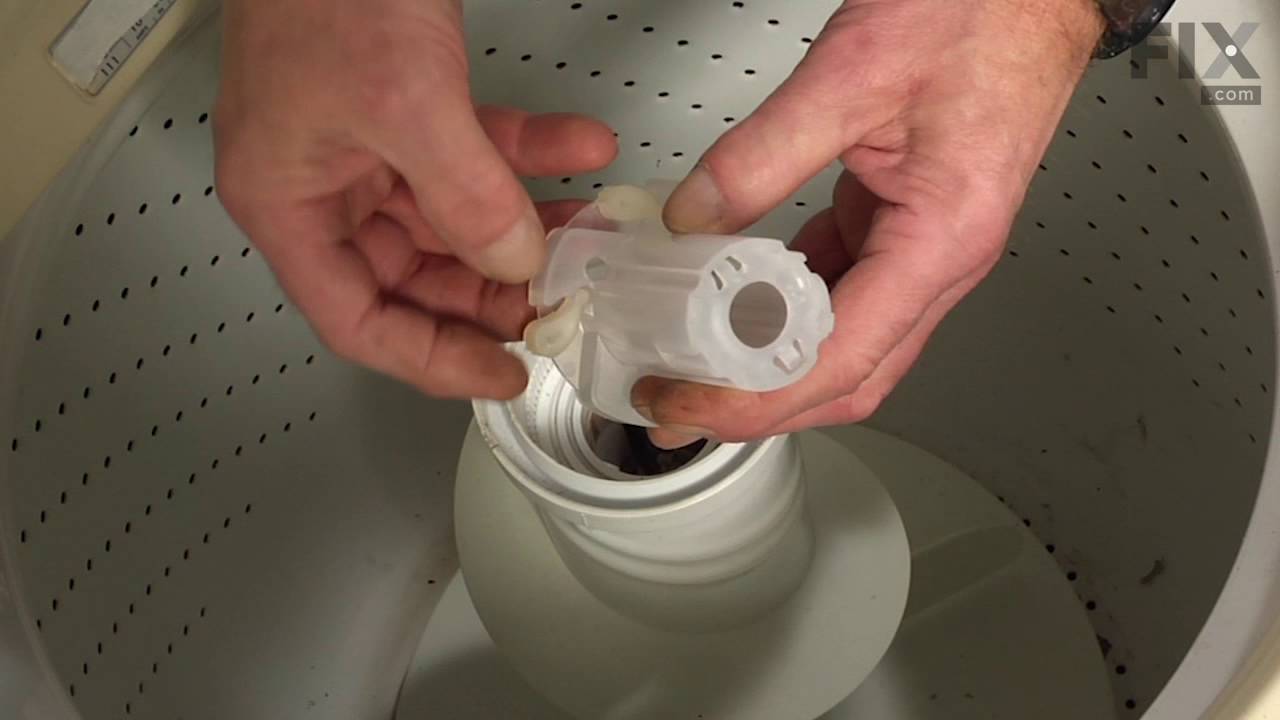

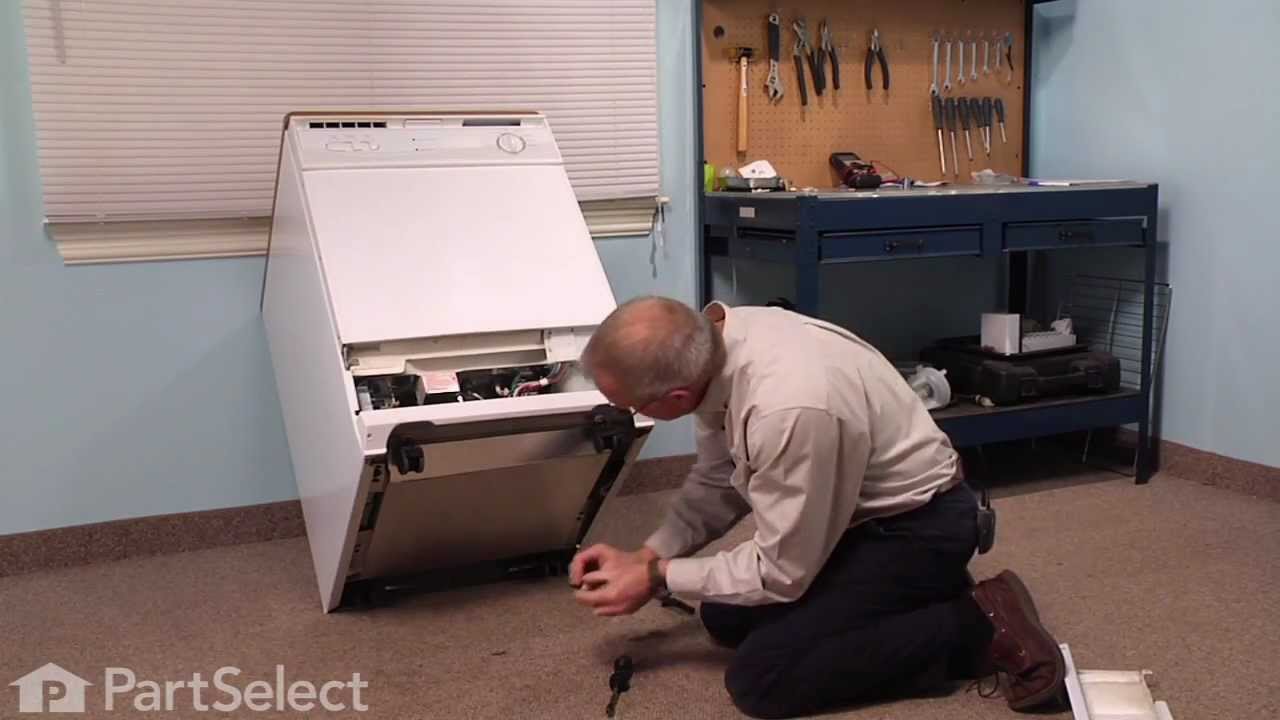
See how others fixed this model. Time, tools, difficulty, and steps that lead to victory!
View More