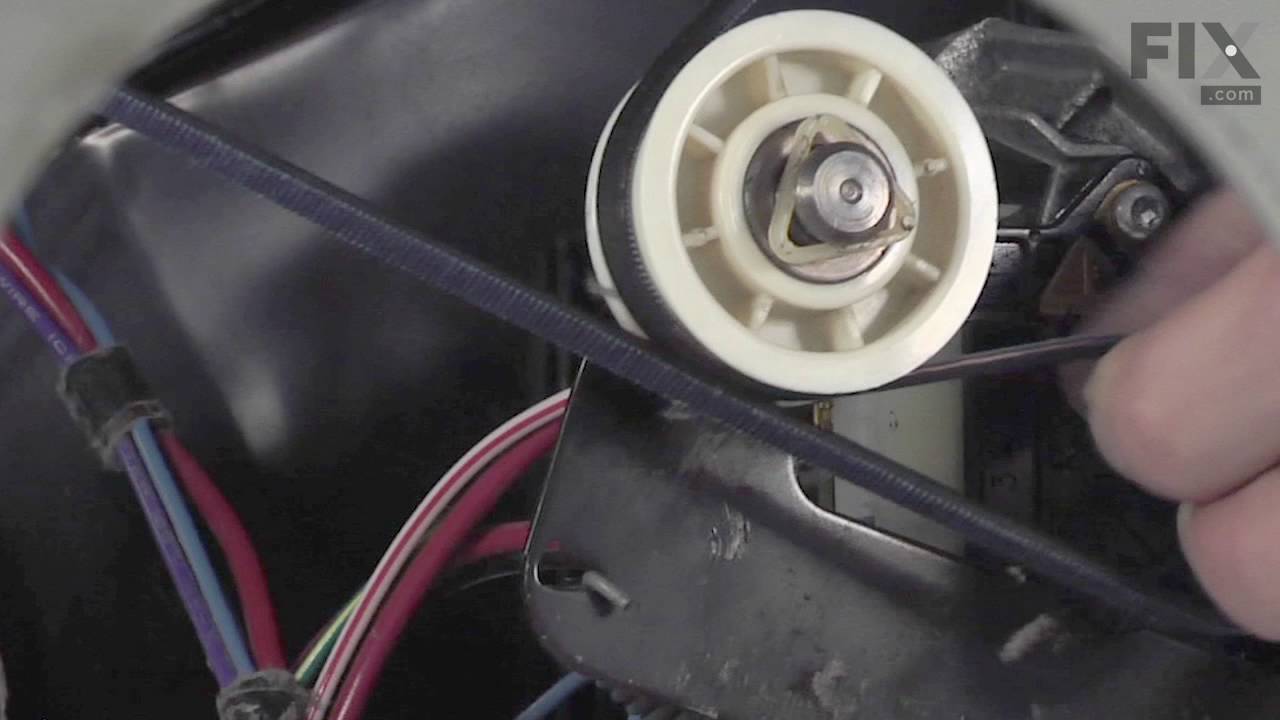
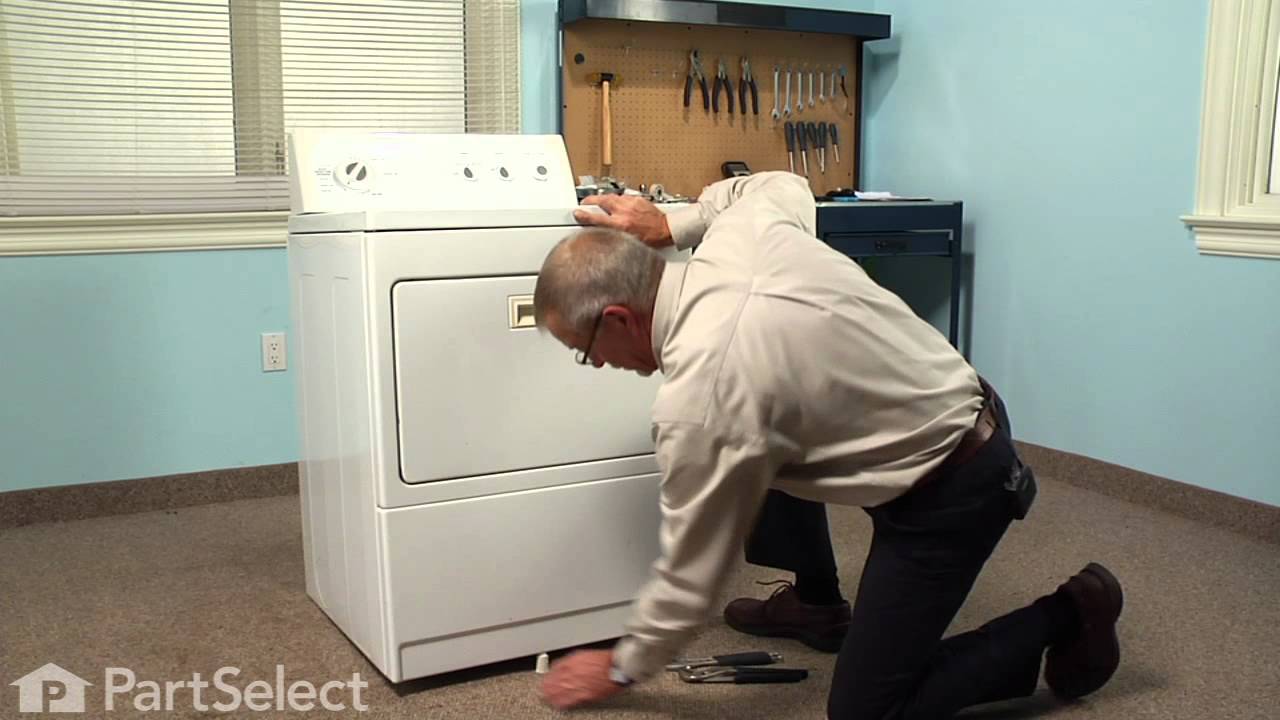
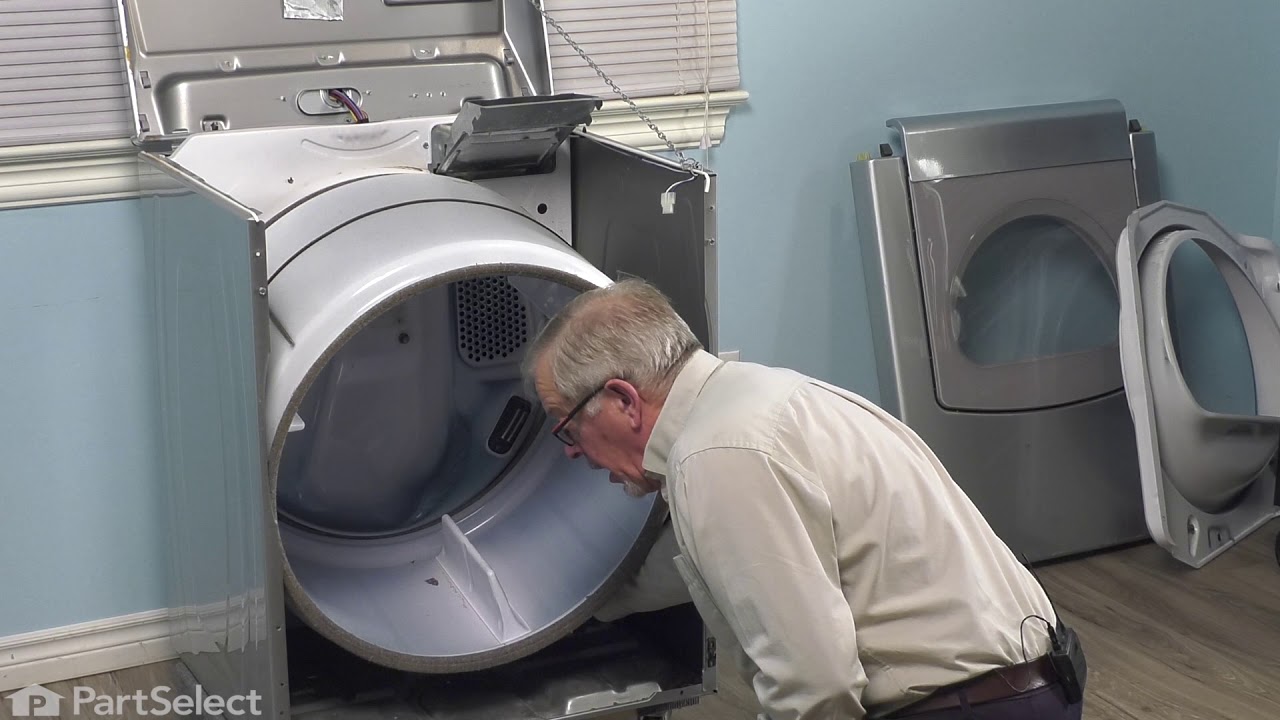
The drum support roller kit (Dryer Repair Kit) allows the dryer to tumble properly by supporting the drum cylinder. The idler pulley provides the tension required for a multi-ribbed belt. The belt attaches to the drum, idler pulley, and motor pulley. If your dryer is damaged, it may be making loud, squeaking, and/or squealing noises while...Read more the drum is turning. This is from normal wear and tear. The drum may eventually stop turning all together. This is a sign the part should be replaced. This is one complete maintenance kit. The kit includes the drum belt, drum support rollers, one idler pulley, four tri-rings, and one clip. The parts are constructed of plastic, metal, and rubber, and come in black/white/silver.
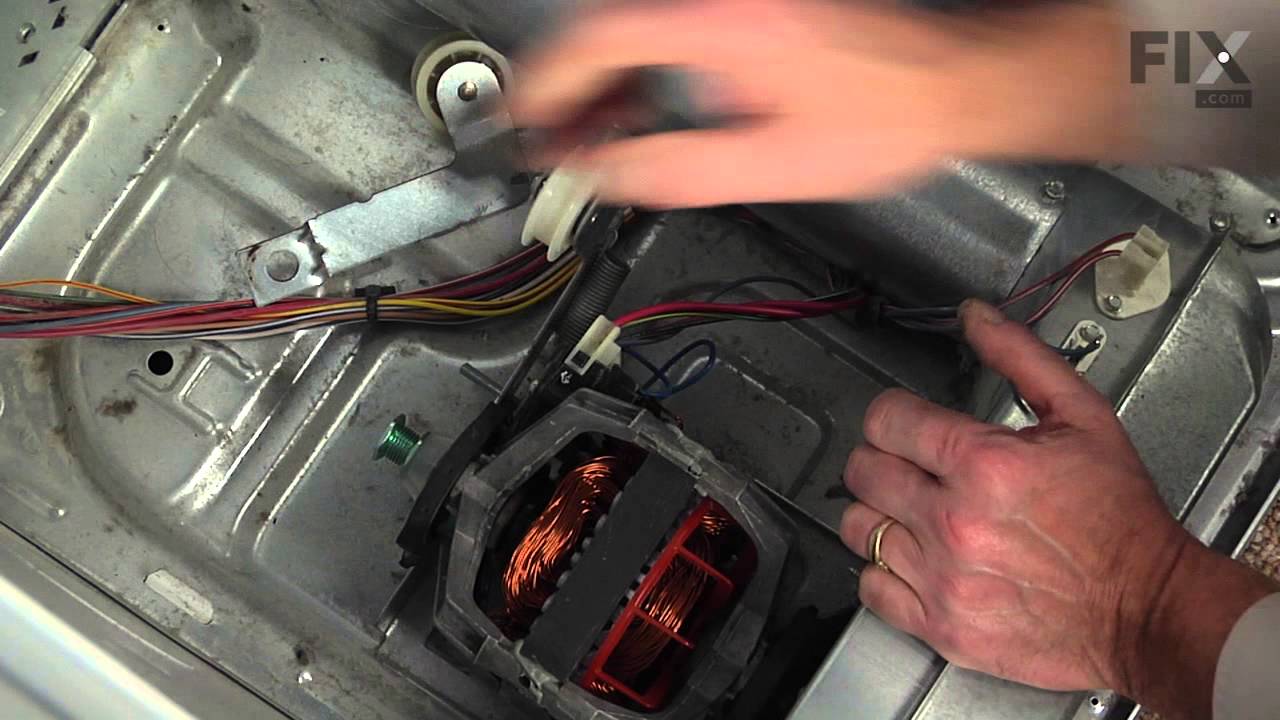
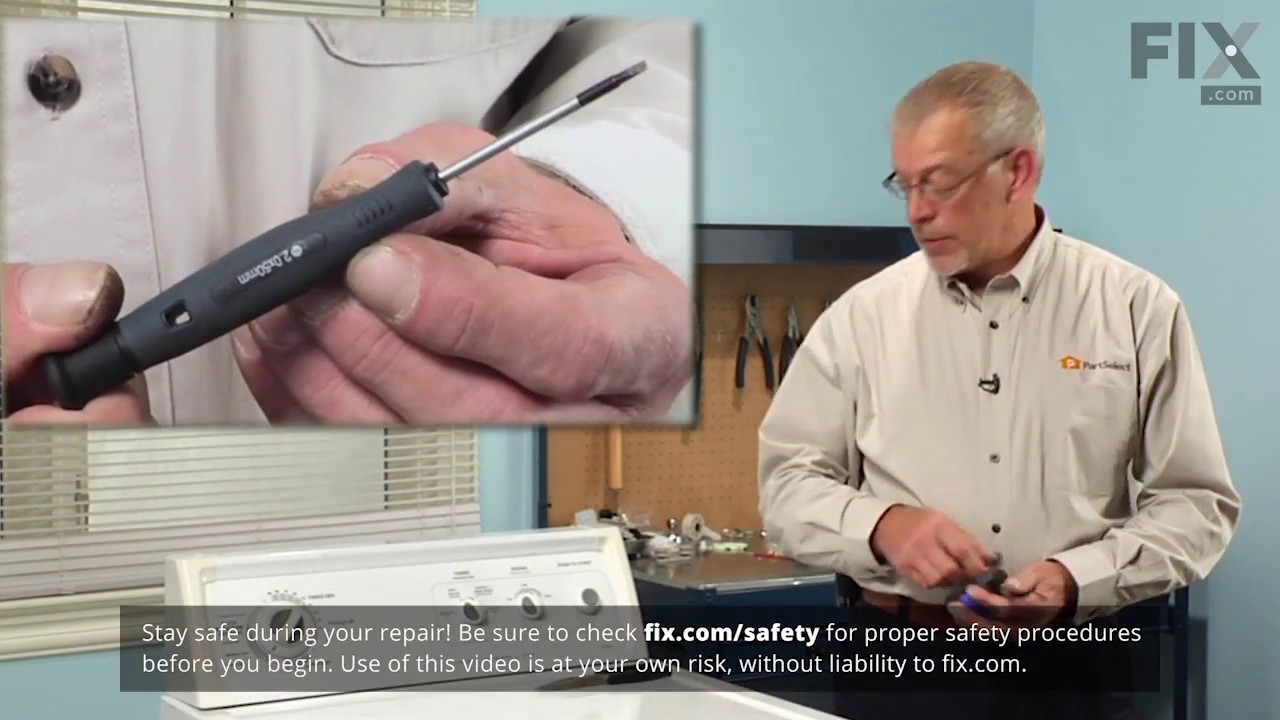
This Idler Pulley includes the tri-ring and gasket and everything included here is manufacturer-certified. This part maintains correct tension on the drive belt in order to spin the drum properly. If damaged or broken the dryer will not dry properly, will not tumble properly, or may not even start. Installation is rated as "Medium" diffic...Read moreulty. This part is located on the dryer drum, around the tension pulley. Refer to your user manual and model number for repair instructions and to ensure this part is right for you. For this repair project, the tools needed are a Phillips screwdriver, 1/4 inch nut driver, putty knife, small flat blade screw driver, and needle nose pliers.
If you notice that your dryer is noisy or will not tumble, you may need to replace the tri ring. This part is triangular, and is less than an inch in size. Tri rings can be found both on the idler pulley shaft, or on the rear drum roller shaft. In either case, you will need to remove the front panel of the dryer and the drum to access the...Read more part for repair. Once you have accessed the damaged tri ring, you will simply need to slip it off and replace it with the new one. This part is sold individually. Be sure to disconnect the power source from the dryer before you begin this repair.
If your washer shakes or vibrates loudly when it reaches its max speed, check that the leveling legs are even. To ensure that the washer is firmly on the ground using all four legs, adjust the legs so that the machine is level, and tighten the locking nuts on the legs that are threaded. Keep the washer as close to the floor as possible. Y...Read moreour model might have rear legs that level themselves, or it might have threaded legs all around. Make sure the rubber feet have not worn out. Replace any missing or damaged legs and feet. This replacement part is sold individually.
The idler pulley with bracket ensures proper tension on the dryer’s drive belt, allowing the drum to spin effectively. This assembly includes the pulley and arm, making it ideal for replacing a worn or damaged component. Designed for various Whirlpool, KitchenAid, Maytag, Jenn-Air, Amana, Inglis, and Magic Chef dryers, this genuine OEM pa...Read morert guarantees reliability and performance. If your dryer is noisy or the drum is not turning properly, this part may be the solution. Always disconnect power and wear gloves during installation.
This touch-up paint can be used on a wide variety of household appliances. It is most often used on washers, dryer, refrigerators, dishwashers, ranges, freezers, trash compactors, or microwaves. It is an 18 ml, or.6 fluid ounces, bottle of touch-up paint. It also features a brush for easy application. This quick-drying, long-lasting paint...Read more is perfect for fixing any nicks, scratches, or chips on the exterior of your appliance. This paint is white in color, and provides a durable finish.
Appliance spray paint is a great way to cover up any chips and scratches that have appeared on your appliances. Instead of replacing the part entirely, this is an easy fix. This is also a great way to give a fresh new look to any handles or areas that have discoloring due to wear. Make sure to clean the area before you begin and wear a pr...Read moreotective mask for safety. Give the can a good shake and spray a few inches away from the surface. Apply the paint until the area is fully covered as desired. Wait until the paint has dried before using the appliance.
Introducing the Whirlpool Dryer Idler Spring, a genuine OEM part designed for some models of Whirlpool, KitchenAid, Maytag, Jenn-Air, Amana, Inglis, and Magic Chef clothes dryers. This essential product functions to hold the idler pulley tight against the drum belt, enabling the belt to turn smoothly and efficiently. Specifically designed...Read more for the idler pulley arm in dryers, it ensures optimal performance of your appliance. Guaranteeing maximum durability and reliable performance, safety measures include unplugging your dryer before installation and wearing work gloves to protect your hands. Opt for the Whirlpool Dryer Idler Spring to maintain the effectiveness of your dryer. Please verify that this part is suitable for your model before ordering to counter any potential variations in size or shape.
Ask our experts a question about this model and we'll get back to you as soon as possible!
We may have answered a similar question already! Search questions and answers left by others using simple keywords like "fit", "broken", "easy", or "quality" to find questions that match.
Search filter:
Clear Filter
Your search term must have 3 or more characters.
Sort by:
Prev
1
Next
Sorry, we couldn't find any existing answers that matched.Try using some different or simpler keywords, or submit your new question by using the "Ask a Question" button above!
David - For model number 11068132410
September 20, 2022
How do you remove the top and front panels?
Hello David, thank you for the great question! Remove the end caps of the control console, there are two small tabs to release. You will need to move the control console by unscrewing two screws and then pulling it gently forward and lifting up. That will give you access to the screws for the top panel underneath it, there should be no need to disconnect any of the wiring harness in the console. Slide the top panel forward and lift. Be careful, it is awkward! To remove the lower access front panel, press the spring clips between it and the door panel, about three inches for the sides and it will pop forward so you can lift it up and away. If you also want to remove the front door panel and bulkhead assembly, first unhook the two springs underneath the panel (as well as any wiring that you see for the door switch, for example) and then unscrew the two screws on the bottom of the door panel, and then the two on the top and it should lift free. We have included a YouTube link that might assist you with this, as it describes removing these parts at the beginning! Good luck with your repair.
Was this helpful?
Thank you for voting!
Robert - For model number 11068132410
October 25, 2022
What is the part number for the lint screen?
Hi Robert, thank you for reaching out to PartSelect. We have researched the model you have provided and have found that the part you are looking for is part number PS11731421. Please reach out to customer service if you need help placing an order, anyone will be happy to assist you. We hope that helps.
Dryer quit drying. What coil, etc do I need to repair and what is cost and time to deliver.
Hello Tom, thank you for reaching out. If the dryer is running but not drying clothes, the issue might be a faulty heating element. We would suggest checking it, the part number is PS11770230. We hope this information helps!
See how others fixed this model. Time, tools, difficulty, and steps that lead to victory!View More
Search repair tips from other customers using simple keywords like "replace", "fit", "remove", "inspect". DIY doesn't mean you have to do it alone!
Search filter:
Clear Filter
Your search term must have 3 or more characters.
Broken drive belt
287 of 316 peoplefound this instruction helpful.
DENNIS from ALTOONA, FL
A Bit Difficult
1- 2 hours
Nutdriver, Screw drivers
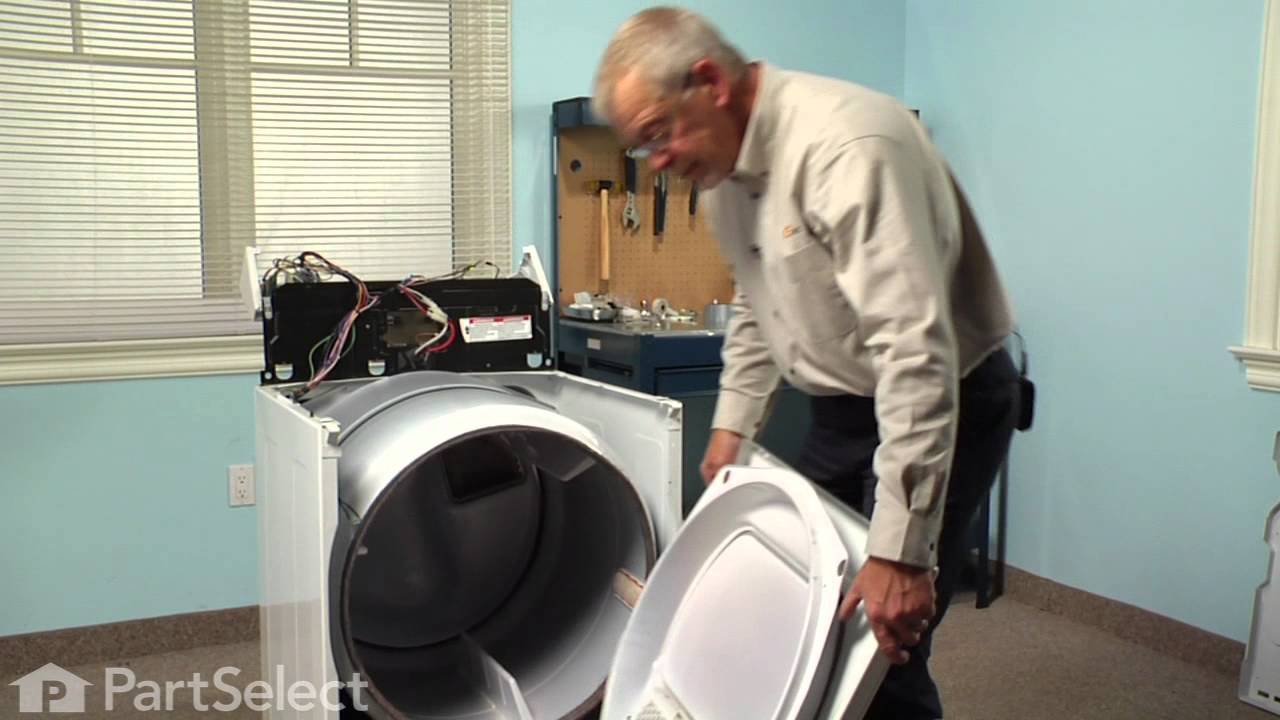
Grow a second set of hands. Always unplug any appliance. Remove lint screen. remove two screws (philips Head). I took a wooden shim lightly tapped w/hammer to pop front of dryer top free. Mine worked on hinges and just flipped back til it rested against the wall. Removed two 5/16 screws inside holding face on carefully raise face section
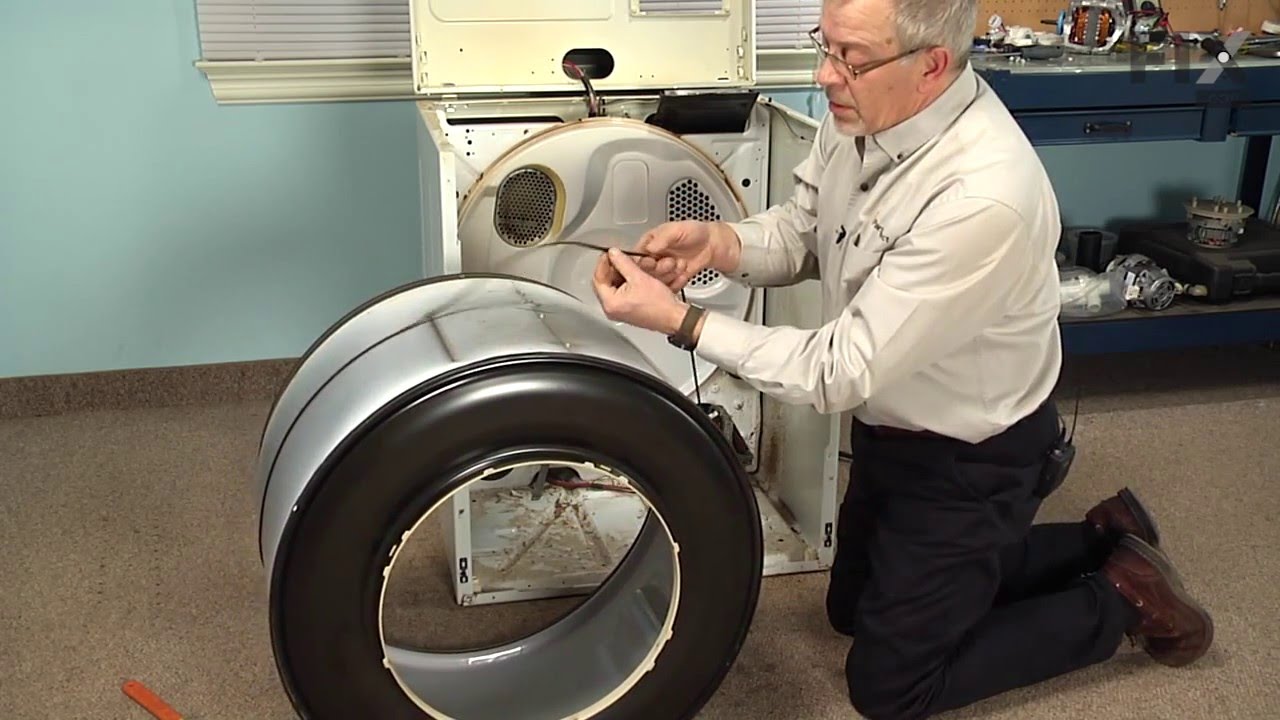
... Read moreoff the support clips at either side on the bottom. Pull drum out (I have the large style drum commercial size [approx.). Clean the inside free of all lint (known to be fire hazard). Sling new belt around drum. Get newly grown set of hands to hold drum in place. Pinch belt to fit between tensioner, lift tensioner and place belt around motor pulley. Spin drum couple times to make certain belt isn't twisted. Reverse dismantle proccess to put back together. Replace all parts that come with kit, you'll feel better knowing you got a new dryer, almost.
Read less
Was this helpful?
Thank you for voting!
Dryer making extra noise while running
90 of 101 peoplefound this instruction helpful.
Michael from Haines City, FL
A Bit Difficult
1- 2 hours
Nutdriver, Screw drivers, Wrench (Adjustable)
1st Unpluged power. 2nd removed two screws under lint screen cover. 3rd poped up lid with flathead screwdryer, then removed (2) 5/16 screws from door cover and unpluged lid switch, lifted up dryer door pannel 4th removed drum 5th took out plastic triangle wheel rings 6th removed old belt guild (to motor pully)
... Read more/>7th removed old wheels and plastic rings stops 8th cleaned excessive hair dust with shopvac 9th put new replaicment part in dryer. made sure to turn manually to make sure belt was lined up properly, then put all dryer peices back. 10th aditional work, took back cover off and removed the (4) 1/4 screws for lint screen case (left side in dryer) vacumed out any excessive dirt lint ect, also cleaned any excessive dust I found in back of dryer, dryer , exhaust ect, and put all back together. JUst like a new dryer aain after all PM was complete.
Read less
Was this helpful?
Thank you for voting!
Very Loud Squeaking Noise
79 of 100 peoplefound this instruction helpful.
GREGORY from Wilsonville, OR
Easy
15 - 30 mins
Nutdriver, Pliers, Screw drivers
1) Disconnected power cord from wall. 2) Disconnected vent hose from back of dryer. 3)Removed dryer rear panel. 4)Disengaged tension spring on idle wheel arm. 5) Removed worn idle wheel. 6)Installed new Idler wheel assembly. 7) Vacuumed dust from rear of dryer (optional, recommended). 8) Reinstalled rear cover, vent hose and power cord. E
... Read moreasy repair 15-30



 My Orders