EasyApplianceParts is now PartSelect! We've merged our sites to provide a better shopping experience for you.   Full Details

Find Parts

Parts Departments

Top Model Types

Top Brands

Repair Help

Expert Repair Videos

Keep typing for more specific results...

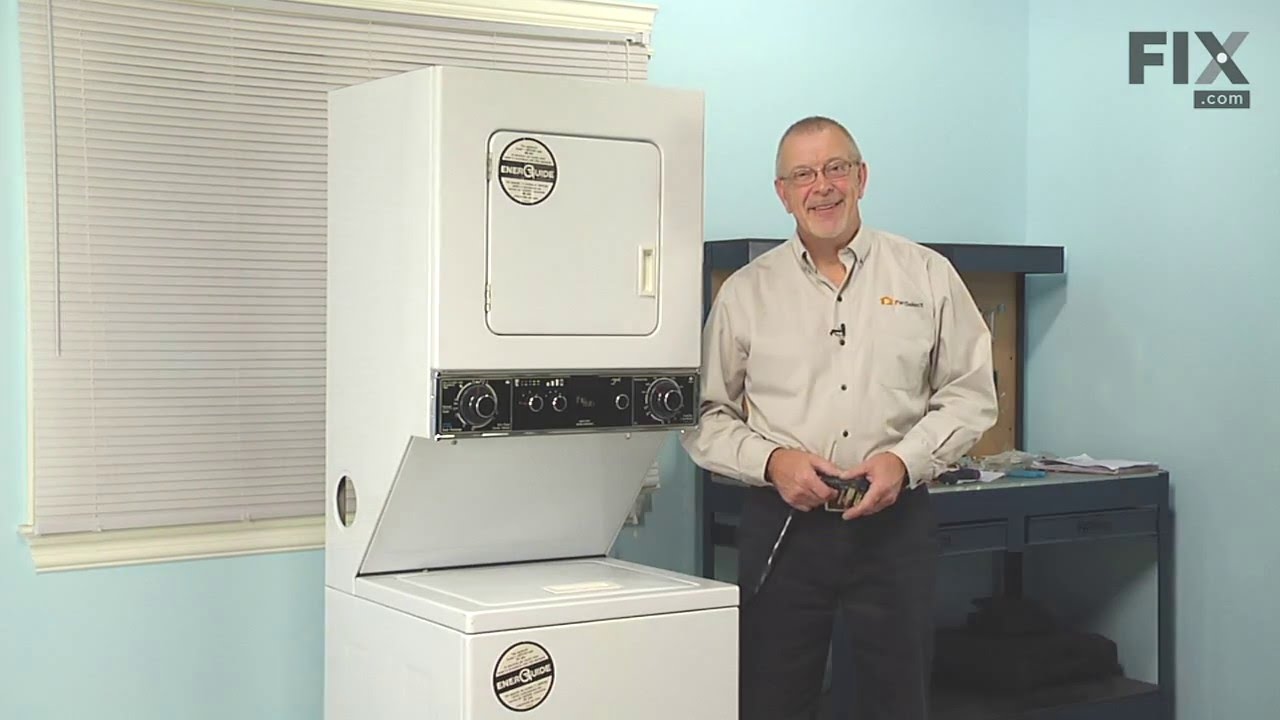
1105918 Kenmore Dryer - Overview

Models starting with 1105918

Enter a part description. DIY Heroes keep it simple, eg. "belt" or "pump".

Search filter:
Clear Filter
Your search term must have 3 or more characters.
Light Bulb - 40W – Part Number: 8009
$19.54
In Stock
Light Bulb - 40W
★★★★★
★★★★★
(78)
Part #8009
This an authentic OEM 40-Watt replacement light bulb, used in a number of household appliances. It is specially designed to withstand extreme temperatures, which is why these replacement bulbs are most often used to light the inside of refrigerators and ranges. It features a standard socket base, which means you simply unscrew the burnt-out bulb and screw in the replacement. Depending on the appliance you may require a screwdriver or nut driver to access the light bulb. We recommend you wear work gloves while handling this replacement part. It is constructed of glass and metal and is sold individually. Depending on the appliance and location of the bulb within it, you may want to consider disconnecting power and using a flashlight for easier access to unscrewing and re-screwing in your bulb during this repair.
Thrust – Part Number: WPW10121334
$7.47
In Stock
Dryer Screw – Part Number: WP90767
$7.47
In Stock
Dryer Screw
★★★★★
★★★★★
(2)
Part #WP90767
This screw is sold individually.
Lid Switch – Part Number: W10820036
$22.52
In Stock
Lid Switch
★★★★★
★★★★★
(17)
Part #W10820036
This washer/dryer lid or door switch kit serves as a critical safety component, designed to prevent the appliance from operating when the lid or door is open. It ensures that the washer does not fill or spin and the dryer does not start unless the door is securely closed, helping to avoid water spills and potential safety hazards. The kit includes all necessary components for installation and is compatible with a wide range of top-loading washers and front-loading dryers. Installation typically involves disconnecting power, accessing the control panel or door area, and replacing the switch using standard tools. The switch is compact and designed to fit seamlessly within the appliance’s housing, with dimensions approximately 2.5 inches in length, 1 inch in width, and 1 inch in height. It features a neutral color finish that blends with most appliance interiors.
Cycling Thermostat - Limit 135/155 – Part Number: WP694674
$48.45
In Stock
Cycling Thermostat - Limit 135/155
★★★★★
★★★★★
(8)
Part #WP694674
Cycling themostats continually cycle the heating element off and on to maintain a constant inner temperature within the dryer. This particular cycling thermostat can be adjusted between 135 and 155 degrees Fahrenheit. The differential of this thermostat is 20 degrees, meaning that with this thermostat, the heating element will cycle back on once the internal temperature drops by 20 degrees.
Door Cable – Part Number: WP230131
No Longer Available
Door Cable
★★★★★
★★★★★
(6)
Part #WP230131
This dryer door cable is intended for use with spring part number PS343422. This cable is compatible with many of Whirlpool/Kenmore's brands of gas and electric clothes dryers.
Front Top Lock – Part Number: WP18776
$12.85
In Stock
Front Top Lock
★★★★★
★★★★★
(2)
Part #WP18776
This part is used to secure the top panel to the cabinet. Sold individually.
Dryer Single Door Spring – Part Number: WP337186
$7.47
Special Order
Dryer Single Door Spring
Part #WP337186
***The manufacturer suggests to replace both springs at the same time.***
Dryer Screw – Part Number: WP681414
$7.47
In Stock
Dryer Screw
★★★★★
★★★★★
(1)
Part #WP681414
This screw is sold individually.
Dryer Clampmotor – Part Number: WP660658
$9.62
In Stock
Dryer Clampmotor
★★★★★
★★★★★
(2)
Part #WP660658
This clamp is used to secure the drive motor.
SEAL-DOOR – Part Number: W11613302
$38.96
In Stock
SEAL-DOOR
Part #W11613302
Adhesive sold separately.
Dryer Screw – Part Number: WP488627
$10.70
In Stock
Dryer Screw
★★★★★
★★★★★
(1)
Part #WP488627
Sold individually.

Common Symptoms of models starting with 1105918

How this model fails, and the parts that fix it.

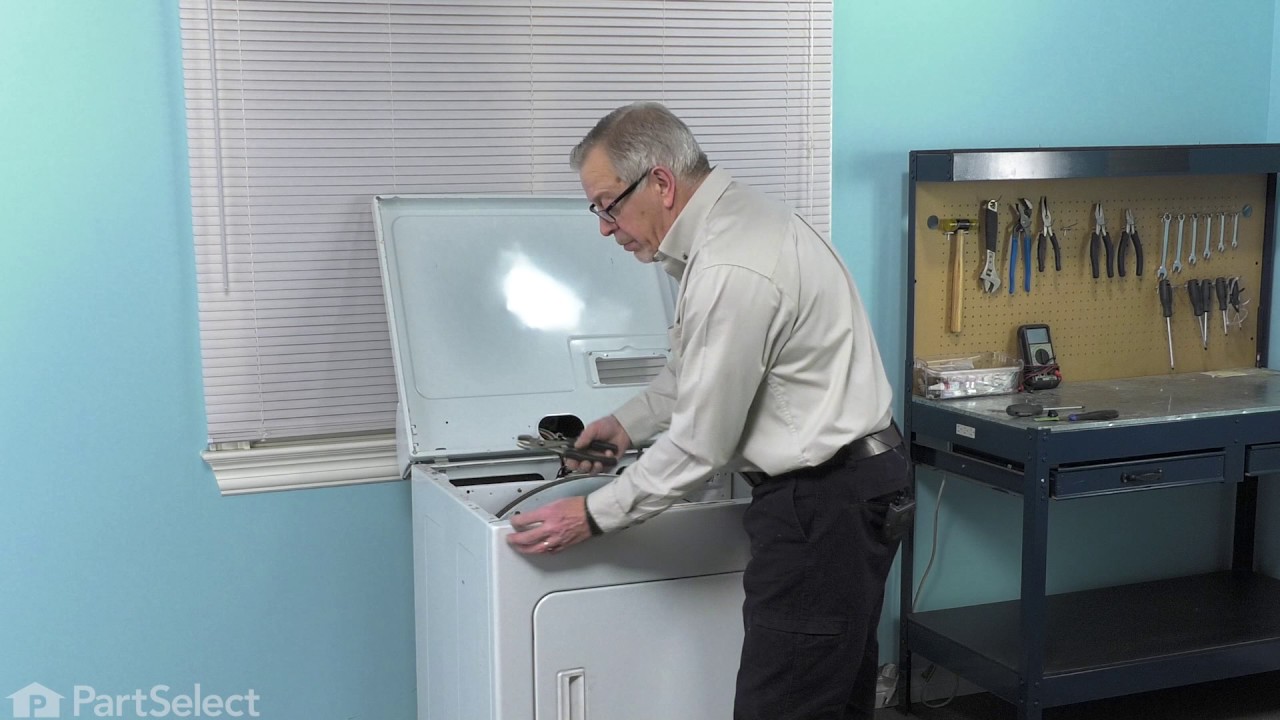
Watch our pros, then fix it yourself.
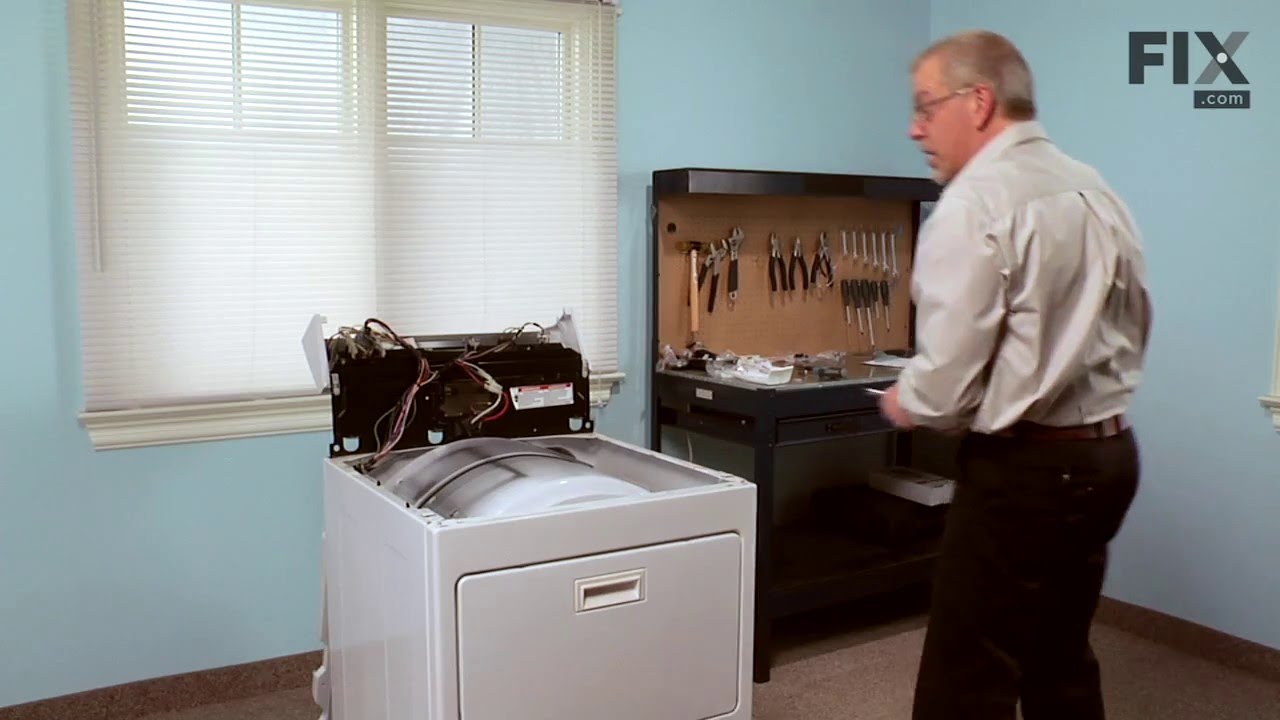
See how others fixed this model. Time, tools, difficulty, and steps that lead to victory! View More

Search repair tips from other customers using simple keywords like "replace", "fit", "remove", "inspect". DIY doesn't mean you have to do it alone!

Search filter:
Clear Filter
Your search term must have 3 or more characters.
Dryer door cable broken
37 of 46 people found this instruction helpful.
  • George from Rochester Hills, MI
  • Easy
  • 30 - 60 mins
  • Nutdriver, Screw drivers
1. Remove the lint filter. Then remove 2 screws at the lint filter housing.

2. At the back of the dryer, remove 2 screws that restrain the hinges for the dryer top. Do NOT remove the hinges.

3. Remove the front lower access panel. It snaps at the top and hinges at the bottom. It can be slipped off the hinges. ... Read more />
4. Remove 2 screws at the bottom of the main front panel

5. The front of the dryer top is held in place by two plastic clips. Use a flat blade screwdriver (with a rag wrapped around the tip to minimize paint damage) to pry the top up at each front corner. Then tilt the top up to just past vertical. You now can see the top of the spring that is connected to the door cable.

6. Open the dryer door. Use a putty knife to pry up the plastic plug that holds the cable in place at the door. Remove the old cable from the door and insert the new one. Be sure the cable end without a hole goes into the dryer door. Replace the plastic plug.

7. Feed the new cable through the main front panel and close the door.

8. Loosen but do NOT remove two screws that hold the main front panel to each side panel. Tilt the bottom of the front panel out about 2 inches.

9. Working through the gap between the main front panel and the side, hook the spring into the hole in the cable end.

10. Working through the open top and the gap on the side, move the spring+cable up to the top. Pass the upper end of the spring through the rectangular hole in the top of the main front panel and hook the end into the small hole there.

11. Repeat for other cable as needed.

12. Reassemble all parts. You may need to hold the top of the drum up as you move the main front panel back into place. Install the main front panel lower screws before tightening the upper screws.
Was this helpful?
Thank you for voting!
Lid closes, switch wouldn't turn on machine.
31 of 47 people found this instruction helpful.
  • Kenneth from Wilmington, IL
  • Easy
  • 1- 2 hours
  • Nutdriver, Screw drivers, Socket set
Used toothpick for a year to push switch acctuator far enough to engage switch. Broke my foot and found time to order part thru PartSelect. Went from cast to boot and received part 2 days after ordered. Had difficulty with foot and getting to switch. Went back into PartSelect and figured out how to dis-assemmble panels thru the diagrams. Time on my job doesn't, just that their service and expertise that is available to everyone is there to use. Broken bones or not, I will always get my parts and advice from PartSelect. Thanks to PartSelect.
Was this helpful?
Thank you for voting!
Washer would fill up, wash, then stop
22 of 31 people found this instruction helpful.
  • Glen from Plano, TX
  • A Bit Difficult
  • 30 - 60 mins
  • Screw drivers
I deduced the lid switch was the problem.

I removed the two screws holding the control panel on. Pulled the control panel back.
Disconnected the ground wire of the lid switch.
removed the two top clamps that hold the panel to the top of the machine.
Pulled back the casing (outside of the washer) and placed it on it's side on the floor. Here I could reach the switch. Removed old, installed new and reversed the process.

The part that gave me the biggest problem was setting the casing back on to the frame. You have to slide the front part in at the bottome, then lean back the rest of it.
Was this helpful?
Thank you for voting!