


 My Orders




1105905251 Kenmore Washer - Overview
Diagrams for 1105905251
See every part. Know exactly what you need.

Enter a part description. DIY Heroes keep it simple, eg. "belt" or "pump".
Search filter:
Clear Filter
Your search term must have 3 or more characters.

$7.47
In Stock

$9.62
In Stock
Hose Clamp
Part #WP285655
The hose clamp is used to hold the water hose in place which will prevent the hose from leaking water. Sometimes the clamp may lose its ability to latch on, causing a leaking washer. For the installation, you will need a flat head screw driver to replace the clamp and a drill to access the screws to remove the front of the washer. Be care...Read moreful if you do not have specific clamp pliers as the clamp could fly off. Once the front of the washer has been removed, take a quick look for water damage or any obvious signs of where the leak is coming from. If it is not obvious, run water to test.
Read less

$7.47
In Stock
Lid Hinge Mounting Screw
Part #WPW10119828
Sold individually. NOTE: The color on the screw may not be the same as the image, but will still function the same.

$12.85
In Stock
Front Top Lock
Part #WP18776
This part is used to secure the top panel to the cabinet. Sold individually.

$7.47
In Stock

$9.62
In Stock

$9.62
In Stock
Washer Spanner Nut
Part #WP21366
This spanner nut, also referred to as a lock nut, is a critical component that secures the inner tub to the drive block in large-capacity washers. Featuring a right-hand thread, it ensures the tub remains firmly in place during wash and spin cycles, preventing excessive noise, shaking, or vibration. A worn or damaged nut can lead to poor ...Read moreperformance and operational issues. Installation requires basic tools and disassembly; always disconnect power and water supply before beginning the repair.
Read less

$9.62
In Stock

$7.47
In Stock
Refrigerator Screw
Part #WP98165
This screw is a little under an inch long and is made of metal. It is used with a refrigerator's ice maker assembly. Sold individually.

$7.47
In Stock

$9.62
In Stock
Washer Hose Clamp
Part #WP356138
This clamp helps to prevent leaking by holding the end of water hose in place.

$9.62
Special Order
Common Symptoms of the 1105905251
How this model fails, and the parts that fix it.
Leaking
Fixed by
these parts
these parts


Show All
Noisy
Fixed by
these parts
these parts

Show All
Will not drain
Fixed by
these parts
these parts

Show All
Will not agitate
Fixed by
these parts
these parts

Show All
Lid or door won’t close
Fixed by
these parts
these parts

Show All
Watch our pros, then fix it yourself.

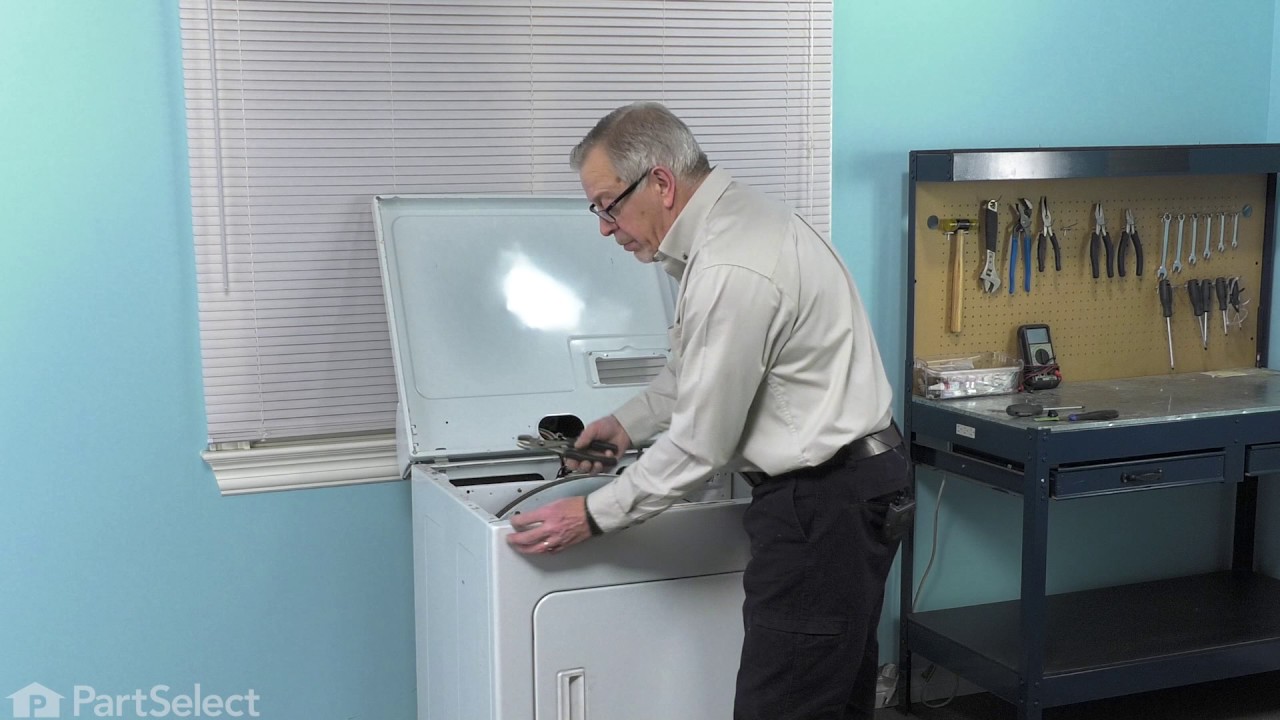
See how others fixed this model. Time, tools, difficulty, and steps that lead to victory!
View More
Search repair tips from other customers using simple keywords like "replace", "fit", "remove", "inspect". DIY doesn't mean you have to do it alone!
Search filter:
Clear Filter
Your search term must have 3 or more characters.
machine wouldn't turn on when lid closed
2 of 3 people
found this instruction helpful.
replaced missing screw and pad and now machine works perfectly
Other Parts Used:
Was this helpful?
Thank you for voting!