EasyApplianceParts is now PartSelect! We've merged our sites to provide a better shopping experience for you.   Full Details

Find Parts

Parts Departments

Top Model Types

Top Brands

Repair Help

Expert Repair Videos

Keep typing for more specific results...

1105817500 Kenmore Dryer - Overview

Enter a part description. DIY Heroes keep it simple, eg. "belt" or "pump".

Search filter:
Clear Filter
Your search term must have 3 or more characters.
Light Bulb - 120V 25W – Part Number: WPA3073101
$13.95
In Stock
Light Bulb - 120V 25W
★★★★★
★★★★★
(10)
Part #WPA3073101
This light bulb is a 120 volt, 25 watt incandescent appliance light bulb with a small base screw-in that fits in a variety of appliances such as microwaves, refrigerators, freezers, cooktops, or stoves. Its purpose is to light up the appliance when the door is open. This is a genuine OEM part. You may need to replace the light bulb if the existing bulb is burnt out or broken. This light bulb is sold individually and is a common wear part, it is recommended to order a spare.
Cycling Thermostat - Limit 135/155 – Part Number: WP694674
$48.45
In Stock
Cycling Thermostat - Limit 135/155
★★★★★
★★★★★
(8)
Part #WP694674
Cycling themostats continually cycle the heating element off and on to maintain a constant inner temperature within the dryer. This particular cycling thermostat can be adjusted between 135 and 155 degrees Fahrenheit. The differential of this thermostat is 20 degrees, meaning that with this thermostat, the heating element will cycle back on once the internal temperature drops by 20 degrees.
Door Cable – Part Number: WP230131
No Longer Available
Door Cable
★★★★★
★★★★★
(6)
Part #WP230131
This dryer door cable is intended for use with spring part number PS343422. This cable is compatible with many of Whirlpool/Kenmore's brands of gas and electric clothes dryers.
Front Top Lock – Part Number: WP18776
$12.85
In Stock
Front Top Lock
★★★★★
★★★★★
(2)
Part #WP18776
This part is used to secure the top panel to the cabinet. Sold individually.
Dryer Single Door Spring – Part Number: WP337186
$7.47
On Order
Dryer Single Door Spring
Part #WP337186
***The manufacturer suggests to replace both springs at the same time.***
SEAL-DOOR – Part Number: W11613302
$38.96
In Stock
SEAL-DOOR
Part #W11613302
Adhesive sold separately.
Dryer Screw – Part Number: WP488627
$10.70
In Stock
Dryer Screw
★★★★★
★★★★★
(1)
Part #WP488627
Sold individually.
Dryer Door Hinge Left Side – Part Number: WP238460
$7.47
Special Order
Hinge – Part Number: WP238456
No Longer Available
Hinge
Part #WP238456
Cap Screw – Part Number: 3400500
$21.45
Special Order
Cap Screw
Part #3400500
This cap screw is an inch long and is made of metal. This screw is intended for use with the main tub bearing assembly of washing machines.
CLIP – Part Number: 16515
$25.75
In Stock
CLIP
Part #16515
Wire Harness Clip – Part Number: WP98997
$11.77
Special Order
Wire Harness Clip
Part #WP98997
Sold individually.

Common Symptoms of the 1105817500

How this model fails, and the parts that fix it.

Watch our pros, then fix it yourself.
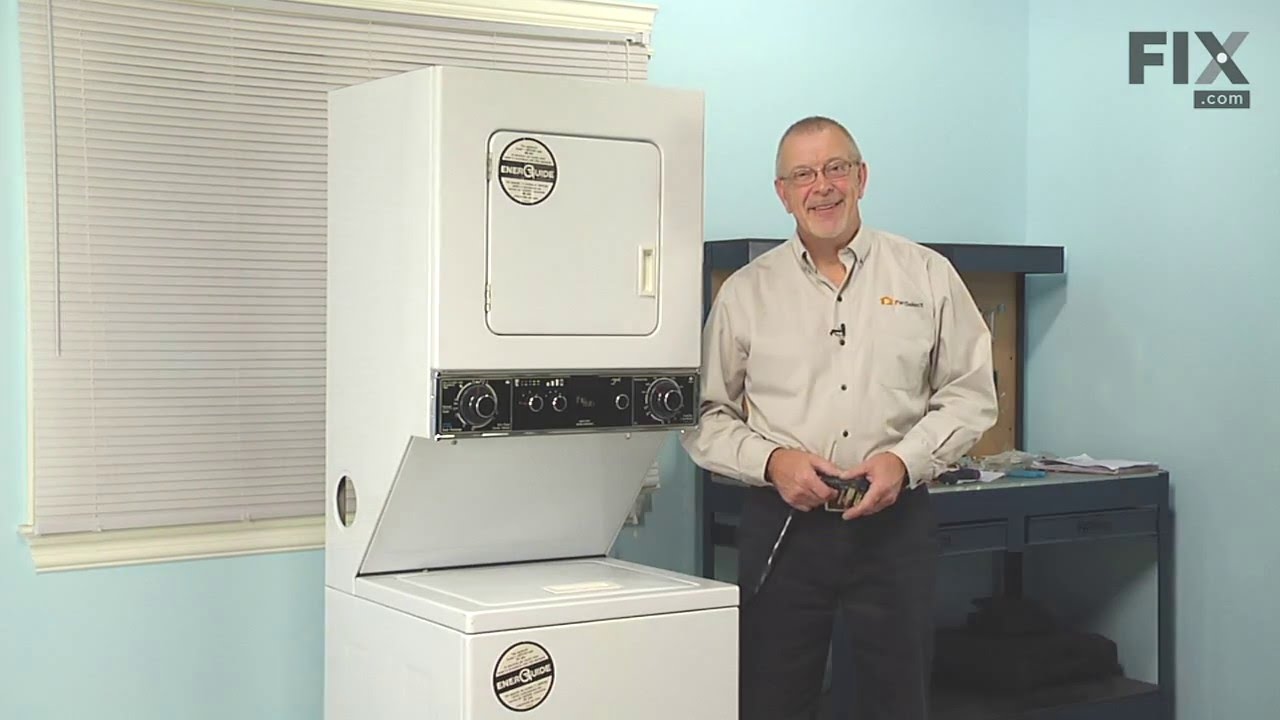
See how others fixed this model. Time, tools, difficulty, and steps that lead to victory! View More

Search repair tips from other customers using simple keywords like "replace", "fit", "remove", "inspect". DIY doesn't mean you have to do it alone!

Search filter:
Clear Filter
Your search term must have 3 or more characters.
Dryer door cable broken
37 of 46 people found this instruction helpful.
  • George from Rochester Hills, MI
  • Easy
  • 30 - 60 mins
  • Nutdriver, Screw drivers
1. Remove the lint filter. Then remove 2 screws at the lint filter housing.

2. At the back of the dryer, remove 2 screws that restrain the hinges for the dryer top. Do NOT remove the hinges.

3. Remove the front lower access panel. It snaps at the top and hinges at the bottom. It can be slipped off the hinges. ... Read more />
4. Remove 2 screws at the bottom of the main front panel

5. The front of the dryer top is held in place by two plastic clips. Use a flat blade screwdriver (with a rag wrapped around the tip to minimize paint damage) to pry the top up at each front corner. Then tilt the top up to just past vertical. You now can see the top of the spring that is connected to the door cable.

6. Open the dryer door. Use a putty knife to pry up the plastic plug that holds the cable in place at the door. Remove the old cable from the door and insert the new one. Be sure the cable end without a hole goes into the dryer door. Replace the plastic plug.

7. Feed the new cable through the main front panel and close the door.

8. Loosen but do NOT remove two screws that hold the main front panel to each side panel. Tilt the bottom of the front panel out about 2 inches.

9. Working through the gap between the main front panel and the side, hook the spring into the hole in the cable end.

10. Working through the open top and the gap on the side, move the spring+cable up to the top. Pass the upper end of the spring through the rectangular hole in the top of the main front panel and hook the end into the small hole there.

11. Repeat for other cable as needed.

12. Reassemble all parts. You may need to hold the top of the drum up as you move the main front panel back into place. Install the main front panel lower screws before tightening the upper screws.
Was this helpful?
Thank you for voting!
Temperature setting not working
19 of 23 people found this instruction helpful.
  • Robert from Buffalo, NY
  • Easy
  • 30 - 60 mins
  • Nutdriver, Screw drivers
Took off back cover, thermostat was easily identified because of photos I've seen on website. Took 2 connectors off, removed 2 screws and removed old thermostat. That was pretty much it!

NOTE: Replacement thermostat 694674 has an adjustable temperature range setting that MUST be manually set prior to installing! You need to use the enclosed chart to find your original part# and make sure the setting is matched. My original part# 341146 had a "D" setting so I had to change but very easy to do.
Was this helpful?
Thank you for voting!
door cables broke
16 of 23 people found this instruction helpful.
  • CAROL from HUNTINGDON, PA
  • Easy
  • Less than 15 mins
  • Screw drivers
Removed the screws holding the dryer door together and pushed the plastic pin out that the cable end went through. removed the screws at the dryer filter then popped up the top. put the cable through the door and then reached down with the door spring and went through the hole in the cable end, fastened the spring and pushed back down the top and replaced all screws. job complete. the hardest part was getting the spring through the small hole on the cable end but with a little patience and persistance it was accomplished.
Was this helpful?
Thank you for voting!