



EasyApplianceParts is now PartSelect! We've merged our sites to provide a better shopping experience for you.   Full Details

Find Parts

Parts Departments

Top Model Types

Top Brands

Repair Help

Expert Repair Videos

Keep typing for more specific results...

1105808810 Kenmore Dryer - Overview

Diagrams for 1105808810

See every part. Know exactly what you need.

Enter a part description. DIY Heroes keep it simple, eg. "belt" or "pump".

Search filter:
Clear Filter
Your search term must have 3 or more characters.
Light Bulb - 40W – Part Number: 8009
$19.54
In Stock
Light Bulb - 40W
★★★★★
★★★★★
(78)
Part #8009
This an authentic OEM 40-Watt replacement light bulb, used in a number of household appliances. It is specially designed to withstand extreme temperatures, which is why these replacement bulbs are most often used to light the inside of refrigerators and ranges. It features a standard socket base, which means you simply unscrew the burnt-out bulb and screw in the replacement. Depending on the appliance you may require a screwdriver or nut driver to access the light bulb. We recommend you wear work gloves while handling this replacement part. It is constructed of glass and metal and is sold individually. Depending on the appliance and location of the bulb within it, you may want to consider disconnecting power and using a flashlight for easier access to unscrewing and re-screwing in your bulb during this repair.
Thrust – Part Number: WPW10121334
$7.47
In Stock
Dryer Screw – Part Number: WP90767
$7.47
In Stock
Dryer Screw
★★★★★
★★★★★
(2)
Part #WP90767
This screw is sold individually.
Door Cable – Part Number: WP230131
No Longer Available
Door Cable
★★★★★
★★★★★
(6)
Part #WP230131
This dryer door cable is intended for use with spring part number PS343422. This cable is compatible with many of Whirlpool/Kenmore's brands of gas and electric clothes dryers.
Front Top Lock – Part Number: WP18776
$12.85
In Stock
Front Top Lock
★★★★★
★★★★★
(2)
Part #WP18776
This part is used to secure the top panel to the cabinet. Sold individually.
Dryer Single Door Spring – Part Number: WP337186
$7.47
On Order
Dryer Single Door Spring
Part #WP337186
***The manufacturer suggests to replace both springs at the same time.***
Dryer Screw – Part Number: WP681414
$7.47
In Stock
Dryer Screw
★★★★★
★★★★★
(1)
Part #WP681414
This screw is sold individually.
Dryer Clampmotor – Part Number: WP660658
$9.62
In Stock
Dryer Clampmotor
★★★★★
★★★★★
(2)
Part #WP660658
This clamp is used to secure the drive motor.
SEAL-DOOR – Part Number: W11613302
$38.96
In Stock
SEAL-DOOR
Part #W11613302
Adhesive sold separately.
Dryer Screw – Part Number: WP488627
$10.70
In Stock
Dryer Screw
★★★★★
★★★★★
(1)
Part #WP488627
Sold individually.
Dryer Door Hinge Left Side – Part Number: WP238460
$7.47
Special Order
Hinge – Part Number: WP238456
No Longer Available
Hinge
Part #WP238456

Common Symptoms of the 1105808810

How this model fails, and the parts that fix it.

Watch our pros, then fix it yourself.
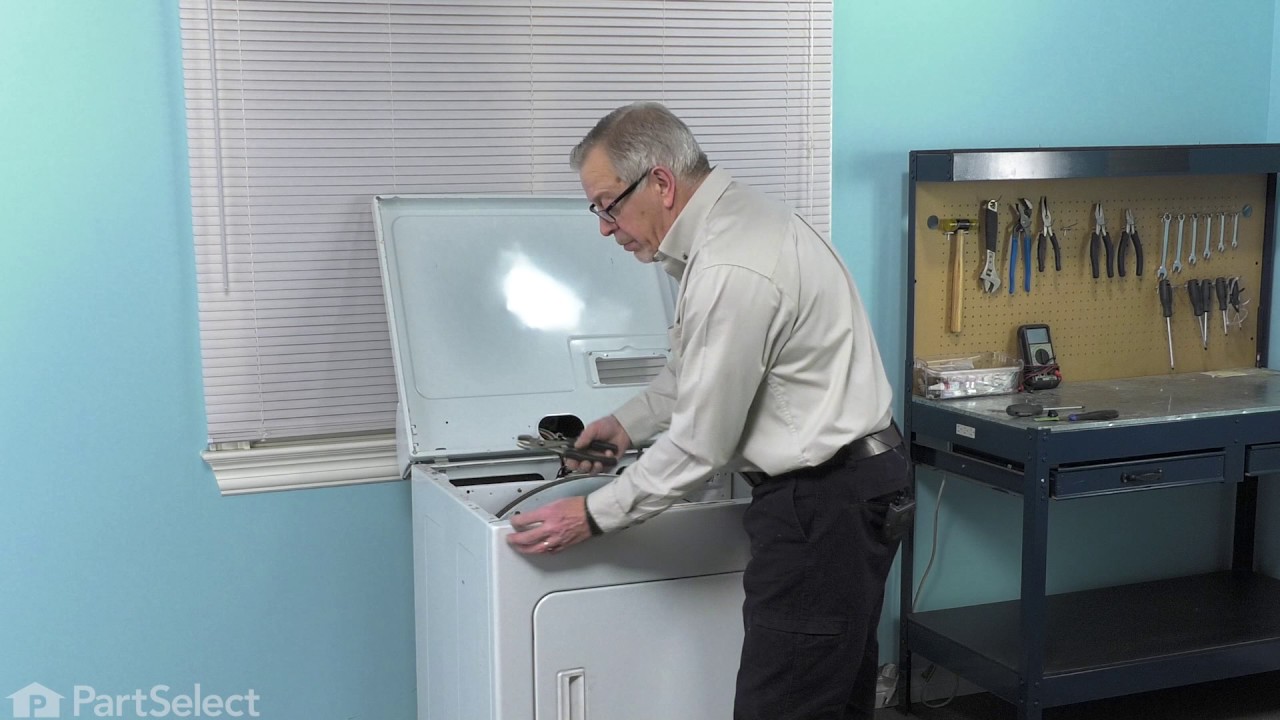
See how others fixed this model. Time, tools, difficulty, and steps that lead to victory! View More

Search repair tips from other customers using simple keywords like "replace", "fit", "remove", "inspect". DIY doesn't mean you have to do it alone!

Search filter:
Clear Filter
Your search term must have 3 or more characters.
Dryer door cable broken
37 of 46 people found this instruction helpful.
  • George from Rochester Hills, MI
  • Easy
  • 30 - 60 mins
  • Nutdriver, Screw drivers
1. Remove the lint filter. Then remove 2 screws at the lint filter housing.

2. At the back of the dryer, remove 2 screws that restrain the hinges for the dryer top. Do NOT remove the hinges.

3. Remove the front lower access panel. It snaps at the top and hinges at the bottom. It can be slipped off the hinges. ... Read more />
4. Remove 2 screws at the bottom of the main front panel

5. The front of the dryer top is held in place by two plastic clips. Use a flat blade screwdriver (with a rag wrapped around the tip to minimize paint damage) to pry the top up at each front corner. Then tilt the top up to just past vertical. You now can see the top of the spring that is connected to the door cable.

6. Open the dryer door. Use a putty knife to pry up the plastic plug that holds the cable in place at the door. Remove the old cable from the door and insert the new one. Be sure the cable end without a hole goes into the dryer door. Replace the plastic plug.

7. Feed the new cable through the main front panel and close the door.

8. Loosen but do NOT remove two screws that hold the main front panel to each side panel. Tilt the bottom of the front panel out about 2 inches.

9. Working through the gap between the main front panel and the side, hook the spring into the hole in the cable end.

10. Working through the open top and the gap on the side, move the spring+cable up to the top. Pass the upper end of the spring through the rectangular hole in the top of the main front panel and hook the end into the small hole there.

11. Repeat for other cable as needed.

12. Reassemble all parts. You may need to hold the top of the drum up as you move the main front panel back into place. Install the main front panel lower screws before tightening the upper screws.
Was this helpful?
Thank you for voting!
door cables broke
16 of 23 people found this instruction helpful.
  • CAROL from HUNTINGDON, PA
  • Easy
  • Less than 15 mins
  • Screw drivers
Removed the screws holding the dryer door together and pushed the plastic pin out that the cable end went through. removed the screws at the dryer filter then popped up the top. put the cable through the door and then reached down with the door spring and went through the hole in the cable end, fastened the spring and pushed back down the top and replaced all screws. job complete. the hardest part was getting the spring through the small hole on the cable end but with a little patience and persistance it was accomplished.
Was this helpful?
Thank you for voting!
broken clip on top panel hold down
15 of 26 people found this instruction helpful.
  • Mark from Huntington Station, NY
  • Easy
  • Less than 15 mins
  • Screw drivers
pressed clip into hole on top of front panel. first remove two philip screws that hold filter so you can lift top up.
Was this helpful?
Thank you for voting!
