


 My Orders




11057 Kenmore Washer - Overview
Models starting with 11057
Click on the best match to narrow your results.
Enter a part description. DIY Heroes keep it simple, eg. "belt" or "pump".
Search filter:
Clear Filter
Your search term must have 3 or more characters.

$6.40
In Stock
Agitator Bolt
Part #WP358237
This kit contains one screw with rubber gasket and threaded sealant. The screw head is 7/16".

$7.47
In Stock
Washer Hose Clamp
Part #WP596669
This hose clamp is used in a wide variety of household appliances. Most often it is found in washers, dishwashers, refrigerators, freezers, dehumidifiers, garbage disposals, or air conditioners. This clamp is used to securely attach a hose to another part of your appliance, which helps prevent leaks from those connections. Depending on th...Read moree appliance, it can attach hoses to drain pumps, water inlet valves, pressure switches, and injector nozzles. We recommend you refer to model-specific diagrams for appropriate uses and exact placement. This hose clamp is made of metal, and is sold individually. To access and replace this part you will need a nut driver, pliers, and screwdrivers. Before you begin any repair work, make sure you have unplugged your appliance, and shut off the water supply if applicable.
Read less

$24.15
In Stock
Touch-Up Paint - White
Part #72017
This touch-up paint can be used on a wide variety of household appliances. It is most often used on washers, dryer, refrigerators, dishwashers, ranges, freezers, trash compactors, or microwaves. It is an 18 ml, or.6 fluid ounces, bottle of touch-up paint. It also features a brush for easy application. This quick-drying, long-lasting paint...Read more is perfect for fixing any nicks, scratches, or chips on the exterior of your appliance. This paint is white in color, and provides a durable finish.
Read less

No Longer Available
O-Ring
Part #357574

$19.30
In Stock

$9.62
In Stock
Pad
Part #WP8537982
This pedestal pad, also known as a washer foot pad, is a genuine OEM part used in washing machines. It is a rubber pad, with a diameter of 1.5 inches, which is placed under each foot/leveling leg of the washer. The pad provides stability and support to the washer when it is running. It absorbs the movement of the washer to reduce shaking,...Read more noise, and potential damage to the floor. Inspect the pads under each of the washer feet and replace those that are worn out or cracked. It is recommended to order four pads, one for each of the washer legs. Each pad is sold individually. Begin the repair by cleaning the surface beneath the machine to remove any dirt or debris. Firmly press the pad onto each foot/leveling leg of the washing machine and ensure it is properly aligned. You may need to adjust the leveling legs to ensure the machine is level and stable.
Read less

$17.15
Special Order
Leveling Foot & Nut
Part #WP8563585
This individual levelling foot is compatible with different types of standing home appliances and is a genuine OEM part. Made of high-quality metal and featuring a metal securing nut, this levelling foot is made of plastic and is used to level the pedestal for your appliance. Over time and through gradual wear and tear of moving your appl...Read moreiance around or through excessive movement and impact, a levelling leg will crack and break, and eventually destabilize itself. If you find your appliance is imbalanced or vibrates excessively when in use, this levelling foot may need to be replaced. Since most appliances take one foot on each corner, 4 corners being 4 feet, it is important to consider the amount of feet you require when ordering. This levelling foot is adjustable, since it comes with the securing nut, adding longevity to the levelling foot and your appliance. To replace this foot, simply lift the corner of the pedestal from the floor, unscrew and remove the previous foot, and install the new foot, adjusting its height with the nut.
Read less

$7.47
Special Order
Water Inlet Hose Washer
Part #WP16123
If your clothes washer is leaking, it is likely that there could be an issue with one of the hoses. If the hoses are in working order, you should check the washers connecting the hose to your unit. Rubber washers are tasked with enhancing the seal between the hose and washer. A faulty or damaged washer will not be able to perform this pro...Read moreperly, and water will be able to leak from the poor connection. This OEM part is sold individually, so make sure you order the quantity that is needed. The washer measures 1 1/16 inches x 5/8 inches.
Read less

$7.47
In Stock

No Longer Available
Water Inlet Valve
Part #358277
This valve has two ports for water to enter. This valve is compatible with a half inch ID hose and it has two 3/4-11x1/2 NHT hose threads.

$7.47
In Stock

$7.47
In Stock
Washer Screw
Part #WPW10346892
12-14 X 5/8. Sold individually. Your appliance will most likely require 4.
Exact Part matches for your search term

No Longer Available
No Longer Available
No Longer Available
No Longer Available
Common Symptoms of models starting with 11057
How this model fails, and the parts that fix it.
Will not agitate
Fixed by
these parts
these parts


Show All
Leaking
Fixed by
these parts
these parts


Show All
Spinning Issues
Fixed by
these parts
these parts
Show All
Spins slowly
Fixed by
these parts
these parts
Show All
No hot or cold water
Fixed by
these parts
these parts

Show All
Marks left on clothes
Fixed by
these parts
these parts
Show All
Watch our pros, then fix it yourself.
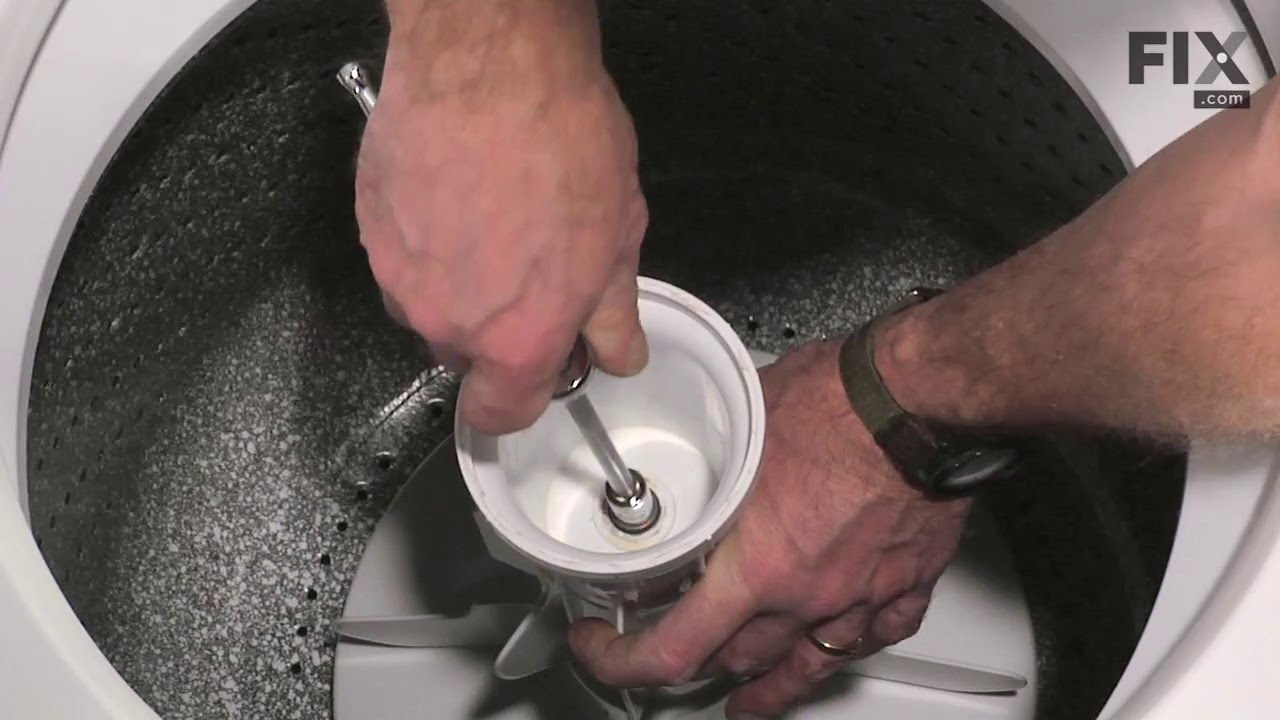


See how others fixed this model. Time, tools, difficulty, and steps that lead to victory!
View More
Search repair tips from other customers using simple keywords like "replace", "fit", "remove", "inspect". DIY doesn't mean you have to do it alone!
Search filter:
Clear Filter
Your search term must have 3 or more characters.
missing parts on used washer and dryer pedstals
18 of 24 people
found this instruction helpful.
screwed on
hard to find parts - order on Thurs evening and got Sat - made problem really easy
hard to find parts - order on Thurs evening and got Sat - made problem really easy
Other Parts Used:

Was this helpful?
Thank you for voting!