


 My Orders




1105062110 Kenmore Washer - Overview
Diagrams for 1105062110
See every part. Know exactly what you need.

Enter a part description. DIY Heroes keep it simple, eg. "belt" or "pump".
Search filter:
Clear Filter
Your search term must have 3 or more characters.

$6.40
In Stock
Agitator Directional Cogs
Part #80040
This kit is used for replacing the agitator directional cogs (Agitator Dogs, Agitator Repair Kit, Washer Agitator Dogs, Agitator Dog Ears). The agitator is what creates the thrusting motion in your washer to tumble your clothes during the washer cycle. Your agitator will rotate one way, and not the other. The agitator dogs are what preven...Read moret the agitator from rotating in both directions, while allowing it to rotate in one direction. Your agitator cogs may be malfunctioning if you can manually rotate the agitator in both directions. If broken they will need to be replaced. Cogs can be found by simply removing the softener dispenser and then removing the agitator cap. The are attached to the agitator. This replacement part features 4 agitator directional cogs. There are 4 cogs per package that are made up of high-quality plastic. This part comes in white/beige.
Read less

$21.45
In Stock
Direct Drive Motor Coupling
Part #285753A
This direct drive motor coupling (Direct Drive Washer Motor Coupling, Motor Coupling, Washer Motor Coupling, Coupling Kit) provides a cushioned connection between the transmission and the motor shaft. It attaches to the direct-drive transmission and the motor shaft. If this part is defective it will affect the agitator in your washer beca...Read moreuse of its direct connection with the motor. Your washer may not agitate, spin slowly, or not spin at all. The coupling must be replaced when there is no longer a consistent connection between the transmission and the motor shaft. The coupling can wear over time because of its location between two major parts of the dryer. It is subject to material fatigue over time from normal use, or breakage caused by frequent overloading. The part measures approximately 2 inches in diameter, and is constructed of plastic and metal. This model comes in black/white.
Read less

$9.62
In Stock
Suspension Spring
Part #WP63907
The suspension spring supports the outer tub and keeps the tub steady during loads that could cause an unbalance. If this part breaks, is worn down or has stretched out and lost its spring, it could cause the load to be off-balance which can lead to excessive shaking, moving, noise, and leaks. For this repair, you will need a 1/4 nut driv...Read moreer, a putty knife, a flat blade screwdriver, and a pair of needle-nose pliers. Disconnect the power supply, fill hoses, and drain hose to give you safe and easy access (have a container nearby for water left in drain hose). This item is sold individually, which is important as you may need to repair multiple springs in your appliance, which carries three suspension springs. As an inexpensive part, we recommend purchasing several at a time, as they can be very useful to have on-hand.
Read less

$38.96
In Stock
Washer Clutch Assembly
Part #285785
A clutch assembly (Clutch, Washer Clutch) is found in your washing machine and is responsible for spinning the basket during the spin cycle. The clutch lining can wear over time. If the clutch lining is worn out, the clutch assembly will not rotate properly to release the brake. If you notice a burning smell, or the machine shaking and mo...Read moreving more than normal, this could indicate there is an issue with your clutch. If the washer spins when the washer basket is empty but not when it’s full, or if the assembly begins to turn blue, you may need to replace the clutch assembly. This assembly includes a brake cam driver, blue springs for large capacity washers, a black spring for compact washers, and the installation instructions. It’s constructed of plastic and metal, and comes in beige/silver.
Read less

$6.40
In Stock
Agitator Bolt
Part #WP358237
This kit contains one screw with rubber gasket and threaded sealant. The screw head is 7/16".

$35.80
In Stock
Washer Lid Switch
Part #WP8318084
This part is found in your washer. The pin on the lid pushes on the lever of the lid switch to tell the machine that the lid is closed. This part includes the green grounding wire. If your machine is having trouble starting, is not agitating, spinning, or is not draining properly, this could be because the lid switch has broken. You will ...Read moreneed a 5/16-inch nut driver for this repair. The package will contain one lid switch. You will need to access the back of the washer, and remove the two Phillips screws that hold the top back panel in place. Slide the panel forward to release. Use your nut driver to loosen the screw that holds the ground wire in place. Lift the lid of the washer to release the old lid switch.
Read less

$7.65
In Stock
Thrust Spacer
Part #285587
This is a genuine OEM thrust spacer for your washer, and is also commonly known as a retainer ring. The spacer is about 2.5 inches in diameter, is made of plastic, and is white in color. It is used in the agitator assembly of many direct drive washing machine models. The spacer is fitted between the agitator and the agitator auger to supp...Read moreort it as it moves. This part is sold individually. Although it is not included in this part, you should have some dual-action agitator grease for the repair as well.
Read less

$60.51
In Stock
Washer Water Inlet Valve with Thermistor
Part #WPW10144820
This part is used to help control and balance the water temperature flowing in to the washer tub.

$7.47
In Stock

$13.92
In Stock

$7.47
In Stock
Centerpost Gasket
Part #W10814296
This part may also be referred to as a main outer tub seal. This part prevents leaking from the bottom of the tub. The gasket is approximately 2 inches in diameter to the outer edge, black in color, and made of plastic material. To perform this repair, you will need to disconnect the power, drain hose, and the inlet hose. You will need to...Read more remove the entire outside cabinet to have access to the tub assembly. The tub will need to be removed entirely. This is a genuine part that is sourced directly from the manufacturer.
Read less

$9.62
In Stock
Leveling Spring
Part #8316845
This spring is used on the leveling components in a washer. Please note, this spring may differ in appearance, but functions the same as original.
Manuals & Care Guides for 1105062110
Click to downloadCommon Symptoms of the 1105062110
How this model fails, and the parts that fix it.
Will not agitate
Fixed by
these parts
these parts


Show All
Spins slowly
Fixed by
these parts
these parts

Show All
Leaking
Fixed by
these parts
these parts


Show All
Will Not Start
Fixed by
these parts
these parts


Show All
Spinning Issues
Fixed by
these parts
these parts
Show All
Will not drain
Fixed by
these parts
these parts
Show All
Burning smell
Fixed by
these parts
these parts

Show All
Shaking and Moving
Fixed by
these parts
these parts


Show All
No hot or cold water
Fixed by
these parts
these parts
Show All
Water Filling Issues
Fixed by
these parts
these parts
Show All
Marks left on clothes
Fixed by
these parts
these parts
Show All
Cycle Not Advancing
Fixed by
these parts
these parts
Show All
Does not dispense fabric softener or detergent
Fixed by
these parts
these parts
Show All
Noisy and Marks Left on Clothes
Fixed by
these parts
these parts
Show All
Lid or door won’t close
Fixed by
these parts
these parts

Show All
Draining Issues
Fixed by
these parts
these parts
Show All
Not cleaning dishes properly
Fixed by
these parts
these parts
Show All
Noisy
Fixed by
these parts
these parts
Show All
Timer Not Working
Fixed by
these parts
these parts

Show All
Touchpad does not respond
Fixed by
these parts
these parts
Show All
Watch our pros, then fix it yourself.


See how others fixed this model. Time, tools, difficulty, and steps that lead to victory!
View More
Search repair tips from other customers using simple keywords like "replace", "fit", "remove", "inspect". DIY doesn't mean you have to do it alone!
Search filter:
Clear Filter
Your search term must have 3 or more characters.
Washer not agitating
645 of 683 people
found this instruction helpful.
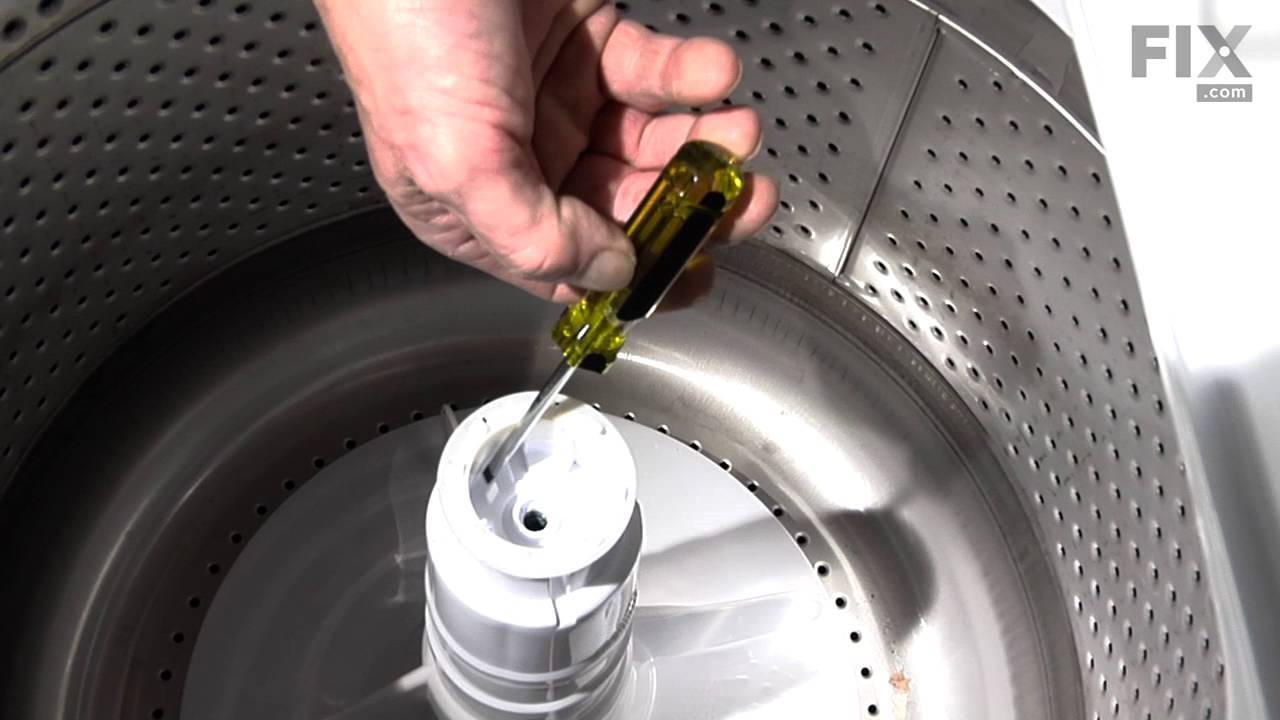
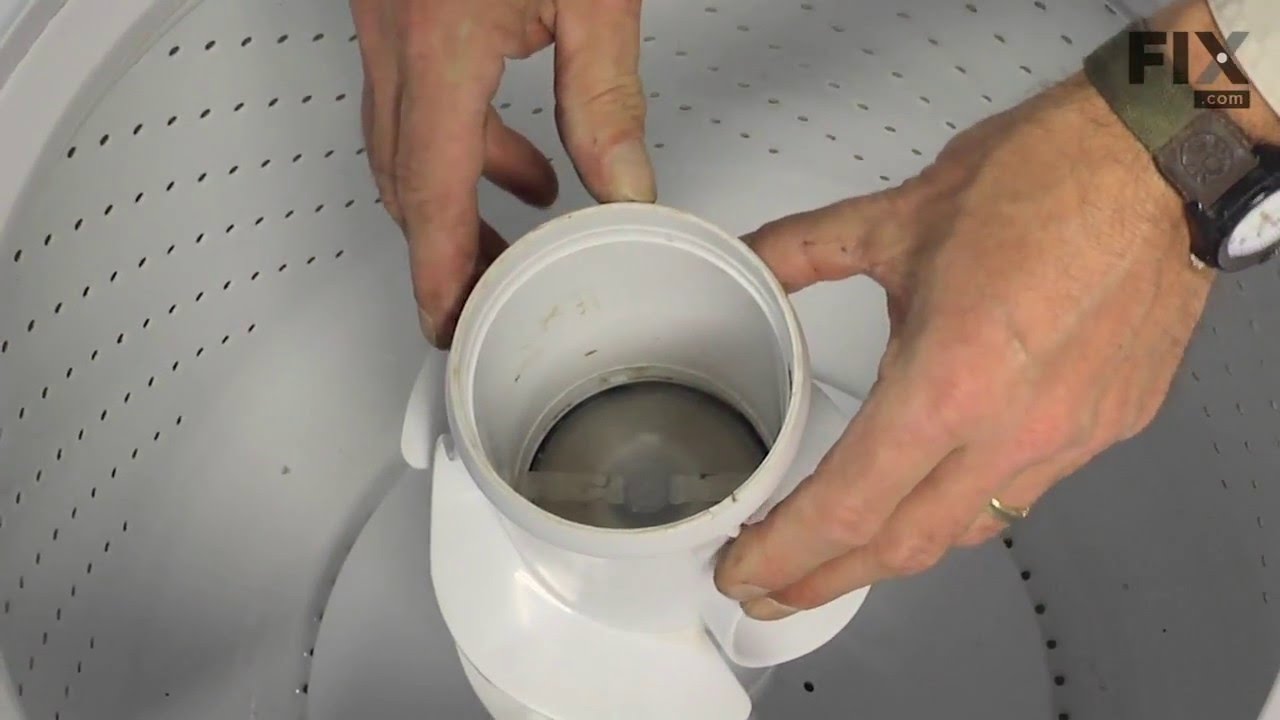
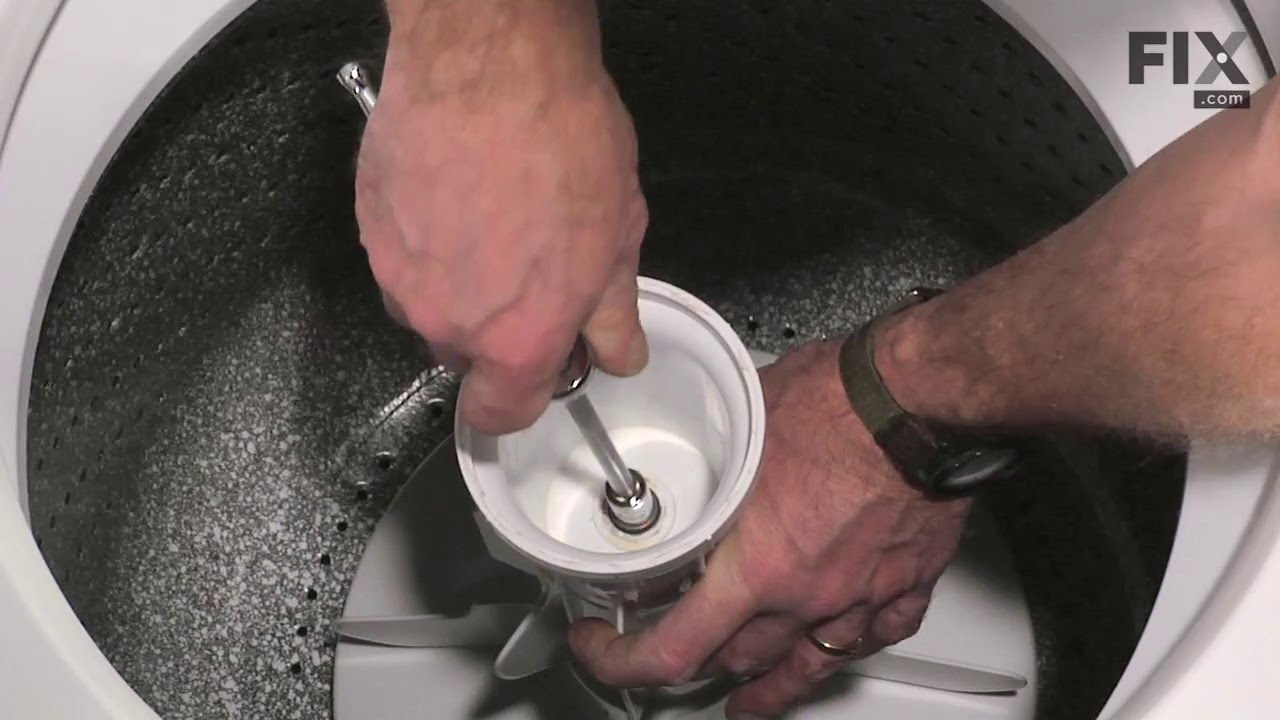
On top of the agitator is a flat cap that is held in place by the friction of an o-ring, there are no fasteners. I would imagine one could get under the lip with a small screwdriver or butter knife to pop it off but I chose simply using my fingernails so as to not disfigure the cap. Under the cap you will find the head of the only bolt
... Read more
that holds the assembly together it is a 7/16 head and because it is in a 4" deep well your will need a 6" extension for your ratchet. Once the bolt is out the top of the agitator, the assembly with the cogs removes by hand. Set the assembly upside down on the counter, slide the black plastic ring off, pull the cogs out with your fingertips, install the new cogs put a new black ring on and set the assembly back in the agitator. Reinstall bolt. As the bolt is down in a tube, you cannot set it in place with your fingers and it will fall out of the socket. To hold the bolt in the socket during positioning you can either put a gob of Vaseline on the bolt head to hold it in the socket or form a small piece of paper over the bolt head and set it into the socket, the friction of the paper will hold the bolt into the socket. Took me less then 10 minutes, good luck
Read less
Other Parts Used:

Was this helpful?
Thank you for voting!