


 My Orders




11042824202 Kenmore Washer - Overview
Diagrams for 11042824202
See every part. Know exactly what you need.

Enter a part description. DIY Heroes keep it simple, eg. "belt" or "pump".
Search filter:
Clear Filter
Your search term must have 3 or more characters.

$141.16
In Stock
Drain Pump Kit
Part #280187
This washer drain pump is a genuine replacement component designed for select front-load washing machines from Whirlpool, Maytag, Kenmore, and affiliated brands. It plays a vital role in the wash cycle by efficiently removing water from the drum, helping to prevent leaks and ensure proper drainage. A malfunctioning pump may result in slow...Read more or incomplete draining, water leakage, or error codes related to pump failure. This part is engineered for durability and reliable performance, and replacing it can restore optimal function to your appliance. Compatibility should be confirmed using your washer’s model number prior to installation.
Read less

$79.50
In Stock
Washer Door Lock Latch
Part #WP8182634
This washer door lock and switch assembly is a critical safety and control component for front-loading washing machines. It secures the door during wash and spin cycles, preventing accidental opening and ensuring the appliance operates only when properly latched. The integrated interlock switch communicates with the washer’s control syste...Read morem to verify door status, helping prevent cycle interruptions and operational errors. This model features a four-lead switch for precise functionality and is compatible with a wide range of front-load washers. Replacing this part can resolve issues such as a door that won’t close, won’t open, or won’t lock, as well as a washer that fails to start. Installation should be performed with the appliance unplugged and may require basic tools.
Read less

$60.51
In Stock
Washer Water Inlet Valve
Part #WP8181694
Used with some front load washers. The attaching solenoids on the valve open and close according to the desired temperature, or amount of water needed.

$45.29
In Stock
Washer Shock Absorber
Part #WP8182703
Shock absorbers help keep the washer from vigorous shaking during its cycles. Sold individually.

No Longer Available
Touch-Up Paint - White
Part #72017
This touch-up paint can be used on a wide variety of household appliances. It is most often used on washers, dryer, refrigerators, dishwashers, ranges, freezers, trash compactors, or microwaves. It is an 18 ml, or.6 fluid ounces, bottle of touch-up paint. It also features a brush for easy application. This quick-drying, long-lasting paint...Read more is perfect for fixing any nicks, scratches, or chips on the exterior of your appliance. This paint is white in color, and provides a durable finish.
Read less

$7.47
In Stock
Screw
Part #WP488729
Metallic screw that is less than an inch long. Does not include the plastic washer.

$24.67
In Stock

$9.62
In Stock
Hose Clamp
Part #WP285655
The hose clamp is used to hold the water hose in place which will prevent the hose from leaking water. Sometimes the clamp may lose its ability to latch on, causing a leaking washer. For the installation, you will need a flat head screw driver to replace the clamp and a drill to access the screws to remove the front of the washer. Be care...Read moreful if you do not have specific clamp pliers as the clamp could fly off. Once the front of the washer has been removed, take a quick look for water damage or any obvious signs of where the leak is coming from. If it is not obvious, run water to test.
Read less

$77.99
In Stock
Washer Water Inlet Flowmeter
Part #WPW10110225
This part continually measures the amount of water entering the tub. It will make adjustments if too much or too little water is present.

$27.36
In Stock
Washer Bellow To Outer Tub Clamp
Part #WP8182210
Used to help hold your bellow in place on your washer.

$26.82
In Stock
Bellow Clamp
Part #W10902779
This is the replacement bellow clamp for your washer. It approximately 16 inches in diameter and is sold individually. The bellow clamp goes around the bellow in your washer and holds it in place on the washer frame. The main reason you would want to replace the bellow clamp is if it is rusted or damaged, and it is not holding the bellow ...Read moreinto place. To remove the bellow clamp, simply use a screwdriver to pop the bellow clamp out of the groove it rests in. Place the new clamp back into the bellow groove until it snaps into place. This is an OEM part from the manufacturer.
Read less

$52.67
In Stock
Washer Drive Belt
Part #WPW10388414
This drive belt is made to slip on the motor pulley to bring the basket up to the speed required and this makes the belt get wear and tear.
NOTE: Per Manufacture, belt measures 48.22" long uninstalled and the belt will stretch To 51.53" when installed.
Common Symptoms of the 11042824202
How this model fails, and the parts that fix it.
Leaking
Fixed by
these parts
these parts


Show All
Will not drain
Fixed by
these parts
these parts


Show All
Lid or door won’t close
Fixed by
these parts
these parts


Show All
Will Not Start
Fixed by
these parts
these parts

Show All
Will not agitate
Fixed by
these parts
these parts


Show All
Water Filling Issues
Fixed by
these parts
these parts

Show All
Draining Issues
Fixed by
these parts
these parts
Show All
No hot or cold water
Fixed by
these parts
these parts
Show All
Locking Issues
Fixed by
these parts
these parts
Show All
Shaking and Moving
Fixed by
these parts
these parts


Show All
Marks left on clothes
Fixed by
these parts
these parts
Show All
Burning smell
Fixed by
these parts
these parts
Show All
Spinning Issues
Fixed by
these parts
these parts
Show All
Spins slowly
Fixed by
these parts
these parts
Show All
Door latch failure
Fixed by
these parts
these parts
Show All
Watch our pros, then fix it yourself.
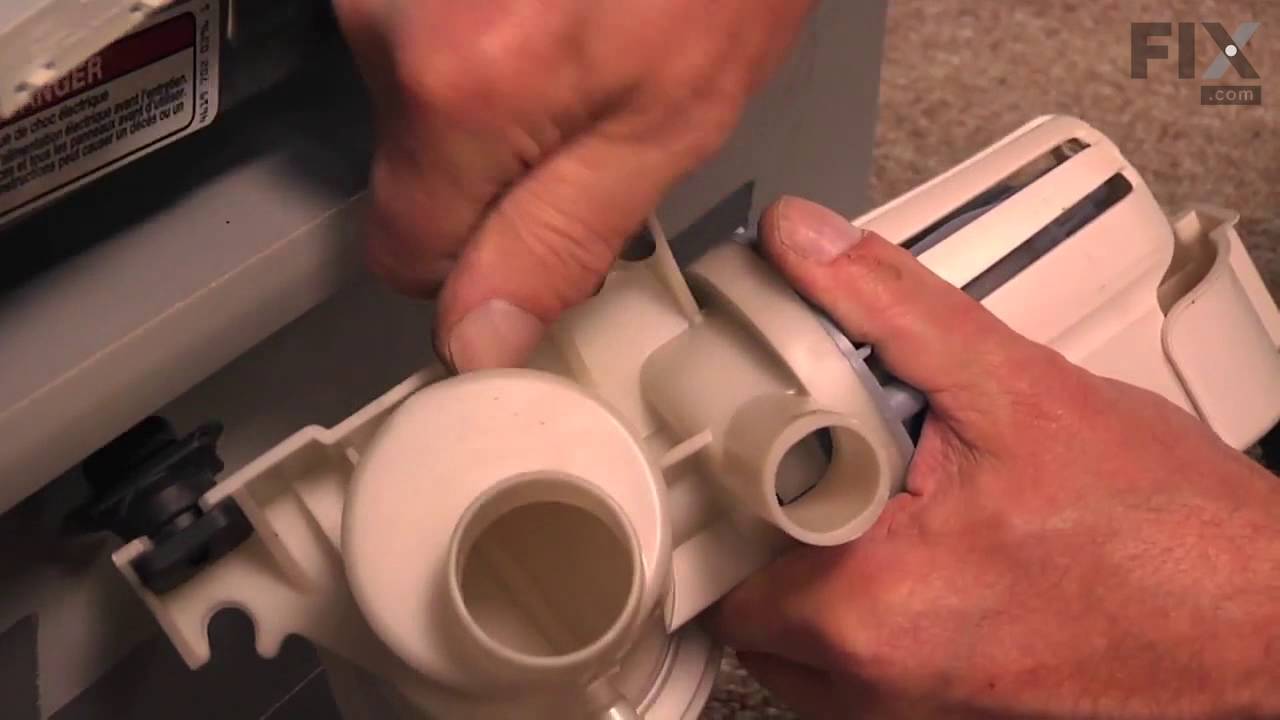
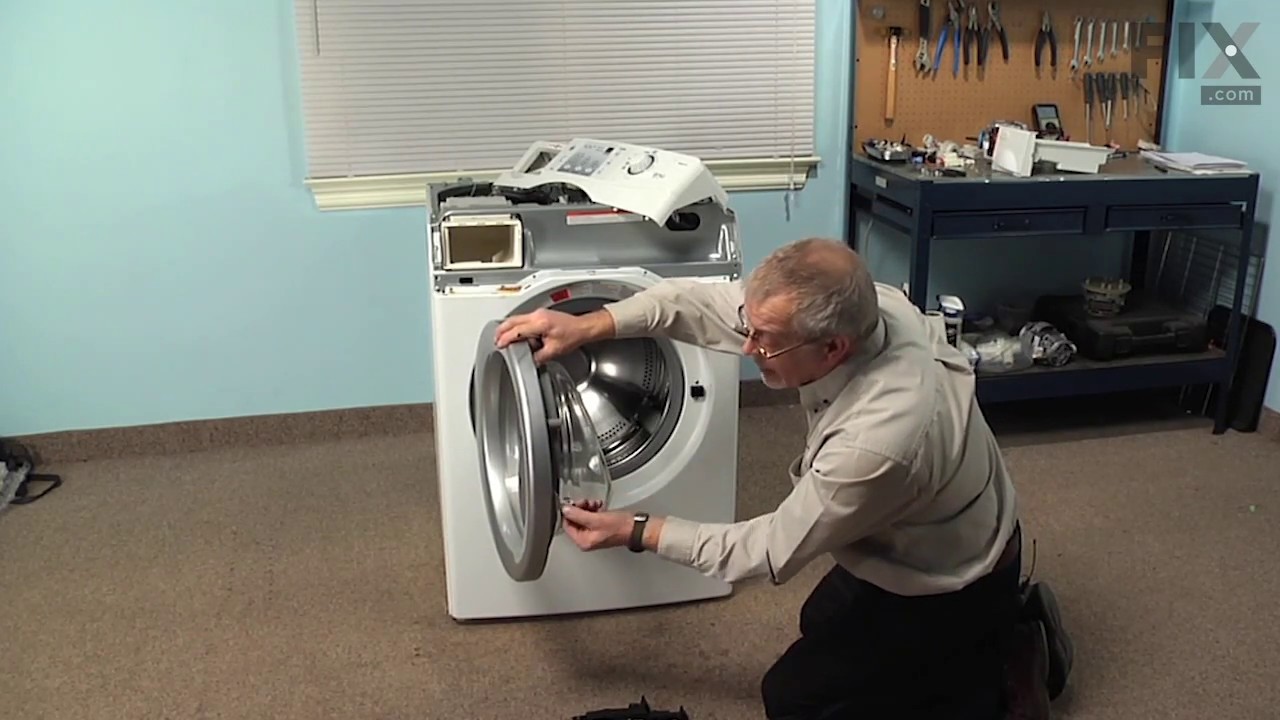
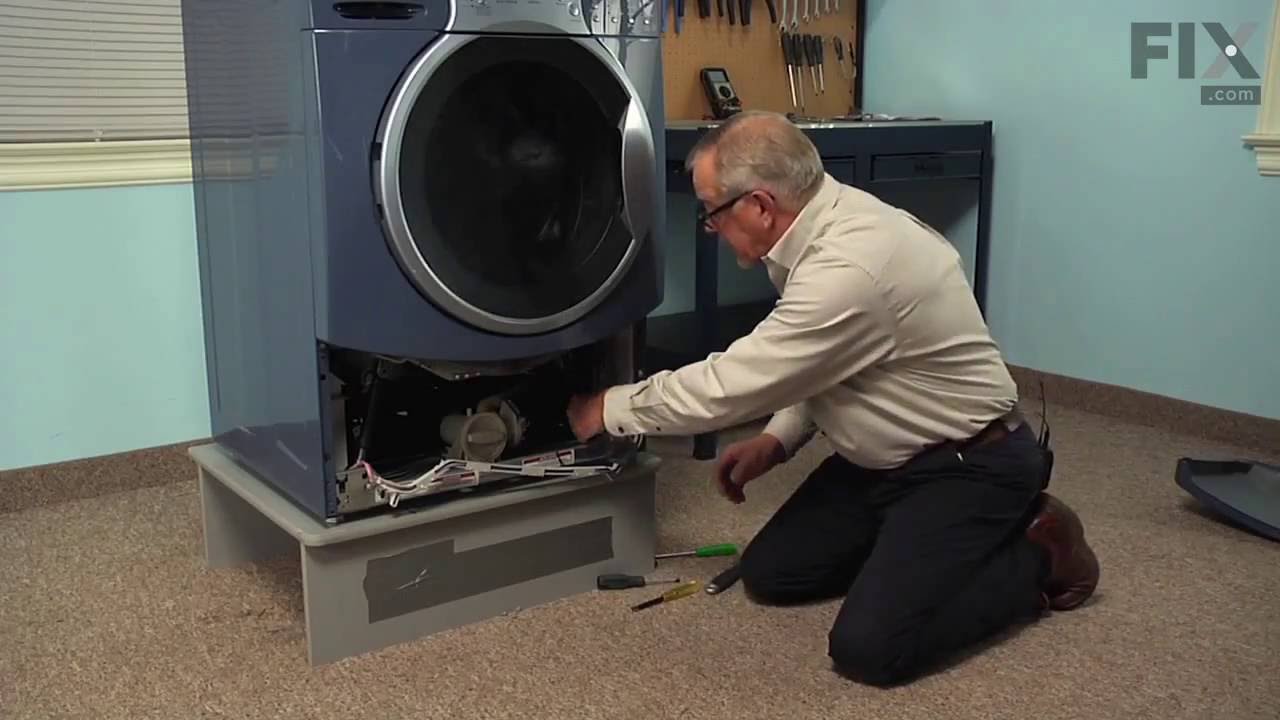

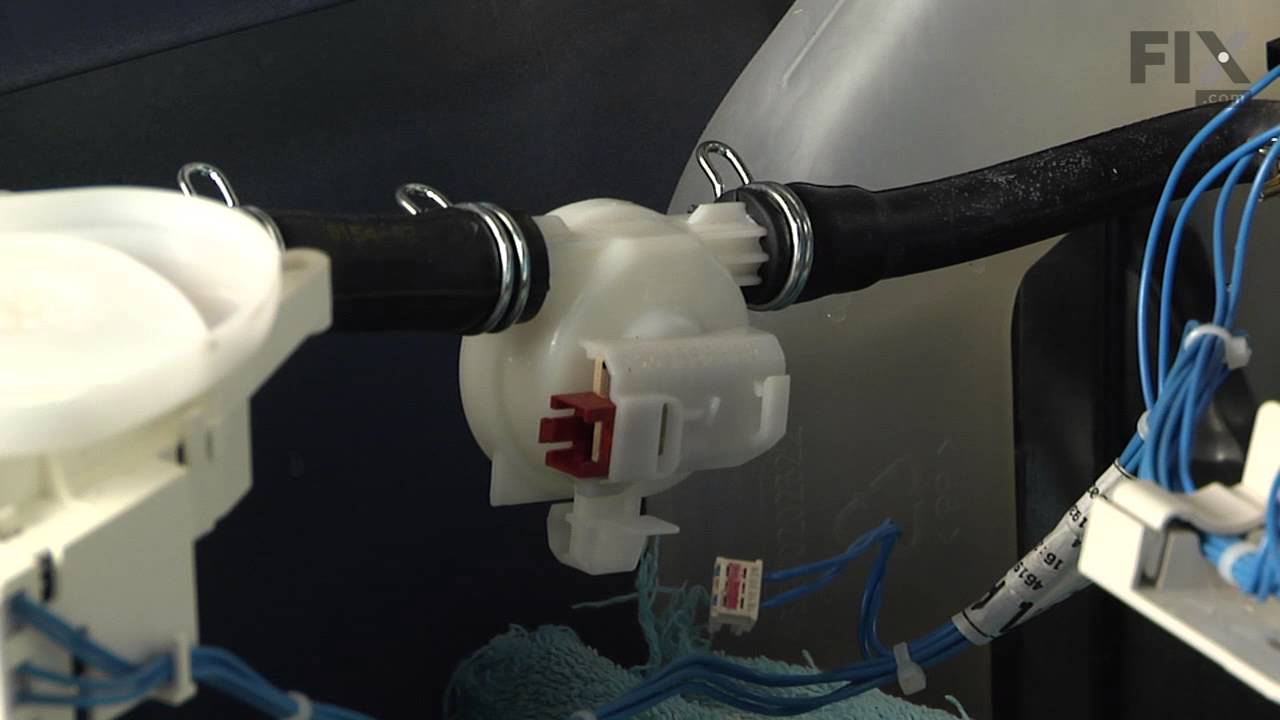

See how others fixed this model. Time, tools, difficulty, and steps that lead to victory!
View More