


 My Orders




11041952710 Kenmore Washer - Overview

Enter a part description. DIY Heroes keep it simple, eg. "belt" or "pump".
Search filter:
Clear Filter
Your search term must have 3 or more characters.

$109.42
In Stock
Washer Drain Pump
Part #WPW10730972
This is a manufacturer-approved replacement drain pump for your washing machine. To complete this repair you will need a 1/4 inch nut driver, 5/16ths nut driver, a flat blade screwdriver, and a pair of pliers. Make sure to disconnect power to the washer before beginning this repair.

$10.70
In Stock

$7.47
In Stock
Washer Hose Clamp
Part #WP596669
This hose clamp is used in a wide variety of household appliances. Most often it is found in washers, dishwashers, refrigerators, freezers, dehumidifiers, garbage disposals, or air conditioners. This clamp is used to securely attach a hose to another part of your appliance, which helps prevent leaks from those connections. Depending on th...Read moree appliance, it can attach hoses to drain pumps, water inlet valves, pressure switches, and injector nozzles. We recommend you refer to model-specific diagrams for appropriate uses and exact placement. This hose clamp is made of metal, and is sold individually. To access and replace this part you will need a nut driver, pliers, and screwdrivers. Before you begin any repair work, make sure you have unplugged your appliance, and shut off the water supply if applicable.
Read less

$56.33
In Stock
Shock Absorber
Part #W10822553
Sold individually. These shock absorbers keep the washer from vigorous shaking during its cycles. This shock absorber is for washers.
Shock absorber absorbs the vibrations and movements of the outer washer tub.
Unplug the washer before installing this part. Wear work gloves to protect your hands.

$20.36
Special Order
Affresh Washing Machine Cleaner - 3 pack
Part #W10135699
Affresh Washing Machine Cleaner includes three slow-dissolving tablets that help remove odor-causing residue from inside the washer. Suitable for all washer brands, including high-efficiency (HE) machines, the formula is also septic-safe. Place one tablet directly in the empty wash basket and run the Clean Washer cycle, or use a normal cycle with hot water. Use monthly or every 30 wash cycles for best results.

$45.05
In Stock
HOSE
Part #W11366249
This is a replacement tub-to-pump hose for your washer. This hose runs from the bottom of the tub to the water pump, and is used to transport water. The hose can develop a hole, and when this happens you will notice water leaking onto the floor. The tub-to-pump hose is found below the washer tub. To disconnect the hose, you will need to r...Read moreelease the clamps that hold it in place with a pair of pliers. When you replace the tub hose, you will need to transfer the ball, air chamber, and clamps from the old pump to the new one. To do this, you will need a set of wire cutters and a new zip tie to replace the one you will need to cut.
Read less

$24.67
In Stock
Washer Dispenser Hose
Part #W11366227
This dispenser hose is for washers and carries the contents of the dispenser drawer to the washer tub.

$23.60
In Stock
Bellow To Tub Clamp
Part #WP8540108
This is the replacement bellow clamp for your washer. It is approximately 18 inches in diameter and is sold individually. The bellow clamp goes around the bellow in your washer and holds it in place on the washer frame. The main reason you would want to replace the bellow clamp is if it is rusted or damaged, and it is not holding the bell...Read moreow in place. To remove the bellow clamp, simply use a screwdriver to pop the bellow clamp out of the groove it rests in. Place the new clamp back into the bellow groove until it snaps into place. This is an OEM part from the manufacturer.
Read less

$20.37
On Order
Bellow To Front Panel Clamp
Part #W11032829
The door boot spring clamp or outer bellow clamp on your washer is designed to keep the door boot in place. It is circular in shape, and you will find it wrapped around the bellow. To remove the old clamp, simply open the washer door, and use a screwdriver to pop it out. This is an OEM part sourced directly from the manufacturer.

$49.50
In Stock
Water Level Switch
Part #WPW10448876
This part is located behind the control panel. It helps determine the level of water in the washer. As the water fills the hose, while tub is filling, it will push the air against a diaphragm inside the switch. More water that enters the tub, more pressure is applied against the switch.

$7.47
In Stock
Leveling Leg Locking Nut
Part #WP3359452
The leveling leg locking nut is an OEM replacement fastener for use in dryers and washers. It has a head diameter of 3/8 inches and a thread pitch of 16 threads per inch. The nut secures the leveling legs which helps to stabilize and level the appliances when they are placed on uneven surfaces. The nut ensures that the leg is stable and d...Read moreoes not move during operation. Over time, the threads on the nut may become stripped, or the nut can corrode and break rendering it unable to secure the leveling legs. A faulty nut will cause the appliance to shake and vibrate excessively, and potentially damage the floor and its internal components. It is recommended to replace both the leveling leg and nut at the same time. Use a wrench or pliers to loosen and remove the old locking nut from the leveling leg. Thread the new nut on to the leveling leg and ensure that it is tightened securely. Be careful not to overtighten and damage the threads. Gently shake the appliance to ensure that it is stable and level. Each nut is sold individually.
Read less

No Longer Available
Spray Paint - 12 oz. - White
Part #350930
Appliance spray paint is a great way to cover up any chips and scratches that have appeared on your appliances. Instead of replacing the part entirely, this is an easy fix. This is also a great way to give a fresh new look to any handles or areas that have discoloring due to wear. Make sure to clean the area before you begin and wear a pr...Read moreotective mask for safety. Give the can a good shake and spray a few inches away from the surface. Apply the paint until the area is fully covered as desired. Wait until the paint has dried before using the appliance.
Read less
Common Symptoms of the 11041952710
How this model fails, and the parts that fix it.
Will not drain
Fixed by
these parts
these parts


Show All
Leaking
Fixed by
these parts
these parts


Show All
Lid or door won’t close
Fixed by
these parts
these parts

Show All
Will Not Start
Fixed by
these parts
these parts
Show All
Draining Issues
Fixed by
these parts
these parts
Show All
Water Filling Issues
Fixed by
these parts
these parts


Show All
No hot or cold water
Fixed by
these parts
these parts
Show All
Shaking and Moving
Fixed by
these parts
these parts

Show All
Burning smell
Fixed by
these parts
these parts
Show All
Locking Issues
Fixed by
these parts
these parts
Show All
Door won’t close
Fixed by
these parts
these parts


Show All
Engine runs but does not pump water
Fixed by
these parts
these parts
Show All
Cycle Not Advancing
Fixed by
these parts
these parts
Show All
Will not agitate
Fixed by
these parts
these parts

Show All
Not draining
Fixed by
these parts
these parts
Show All
Leaks water
Fixed by
these parts
these parts
Show All
Watch our pros, then fix it yourself.
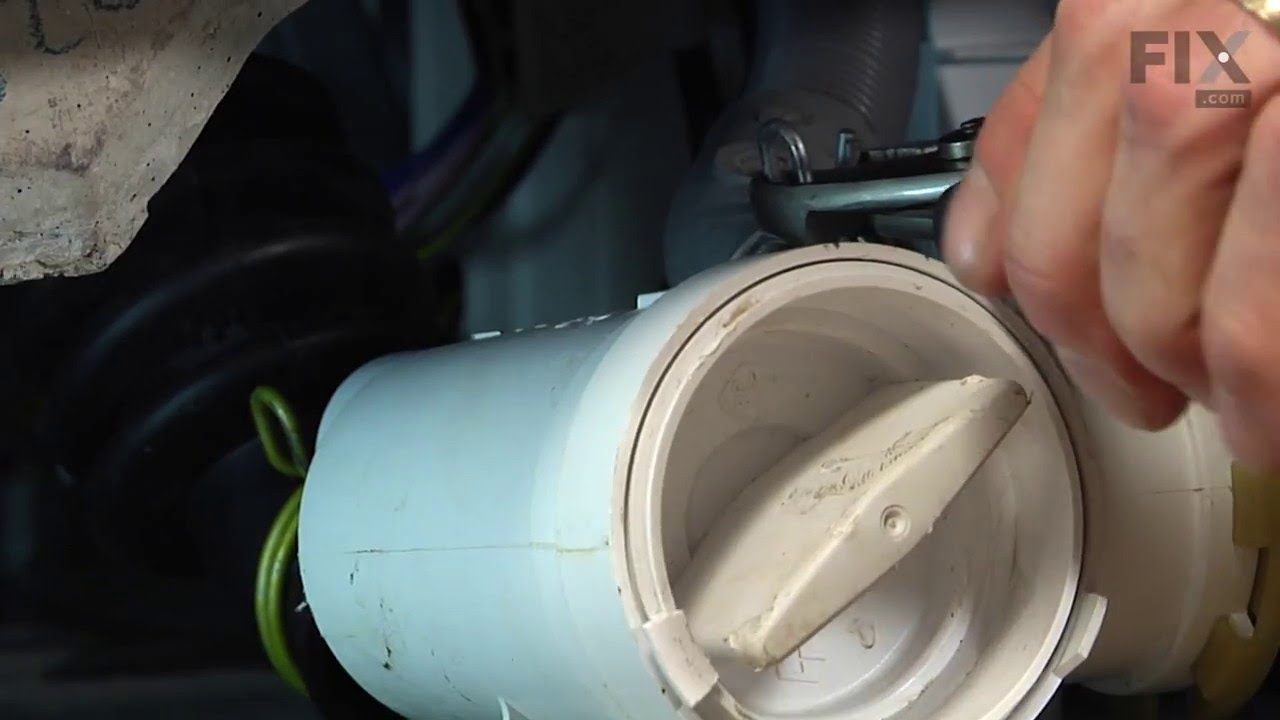
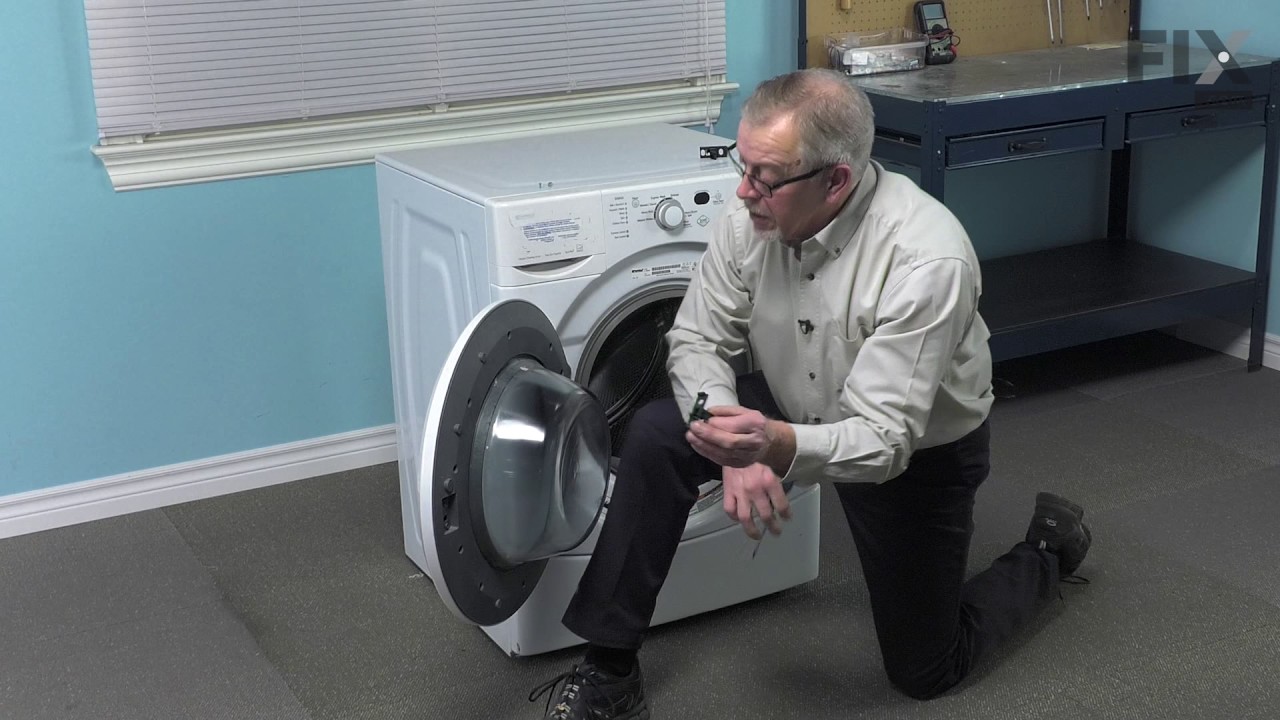
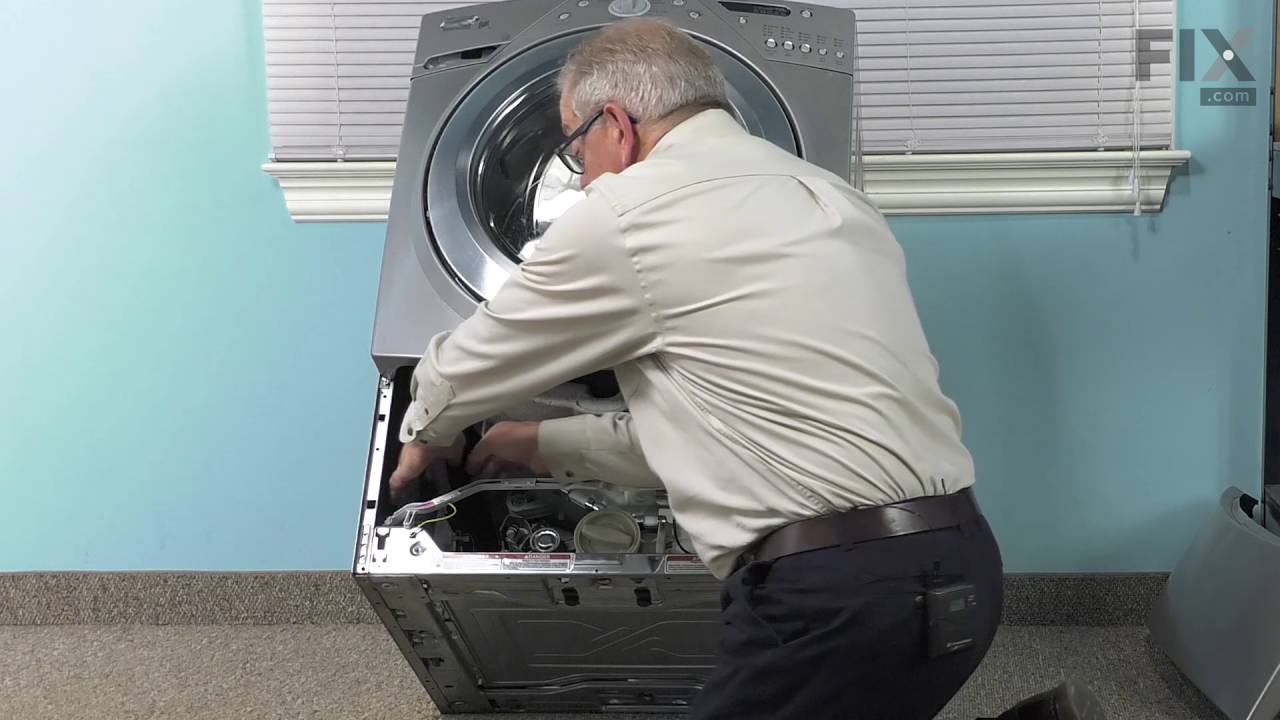

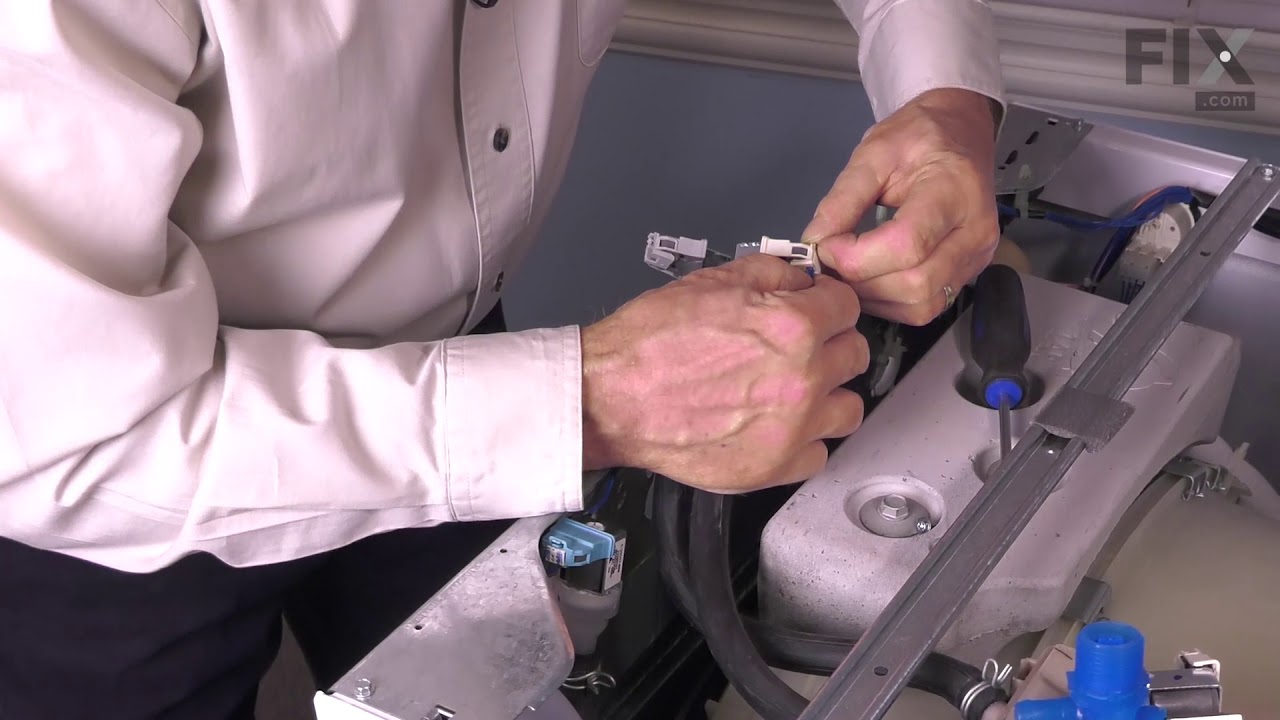
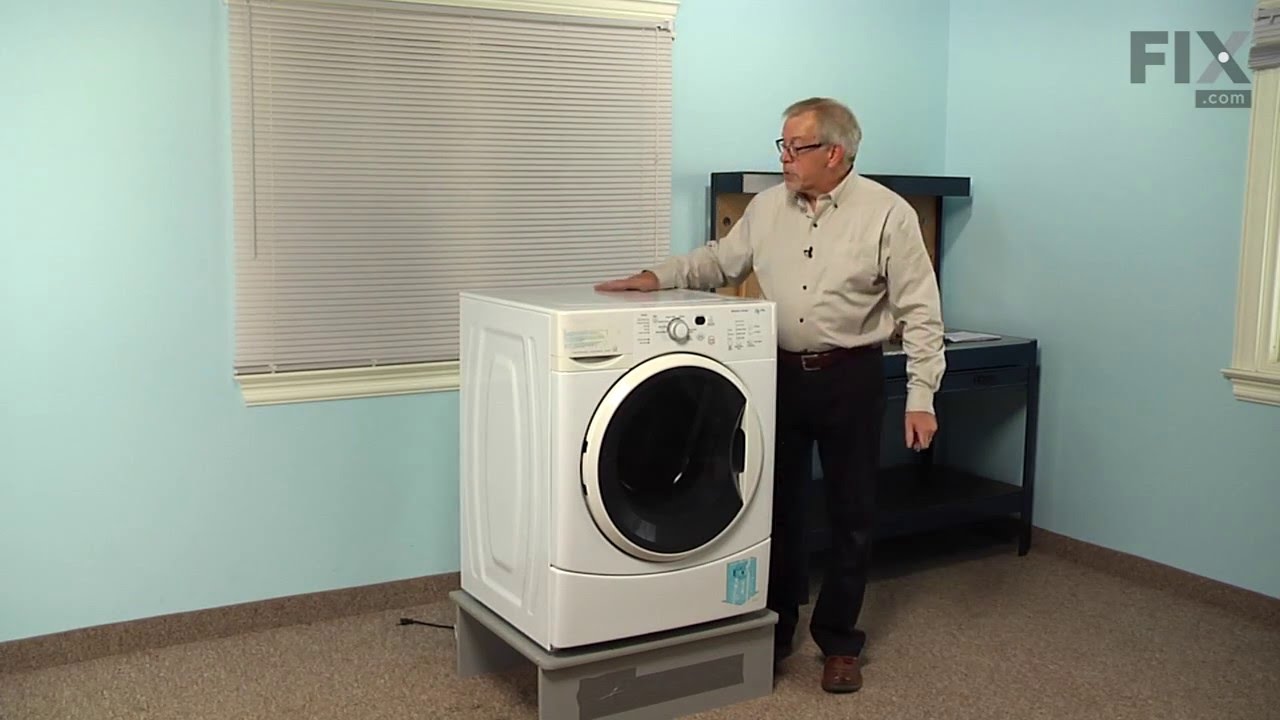
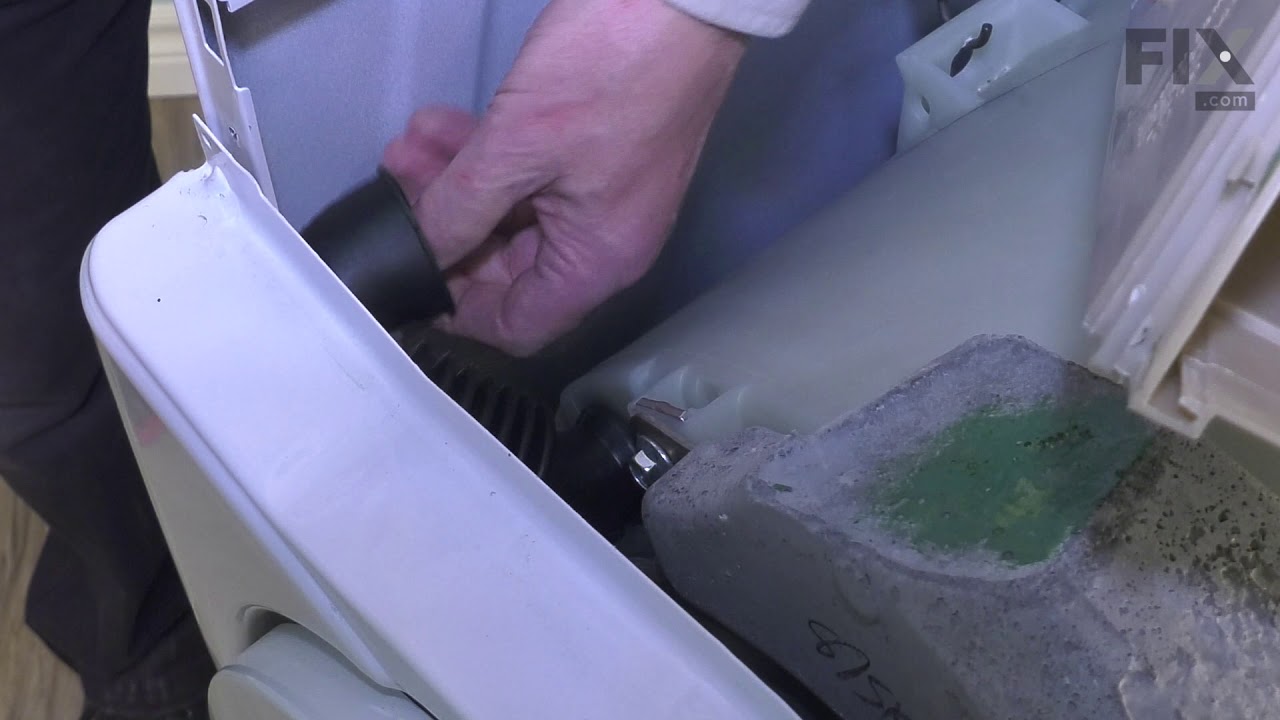
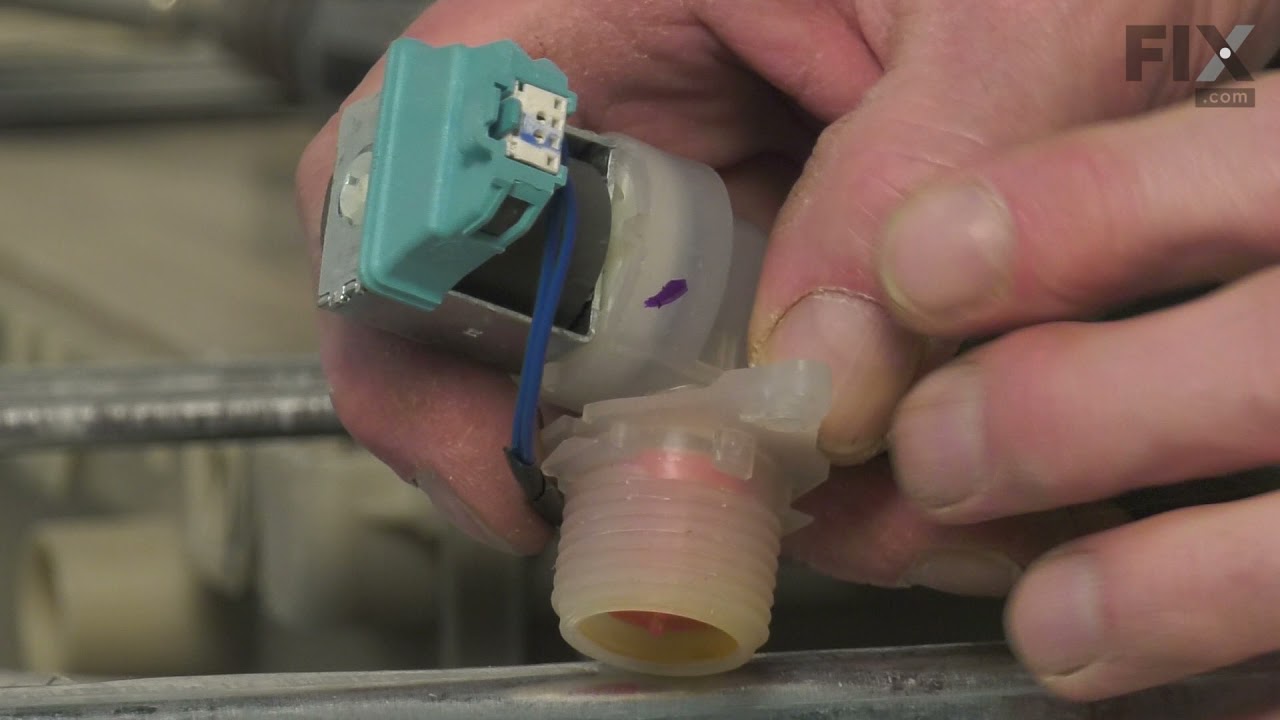
See how others fixed this model. Time, tools, difficulty, and steps that lead to victory!
View More