


 My Orders




11028103310 Kenmore Washer - Overview
Diagrams for 11028103310
See every part. Know exactly what you need.


Enter a part description. DIY Heroes keep it simple, eg. "belt" or "pump".
Search filter:
Clear Filter
Your search term must have 3 or more characters.

$35.80
In Stock
Basket Hub Kit
Part #W10820039
This kit includes one driver hub and two driven basket hubs. The basket hub is located under the agitator. If your washer is not agitating or spinning properly, the hubs will need to be replaced.

No Longer Available
Touch-Up Paint - White
Part #72017
This touch-up paint can be used on a wide variety of household appliances. It is most often used on washers, dryer, refrigerators, dishwashers, ranges, freezers, trash compactors, or microwaves. It is an 18 ml, or.6 fluid ounces, bottle of touch-up paint. It also features a brush for easy application. This quick-drying, long-lasting paint...Read more is perfect for fixing any nicks, scratches, or chips on the exterior of your appliance. This paint is white in color, and provides a durable finish.
Read less

$9.62
In Stock
Hose Clamp
Part #WP285655
The hose clamp is used to hold the water hose in place which will prevent the hose from leaking water. Sometimes the clamp may lose its ability to latch on, causing a leaking washer. For the installation, you will need a flat head screw driver to replace the clamp and a drill to access the screws to remove the front of the washer. Be care...Read moreful if you do not have specific clamp pliers as the clamp could fly off. Once the front of the washer has been removed, take a quick look for water damage or any obvious signs of where the leak is coming from. If it is not obvious, run water to test.
Read less

$20.36
Special Order
Affresh Washing Machine Cleaner - 3 pack
Part #W10135699
Affresh Washing Machine Cleaner includes three slow-dissolving tablets that help remove odor-causing residue from inside the washer. Suitable for all washer brands, including high-efficiency (HE) machines, the formula is also septic-safe. Place one tablet directly in the empty wash basket and run the Clean Washer cycle, or use a normal cycle with hot water. Use monthly or every 30 wash cycles for best results.

$7.47
In Stock

$38.96
In Stock
Washer Sensor
Part #WPW10178988
This rotary position sensor is a genuine OEM part for your washing machine. It helps to ensure the load of clothing stays balanced during the wash cycle. Customers have rated this repair as easy. To complete this repair, you will need an Allen wrench, 3/8 inch socket, and a screwdriver. The repair will involved turning off the power and water supply, and tilting the washer on its front to access the sensor.

$104.33
In Stock
Tub Seal and Bearing Kit
Part #W10435302
This washer tub seal and bearing kit is designed to restore smooth, watertight operation in top-load washing machines by replacing worn internal components that support the wash basket and drive system. The assembly helps eliminate common problems such as loud grinding or roaring noises during spin cycles, water leaking from beneath the t...Read moreub, and performance issues related to improper spinning or balance errors. By renewing the tub seal, bearings, and related drive components together, the kit helps stabilize the basket, reduce vibration, and extend the overall life of the washer. Installation is considered a complex repair requiring mechanical skill and proper tools, but when completed correctly, it returns the washer to quieter, more reliable operation.
Read less

No Longer Available
Spray Paint - 12 oz. - White
Part #350930
Appliance spray paint is a great way to cover up any chips and scratches that have appeared on your appliances. Instead of replacing the part entirely, this is an easy fix. This is also a great way to give a fresh new look to any handles or areas that have discoloring due to wear. Make sure to clean the area before you begin and wear a pr...Read moreotective mask for safety. Give the can a good shake and spray a few inches away from the surface. Apply the paint until the area is fully covered as desired. Wait until the paint has dried before using the appliance.
Read less

$7.47
In Stock

$20.37
In Stock
Washer Hose Drain Pump
Part #WP8182767
Having trouble with your refrigerator door? The GE Hinge Center Assembly might be just the solution you need. This top-notch hinge is designed specifically for the left-hand door of your fridge. You see, a great fridge is all about easy access?that's exactly what this hinge provides. With its smooth pivot operation, you'll find opening ...Read moreand closing your fridge door effortless. One of the most significant roles a hinge plays is bearing the weight of your fridge door. That's where this GE hinge excels. Its sturdy design supports the entire weight of your refrigerator door, safeguarding it from potential sagging or improper closing. It's not just about fixing a faulty hinge?it's about extending the life of your entire door. Installing this hinge is straightforward, but always remember to put safety first! We suggest wearing gloves during the installation process to protect your hands. Keep in mind, this hinge is a prime example of the superior-quality that GE consistently delivers. Give your fridge a new lease on life with the GE Hinge Center Assembly.
Read less

$93.10
In Stock
Water Inlet Valve
Part #W10853723
This water inlet valve attaches the water lines to the back of your appliance. The attaching solenoids on the valve open and close according to the desired temperature, or amount of water needed.

$99.30
In Stock
Drain Pump
Part #WPW10409079
The drain pump assembly is an essential component in washing machines, responsible for removing water from the washer during the drain cycle. If your washing machine isn’t draining properly or if you notice excess water remaining in the drum after the cycle ends, the drain pump may need to be replaced. This genuine OEM part is designed to...Read more fit various models, ensuring compatibility and reliable performance. The part is made with durable materials to handle the constant use in your washing machine. For safety, always unplug the machine before starting the installation process, and make sure the part is compatible with your specific model.
Read less
Common Symptoms of the 11028103310
How this model fails, and the parts that fix it.
Leaking
Fixed by
these parts
these parts


Show All
Will not drain
Fixed by
these parts
these parts


Show All
Will not agitate
Fixed by
these parts
these parts


Show All
Spinning Issues
Fixed by
these parts
these parts

Show All
Noisy and Marks Left on Clothes
Fixed by
these parts
these parts
Show All
Spins slowly
Fixed by
these parts
these parts
Show All
Draining Issues
Fixed by
these parts
these parts
Show All
Will Not Start
Fixed by
these parts
these parts
Show All
Water Filling Issues
Fixed by
these parts
these parts
Show All
Watch our pros, then fix it yourself.
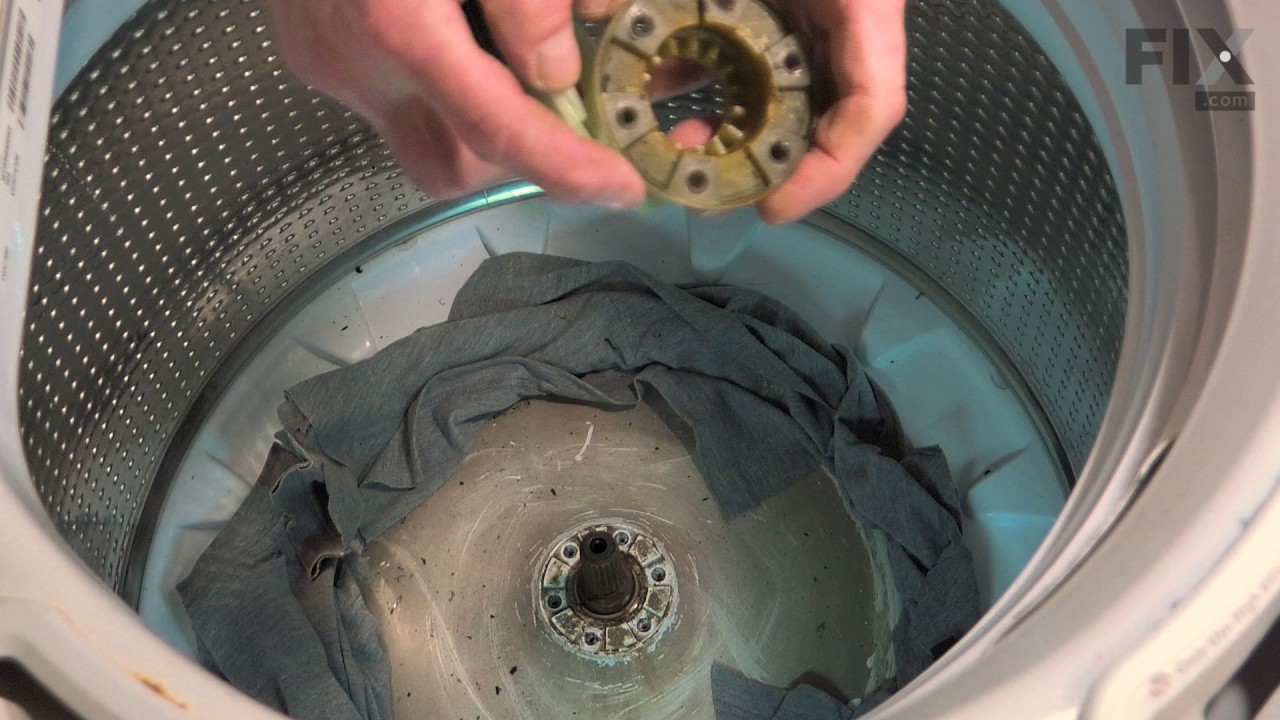
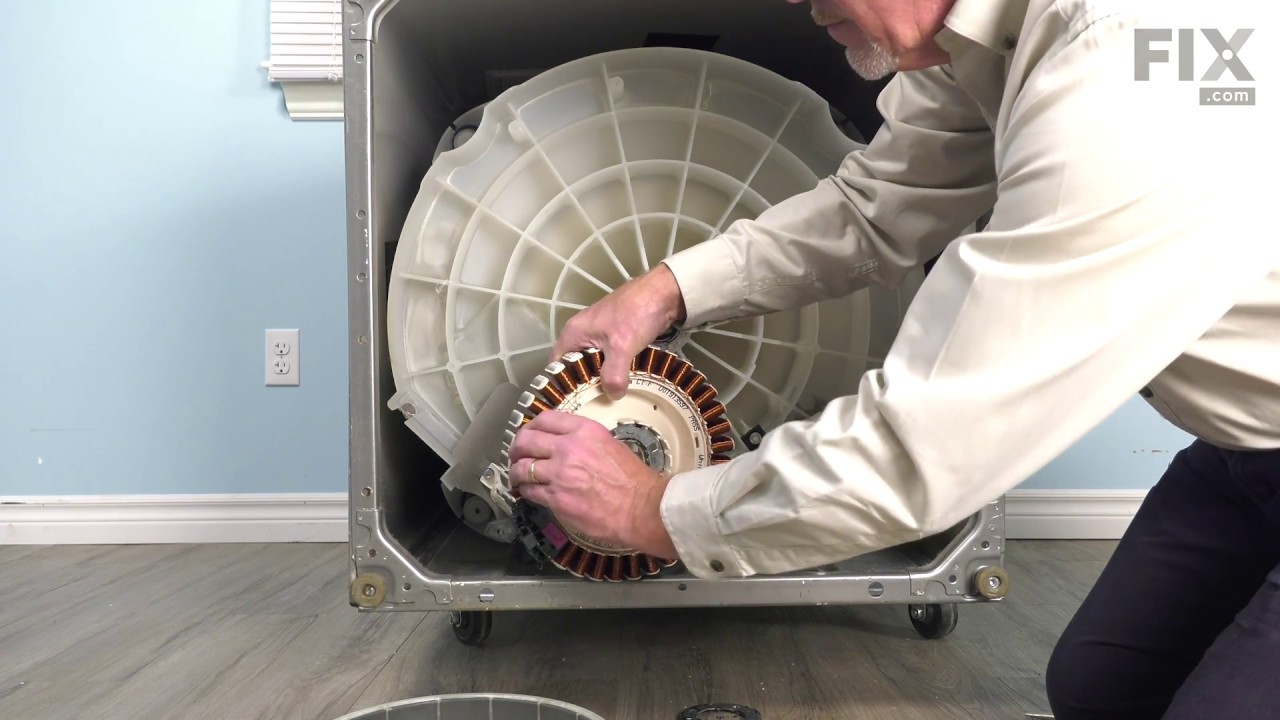

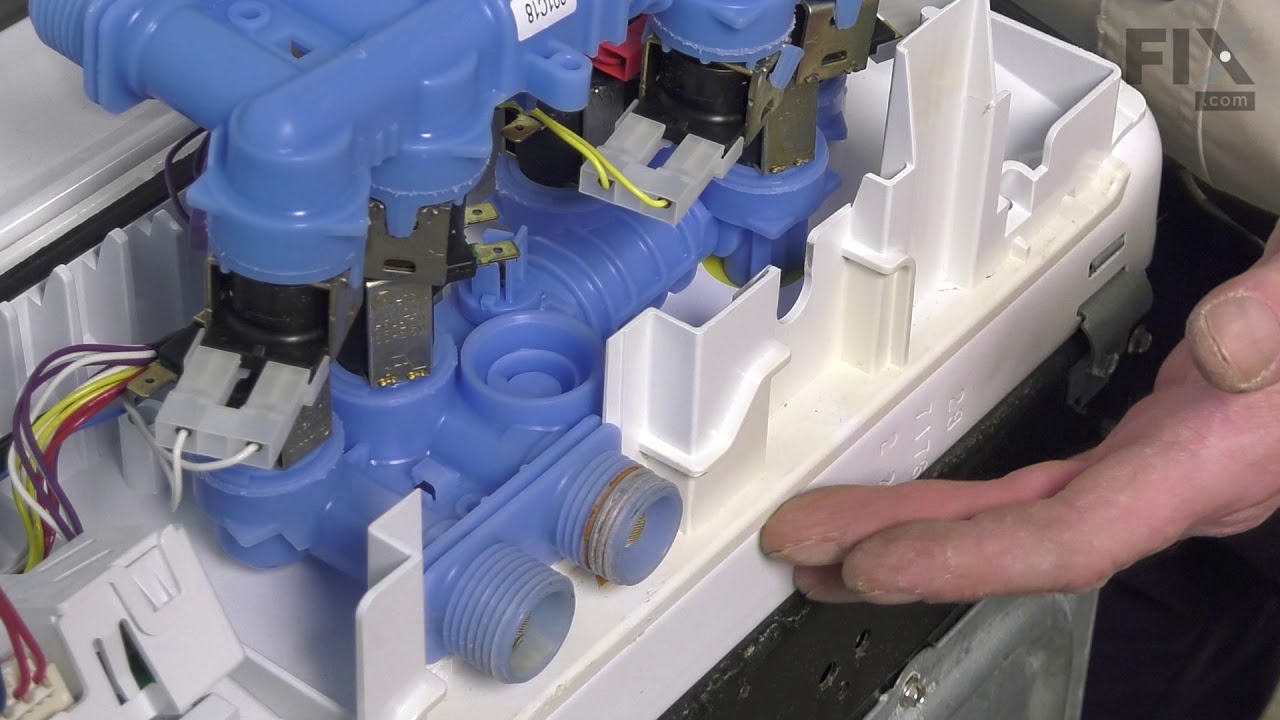
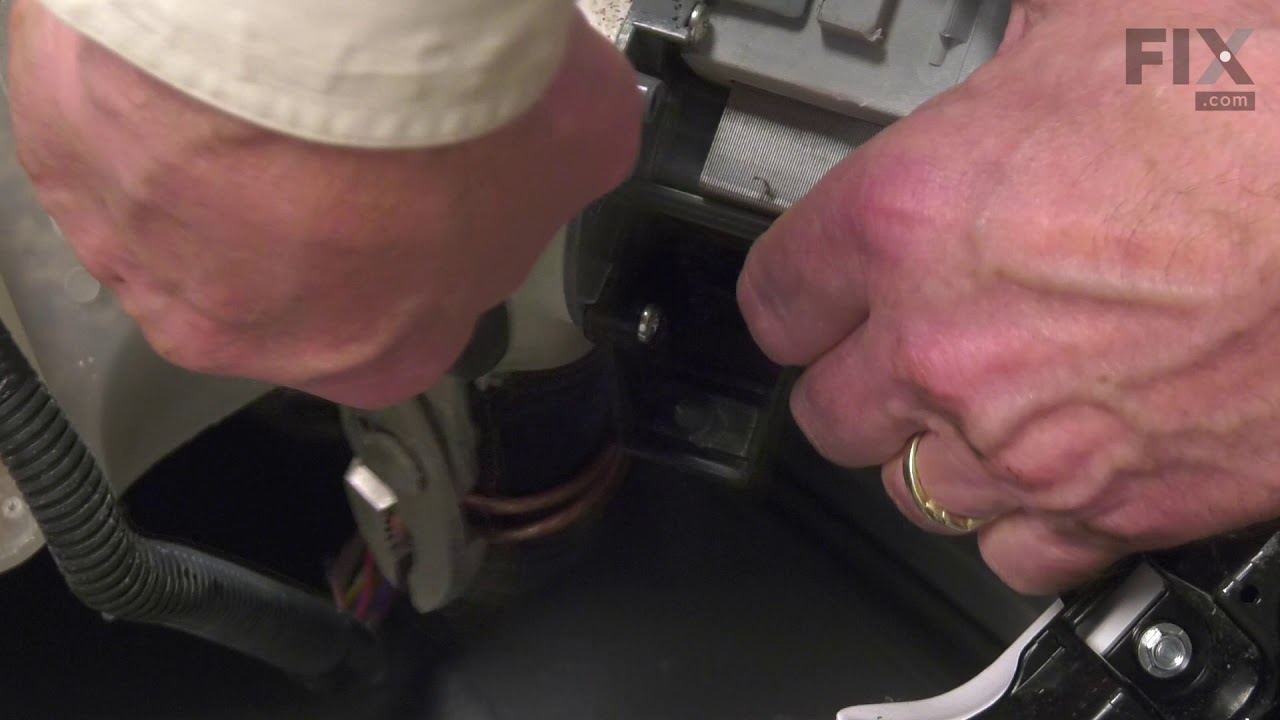
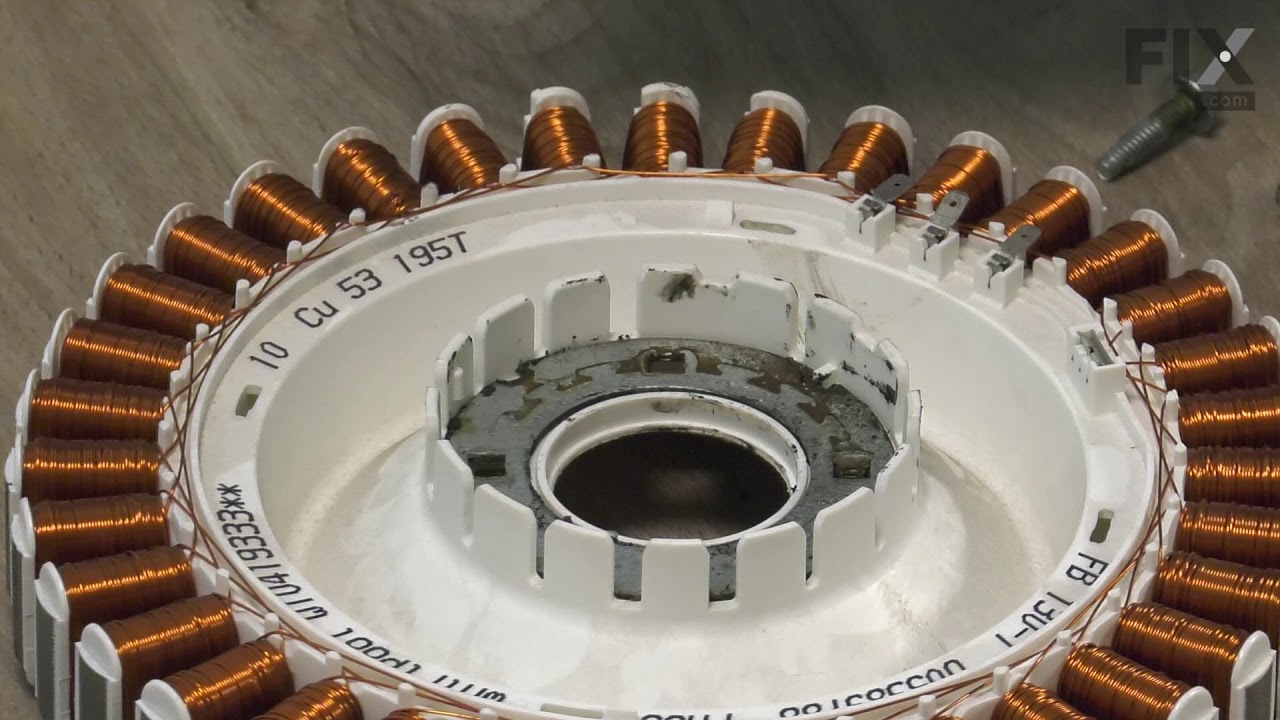
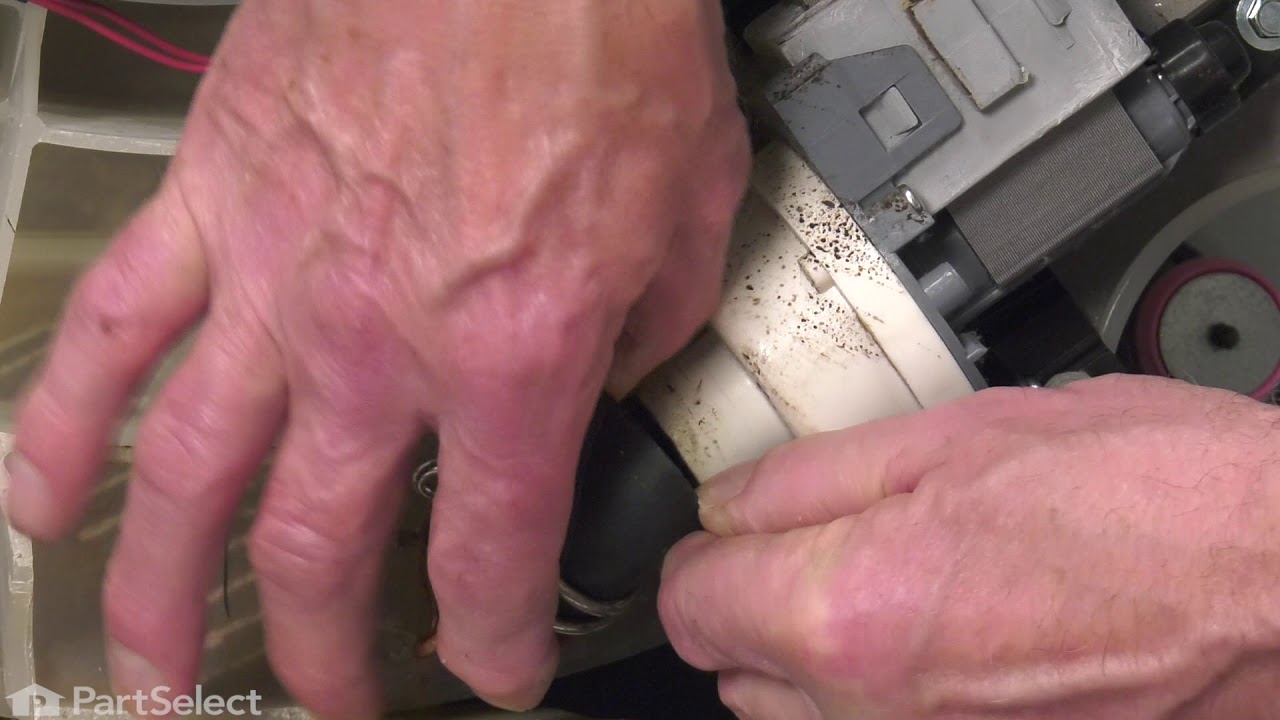
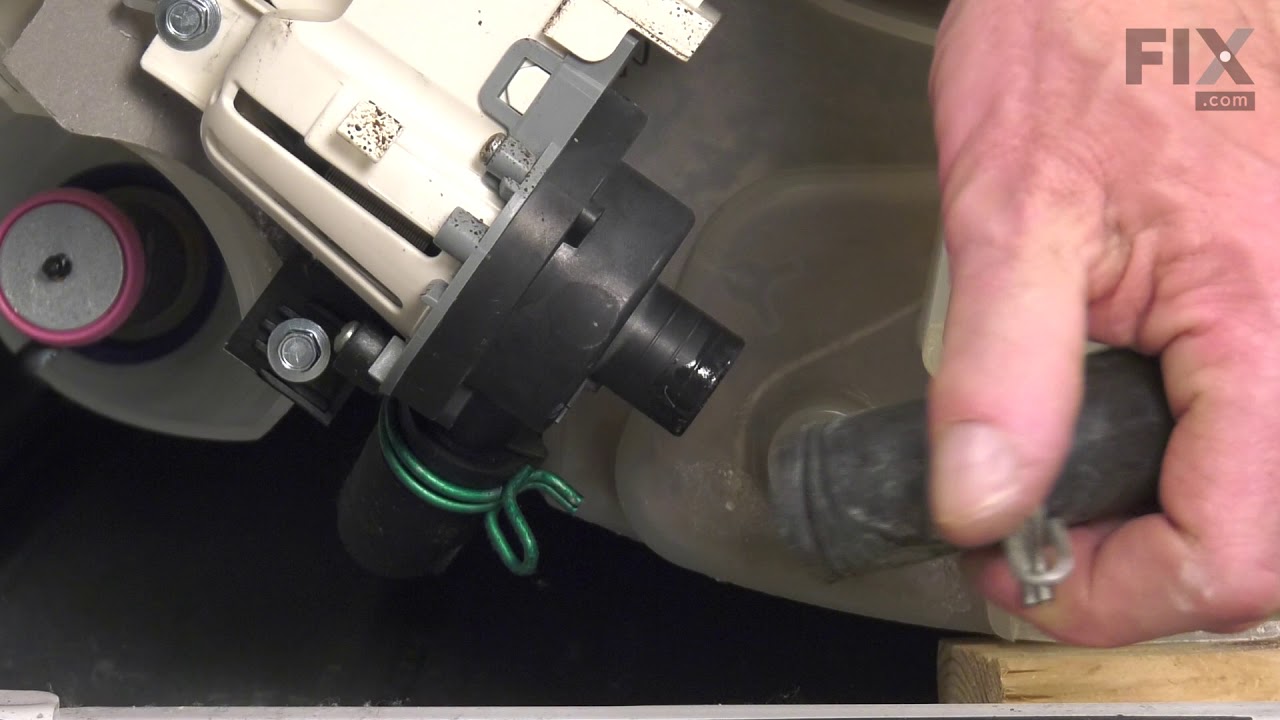
See how others fixed this model. Time, tools, difficulty, and steps that lead to victory!
View More