


 My Orders




11027112601 Kenmore Washer - Overview
Diagrams for 11027112601
See every part. Know exactly what you need.

Enter a part description. DIY Heroes keep it simple, eg. "belt" or "pump".
Search filter:
Clear Filter
Your search term must have 3 or more characters.

$43.18
In Stock
Washer Direct Drive Water Pump
Part #WP3363394
The direct drive drain pump (Whirlpool Direct Drive Washer Pump, Drain Pump, Washer Drain Pump, Water Pump) removes water from the washer during the drain cycle without the use of a belt. The pump is supposed to drain the water from the washer; if the water isn’t draining or if there is a leak, you may have a problem with your pump. You ...Read moremust replace this part if there is a blockage or clog. Although the symptoms may point to a malfunctioning drain pump, there could actually be a problem with one of the connecting hoses. This pump connected directly to the motor, and comes in white plastic. This replacement part features 1 direct drive water pump with 2 ports for water to pass through: a large one and a smaller one.
Read less

$9.62
In Stock
Suspension Spring
Part #WP63907
The suspension spring supports the outer tub and keeps the tub steady during loads that could cause an unbalance. If this part breaks, is worn down or has stretched out and lost its spring, it could cause the load to be off-balance which can lead to excessive shaking, moving, noise, and leaks. For this repair, you will need a 1/4 nut driv...Read moreer, a putty knife, a flat blade screwdriver, and a pair of needle-nose pliers. Disconnect the power supply, fill hoses, and drain hose to give you safe and easy access (have a container nearby for water left in drain hose). This item is sold individually, which is important as you may need to repair multiple springs in your appliance, which carries three suspension springs. As an inexpensive part, we recommend purchasing several at a time, as they can be very useful to have on-hand.
Read less

$41.07
In Stock
Lid Switch Assembly with Leads
Part #3949247
This switch (Lid Switch Assembly With Leads, Washer Lid Switch, Lid Switch Assembly, Washer Lid Switch) tells the washing machine that the lid is closed, which allows the wash cycle to begin. The lid switch mounts to the underside of the cabinet top panel. The plastic on the actuator can become brittle with age and break when the lid is c...Read morelosed roughly. It can also break from the movement of an unbalanced load causing parts of the washer to strike it. This part must be replaced if it is broken and no longer being activated by closing the lid (indicated by the washer not agitating properly, or the machine not detecting the lid is closed). This switch is black plastic with wire leads. It is sold individually.
Read less

$6.40
In Stock
Agitator Bolt
Part #WP358237
This kit contains one screw with rubber gasket and threaded sealant. The screw head is 7/16".

$6.40
In Stock
Washer Tub Spring
Part #WPW10250667
This tub spring is also known as suspension spring, balance spring, or counterweight spring. It is sold individually. The function of the part is to counterbalance the weight of the motor on the front of the front-load washer so the washer tub sits straight and even during the spin cycle. You may need to replace the spring if tub is sitti...Read moreng tilted forward. A broken spring will result in the tub being off-balance during the spin cycle which can cause further damage to washer parts. It is recommended to check all suspension springs as they often wear at the same rate. Tools needed for repair are a Phillips screw driver, flat blade screw driver, and a pair of pliers.
Read less

$13.92
In Stock

$7.47
In Stock
Washer Hose Clamp
Part #WP596669
This hose clamp is used in a wide variety of household appliances. Most often it is found in washers, dishwashers, refrigerators, freezers, dehumidifiers, garbage disposals, or air conditioners. This clamp is used to securely attach a hose to another part of your appliance, which helps prevent leaks from those connections. Depending on th...Read moree appliance, it can attach hoses to drain pumps, water inlet valves, pressure switches, and injector nozzles. We recommend you refer to model-specific diagrams for appropriate uses and exact placement. This hose clamp is made of metal, and is sold individually. To access and replace this part you will need a nut driver, pliers, and screwdrivers. Before you begin any repair work, make sure you have unplugged your appliance, and shut off the water supply if applicable.
Read less

$7.47
In Stock
Centerpost Gasket
Part #W10814296
This part may also be referred to as a main outer tub seal. This part prevents leaking from the bottom of the tub. The gasket is approximately 2 inches in diameter to the outer edge, black in color, and made of plastic material. To perform this repair, you will need to disconnect the power, drain hose, and the inlet hose. You will need to...Read more remove the entire outside cabinet to have access to the tub assembly. The tub will need to be removed entirely. This is a genuine part that is sourced directly from the manufacturer.
Read less

$9.62
In Stock
Leveling Spring
Part #8316845
This spring is used on the leveling components in a washer. Please note, this spring may differ in appearance, but functions the same as original.

$6.40
In Stock
Washer Front Leveling Foot
Part #WPW10001130
The front facing foot is sold individually. It is used on your washing machine and can also be known as an adjustable leveling leg. This specific front facing leveling leg has a rubber foot. It is important that when installing this part you are very careful, if not installed correctly your washer will be off balance which will then cause...Read more it to vibrate and/or shake during the cycle. The function of the adjustable foot is to keep your washing machine supported and to make sure that it is level at all times. The tools you will need for this repair include a pair of channel lock pliers, and a 9/16 wrench.
Read less

$12.85
In Stock

$30.53
In Stock
Washer Drain Hose
Part #WPW10358149
It connects from the pump to the back panel. The clamp is not included.
Common Symptoms of the 11027112601
How this model fails, and the parts that fix it.
Leaking
Fixed by
these parts
these parts


Show All
Will not drain
Fixed by
these parts
these parts


Show All
Will not agitate
Fixed by
these parts
these parts


Show All
Will Not Start
Fixed by
these parts
these parts


Show All
Shaking and Moving
Fixed by
these parts
these parts


Show All
Noisy
Fixed by
these parts
these parts

Show All
Spinning Issues
Fixed by
these parts
these parts
Show All
Spins slowly
Fixed by
these parts
these parts


Show All
Leaks water
Fixed by
these parts
these parts
Show All
Burning smell
Fixed by
these parts
these parts
Show All
Draining Issues
Fixed by
these parts
these parts
Show All
Cycle Not Advancing
Fixed by
these parts
these parts
Show All
Lid or door won’t close
Fixed by
these parts
these parts

Show All
Not draining
Fixed by
these parts
these parts
Show All
Touchpad does not respond
Fixed by
these parts
these parts
Show All
Marks left on clothes
Fixed by
these parts
these parts
Show All
Watch our pros, then fix it yourself.
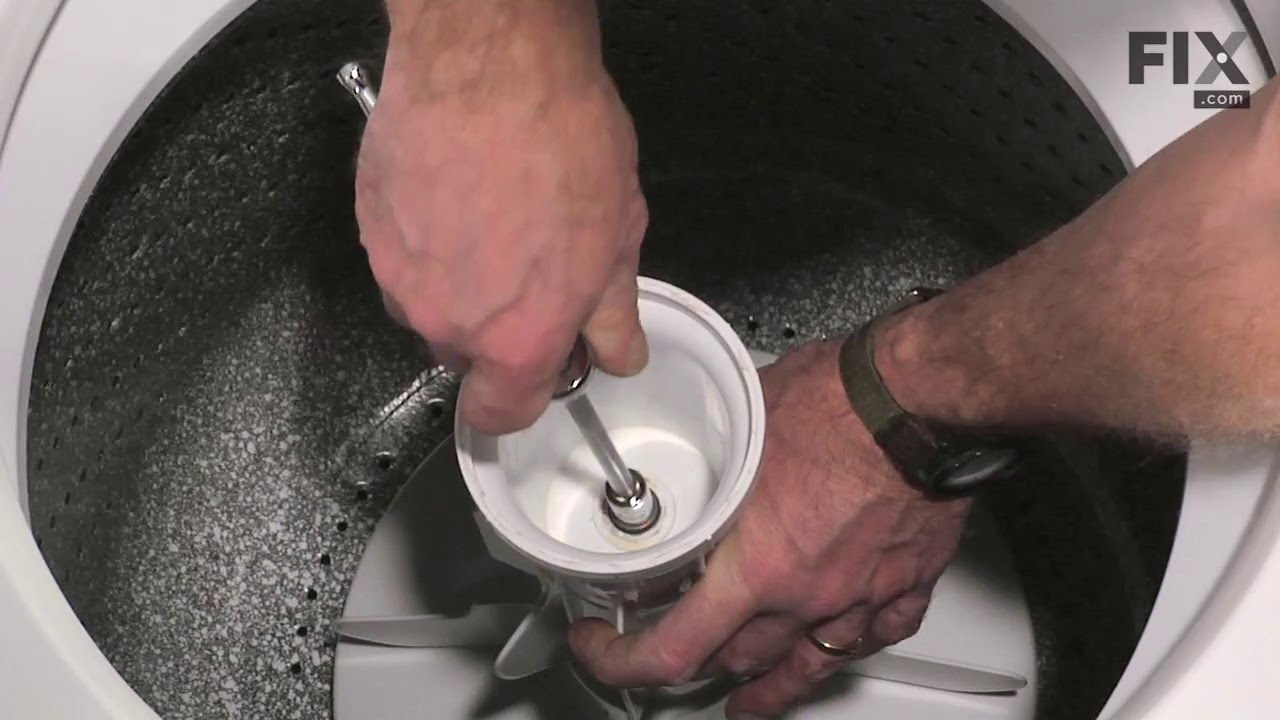
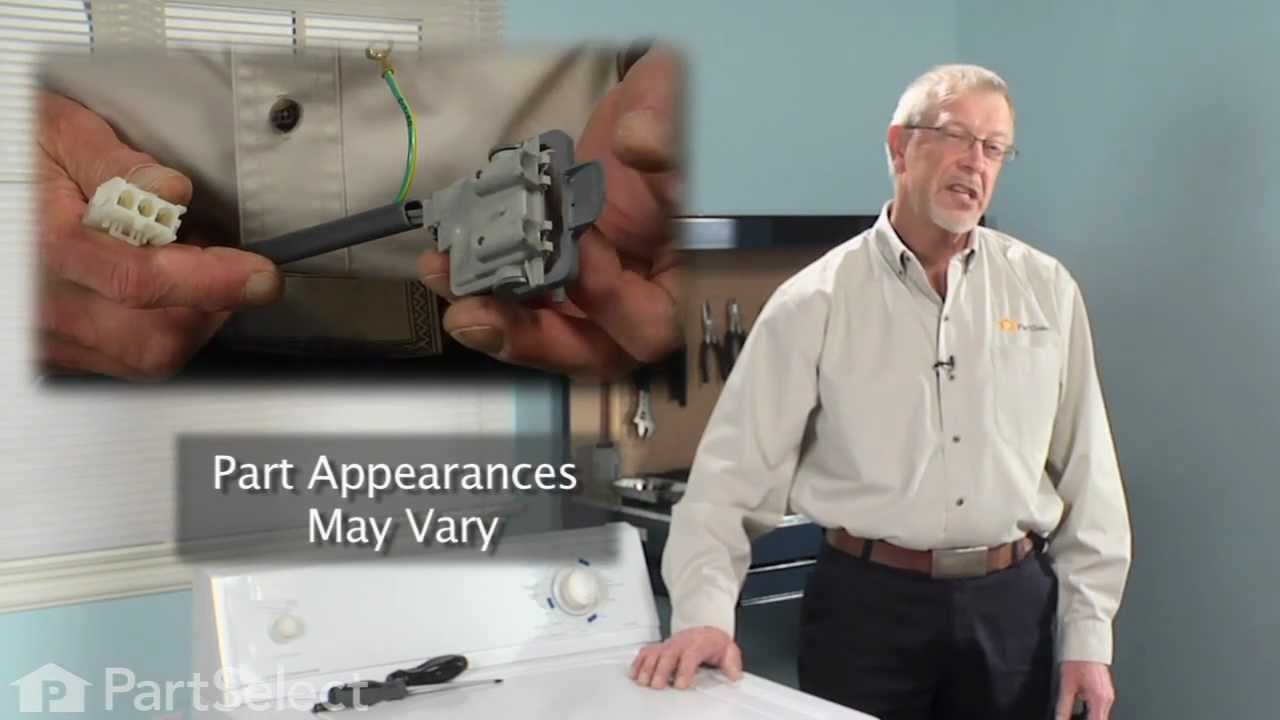
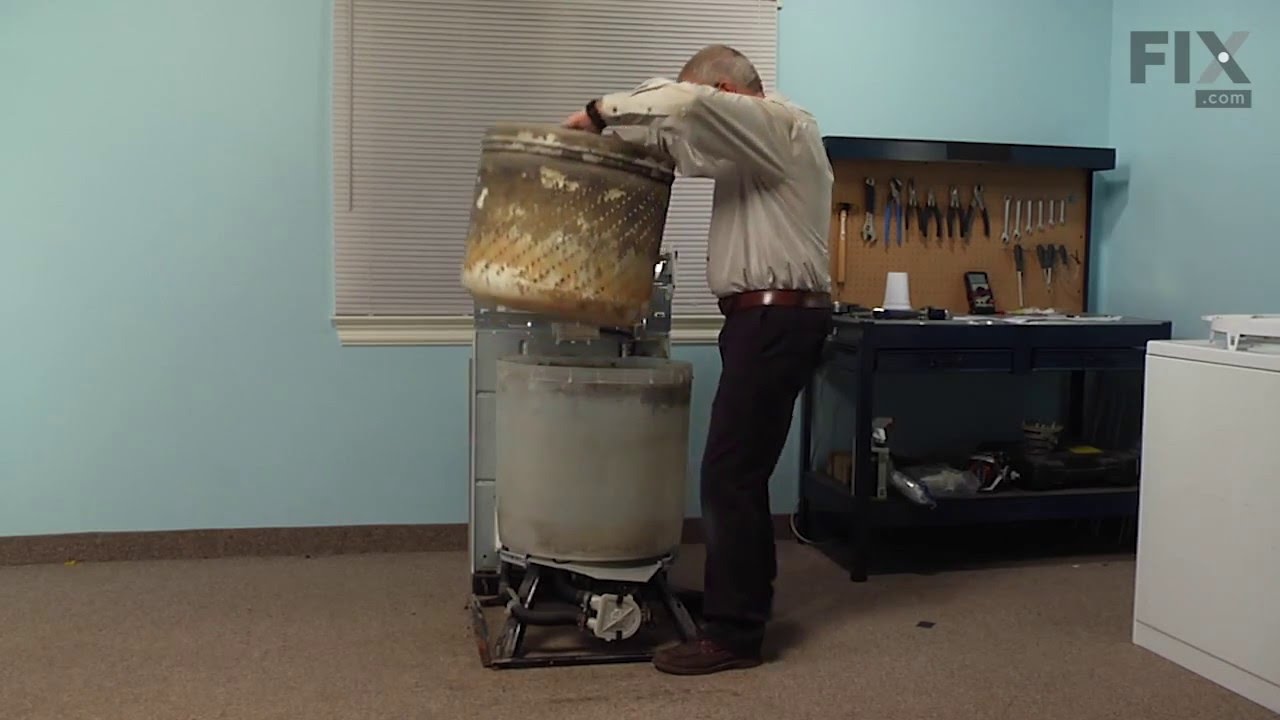
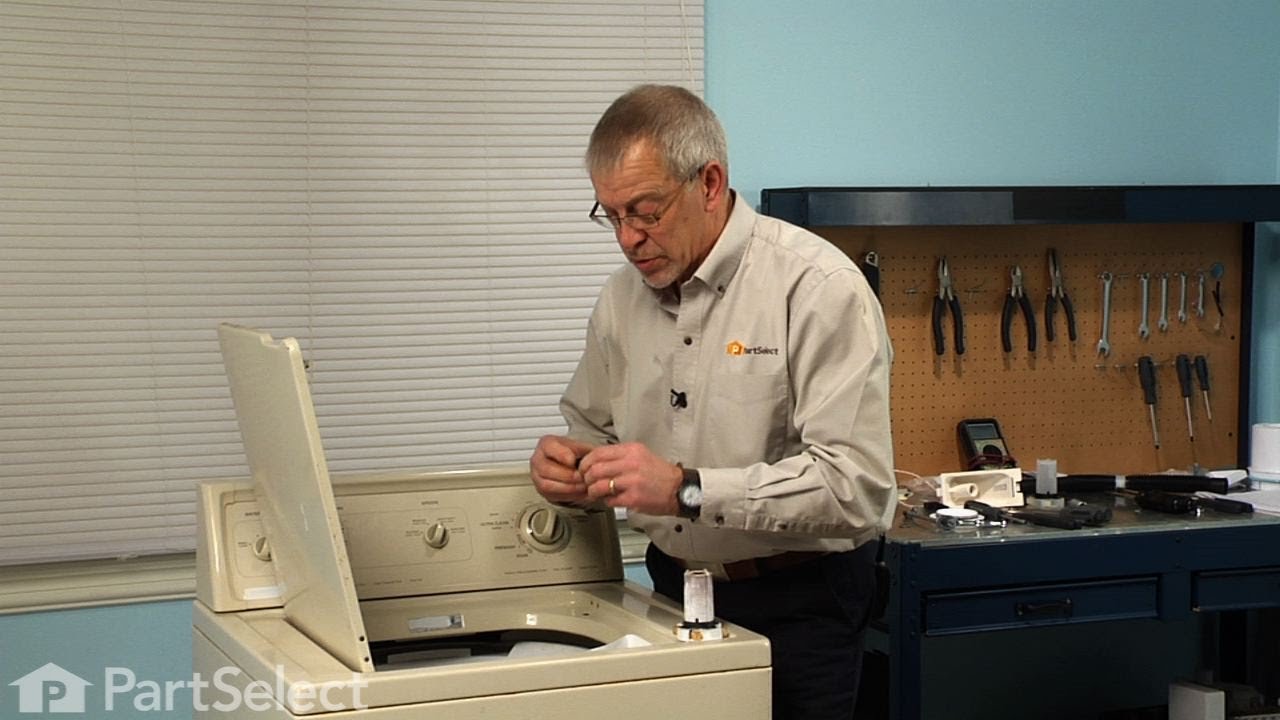
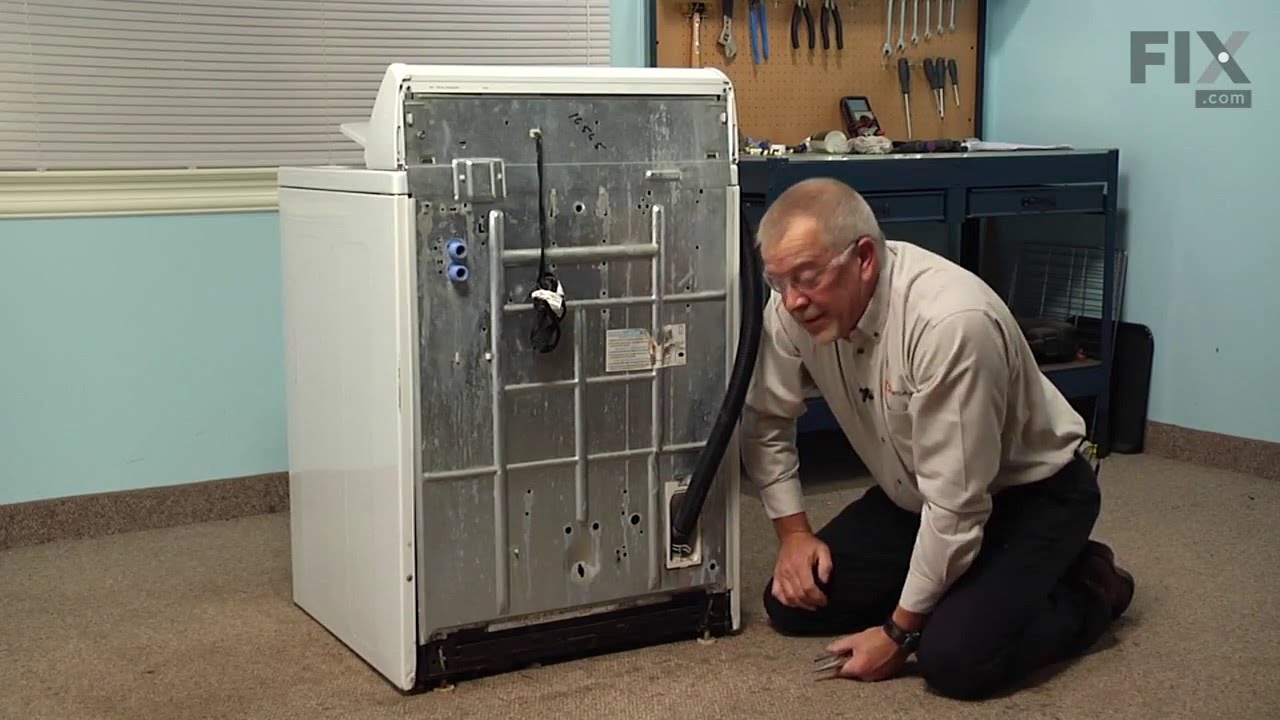
See how others fixed this model. Time, tools, difficulty, and steps that lead to victory!
View More
Search repair tips from other customers using simple keywords like "replace", "fit", "remove", "inspect". DIY doesn't mean you have to do it alone!
Search filter:
Clear Filter
Your search term must have 3 or more characters.
Water pump leaking when machine used.
594 of 637 people
found this instruction helpful.
The hardest part of this job was pulling the machine away from the wall so the hoses could be disconnected and the machine flipped onto it's back. Putting the machine on it's back does two things. It drains the water left in the bottom of the tub so it won't pour out onto the motor when the old pump is removed, and gives the necessary a
... Read more
ccess to the pump. Once the machine is on it's back you remove the hose clamps with a pair of pliers and disconnect the hoses. The pump is secured to the motor with a pair of spring steel retaining clips which are easily popped off by hand. Once the clips are removed, the pump is in your hand. Put the new pump in place, replace the retaining clips and hoses, and you're done. This has to have been the easiest repair I've ever done. I wish cleaning gutters was this easy.
Read less
Other Parts Used:


Was this helpful?
Thank you for voting!