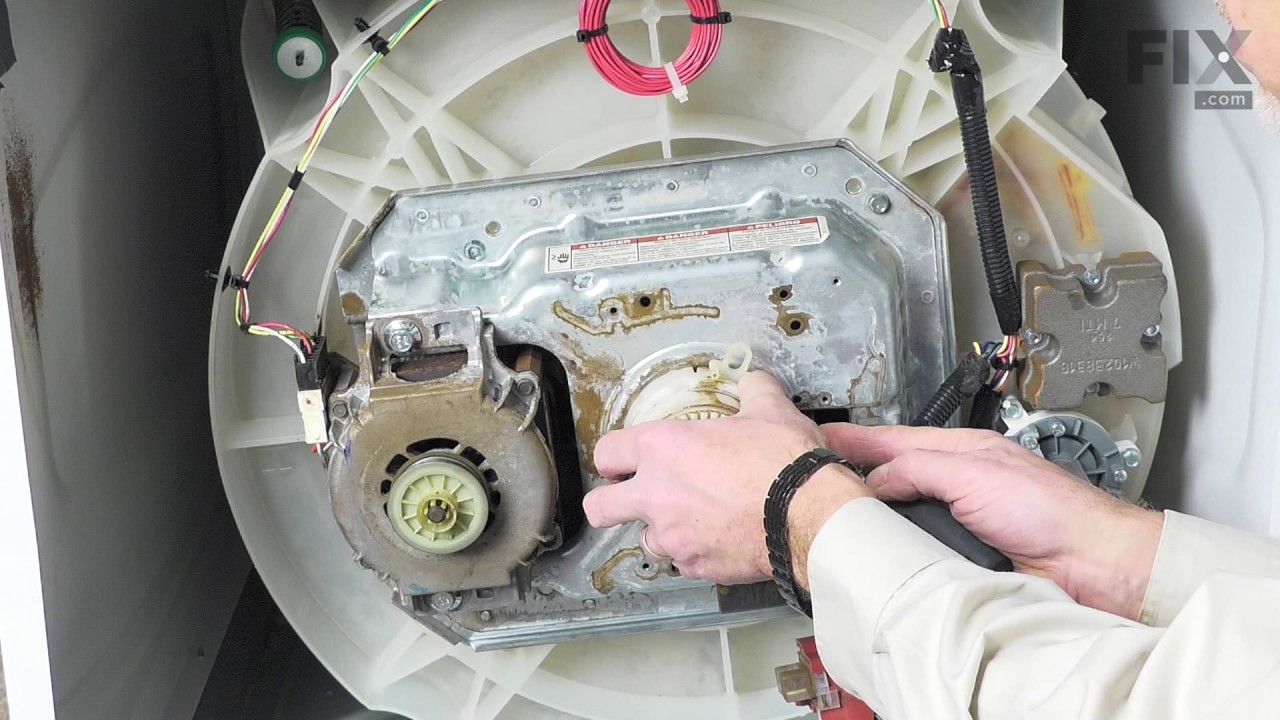
This splutch cam kit is a genuine replacement assembly designed for select Whirlpool, Maytag, and affiliated brand washing machines. It plays a critical role in the wash and spin cycles by engaging the drive motor to rotate the washer basket. The kit includes the clutch assembly, cam ring, spring, basket drive gear, pulley, and mounting n...Read moreut. Replacing this component can resolve issues such as noisy operation, slow or failed spinning, poor agitation, and excessive moisture in clothes after a cycle. In some cases, a burning smell may also indicate a failing clutch. Installation requires basic tools and should be performed with the appliance disconnected from power. Compatibility should be confirmed using your washer’s model number.
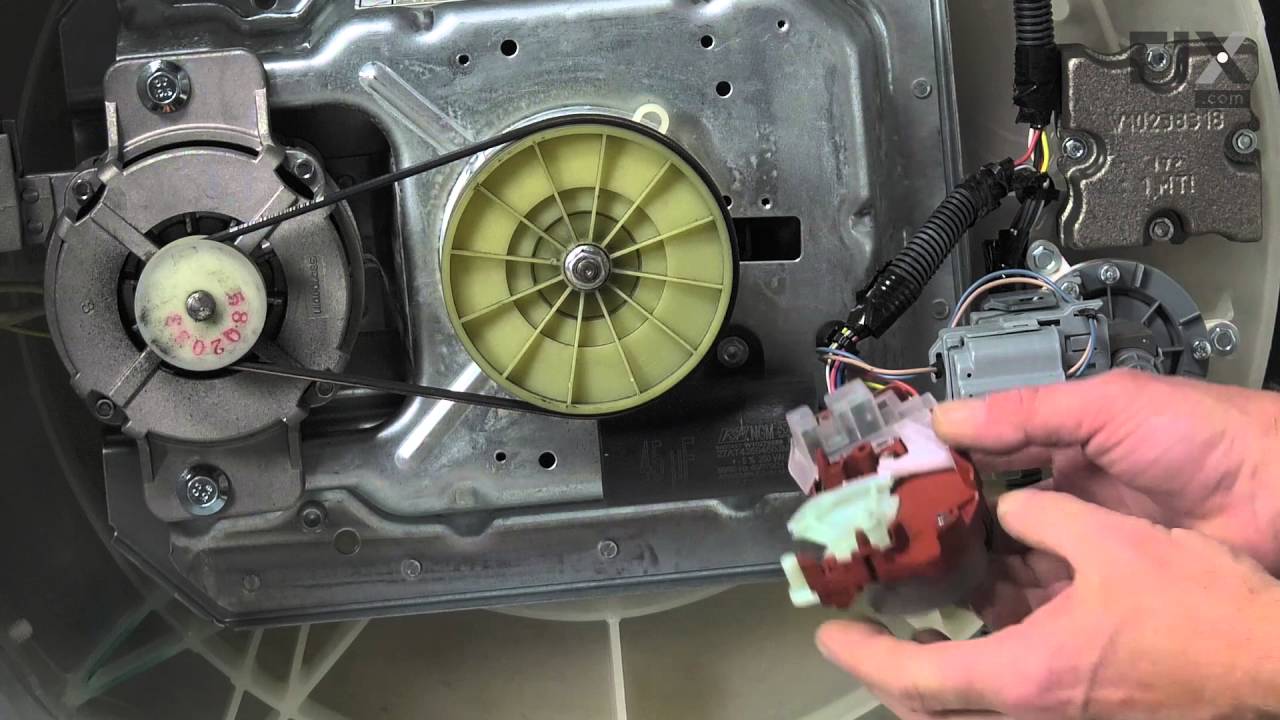
This washer lid switch is a critical safety component designed to halt the spinning motion of the tub when the lid is opened. Its primary function is to prevent accidental contact with moving parts during operation, reducing the risk of injury. The switch activates automatically, interrupting the spin cycle as soon as the lid is lifted. I...Read moref the switch becomes faulty, the washer may not spin or may continue spinning with the lid open, posing a safety hazard. Replacement is recommended if the switch is damaged or no longer functioning properly.
This suspension rod kit is a genuine OEM kit specially designed for washing machines. Each kit includes a set of 4 rods, 4 suspension balls and 4 bushings. The suspension rods are responsible for supporting the washer tub and allowing it to move freely during the wash and spin cycles while minimizing vibrations and noise. The suspension r...Read moreods, balls and bushings may fail over time due to cracks, breaks, or excessive wear. If the suspension rod kit is faulty, you will likely notice excessive vibration or shaking during the spin cycle, loud banging noises, or the washer not balancing properly.
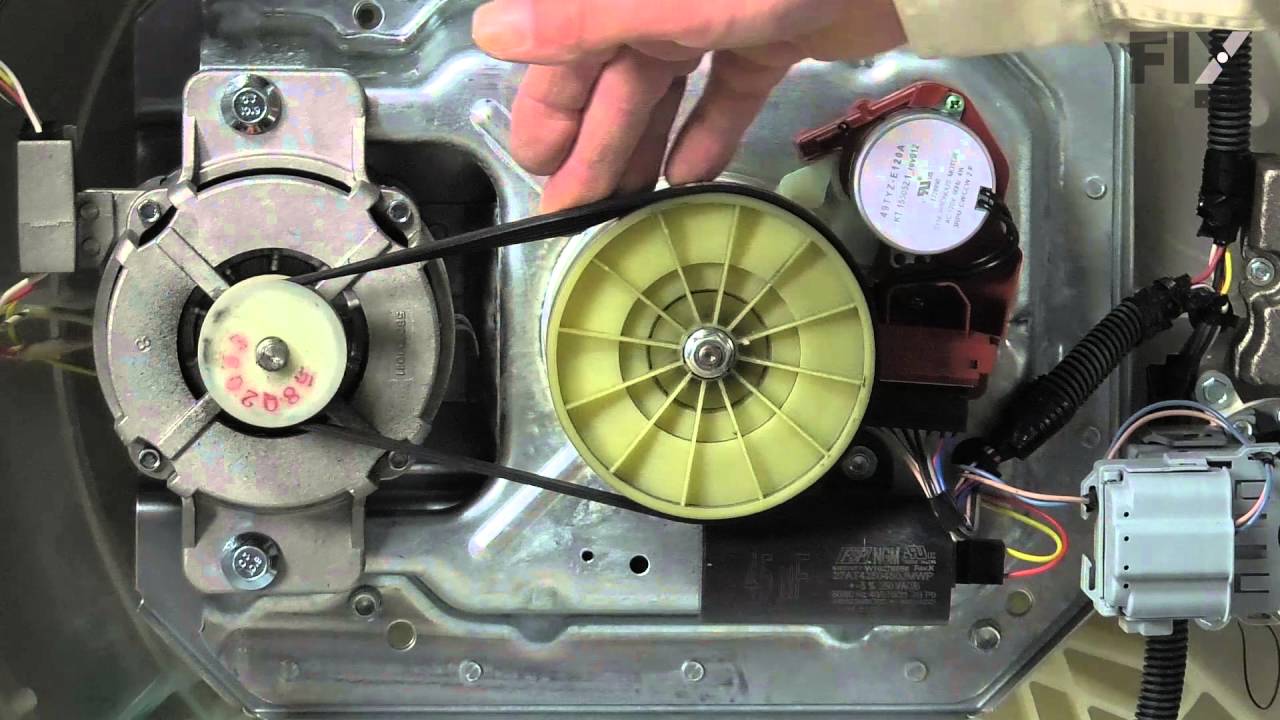
This genuine OEM drive belt is designed to transfer power from the motor to the drum in select Whirlpool, Maytag, Kenmore, and other compatible washing machines. Operating at 115 volts and 60 Hz, the belt enables the drum to spin and agitate during wash and spin cycles, ensuring effective cleaning and rinsing. Manufactured to Whirlpool’s ...Read morespecifications, this replacement part offers reliable performance and a precise fit. Common symptoms of a worn or broken belt include the drum not spinning, unusual noises, or a burning smell during operation. Replacing the belt can restore proper function and prevent further mechanical issues. Always verify compatibility with your specific model before ordering.
This shift actuator is a genuine replacement component designed for top-load washing machines. It plays a critical role in transitioning the washer between agitation and spin cycles by shifting the transmission and monitoring the splutch position. Equipped with a synchronous motor, it regulates the agitator’s movement to ensure proper was...Read moreh performance. Compatible with a wide range of models from Whirlpool, Maytag, Kenmore, Amana, and other associated brands, this part is commonly replaced when the washer fails to start, agitate, or spin properly. Symptoms of failure include slow spinning, no agitation, or the drum not turning despite the pump running. Installation requires basic hand tools and novice repair experience. Always disconnect power and water before beginning. Sold individually.
This touch-up paint can be used on a wide variety of household appliances. It is most often used on washers, dryer, refrigerators, dishwashers, ranges, freezers, trash compactors, or microwaves. It is an 18 ml, or.6 fluid ounces, bottle of touch-up paint. It also features a brush for easy application. This quick-drying, long-lasting paint...Read more is perfect for fixing any nicks, scratches, or chips on the exterior of your appliance. This paint is white in color, and provides a durable finish.
This part is the replacement lid latch or latch assembly for your top-load washer. The lid latch holds your washer door closed, and allows the washer to run its cycle. If the lid latch is damaged, your washer door may not close properly and you may not be able to run your washer. The latch is found under the lid and can be screwed out and...Read more replaced. You will need a Phillips-head screwdriver for this repair. This part is sold individually and is and OEM part from the manufacturer.
The hose clamp is used to hold the water hose in place which will prevent the hose from leaking water. Sometimes the clamp may lose its ability to latch on, causing a leaking washer. For the installation, you will need a flat head screw driver to replace the clamp and a drill to access the screws to remove the front of the washer. Be care...Read moreful if you do not have specific clamp pliers as the clamp could fly off. Once the front of the washer has been removed, take a quick look for water damage or any obvious signs of where the leak is coming from. If it is not obvious, run water to test.
Ask our experts a question about this model and we'll get back to you as soon as possible!
We may have answered a similar question already! Search questions and answers left by others using simple keywords like "fit", "broken", "easy", or "quality" to find questions that match.
Search filter:
Clear Filter
Your search term must have 3 or more characters.
Sort by:
Prev
1
Next
Sorry, we couldn't find any existing answers that matched.Try using some different or simpler keywords, or submit your new question by using the "Ask a Question" button above!
Phillip - For model number 11026002011
December 3, 2022
after spin cycle clothes still a little wet
Hi Phillip, thank you for your inquiry. The most likely culprit for a washer that spins but still turns out soaked clothing is a drain hose problem. It could be clogged, kinked, or even positioned incorrectly, we would recommend checking it, the part number is PS12578897. If that does not help, we would suggest replacing the Drain Pump, part number PS11751719. If you require assistance placing an order, please contact customer service. We hope that helps!
See how others fixed this model. Time, tools, difficulty, and steps that lead to victory!View More
Search repair tips from other customers using simple keywords like "replace", "fit", "remove", "inspect". DIY doesn't mean you have to do it alone!
Search filter:
Clear Filter
Your search term must have 3 or more characters.
Lid Lock light blinking, machine will not start
324 of 404 peoplefound this instruction helpful.
David from Los Alamos, NM
A Bit Difficult
30 - 60 mins
Nutdriver, Screw drivers
A detailed Service Technician Service Manual is hidden inside the machine on the front panel. It is hidden by the bleach dispenser input. It gives a list of fault codes and instructions for calibration after repair, resetting fault codes, and a manual test mode for stepping the machine through each mode on command. The Tachometer faile
... Read mored which would not let the machine come up to maximum spin speed. The tachometer is part of the solenoid actuator that shifts the transmission. It is not specifically called out in the manual. Any failure causes the lid lock light to blink which gives the appearance of a lid lock failure
Read less
Was this helpful?
Thank you for voting!
Violent shacking in spin mode.
189 of 229 peoplefound this instruction helpful.
Terry from Homosassa, FL
Really Easy
30 - 60 mins
Pliers, Screw drivers, Wrench (Adjustable)
Watched a video on the internet.
Was this helpful?
Thank you for voting!
Defective lid latch - Cabrio Washer
97 of 124 peoplefound this instruction helpful.
William from Wakefield, RI
Very Easy
15 - 30 mins
Nutdriver, Screw drivers
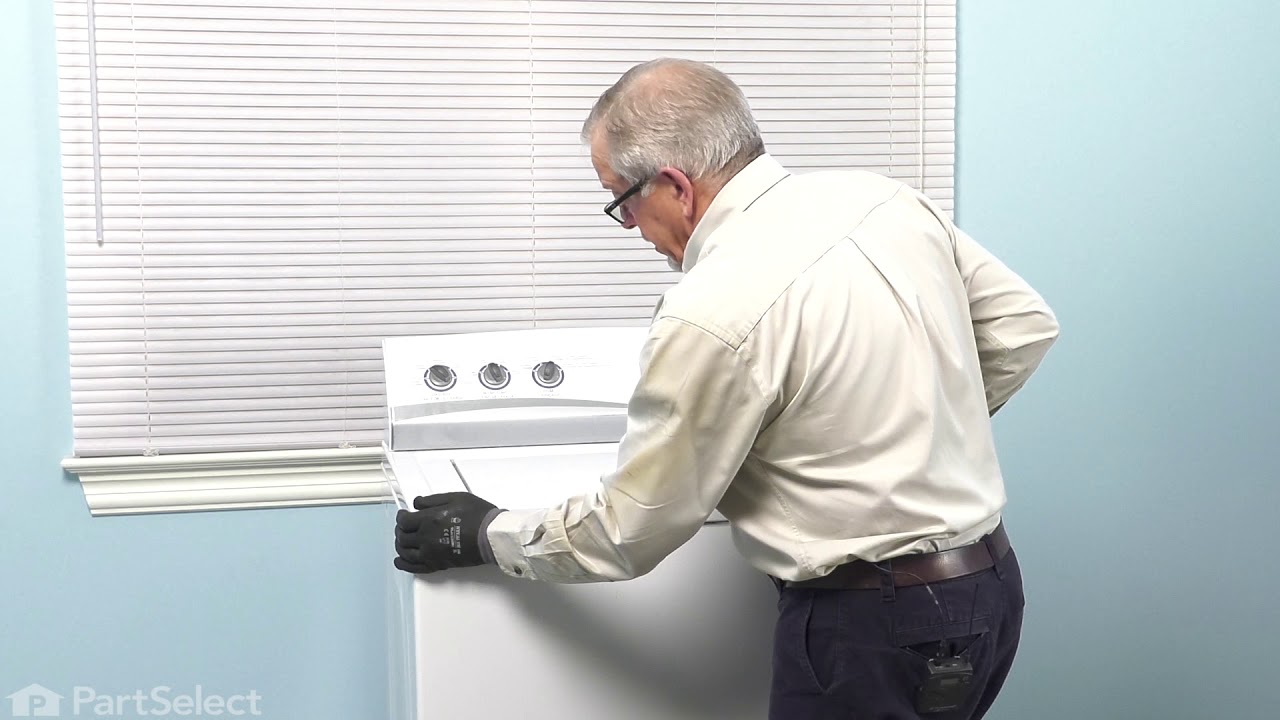
The instructions that came with the part were worthless. Essentially, unplug, put in new part, plug it back in. I spent a considerable amount of time on the internet and finally found a video showing how to open the top. Unlike other models, it is held down by clamps in the back rather than clips in the front. Once finding this inform
... Read moreation the installation was simple. Remove the clamps and the back of the console, slide the top forward and lift, remove and replace the lock and reassemble. You don't even have to remove the hoses.



 My Orders