


 My Orders




11023102310 Kenmore Washer - Overview
Diagrams for 11023102310
See every part. Know exactly what you need.


Enter a part description. DIY Heroes keep it simple, eg. "belt" or "pump".
Search filter:
Clear Filter
Your search term must have 3 or more characters.

$6.40
In Stock
Agitator Directional Cogs
Part #80040
This kit is used for replacing the agitator directional cogs (Agitator Dogs, Agitator Repair Kit, Washer Agitator Dogs, Agitator Dog Ears). The agitator is what creates the thrusting motion in your washer to tumble your clothes during the washer cycle. Your agitator will rotate one way, and not the other. The agitator dogs are what preven...Read moret the agitator from rotating in both directions, while allowing it to rotate in one direction. Your agitator cogs may be malfunctioning if you can manually rotate the agitator in both directions. If broken they will need to be replaced. Cogs can be found by simply removing the softener dispenser and then removing the agitator cap. The are attached to the agitator. This replacement part features 4 agitator directional cogs. There are 4 cogs per package that are made up of high-quality plastic. This part comes in white/beige.
Read less

$9.62
In Stock
Washer Inner Cap Seal
Part #WPW10072840
This is an inner cap seal, but may also be known as an O-ring, and it is a part for your washing machine. Some symptoms replacing this part will fix include: leaking from your appliance, uncontrollable shaking and moving, loud noise, pumps but will not spin, or if your appliance will not agitate. This model is off-black in color and 3 inc...Read morehes in diameter. You will find this part inside the agitator in the middle of your washing machine. It is recommended to wipe down the barrier before putting the new seal on.
Read less

$18.22
In Stock
Washer Agitator Cap Barrier w/Seal
Part #WPW10074580
The O-Ring is included with this cap. It can be purchased separately as Part #WPW10072840.

$7.47
In Stock

$76.17
In Stock
Suspension Rod Kit
Part #W10780045
This suspension rod kit includes four rods designed to stabilize the wash tub in compatible top-load washing machines. By minimizing vibrations and excessive movement during wash and spin cycles, these rods help maintain balance and improve overall performance—especially when handling off-balance loads. Replacing worn or damaged suspensio...Read moren rods can resolve issues such as shaking, banging, or the washer shifting during operation. Installation requires unplugging the appliance and consulting the user manual for model-specific guidance. This kit is compatible with a range of washing machine models and is sold as a complete set.
Read less

$12.85
In Stock

No Longer Available
Touch-Up Paint - White
Part #72017
This touch-up paint can be used on a wide variety of household appliances. It is most often used on washers, dryer, refrigerators, dishwashers, ranges, freezers, trash compactors, or microwaves. It is an 18 ml, or.6 fluid ounces, bottle of touch-up paint. It also features a brush for easy application. This quick-drying, long-lasting paint...Read more is perfect for fixing any nicks, scratches, or chips on the exterior of your appliance. This paint is white in color, and provides a durable finish.
Read less

$72.00
In Stock
Washer Water Inlet and Valve Assembly
Part #WPW10683603
This water inlet valve is a key component in top-load washing machines, responsible for regulating the flow of hot and cold water into the appliance. It electronically opens and closes to deliver the correct amount of water, balances temperature for each cycle, and helps maintain proper water levels. Constructed from durable, high-quality...Read more materials, the valve is designed to withstand frequent use and prevent issues such as overfilling, insufficient water flow, or leaks. Replacing a faulty valve can resolve symptoms like the washer not filling, continuous water flow, uneven temperature control, or water leakage from the rear of the unit, restoring efficient and safe operation.
Read less

$9.62
In Stock
Washer D-Shaped Knob Insert
Part #WP8536939
This insert is sold individually. Knob not included. Knob is sold separately.

$20.36
Special Order
Affresh Washing Machine Cleaner - 3 pack
Part #W10135699
Affresh Washing Machine Cleaner includes three slow-dissolving tablets that help remove odor-causing residue from inside the washer. Suitable for all washer brands, including high-efficiency (HE) machines, the formula is also septic-safe. Place one tablet directly in the empty wash basket and run the Clean Washer cycle, or use a normal cycle with hot water. Use monthly or every 30 wash cycles for best results.

No Longer Available
Spray Paint - 12 oz. - White
Part #350930
Appliance spray paint is a great way to cover up any chips and scratches that have appeared on your appliances. Instead of replacing the part entirely, this is an easy fix. This is also a great way to give a fresh new look to any handles or areas that have discoloring due to wear. Make sure to clean the area before you begin and wear a pr...Read moreotective mask for safety. Give the can a good shake and spray a few inches away from the surface. Apply the paint until the area is fully covered as desired. Wait until the paint has dried before using the appliance.
Read less

$6.40
In Stock
Common Symptoms of the 11023102310
How this model fails, and the parts that fix it.
Will not agitate
Fixed by
these parts
these parts


Show All
Shaking and Moving
Fixed by
these parts
these parts

Show All
Leaking
Fixed by
these parts
these parts


Show All
Spins slowly
Fixed by
these parts
these parts
Show All
Spinning Issues
Fixed by
these parts
these parts
Show All
Does not dispense fabric softener or detergent
Fixed by
these parts
these parts
Show All
Marks left on clothes
Fixed by
these parts
these parts
Show All
No hot or cold water
Fixed by
these parts
these parts
Show All
Water Filling Issues
Fixed by
these parts
these parts
Show All
Will not drain
Fixed by
these parts
these parts
Show All
Not cleaning dishes properly
Fixed by
these parts
these parts
Show All
Will Not Start
Fixed by
these parts
these parts
Show All
Noisy and Marks Left on Clothes
Fixed by
these parts
these parts
Show All
Timer Not Working
Fixed by
these parts
these parts

Show All
Watch our pros, then fix it yourself.
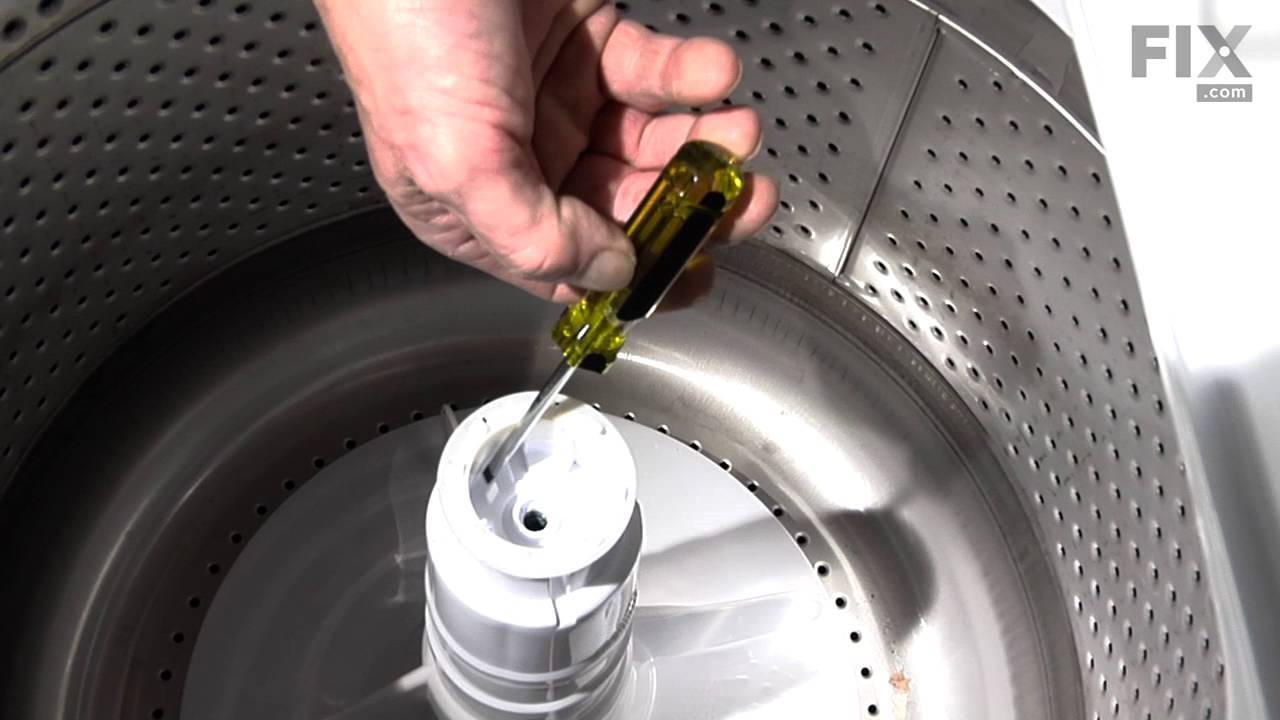
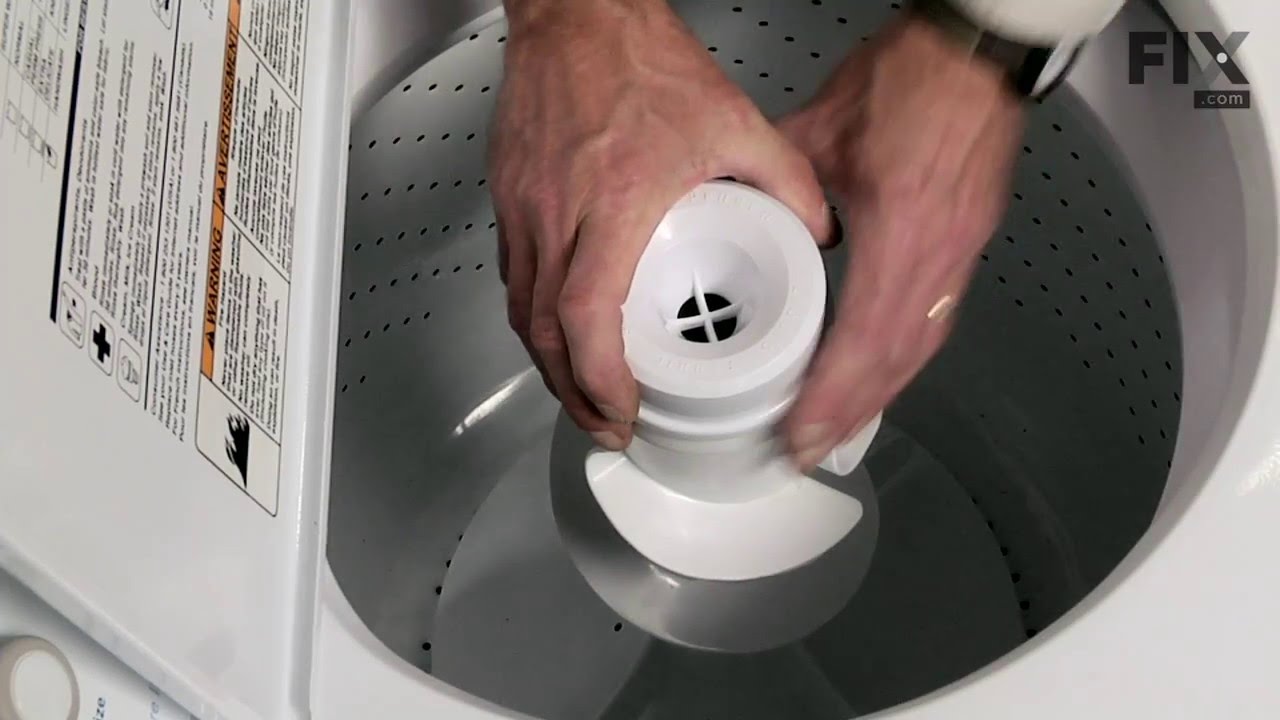
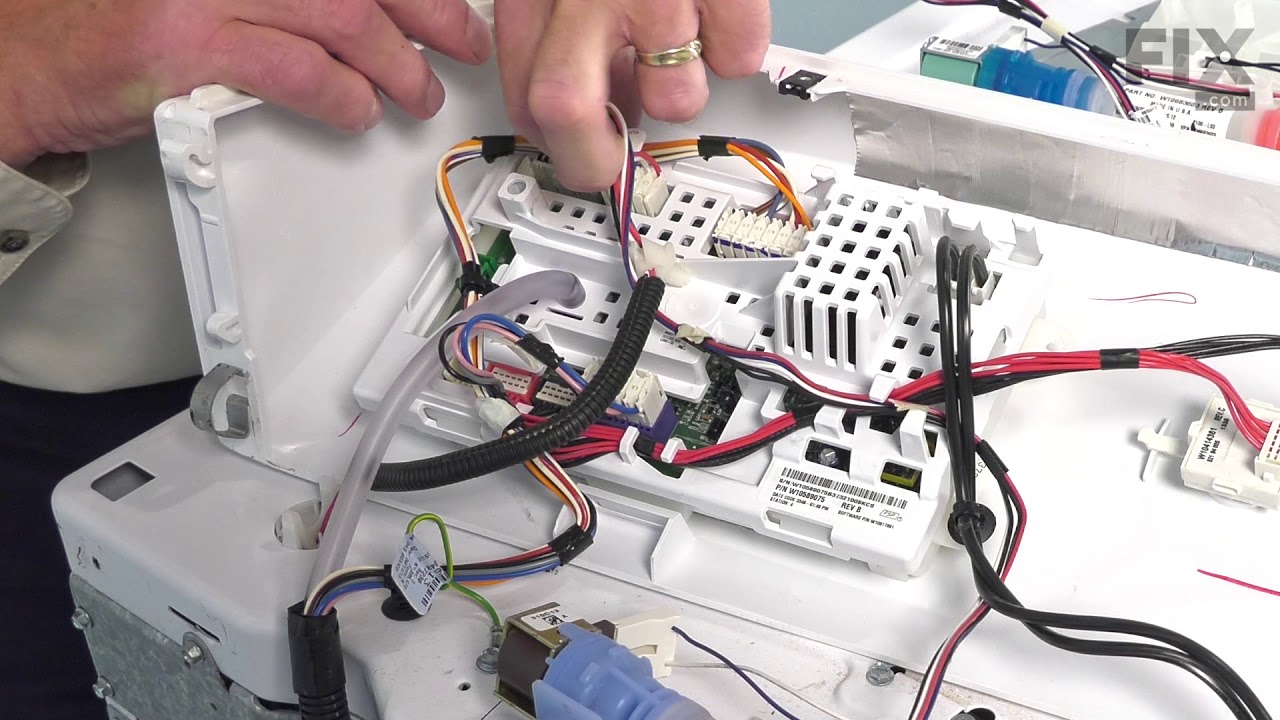
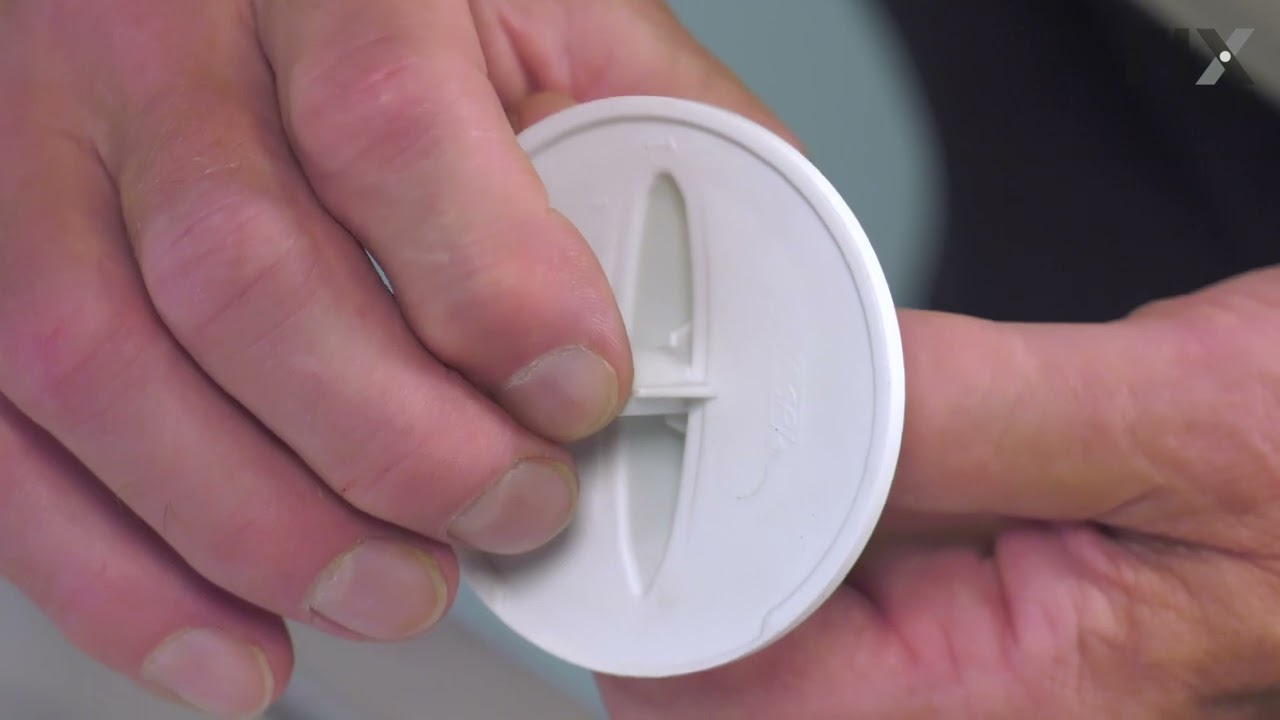
See how others fixed this model. Time, tools, difficulty, and steps that lead to victory!
View More