


 My Orders




11022532510 Kenmore Washer - Overview
Diagrams for 11022532510
See every part. Know exactly what you need.


Enter a part description. DIY Heroes keep it simple, eg. "belt" or "pump".
Search filter:
Clear Filter
Your search term must have 3 or more characters.

$6.40
In Stock
Agitator Directional Cogs
Part #80040
This kit is used for replacing the agitator directional cogs (Agitator Dogs, Agitator Repair Kit, Washer Agitator Dogs, Agitator Dog Ears). The agitator is what creates the thrusting motion in your washer to tumble your clothes during the washer cycle. Your agitator will rotate one way, and not the other. The agitator dogs are what preven...Read moret the agitator from rotating in both directions, while allowing it to rotate in one direction. Your agitator cogs may be malfunctioning if you can manually rotate the agitator in both directions. If broken they will need to be replaced. Cogs can be found by simply removing the softener dispenser and then removing the agitator cap. The are attached to the agitator. This replacement part features 4 agitator directional cogs. There are 4 cogs per package that are made up of high-quality plastic. This part comes in white/beige.
Read less

$9.62
In Stock
Washer Inner Cap Seal
Part #WPW10072840
This is an inner cap seal, but may also be known as an O-ring, and it is a part for your washing machine. Some symptoms replacing this part will fix include: leaking from your appliance, uncontrollable shaking and moving, loud noise, pumps but will not spin, or if your appliance will not agitate. This model is off-black in color and 3 inc...Read morehes in diameter. You will find this part inside the agitator in the middle of your washing machine. It is recommended to wipe down the barrier before putting the new seal on.
Read less

$18.22
In Stock
Washer Agitator Cap Barrier w/Seal
Part #WPW10074580
The O-Ring is included with this cap. It can be purchased separately as Part #WPW10072840.

$102.77
In Stock
Washing Machine Door Lock Assembly
Part #W11307244
This is lid lock designed for use within various washing machines. This lid lock, also known as a latch assembly, is used to secure the lid of your washing machine during the washing cycle. If your washing machine is experiencing issues starting or if the lid is not securing, this lid lock assembly likely needs to be replaced. This lid lo...Read moreck attaches underneath the top portion of your washer and its wire harness connects to the rear of the appliance. To replace this assembly, you will need a screwdriver, flathead screwdriver or putty knife, and wrench. This lid lock is an OEM part that is sold individually and does not come with any other parts or accessories.
Read less

$66.77
In Stock
Water Inlet Valve
Part #W11210459
This water inlet valve is for washers.
The water inlet valve controls the water flow into the washer.
Unplug the washer and shut off the water supply before installing this part. Wear work gloves to protect your hands.

$76.17
In Stock
Suspension Rod Kit
Part #W10780045
This suspension rod kit includes four rods designed to stabilize the wash tub in compatible top-load washing machines. By minimizing vibrations and excessive movement during wash and spin cycles, these rods help maintain balance and improve overall performance—especially when handling off-balance loads. Replacing worn or damaged suspensio...Read moren rods can resolve issues such as shaking, banging, or the washer shifting during operation. Installation requires unplugging the appliance and consulting the user manual for model-specific guidance. This kit is compatible with a range of washing machine models and is sold as a complete set.
Read less

$12.85
In Stock

$9.62
In Stock
Washer D-Shaped Knob Insert
Part #WP8536939
This insert is sold individually. Knob not included. Knob is sold separately.

$7.47
In Stock
Lid Hinge Mounting Screw
Part #WPW10119828
Sold individually. NOTE: The color on the screw may not be the same as the image, but will still function the same.

$21.45
In Stock
STRIKE
Part #W10837741
This is a lid strike for various models of top-load washing machines. Lid strikes are designed to engage with the lid switch and communicate to the control board that the washer can start. If your washing machine is having issues starting, or if the lid strike for your washer is visibly damaged it will need to be replaced. Replacing this ...Read morewashing machine lid strike is simple and only requires a screwdriver. This lid strike is made almost entirely of durable white plastic and features two holes on either side for securing with screws. This lid strike is an OEM part and is not sold with any other parts or accessories, such as the necessary screws.
Read less

$7.47
In Stock
Lid Bumper
Part #WP9724509
This gray and white washer lid bumper contains a rubber bottom and is sold individually.

$26.82
In Stock
Washer Drain Hose
Part #W11244231
The drain hose carries used water from the washer to your house drain.
Common Symptoms of the 11022532510
How this model fails, and the parts that fix it.
Will not agitate
Fixed by
these parts
these parts


Show All
Shaking and Moving
Fixed by
these parts
these parts


Show All
Leaking
Fixed by
these parts
these parts


Show All
Spinning Issues
Fixed by
these parts
these parts

Show All
Spins slowly
Fixed by
these parts
these parts
Show All
Locking Issues
Fixed by
these parts
these parts

Show All
Will Not Start
Fixed by
these parts
these parts
Show All
No hot or cold water
Fixed by
these parts
these parts
Show All
Water Filling Issues
Fixed by
these parts
these parts
Show All
Lid or door won’t close
Fixed by
these parts
these parts

Show All
Does not dispense fabric softener or detergent
Fixed by
these parts
these parts
Show All
Marks left on clothes
Fixed by
these parts
these parts
Show All
Will not drain
Fixed by
these parts
these parts
Show All
Cycle Not Advancing
Fixed by
these parts
these parts
Show All
Timer Not Working
Fixed by
these parts
these parts


Show All
Draining Issues
Fixed by
these parts
these parts
Show All
Not cleaning dishes properly
Fixed by
these parts
these parts
Show All
Noisy and Marks Left on Clothes
Fixed by
these parts
these parts
Show All
Watch our pros, then fix it yourself.
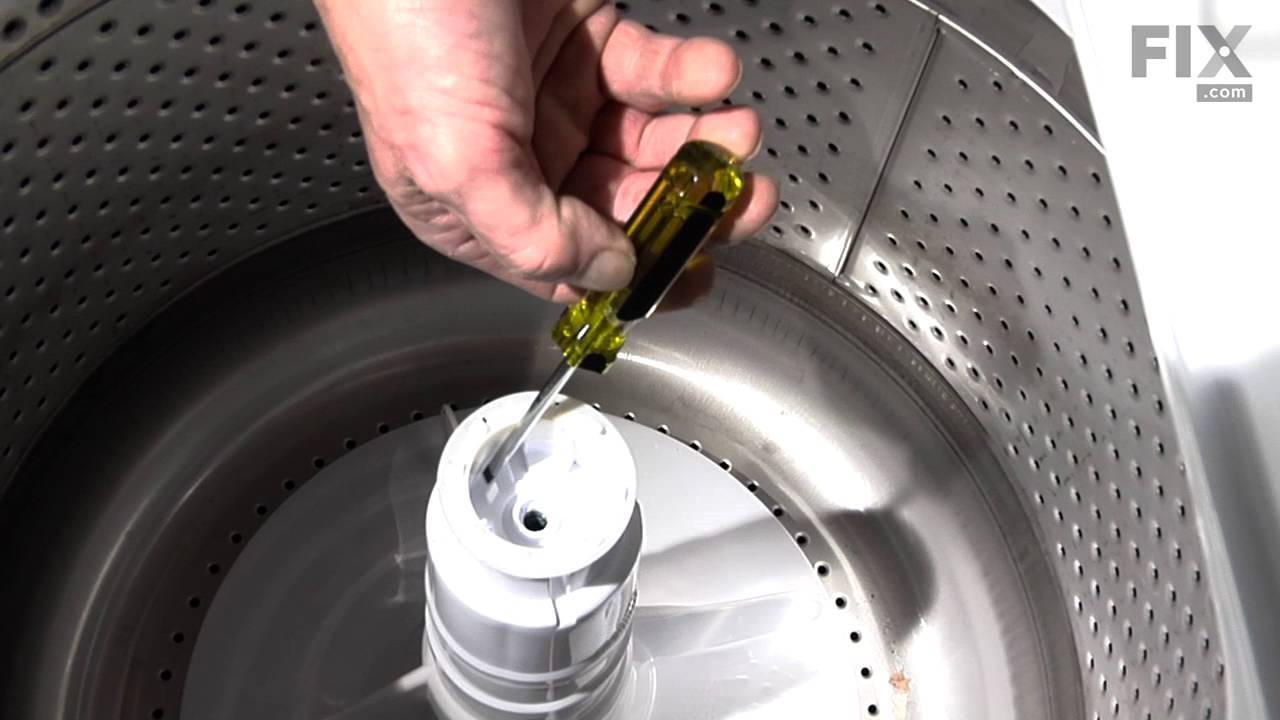
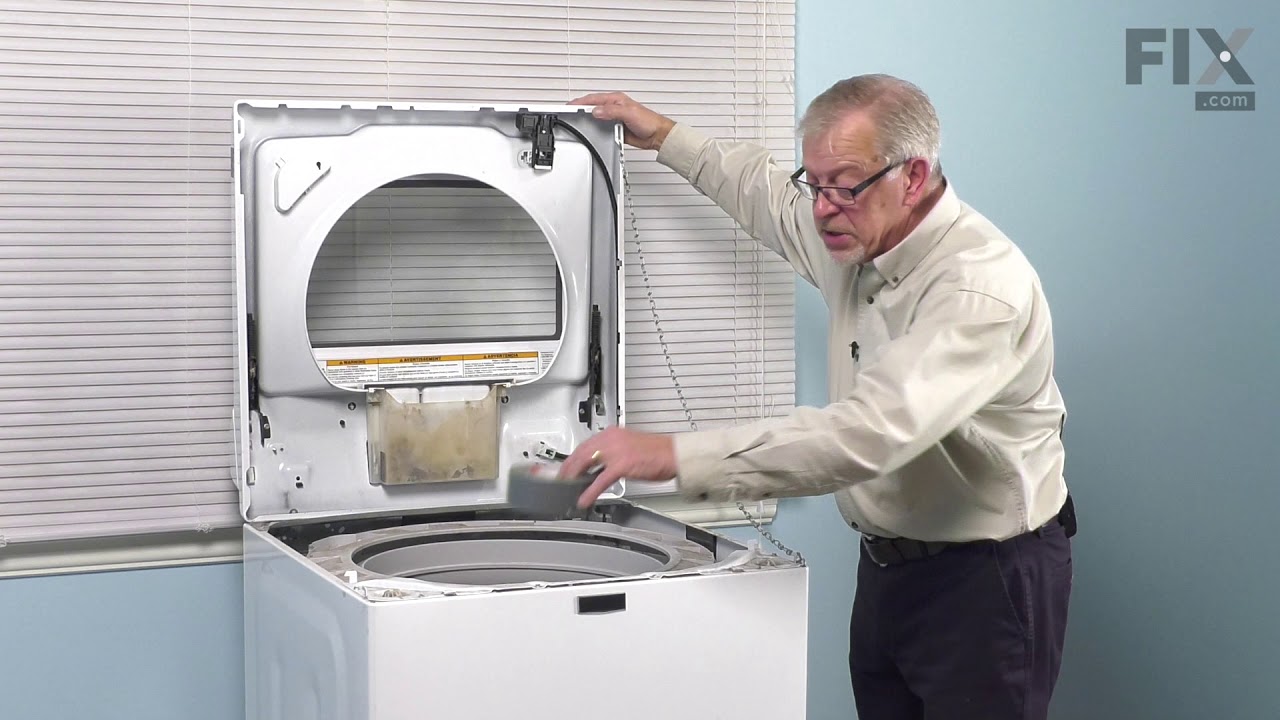
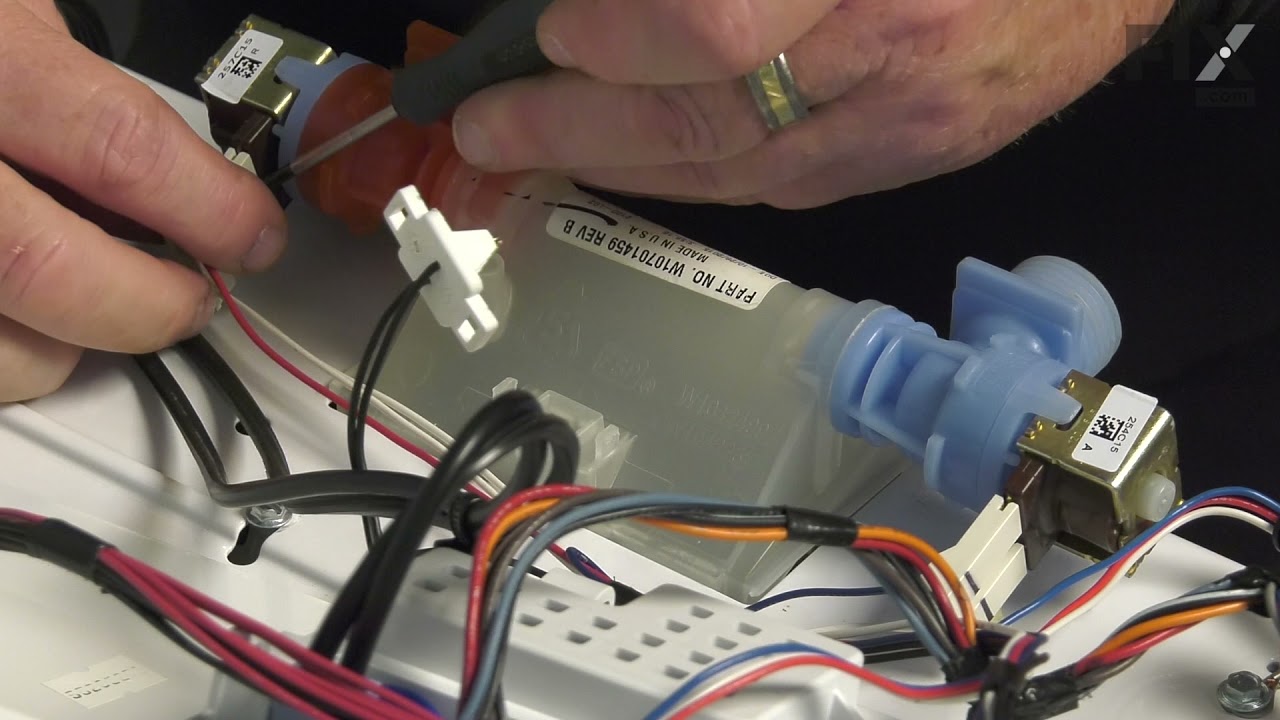
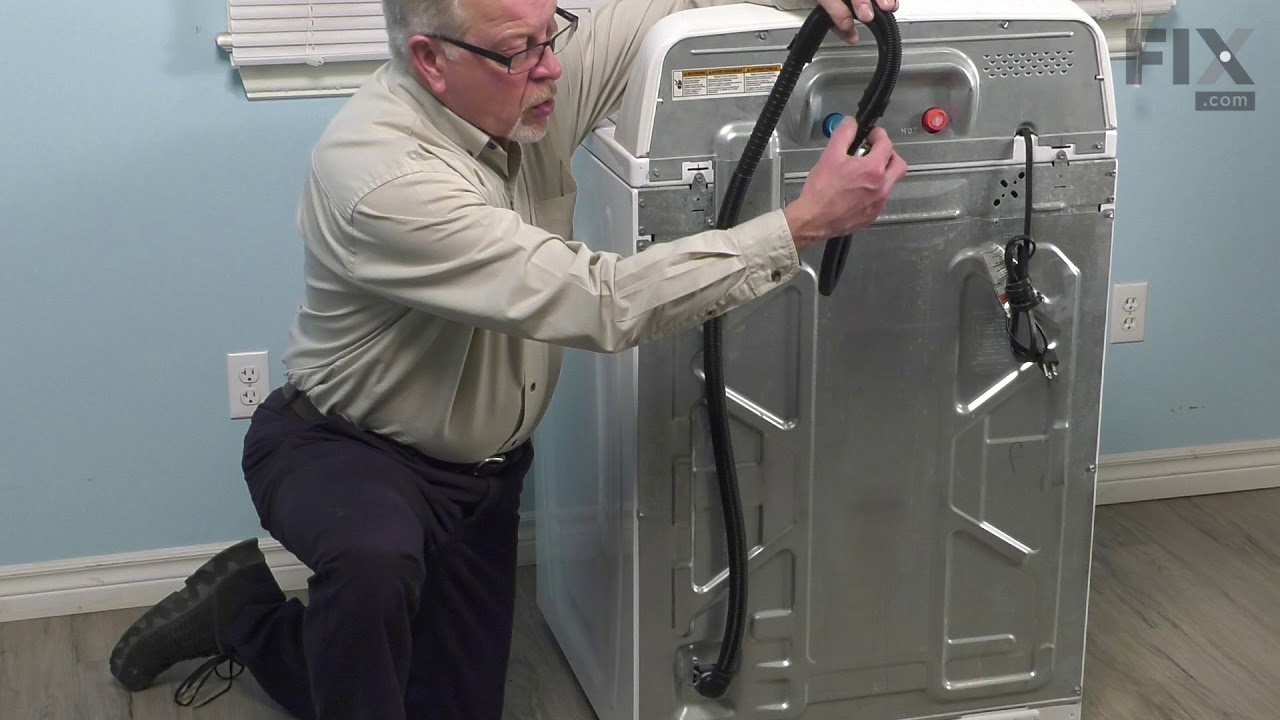
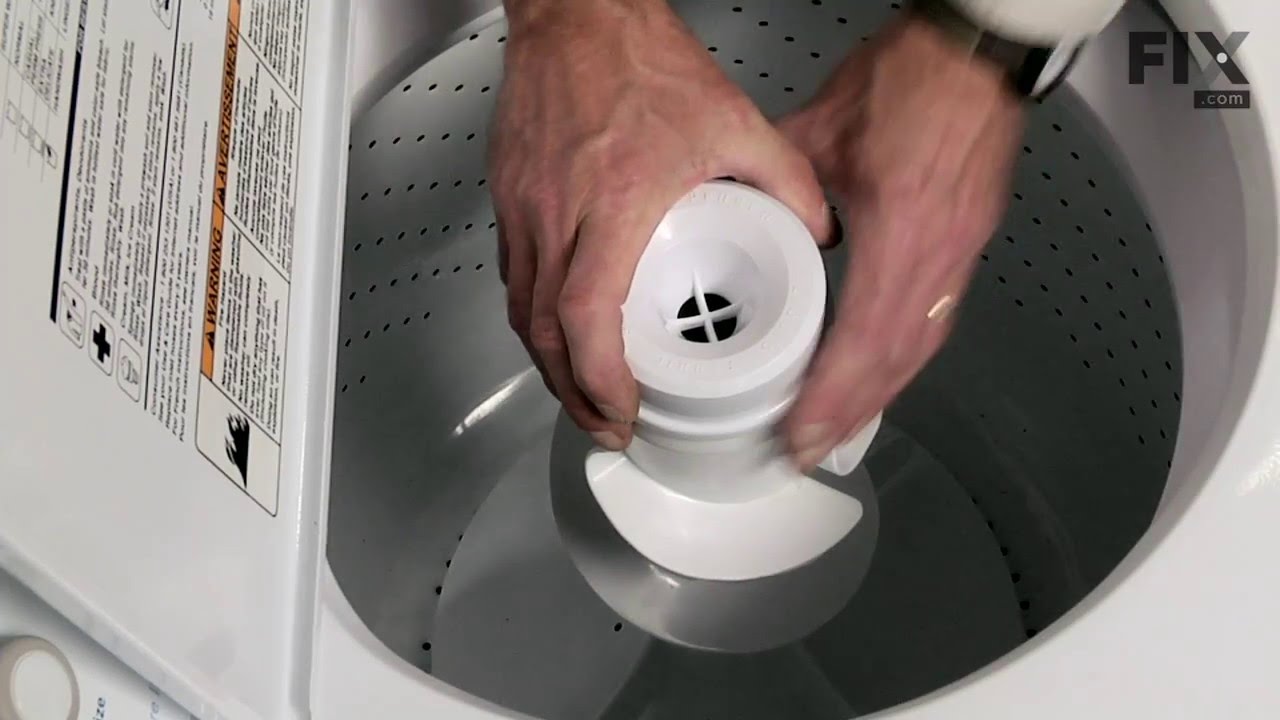
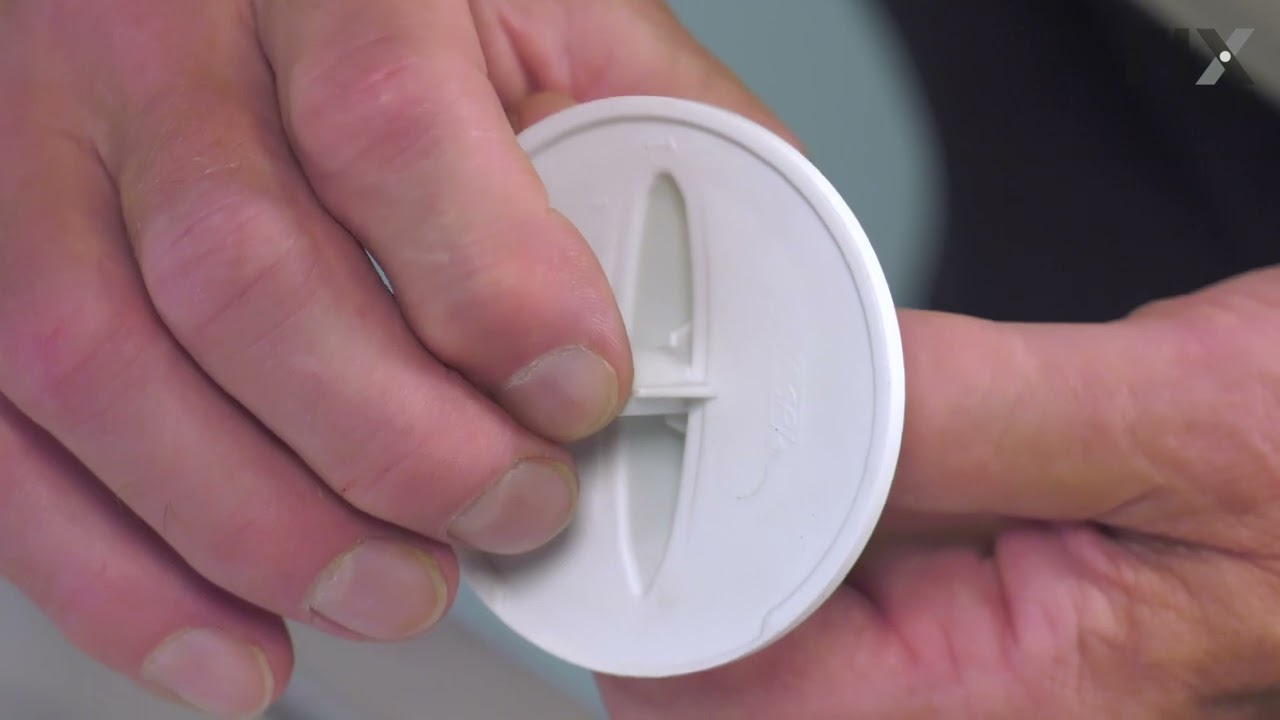
See how others fixed this model. Time, tools, difficulty, and steps that lead to victory!
View More