


 My Orders




11022342510 Kenmore Washer - Overview
Diagrams for 11022342510
See every part. Know exactly what you need.


Enter a part description. DIY Heroes keep it simple, eg. "belt" or "pump".
Search filter:
Clear Filter
Your search term must have 3 or more characters.

$7.47
In Stock

$72.00
In Stock
Washer Water Inlet and Valve Assembly
Part #WPW10683603
This water inlet valve is a key component in top-load washing machines, responsible for regulating the flow of hot and cold water into the appliance. It electronically opens and closes to deliver the correct amount of water, balances temperature for each cycle, and helps maintain proper water levels. Constructed from durable, high-quality...Read more materials, the valve is designed to withstand frequent use and prevent issues such as overfilling, insufficient water flow, or leaks. Replacing a faulty valve can resolve symptoms like the washer not filling, continuous water flow, uneven temperature control, or water leakage from the rear of the unit, restoring efficient and safe operation.
Read less

$9.62
In Stock
Washer D-Shaped Knob Insert
Part #WP8536939
This insert is sold individually. Knob not included. Knob is sold separately.

$7.47
In Stock
Refrigerator Single Hex Head Screw
Part #WP489069
Sold individually. The size of this screw is 1/4" hex head and 10-12 x 1/2".

$20.37
In Stock

$83.43
In Stock
Selector Switch
Part #WPW10285512
This selector switch regulates key washer settings, allowing you to control functions such as water temperature and cycle selection for reliable performance. Designed as a rotary encoder with multiple positions, it provides precise input to the appliance’s control system for consistent operation. Built to OEM standards for a secure fit, r...Read moreeplacing a worn or faulty switch can restore proper control and ensure your washer runs smoothly and efficiently.
Read less

$7.47
In Stock
SCREW
Part #W10846509

$76.83
In Stock
Selector Switch
Part #WPW10285518
This genuine OEM washer cycle selector switch is designed to let you choose and control wash cycles by sending signals to the washer’s control system. The multi-position rotary design allows proper selection of wash actions such as agitation, rinsing, and spinning, helping ensure cycles run as intended. Replacing a faulty selector switch ...Read morecan resolve issues like the washer not starting, incorrect cycle behavior, or uneven wash performance. Installation should be done with power disconnected to safely restore reliable and accurate washer operation.
Read less

$91.22
In Stock

$69.91
On Order
Power Cord
Part #WPW10525194

$16.07
Special Order
Knob
Part #WPW10536134

$20.37
Special Order
Knob
Part #WPW10536117
Common Symptoms of the 11022342510
How this model fails, and the parts that fix it.
Leaking
Fixed by
these parts
these parts

Show All
No hot or cold water
Fixed by
these parts
these parts
Show All
Water Filling Issues
Fixed by
these parts
these parts
Show All
Timer Not Working
Fixed by
these parts
these parts

Show All
Watch our pros, then fix it yourself.
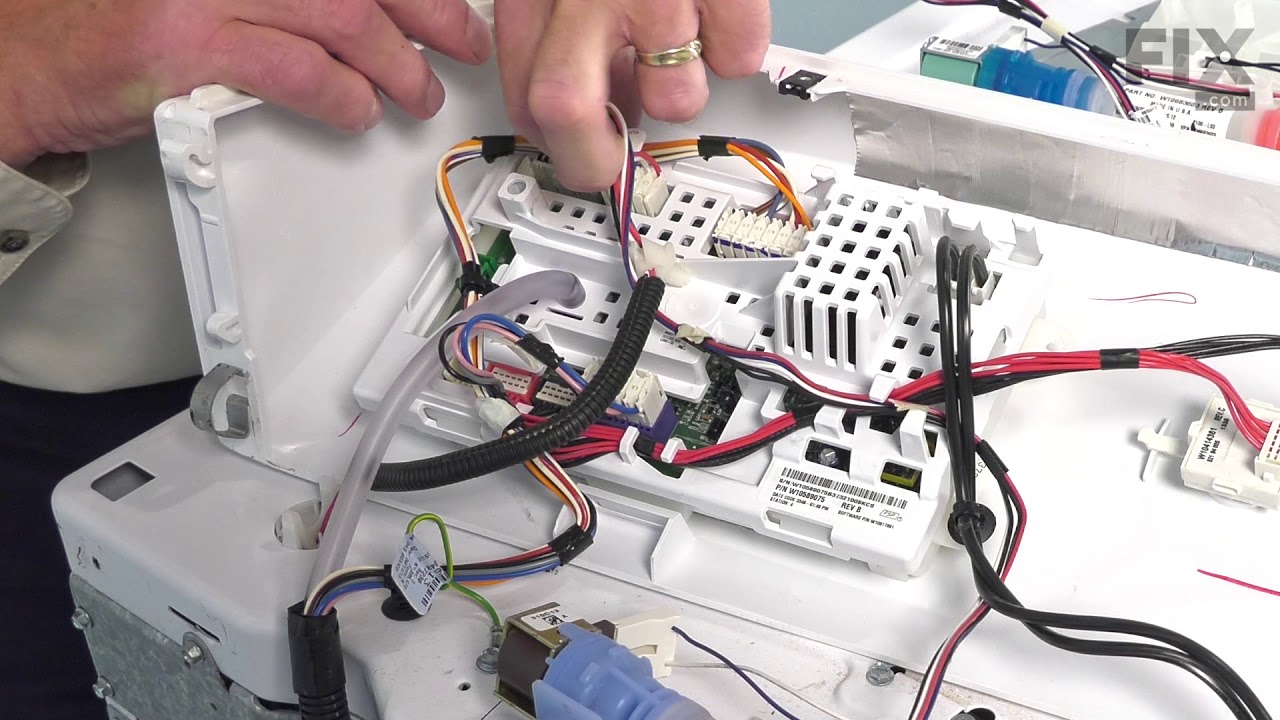
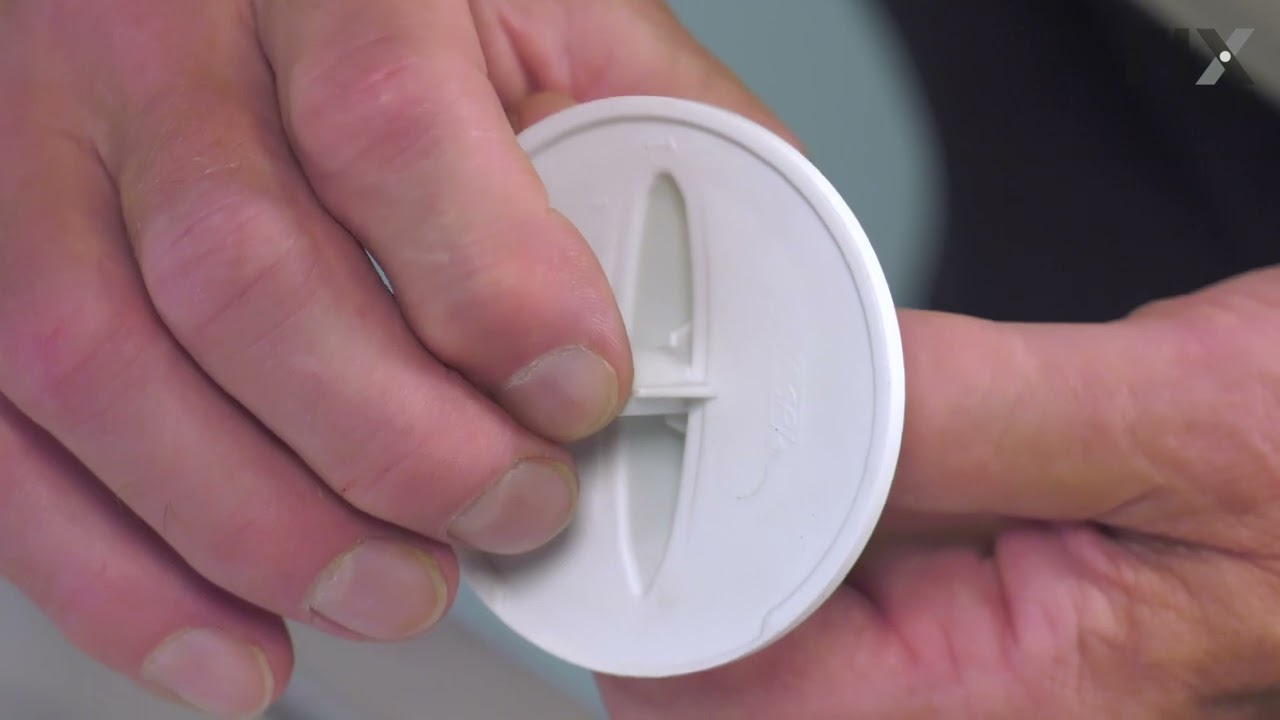
See how others fixed this model. Time, tools, difficulty, and steps that lead to victory!
View More