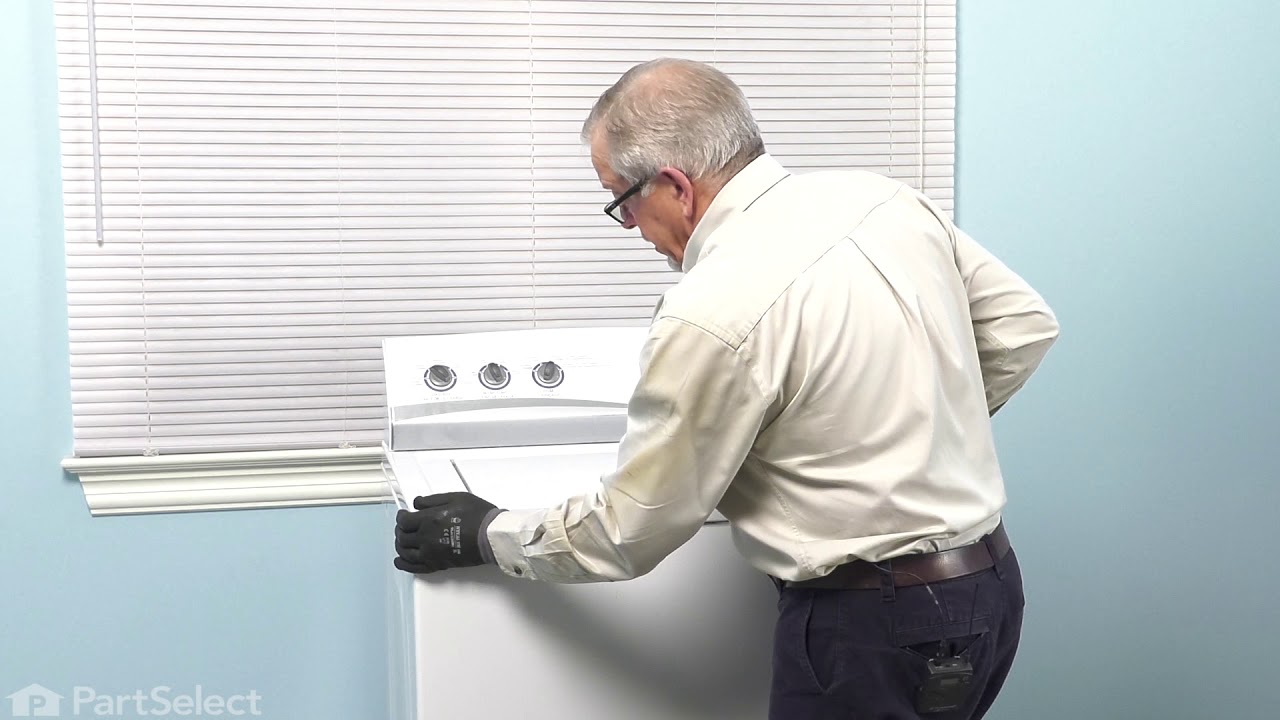
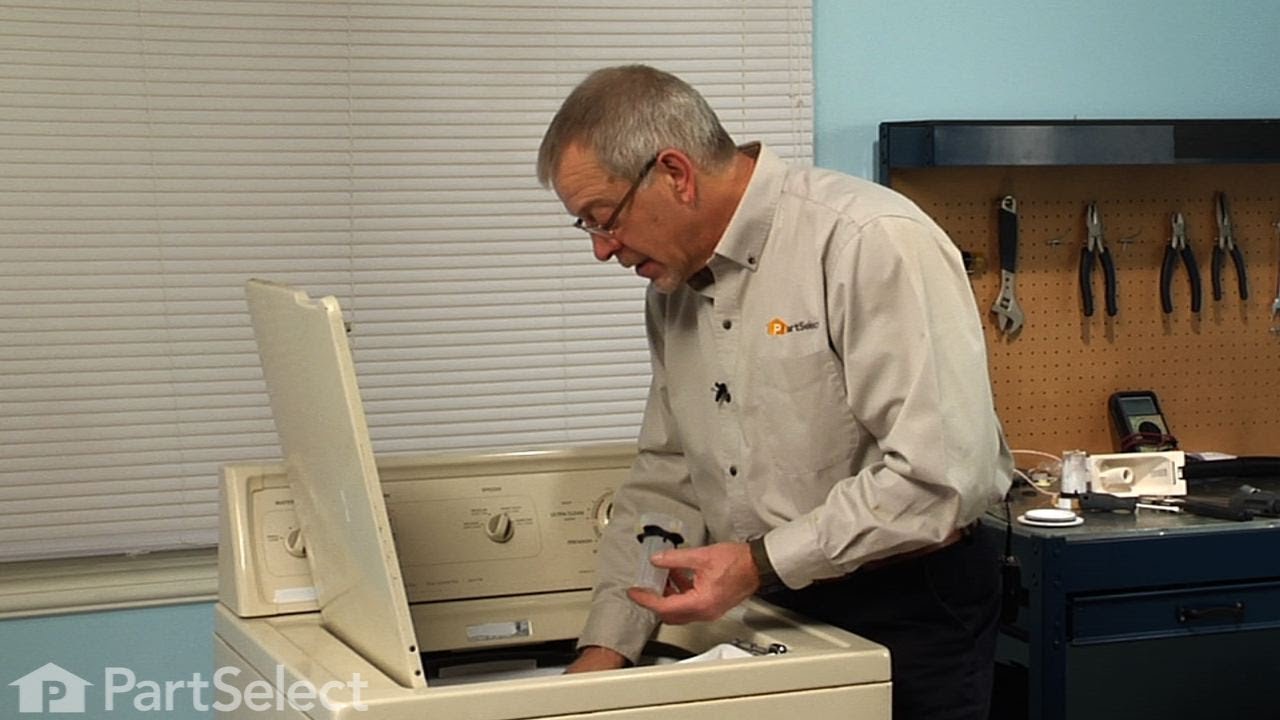
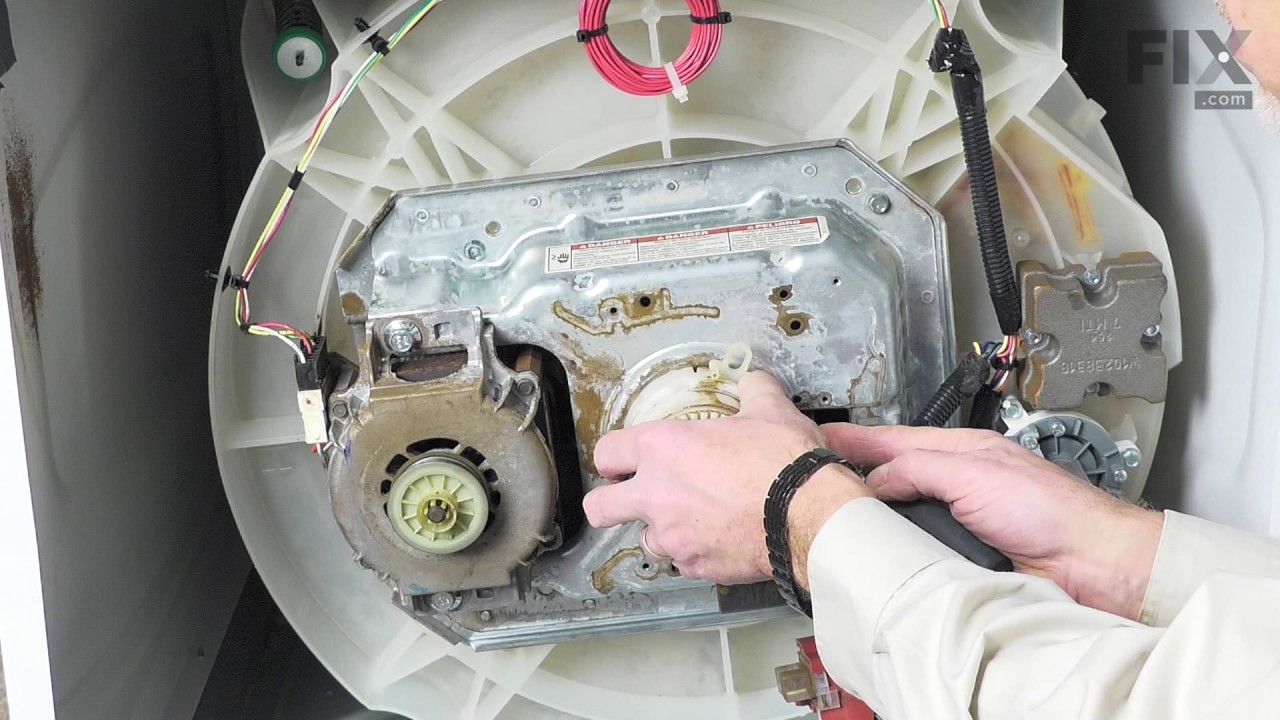
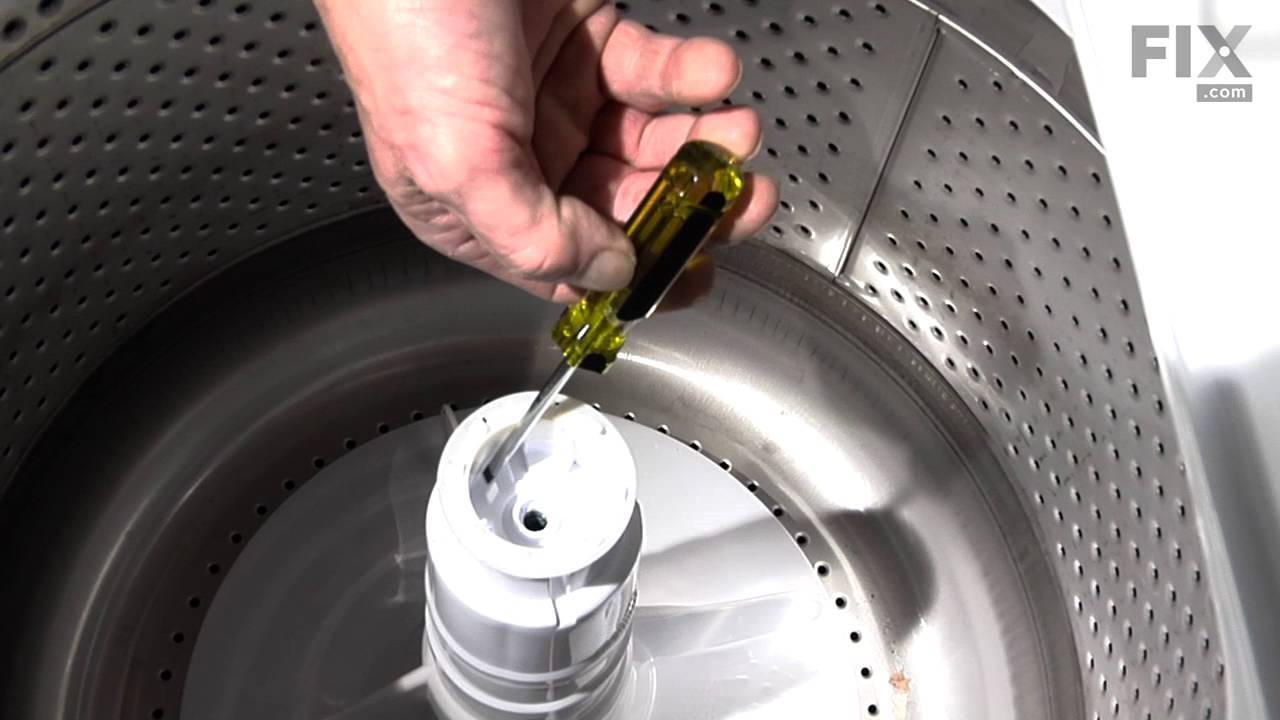
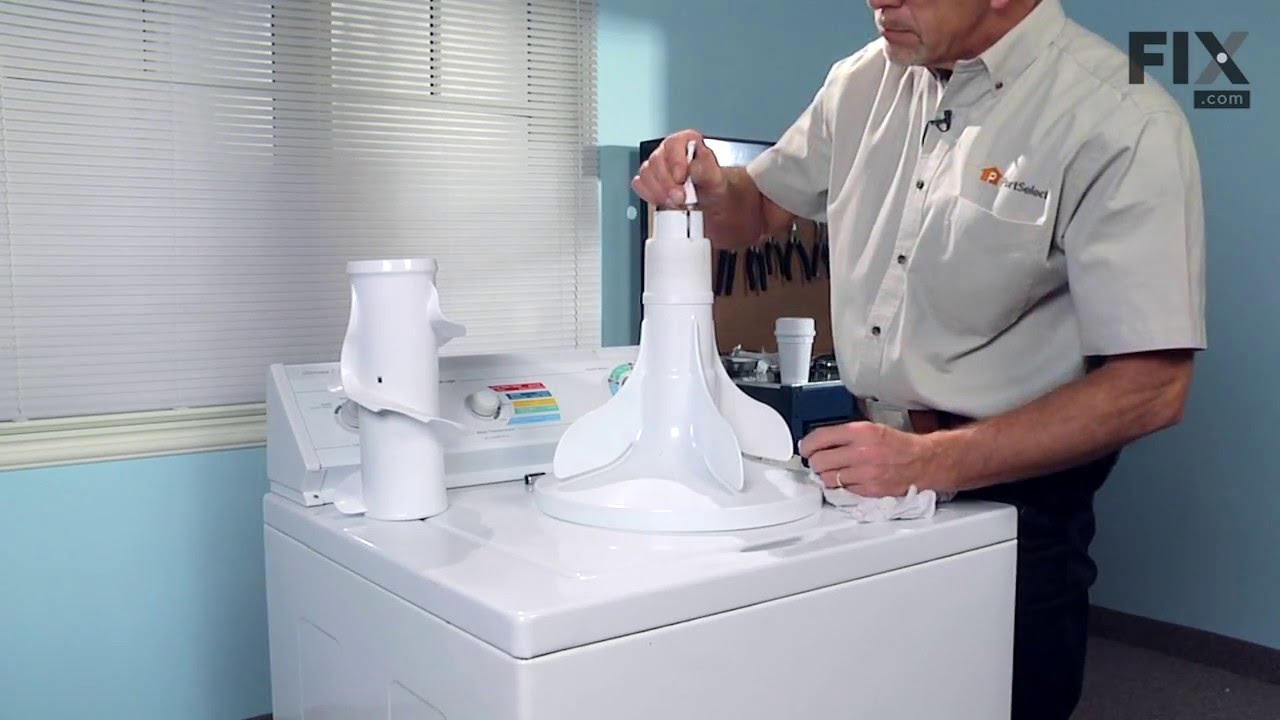
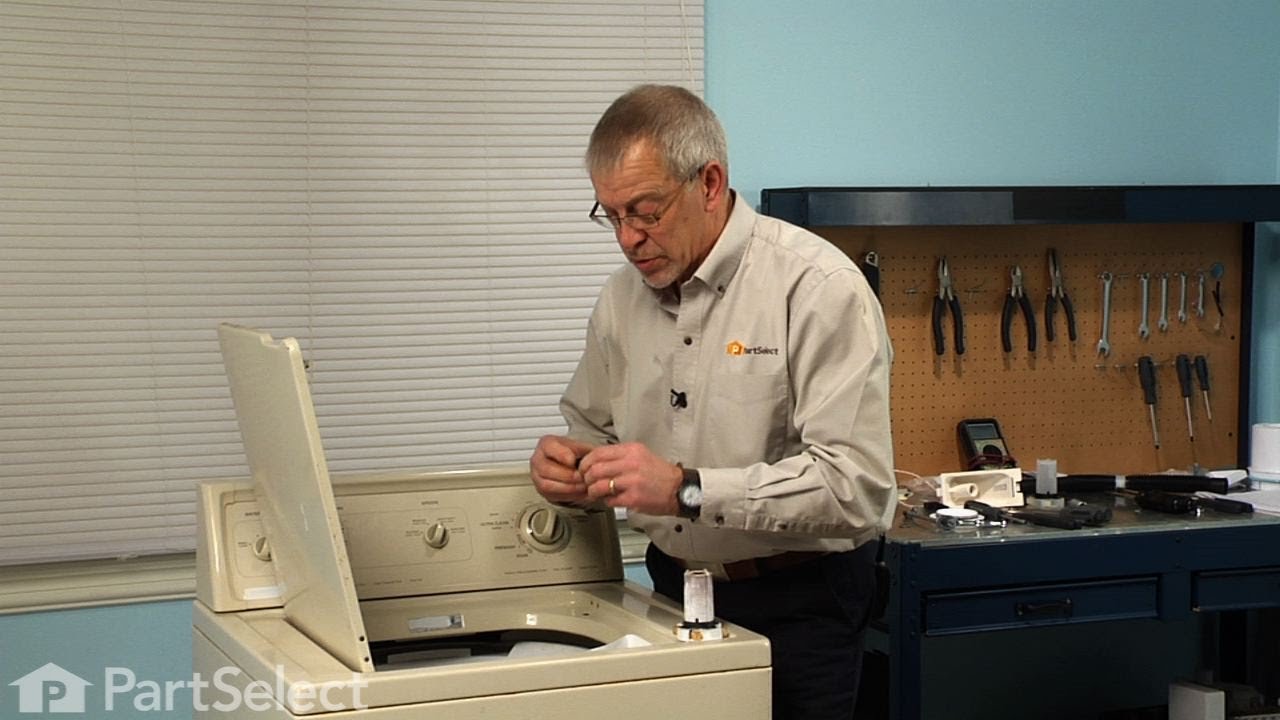
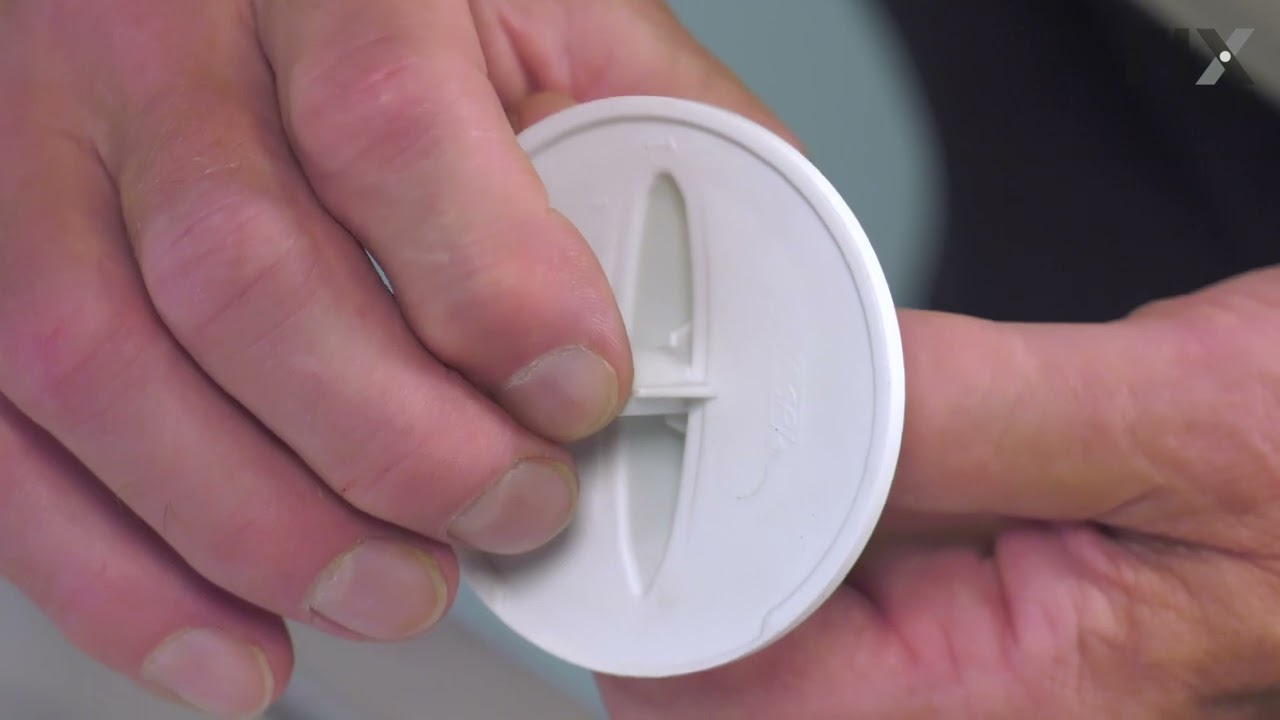
This kit is used for replacing the agitator directional cogs (Agitator Dogs, Agitator Repair Kit, Washer Agitator Dogs, Agitator Dog Ears). The agitator is what creates the thrusting motion in your washer to tumble your clothes during the washer cycle. Your agitator will rotate one way, and not the other. The agitator dogs are what preven...Read moret the agitator from rotating in both directions, while allowing it to rotate in one direction. Your agitator cogs may be malfunctioning if you can manually rotate the agitator in both directions. If broken they will need to be replaced. Cogs can be found by simply removing the softener dispenser and then removing the agitator cap. The are attached to the agitator. This replacement part features 4 agitator directional cogs. There are 4 cogs per package that are made up of high-quality plastic. This part comes in white/beige.
This is a genuine OEM thrust spacer for your washer, and is also commonly known as a retainer ring. The spacer is about 2.5 inches in diameter, is made of plastic, and is white in color. It is used in the agitator assembly of many direct drive washing machine models. The spacer is fitted between the agitator and the agitator auger to supp...Read moreort it as it moves. This part is sold individually. Although it is not included in this part, you should have some dual-action agitator grease for the repair as well.
This splutch cam kit is a genuine replacement assembly designed for select Whirlpool, Maytag, and affiliated brand washing machines. It plays a critical role in the wash and spin cycles by engaging the drive motor to rotate the washer basket. The kit includes the clutch assembly, cam ring, spring, basket drive gear, pulley, and mounting n...Read moreut. Replacing this component can resolve issues such as noisy operation, slow or failed spinning, poor agitation, and excessive moisture in clothes after a cycle. In some cases, a burning smell may also indicate a failing clutch. Installation requires basic tools and should be performed with the appliance disconnected from power. Compatibility should be confirmed using your washer’s model number.
This suspension rod kit is a genuine OEM kit specially designed for washing machines. Each kit includes a set of 4 rods, 4 suspension balls and 4 bushings. The suspension rods are responsible for supporting the washer tub and allowing it to move freely during the wash and spin cycles while minimizing vibrations and noise. The suspension r...Read moreods, balls and bushings may fail over time due to cracks, breaks, or excessive wear. If the suspension rod kit is faulty, you will likely notice excessive vibration or shaking during the spin cycle, loud banging noises, or the washer not balancing properly.
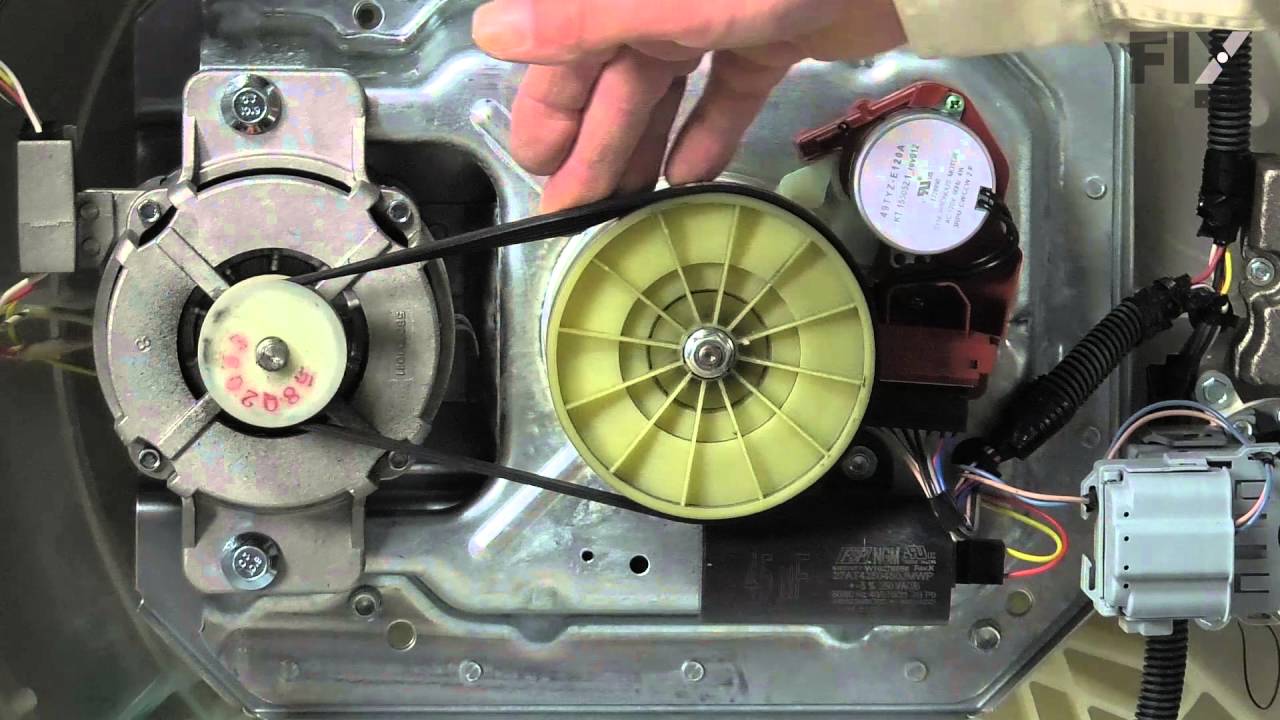
This genuine OEM drive belt is designed to transfer power from the motor to the drum in select Whirlpool, Maytag, Kenmore, and other compatible washing machines. Operating at 115 volts and 60 Hz, the belt enables the drum to spin and agitate during wash and spin cycles, ensuring effective cleaning and rinsing. Manufactured to Whirlpool’s ...Read morespecifications, this replacement part offers reliable performance and a precise fit. Common symptoms of a worn or broken belt include the drum not spinning, unusual noises, or a burning smell during operation. Replacing the belt can restore proper function and prevent further mechanical issues. Always verify compatibility with your specific model before ordering.
This agitator repair kit comes with a long cam, a thrust spacer and four dogs ears (agitator cogs). This repair kit is used to move the upper agitator and it connects the base of the agitator with the agitator top (mover). This part has been updated by the manufacture.
This touch-up paint can be used on a wide variety of household appliances. It is most often used on washers, dryer, refrigerators, dishwashers, ranges, freezers, trash compactors, or microwaves. It is an 18 ml, or.6 fluid ounces, bottle of touch-up paint. It also features a brush for easy application. This quick-drying, long-lasting paint...Read more is perfect for fixing any nicks, scratches, or chips on the exterior of your appliance. This paint is white in color, and provides a durable finish.
This water inlet valve is a key component in top-load washing machines, responsible for regulating the flow of hot and cold water into the appliance. It electronically opens and closes to deliver the correct amount of water, balances temperature for each cycle, and helps maintain proper water levels. Constructed from durable, high-quality...Read more materials, the valve is designed to withstand frequent use and prevent issues such as overfilling, insufficient water flow, or leaks. Replacing a faulty valve can resolve symptoms like the washer not filling, continuous water flow, uneven temperature control, or water leakage from the rear of the unit, restoring efficient and safe operation.
The hose clamp is used to hold the water hose in place which will prevent the hose from leaking water. Sometimes the clamp may lose its ability to latch on, causing a leaking washer. For the installation, you will need a flat head screw driver to replace the clamp and a drill to access the screws to remove the front of the washer. Be care...Read moreful if you do not have specific clamp pliers as the clamp could fly off. Once the front of the washer has been removed, take a quick look for water damage or any obvious signs of where the leak is coming from. If it is not obvious, run water to test.
Ask our experts a question about this model and we'll get back to you as soon as possible!
We may have answered a similar question already! Search questions and answers left by others using simple keywords like "fit", "broken", "easy", or "quality" to find questions that match.
Search filter:
Clear Filter
Your search term must have 3 or more characters.
Sort by:
Prev
1
2
Next
Sorry, we couldn't find any existing answers that matched.Try using some different or simpler keywords, or submit your new question by using the "Ask a Question" button above!
Don - For model number 11020022014
December 16, 2023
Bigger load bounces all over
Hi Don, Thank you for writing. We suggest checking the Washing Machine Suspension Rod Kit for wear or damage. We hope this helps!
My Kenmore washer machine model 110 20022014 is making a clicking sound and won't start to wash. It fill up ok, drain the water ok and spins ok. My only problem is it won't start to wash. I need help and solutions please.
Hello Marisol, Thank you for the question. If the appliance is not agitating, we suggest checking the Agitator Repair Kit, Thrust Spacer and the Agitator Assembly for wear or damage. We hope this helps!
Does Kenmore model 110 20022014 carries springs because i changed new suspension rod kit on my washer but it keeps shaking my. Washer. What do i need to change now. Please i need advice. So my washer can continue working ok. Thank you.
Good Day Marisol. Thank you for your question in regards to your unit (Model Number 11020022014). Based on our research, you may need to replace the Suspension Rod Supports (PartSelect Number PS3502189). You can order this part either online at our website www.PartSelect.com or by calling us by phone at 888-260-4310. Best Regards.
I have change a lot of parts on my Kenmore washing machine 11020022014. New drive pully actuator belt and agitator repair kit. Everything was working ok for a couple of days. Now is leaking water in the middle of the washer. I dont know what is going on. It makes a wear noise and then stops on any circle. Then I have to wait for about 1 hr to continue. Can I get some help please. And another thing. Does my washer need a coupling coupler.
Hello Marisol, Thank you for the question. Normally this is an indication the Tub Seal is damaged or worn and needs to be replaced. Checking the parts list, we do not list a Coupling Coupler. If you need help placing an order, customer service is open 7 days a week. Please feel free to give us a call. We look forward to hearing from you!
Washer was set to small load and warm temp setting. Washer filled completely with cold water and washed, then nothing. I could get the spin light to come on after unplugging and replugged into outlet, but would go into sensing mode and timeout. Washer will not go into diagnostic mode after multiple attempts. I suspect that the control board is the culprit. Is there anything else it could be?
Hello Michael, Thank you for the question. Before replacing the Board we suggest testing the Inlet Valve. Set your multitester to the ohms resistance scale X 1. Place each of the meter's probes to one terminal. Because the reading can vary from brand to brand and from model to model, there is no one reading you should receive. However, if your test produces a reading of infinity, then the solenoid is bad and the water valve should be replaced. We hope this helps, good luck with this repair!
See how others fixed this model. Time, tools, difficulty, and steps that lead to victory!View More
Search repair tips from other customers using simple keywords like "replace", "fit", "remove", "inspect". DIY doesn't mean you have to do it alone!
Search filter:
Clear Filter
Your search term must have 3 or more characters.
washer wouldn't agitate
955 of 1057 peoplefound this instruction helpful.
mike from Kent, WA
Easy
15 - 30 mins
Screw drivers, Socket set
First pry off the cap of the agitator. Then using a socket remove the bolt that holds the plastic cup in place. Remove this cup by prying it loose from the two tabs that hold it in place. Once this cup is removed you can get to the broken cogs. Slip the new cogs into the underside of the cup, and slide the cup back down in the a
... Read moregitator housing using the slots on the side for a guide. (You may want to remove the entire agitator and assemble everything upside down, then flip it all back over to mount, so the cogs don't fall out). Tighten the bolt, snap the cap back in place on top of the agitator and your'e done. Easy repair.
Read less
Was this helpful?
Thank you for voting!
Washer not agitating
646 of 684 peoplefound this instruction helpful.
Craig from Polk City, FL
Really Easy
Less than 15 mins
Socket set
On top of the agitator is a flat cap that is held in place by the friction of an o-ring, there are no fasteners. I would imagine one could get under the lip with a small screwdriver or butter knife to pop it off but I chose simply using my fingernails so as to not disfigure the cap. Under the cap you will find the head of the only bolt
... Read morethat holds the assembly together it is a 7/16 head and because it is in a 4" deep well your will need a 6" extension for your ratchet. Once the bolt is out the top of the agitator, the assembly with the cogs removes by hand. Set the assembly upside down on the counter, slide the black plastic ring off, pull the cogs out with your fingertips, install the new cogs put a new black ring on and set the assembly back in the agitator. Reinstall bolt. As the bolt is down in a tube, you cannot set it in place with your fingers and it will fall out of the socket. To hold the bolt in the socket during positioning you can either put a gob of Vaseline on the bolt head to hold it in the socket or form a small piece of paper over the bolt head and set it into the socket, the friction of the paper will hold the bolt into the socket. Took me less then 10 minutes, good luck
top half of agitator did not move during wash cycle
288 of 337 peoplefound this instruction helpful.
dennis from new stanton, PA
Really Easy
Less than 15 mins
Socket set
pull off softner dispenser, pop off agitator cap by inserting straight screw driver into small slot, remove bolt inside agitator with socket wrench and long extension, pull agitator straight up off shaft, place agitator on floor, with feet holding bottom half pull top half apart from bottom half by pulling straight up, note direction of o
... Read moreld cogs remove and replace with new, reassemble



 My Orders