


 My Orders




11-7439-00-01 Tappan Wall Oven - Overview
Diagrams for 11-7439-00-01
See every part. Know exactly what you need.


Enter a part description. DIY Heroes keep it simple, eg. "belt" or "pump".
Search filter:
Clear Filter
Your search term must have 3 or more characters.

$27.45
In Stock
Light Bulb
Part #316538904
This OEM 40 watt appliance light bulb is used for some ranges, refrigerators, freezers, and microwaves. Simply locate the existing bulb, unscrew it from its socket, and replace with new light bulb. If the existing bulb is broken in the socket, disconnect the power to the refrigerator and use a pair of needle nose pliers to grip the intern...Read moreal fragments of the bulb to unscrew. Replace with the new bulb and reconnect the power to the refrigerator. These bulbs are sold individually and are a commonly replaced part; consider ordering a spare.
Read less

$40.60
In Stock
Main Terminal Block Kit
Part #5304409888
Terminal block kits are also known as terminal boards, or terminal strips, and they are found in a wide variety of household appliances. Most often in ranges, wall ovens, and dryers. This kit attaches the power cord to the inner wiring of your appliance. If the terminal block is faulty, your appliance will not get the power it needs to op...Read moreerate properly. When removing the old block pay close attention to the wire placement, this will make installing your new part much easier. If you notice any of the wires or wire terminals are corroded or damaged they will also need to be replaced.
Read less

$26.37
In Stock
LENS
Part #5304524341
The Frigidaire light bulb lens covers the interior light bulb in an oven. No tools are necessary to replace this item. After unplugging the appliance, slide off the wire bracket to remove the existing light bulb lens. Be sure to remove all broken glass, if applicable, before installing the new lens. It is recommended to check the state of...Read more the light bulb while the lens is off. This part is made of glass. The lens is a genuine Frigidaire part, sourced directly from the manufacturer, and is sold individually.
Read less

$136.35
In Stock
Bake Element
Part #318255101
This is a 2100 watt bake element for your oven or range. The element supplies heat from the bottom of the oven to bake or cook your food. You may need to replace the bake element if your oven is not heating properly. Simply remove oven racks to access the bake element. Use a Phillips screwdriver to remove the two screws that secure the el...Read moreement to the oven body. Electrical wires feature slip-on connectors for easy installation, but be sure to hold the wires forward so the wires do not fall back through the rear of the oven. Unplug your appliance or shut off your circuit breaker to the appliance before installing the new part.
Read less

$63.59
In Stock
Oven Light Socket
Part #316116400
The oven light socket allows you to screw in a light bulb so that you can see the inside of your oven. The light socket is located in the back of your oven, so you will need to remove the back panel to access the socket for the repair. You will also need to remove the current light bulb and the light lens cover so that the old socket can ...Read morebe removed. As you will be working around electrical circuits for this repair, be sure to disconnect the power source from the oven before you begin work on the oven.
Read less

$79.15
Special Order
Oven Rack
Part #318345216
This oven rack is a genuine OEM part that measures approximately 18 1/4 by 15 inches. It acts as a shelf for placing food while it cooks or bakes in your oven. You will find it inside the oven cavity, and you can adjust its height to different positions. If the rack is damaged, you might notice bent metal bars, broken welds, or loose conn...Read moreections. It can also get stuck when you try to slide it in or out of the oven. If you do not replace a broken oven rack, your food may cook unevenly, and there is a risk that the rack might unexpectedly collapse, causing spills or burns. To remove an oven rack, first make sure your oven is turned off and cooled down. Open the oven door and grip the rack with both hands. Lift the front end slightly and tilt it upward while pulling it toward you until it slides out completely. If it is stuck, you can try gently moving it back and forth or side to side. Using food-safe lubricants can also help in this situation. If you are replacing more than one rack, please keep in mind that this part is sold individually.
Read less

No Longer Available
Clock Knob
Part #318036310
This is a clock knob for an electric range, oven, or stove. It allows you to adjust the clock and cooking timer. No tools are required for this repair, the knob simply pops on and off the turn shaft. It is recommended to check all knobs on your appliance before ordering. This part is approximately 1/2 inch in diameter, is made of plastic,...Read more and is black in color. It is sold individually. This knob is a genuine original manufacturer part.
Read less

No Longer Available
GLASS
Part #318051558

$165.11
In Stock
Broil Element
Part #5303016247
This broil element supplies heat for cooking and is located in the roof of an oven. If there is little to no heat when cooking, a damaged element, or food is taking too long to cook, these symptoms could be solved by replacing this part. Before starting this replacement, make sure to unplug your range from the power source or shut off fro...Read morem the house circuit breaker. You will need a Phillips screwdriver to complete this repair. This part comes in a matte black color. For safety reasons, make sure to wear gloves. Refer to the manual provided by the manufacturer.
Read less

No Longer Available
Oven Door Seal with Metal Clips
Part #5303202116
This part is an oven door seal with metal clips. It may also be known as a gasket and it is a part for the oven in your range. This gasket comes with ten clips and is black in color. The thickness of this part is less than half an inch in diameter. The function of this seal is to go around the body of the oven door to help isolate the hea...Read moret within the oven. The most common reason for needing to change this part is if your current seal is old and falling apart. If you can feel heat leaking out of your oven you may need to replace your gasket.
Read less

No Longer Available
Light Lens Retainer Clip
Part #5304400195
This is a light lens retainer clip and it is used in conjunction with the oven on your range. This retainer clip secures the light lens to the oven cavity. The part is made entirely of metal, and it is thin and bow-shaped. The retainer clip is roughly 3.5 inches long and 2 inches wide. The most common reason for needing to replace this pa...Read morert is if your current one is damaged or missing. This clip is a genuine OEM piece sourced directly from the manufacturer.
Read less

No Longer Available
Door Switch
Part #5301314211
Common Symptoms of the 11-7439-00-01
How this model fails, and the parts that fix it.
Little to no heat when baking
Fixed by
these parts
these parts


Show All
Element will not heat
Fixed by
these parts
these parts
Show All
Will Not Start
Fixed by
these parts
these parts

Show All
Oven not heating evenly
Fixed by
these parts
these parts
Show All
Little to no heat when broiling
Fixed by
these parts
these parts
Show All
Watch our pros, then fix it yourself.



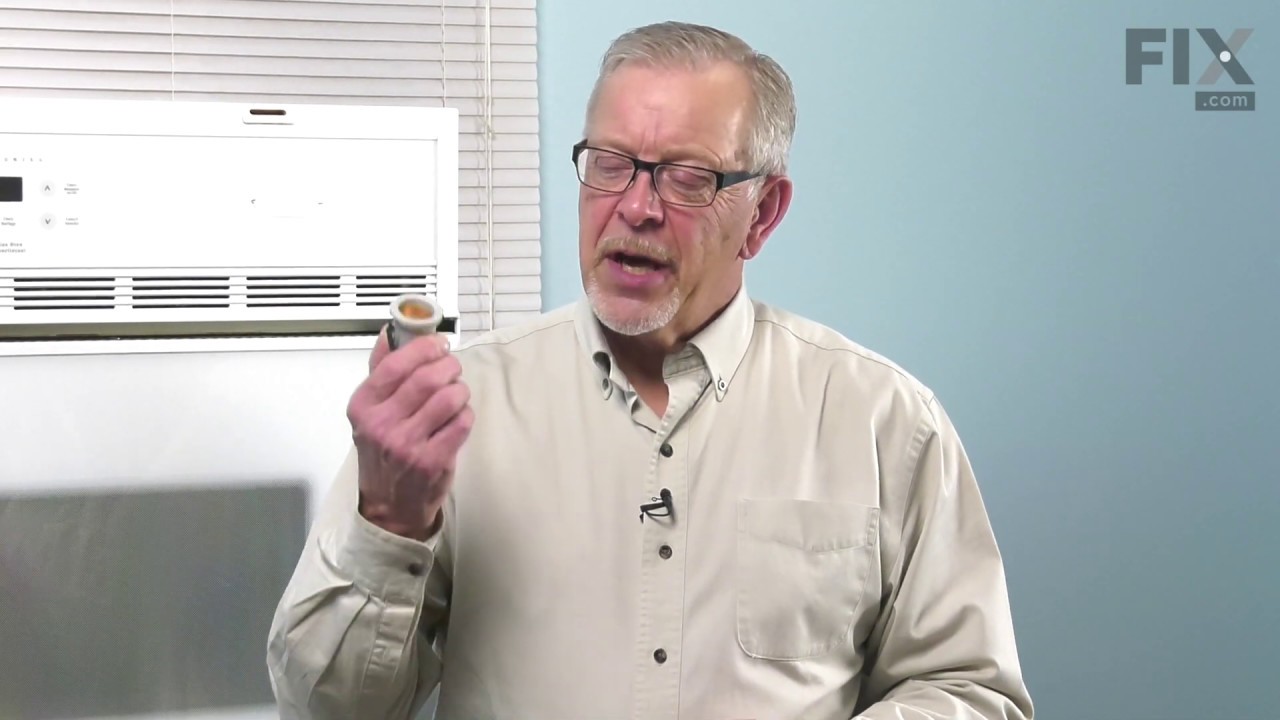
See how others fixed this model. Time, tools, difficulty, and steps that lead to victory!
View More