



 My Orders




107RH971E Hotpoint Range - Overview

Enter a part description. DIY Heroes keep it simple, eg. "belt" or "pump".
Search filter:
Clear Filter
Your search term must have 3 or more characters.

$10.70
In Stock
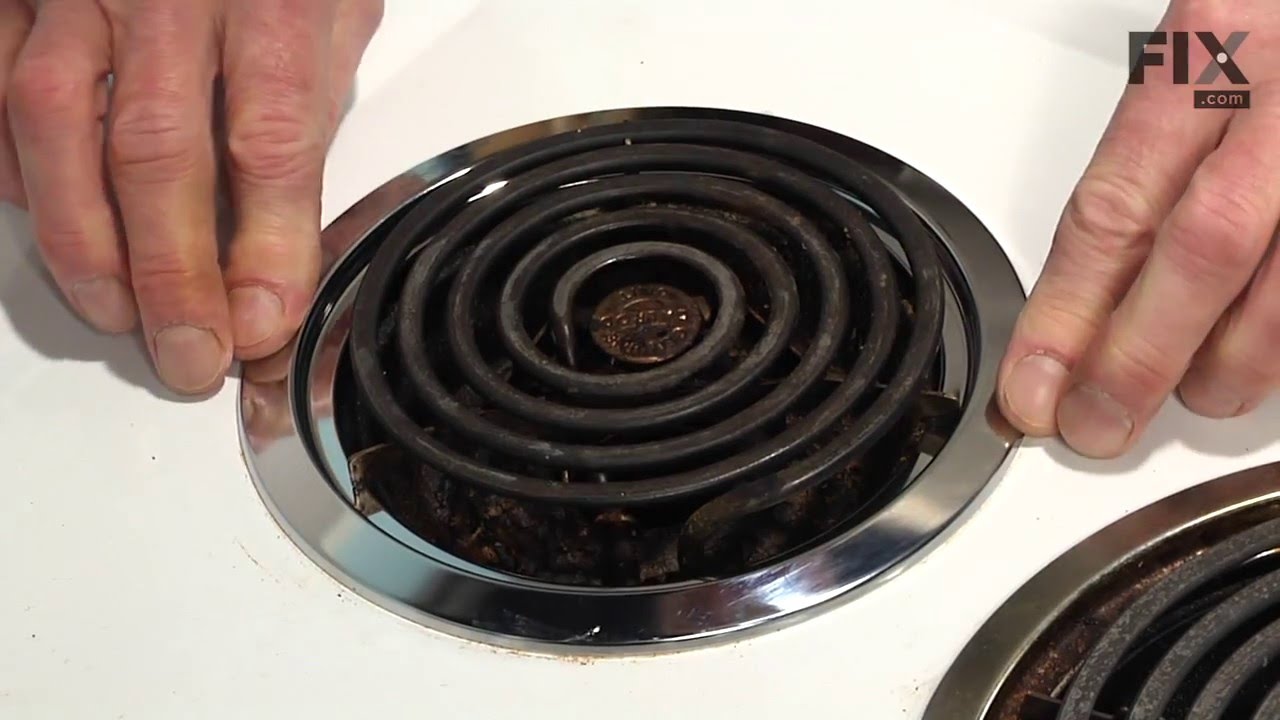
Trim Ring - 6 Inch
Part #WB31X5013
This 6 inch high rise burner trim ring is intended for use with detached style low rise tilt lock surface mount burners on ranges.

$17.15
In Stock
Trim Ring - 8 Inch
Part #WB31X5014
This 8 inch high rise burner trim ring is intended for use with detached style low rise tilt lock surface mount burners on ranges.

$53.20
In Stock
Range Infinite Heat Switch Kit
Part #WB21X36771
The infinite switch controls the stove top surface burner. This switch will work with most of the electrical range models with coil burner elements.

$81.50
In Stock
Tilt-Lock Hinge-Mounted Surface Burner - 8"
Part #WB30X354
This kit includes an 8", three wire, 2450W surface element. This low rise element has an attached trim ring, and a terminal block with all three-wire units.

$64.73
On Order
Tilt Lock Hinge Mounted Surface Unit - 6"
Part #WB30X356
This 6-inch high-rise heating element offers fast and even heat for electric ranges. Ideal for a variety of cooking needs, it features a raised coil design that improves heat distribution. Installation is simple and requires no special tools. The element has a durable build and a neutral metallic finish.

No Longer Available
DISCONTINUED
Part #WB21X5212
No Longer Available
DISCONTINUED
Part #WB19X5184
$100.27
Special Order
DISCONTINUED
Part #WB22X5013
$64.69
Special Order
DISCONTINUED
Part #WB2X5379
No Longer Available
DISCONTINUED
Part #WB44X5029
No Longer Available
DISCONTINUED
Part #WB3X5410
Common Symptoms of the 107RH971E
How this model fails, and the parts that fix it.


Watch our pros, then fix it yourself.
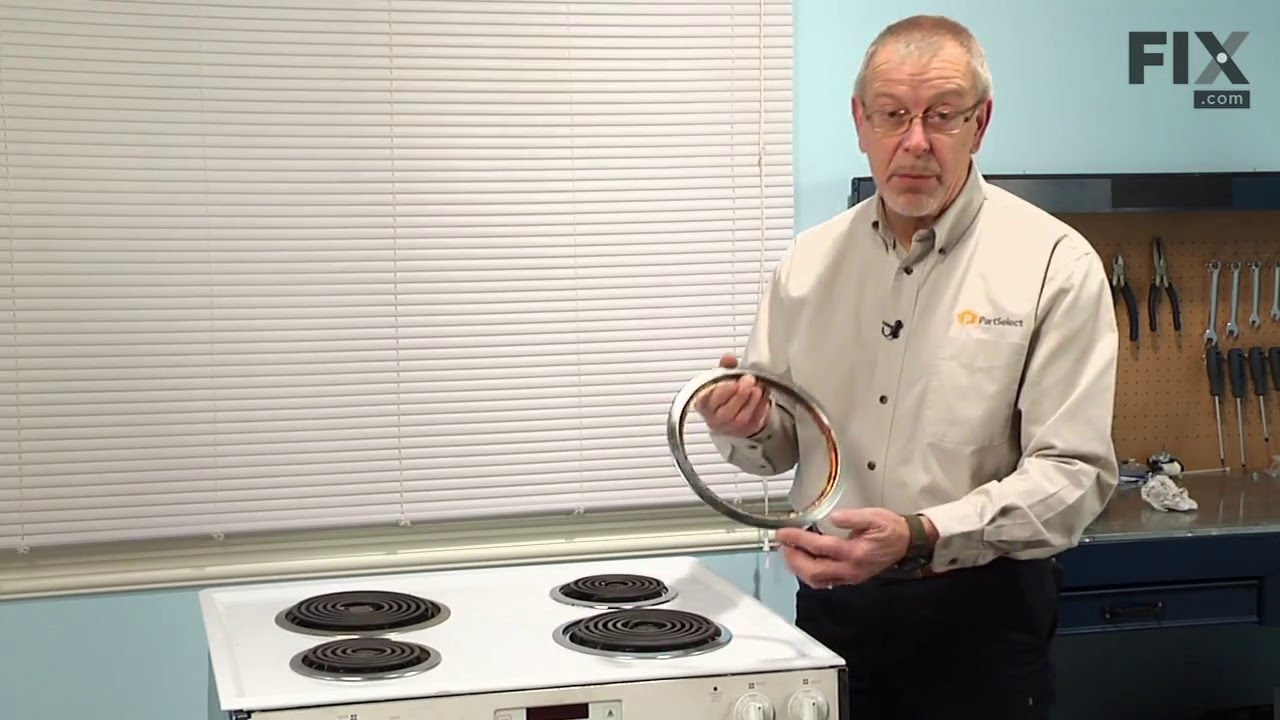
See how others fixed this model. Time, tools, difficulty, and steps that lead to victory!
View More