


 My Orders




1077 - Overview
Models starting with 1077
Click on the best match to narrow your results.
- 10770 Dynabrade Sander Polisher (3" Dual Action Sander)
- 10771 Dynabrade Sander Polisher (3" Dual Action Sander)
- 10771 Troy-Bilt Snow Blower (10771 Drift Slicer Accessory)
- 10771-1 General Electric Range
- 10771-2 General Electric Range
- 10771-3 General Electric Range
- 1077B Frigidaire Dishwasher (DISHWASHER)
- 1077XPA Ingersoll Rand Ratchet (Air Ratchet Wrench)
Enter a part description. DIY Heroes keep it simple, eg. "belt" or "pump".
Search filter:
Clear Filter
Your search term must have 3 or more characters.

$21.95
In Stock
Light Bulb - 40W
Part #40A15
This 40-Watt light bulb is sold individually.
It is specially designed to withstand extreme temperatures, so this bulb is compatible with a variety of appliance types including refrigerators, ranges, microwaves, and dryers. It features a frosted glass bulb with a standard metal socket base, which allows you to easily unscrew the burnt-out light and twist the new bulb into place.

$147.53
In Stock
Oven Sensor
Part #WB21X5301
It is possible that your oven is cold because of a fault in the temperature sensor. The temperature sensor regulates oven temperature in modern ranges, like a thermostat. It is on the back wall near the broiler on the top wall. On a newer oven, there may be a fault code displayed. Faulty temperature sensors are often responsible for F3 an...Read mored F4 error messages on an electric range. Check your manual or the manufacturer website to find out the proper resistance of the temperature sensor. To check your sensor, unplug the oven and use a multi-meter to see if your sensor is at the correct resistance.
Read less

$26.39
In Stock
Light Cover
Part #WB36X192
This light bulb lens covers the interior light bulb in an oven, range, or stove. No tools are necessary to replace this part. Simply slide off the wire bracket to remove the existing light bulb lens. Disconnect power to your appliance before this repair. It is recommended to check the light bulb while the lens cover is removed in case it ...Read moreneeds to be replaced. Be sure to remove all broken glass, if applicable, before installing new lens. This part is sourced directly from the genuine manufacturer, and is sold individually.
Read less

No Longer Available
Element Grommet
Part #5300806833
This grommet is used in a number of household appliances. Most often it is used in the dishwasher as part of the assembly that mounts and holds the heating element in place. This replacement part is made out of rubber, which helps create a seal between the element and the appliance. This grommet is sold individually. If you are replacing ...Read morethe heating element, or the brass nut that holds it in place, we recommend you replace the grommet at the same time. Before you begin any repair work on your dishwasher, make sure you have unplugged it and shut off the water supply.
Read less

$133.95
In Stock
Large Haliant Burner with Limiter - 8"
Part #WB30T10045
This haliant burner element is a gneuine OEM replacement part for your stove. This element is 8 inches in diameter. The element lies underneath the stovetop, and will need to be replaced if it stops heating. To complete this repair you will need a 1/4 inch nut driver and a flat blade screwdriver. To access the element, open the oven door and unscrew the two screws under the lip of the cooktop.

$31.86
In Stock

$129.32
In Stock
6" Heating Element
Part #WB30X44826
Introducing GE's 6 Inch Heating Element, the ultimate solution for your appliance repair needs. Authentic and guaranteed for quality, this radiant surface element is designed to be the perfect replacement part for your setup. Representing GE's commitment towards innovation and maintaining consistent efficiency, it might be just the piece ...Read moreyou need to keep your appliance working optimally. Made durable, its intelligent design ensures longevity enabling long-term usage. Experience unparalleled reliability with this authentic GE product meant to stand the test of time. Keep your appliance performing its best with this genuine GE part.
Read less

$73.04
In Stock

$19.68
In Stock

$24.09
Special Order
Washer - 12 Pack
Part #WB1X119D

No Longer Available

No Longer Available
Leveling Leg
Part #WB2X8248
Exact Part matches for your search term

$6.40
Special Order
No Longer Available

$45.09
Special Order
No Longer Available
No Longer Available
$13.33
Special Order
$2.99
Special Order
Common Symptoms of models starting with 1077
How this model fails, and the parts that fix it.
Element will not heat
Fixed by
these parts
these parts


Show All
Leaking
Fixed by
these parts
these parts


Show All
Little to no heat when baking
Fixed by
these parts
these parts
Show All
Oven not heating evenly
Fixed by
these parts
these parts
Show All
Oven is too hot
Fixed by
these parts
these parts
Show All
Will Not Start
Fixed by
these parts
these parts
Show All
Watch our pros, then fix it yourself.
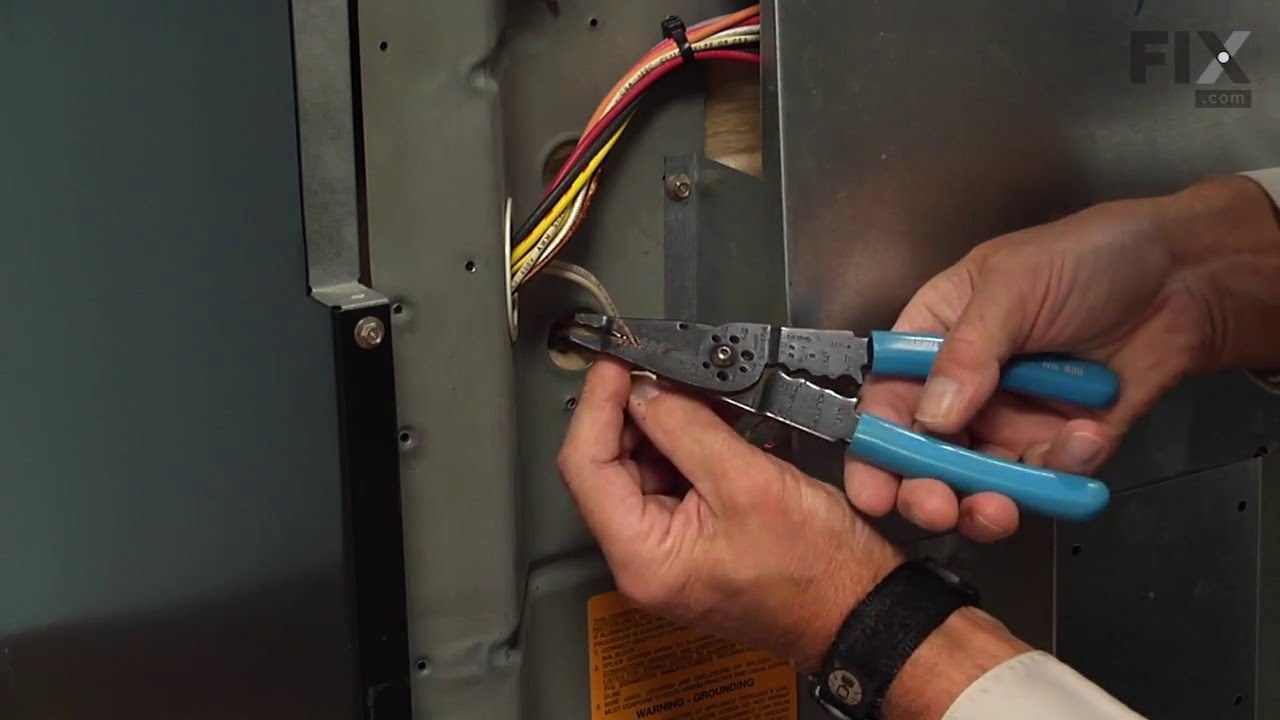
See how others fixed this model. Time, tools, difficulty, and steps that lead to victory!
View More