


 My Orders




106T14G3 Kenmore Refrigerator - Overview

Enter a part description. DIY Heroes keep it simple, eg. "belt" or "pump".
Search filter:
Clear Filter
Your search term must have 3 or more characters.

$34.74
In Stock
Defrost Timer
Part #W10822278
The Defrost Timer (Defrost control) acts like a clock by switching on the defrost heater circuit after a predetermined amount of compressor run time. This allows the defrost circuit to clear the evaporator of ice or frost to maintain proper airflow. If this part is not working, it can lead to temperature increases in your refrigerator. If...Read more the compressor circuit fails, no cooling will take place; if the defrost circuit isn't activated, ice will quickly build up on the evaporator coils and reduce airflow and efficiency. If the timer doesn't advance or if the contacts have no continuity, the timer will need to be replaced. This part is located inside of the control housing on most models, and is approximately 3 inches long and 2.5 inches wide. This part is constructed of plastic and metal, and comes in white. It features 1 defrost timer, along with all necessary mounting hardware and installation instructions
Read less

$7.47
In Stock

$7.47
In Stock
Screw
Part #WP488729
Metallic screw that is less than an inch long. Does not include the plastic washer.

No Longer Available
Washer Inlet Hose Washer
Part #WPY013783
This inlet hose washer, also known as a high pressure inlet hose washer, is used in washing machines, refrigerators, freezers, and dishwashers. The function of this part is to create a watertight seal in the appliance. If your gasket gets dry and brittle over time it will start to crack and will lose its function. In this case, it is impo...Read morertant to replace it. Refer to the manual provided by the manufacturer for further installation instructions and accurate guidance. As a safety precaution, remember to unplug your washer from the power source before beginning.
Read less

No Longer Available
Refrigerator Defrost Thermostat
Part #WP52085-29
Facing issues with your range? The GE Surface Element Control Switch might be just what you need to get your appliance up and running smoothly again. This key component accomplishes a significant task?controlling the temperature of the surface element and switching it on and off as needed. By adjusting the heat your element generates, i...Read moret plays a pivotal role in cooking your meals to perfection. Remember, safety is paramount when you're dealing with appliances. Before starting the replacement process, make sure to unplug your range or switch off the circuit breaker linked to it. Donning work gloves can provide you with an extra layer of protection, decreasing the chance of mishaps during installation. Rest assured knowing that the GE Surface Element Control Switch, like all GE products, is designed with top-notch engineering and reliability in mind - turning your range into a dependable appliance for years to come. Please verify your range model to ensure compatibility with the GE Surface Element Control Switch. The reward? A seamless cooking experience making your kitchen routines enjoyable again. Cheers to delicious meals and a healthy appliance!
Read less

$7.47
In Stock
Refrigerator Hinge Washer
Part #WP487802

$46.34
Special Order
Refrigerator 40w Light Bulb
Part #WP548049
This light bulb is found behind the controls box in some refrigerators.

$11.77
In Stock
Transformer Screw
Part #WP488787
This screw is sold individually. It is a genuine OEM replacement part, and it is designed for use with refrigerators. Most often it is used with the ice bucket ice deflector, retainer clip, and front cover. Due to varied uses we recommend referring to model-specific diagrams for exact placement. This screw measures 8-18 by 1/2 inch.

$51.61
In Stock
Silicone Rubber Adhesive - 2 oz
Part #WP279368
Silicone rubber adhesive is a high temperature adhesive that is used for gaskets on dryers and felt seals. It is used on many different appliances for many different application reasons. This silicone paste creates a waterproof seal between components. This product is a 2 oz. tube. Unplug your appliance if you will be working on any inter...Read morenal workings and applying this sealant. Wear gloves to protect your hand from accidently applying sealant to your skin. The surface must be clean, dry, and free from oil and grease. Coat one surface and let it dry for at least one minute and then bond.
Read less

$9.62
Special Order
Speed Nut
Part #WP486692
The speed nut (also referred to as a condenser motor fan nut), fits onto the condenser fan motor. The motor for this fan turns on simultaneously with the evaporator and the compressor motors, so a malfunction in the condenser fan motor could cause your fridge to cycle on and off more frequently or run too warm, or too noisily. Make sure t...Read morehat the speed nut is properly attached and tight. Check the nut for any signs of wear or damage. If the nut is damaged and refuses to tighten, you should replace the part immediately. Remember to unplug your refrigerator before starting this repair.
Read less

$18.22
In Stock

$9.62
In Stock
Common Symptoms of the 106T14G3
How this model fails, and the parts that fix it.
Fridge too warm
Fixed by
these parts
these parts


Show All
Freezer not defrosting
Fixed by
these parts
these parts
Show All
Leaking
Fixed by
these parts
these parts

Show All
Freezer section too warm
Fixed by
these parts
these parts
Show All
Will Not Start
Fixed by
these parts
these parts
Show All
Fridge and Freezer are too warm
Fixed by
these parts
these parts
Show All
Fridge runs too long
Fixed by
these parts
these parts
Show All
Frost buildup
Fixed by
these parts
these parts
Show All
Freezer too cold
Fixed by
these parts
these parts
Show All
Fridge too cold
Fixed by
these parts
these parts
Show All
Too warm
Fixed by
these parts
these parts
Show All
Noisy
Fixed by
these parts
these parts
Show All
Door won’t open or close
Fixed by
these parts
these parts

Show All
Won’t start
Fixed by
these parts
these parts
Show All
Watch our pros, then fix it yourself.
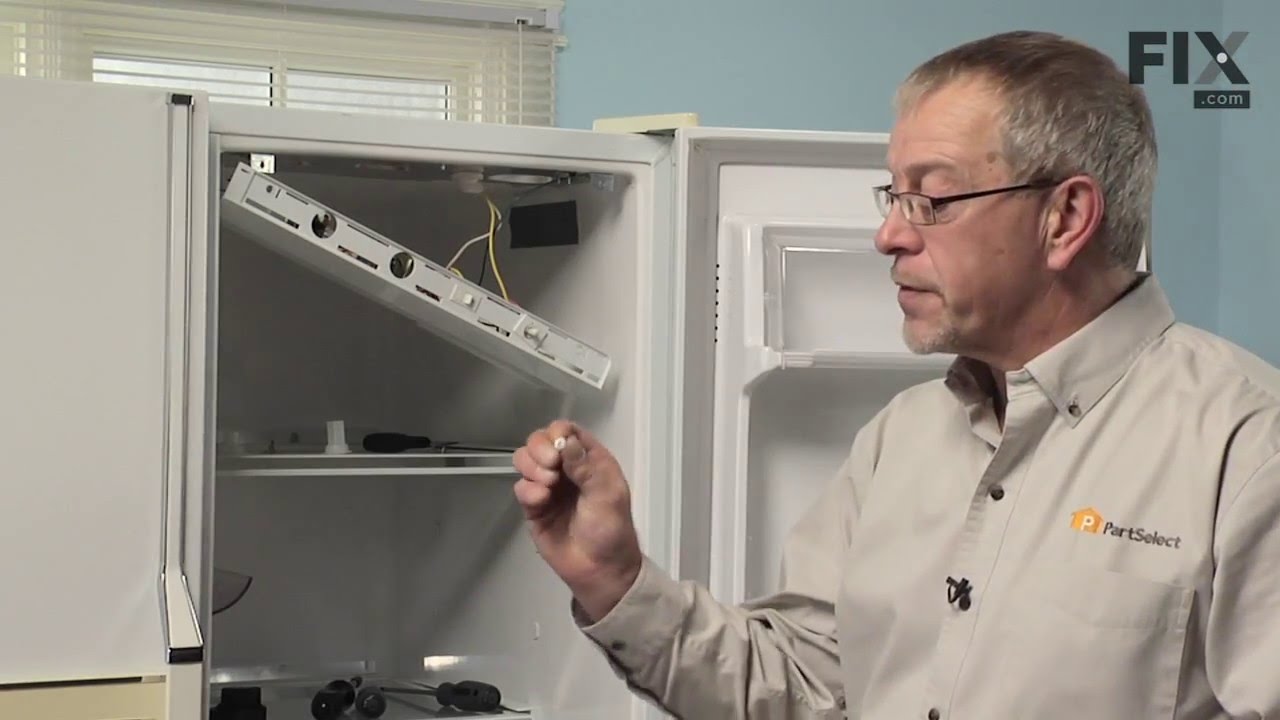
See how others fixed this model. Time, tools, difficulty, and steps that lead to victory!
View More