


 My Orders




106S12E-3 Kenmore Refrigerator - Overview
Diagrams for 106S12E-3
See every part. Know exactly what you need.


Enter a part description. DIY Heroes keep it simple, eg. "belt" or "pump".
Search filter:
Clear Filter
Your search term must have 3 or more characters.

$34.74
In Stock
Defrost Timer
Part #W10822278
The Defrost Timer (Defrost control) acts like a clock by switching on the defrost heater circuit after a predetermined amount of compressor run time. This allows the defrost circuit to clear the evaporator of ice or frost to maintain proper airflow. If this part is not working, it can lead to temperature increases in your refrigerator. If...Read more the compressor circuit fails, no cooling will take place; if the defrost circuit isn't activated, ice will quickly build up on the evaporator coils and reduce airflow and efficiency. If the timer doesn't advance or if the contacts have no continuity, the timer will need to be replaced. This part is located inside of the control housing on most models, and is approximately 3 inches long and 2.5 inches wide. This part is constructed of plastic and metal, and comes in white. It features 1 defrost timer, along with all necessary mounting hardware and installation instructions
Read less

$7.47
In Stock
Screw
Part #WP488729
Metallic screw that is less than an inch long. Does not include the plastic washer.

$11.77
In Stock
Refrigerator Door Hinge Nylon Washer
Part #WP487576
Enhance your refrigerator's longevity and performance with this efficient Whirlpool Door Hinge Nylon Washer. Specifically crafted for some models of Whirlpool, KitchenAid, Maytag, Jenn-Air, Amana, Inglis, and Magic Chef, this door hinge washer plays a pivotal role in ensuring your fridge's door operates smoothly and securely. Constructed ...Read morefrom quality nylon, it promises durability and efficiency, providing excellent resistance to wear and tear from constant use. Don't forget to put on your work gloves for a safe installation. This is an original equipment manufacturer (OEM) component, signifying it's made by the same company that made your appliance. Consider cross-checking the compatibility with your refrigerator model for optimal performance.
Read less

$40.65
In Stock
Refrigerator Tray
Part #WP841180A
This fourteen cube ice cube tray is eleven inches long. It is all white in color and is made entirely of plastic.

$36.85
In Stock
Spray Paint - 12 oz. - White
Part #350930
Appliance spray paint is a great way to cover up any chips and scratches that have appeared on your appliances. Instead of replacing the part entirely, this is an easy fix. This is also a great way to give a fresh new look to any handles or areas that have discoloring due to wear. Make sure to clean the area before you begin and wear a pr...Read moreotective mask for safety. Give the can a good shake and spray a few inches away from the surface. Apply the paint until the area is fully covered as desired. Wait until the paint has dried before using the appliance.
Read less

$7.47
In Stock
Refrigerator Hinge Washer
Part #WP487802

$11.77
In Stock
Transformer Screw
Part #WP488787
This screw is sold individually. It is a genuine OEM replacement part, and it is designed for use with refrigerators. Most often it is used with the ice bucket ice deflector, retainer clip, and front cover. Due to varied uses we recommend referring to model-specific diagrams for exact placement. This screw measures 8-18 by 1/2 inch.

$51.61
In Stock
Silicone Rubber Adhesive - 2 oz
Part #WP279368
Silicone rubber adhesive is a high temperature adhesive that is used for gaskets on dryers and felt seals. It is used on many different appliances for many different application reasons. This silicone paste creates a waterproof seal between components. This product is a 2 oz. tube. Unplug your appliance if you will be working on any inter...Read morenal workings and applying this sealant. Wear gloves to protect your hand from accidently applying sealant to your skin. The surface must be clean, dry, and free from oil and grease. Coat one surface and let it dry for at least one minute and then bond.
Read less

$18.22
In Stock

$9.62
In Stock
Refrigerator Rivet
Part #WP356907

$57.38
In Stock
Spray Paint - Superior Black
Part #285006
This is a 12oz (about 355 ml) can of black spray paint that is compatible with a variety of different home appliances and is used to cover and conceal any visible scuffs, scratches or chips. This can is sold individually, so consider how much paint you need for your appliances prior to placing an order. To use this spray paint, make sure ...Read moreto have the proper personal protective equipment, such as protective glasses or gloves, as well as a respirator. Clean the surface of whatever you are spraying before you begin and shake the can for 1 minute after hearing the internal mixing balls rattle. Do not spray during high heat or humidity, spray at room temperature and in several thin coats to ensure the best adherence.
Read less

$8.55
Special Order
Common Symptoms of the 106S12E-3
How this model fails, and the parts that fix it.
Fridge too warm
Fixed by
these parts
these parts

Show All
Freezer not defrosting
Fixed by
these parts
these parts
Show All
Freezer section too warm
Fixed by
these parts
these parts
Show All
Leaking
Fixed by
these parts
these parts
Show All
Will Not Start
Fixed by
these parts
these parts
Show All
Fridge and Freezer are too warm
Fixed by
these parts
these parts
Show All
Fridge runs too long
Fixed by
these parts
these parts
Show All
Door won’t open or close
Fixed by
these parts
these parts


Show All
Frost buildup
Fixed by
these parts
these parts
Show All
Freezer too cold
Fixed by
these parts
these parts
Show All
Fridge too cold
Fixed by
these parts
these parts
Show All
Too warm
Fixed by
these parts
these parts
Show All
Noisy
Fixed by
these parts
these parts
Show All
Won’t start
Fixed by
these parts
these parts
Show All
Watch our pros, then fix it yourself.
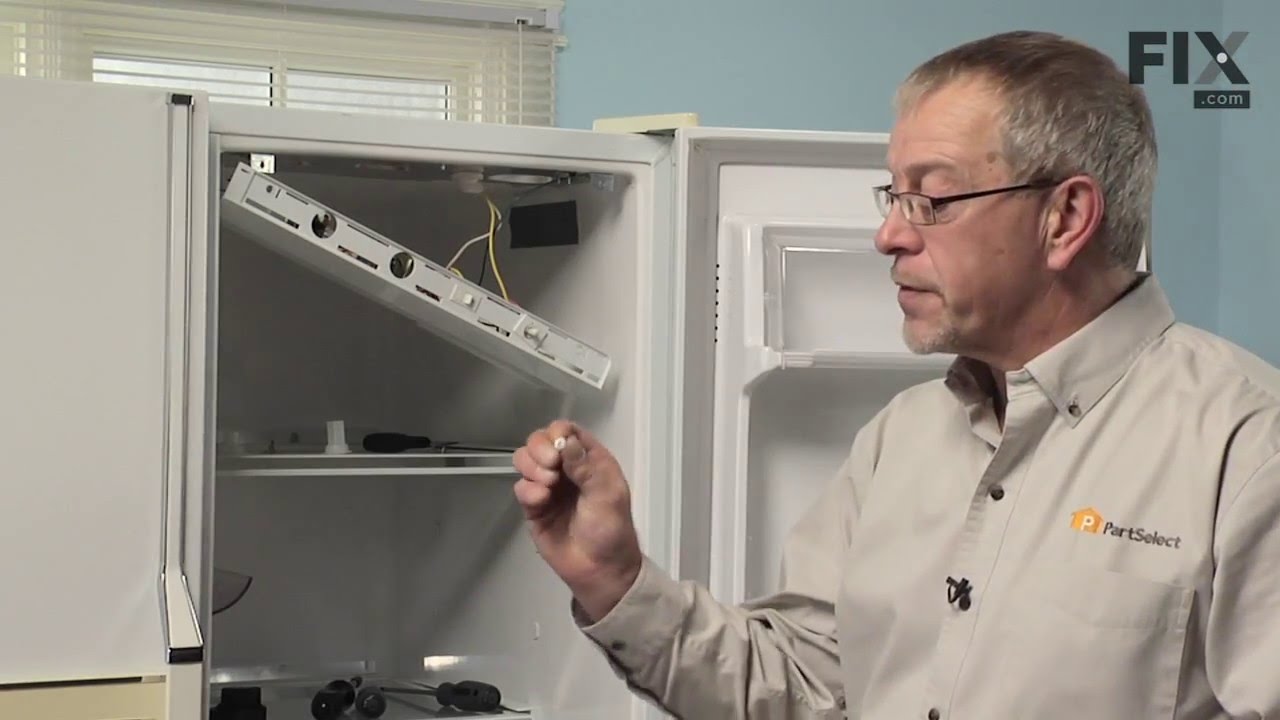
See how others fixed this model. Time, tools, difficulty, and steps that lead to victory!
View More