


 My Orders




106R14 Kenmore Refrigerator - Overview
Models starting with 106R14
Click on the best match to narrow your results.
- 106R14E Kenmore Refrigerator (COLDSPOT REFRIGERATORS)
- 106R14E1 Kenmore Refrigerator (Kenmore Refrigerator Model 106.R14E1 (106R14E1, 106 R14E1) Parts)
- 106R14EL Kenmore Refrigerator (COLDSPOT REFRIGERATORS)
- 106R14EL1 Kenmore Refrigerator (COLDSPOT REFRIGERATORS)
- 106R14F Kenmore Refrigerator (COLDSPOT REFRIGERATORS)
- 106R14F1 Kenmore Refrigerator (COLDSPOT REFRIGERATORS)
- 106R14F3 Kenmore Refrigerator (COLDSPOT REFRIGERATORS)
- 106R14FL Kenmore Refrigerator (COLDSPOT REFRIGERATORS)
- 106R14FL1 Kenmore Refrigerator (COLDSPOT REFRIGERATORS)
- 106R14FL3 Kenmore Refrigerator (Kenmore Refrigerator Model 106.R14FL3 (106R14FL3, 106 R14FL3) Parts)
- 106R14G Kenmore Refrigerator (COLDSPOT REFRIGERATORS)
- 106R14G1 Kenmore Refrigerator (COLDSPOT REFRIGERATORS)
- 106R14GIM Kenmore Refrigerator (COLDSPOT REFRIGERATORS)
- 106R14GIMY Kenmore Refrigerator (COLDSPOT REFRIGERATORS)
- 106R14GL Kenmore Refrigerator (COLDSPOT REFRIGERATORS)
- 106R14GL1 Kenmore Refrigerator (COLDSPOT REFRIGERATORS)
- 106R14GP Kenmore Refrigerator (COLDSPOT REFRIGERATORS)
- 106R14GP1 Kenmore Refrigerator (COLDSPOT REFRIGERATORS)
- 106R14GY Kenmore Refrigerator (COLDSPOT REFRIGERATORS)
- 106R14GY1 Kenmore Refrigerator (COLDSPOT REFRIGERATORS)
Enter a part description. DIY Heroes keep it simple, eg. "belt" or "pump".
Search filter:
Clear Filter
Your search term must have 3 or more characters.

$34.74
In Stock
Defrost Timer
Part #W10822278
The Defrost Timer (Defrost control) acts like a clock by switching on the defrost heater circuit after a predetermined amount of compressor run time. This allows the defrost circuit to clear the evaporator of ice or frost to maintain proper airflow. If this part is not working, it can lead to temperature increases in your refrigerator. If...Read more the compressor circuit fails, no cooling will take place; if the defrost circuit isn't activated, ice will quickly build up on the evaporator coils and reduce airflow and efficiency. If the timer doesn't advance or if the contacts have no continuity, the timer will need to be replaced. This part is located inside of the control housing on most models, and is approximately 3 inches long and 2.5 inches wide. This part is constructed of plastic and metal, and comes in white. It features 1 defrost timer, along with all necessary mounting hardware and installation instructions
Read less

$65.73
In Stock
Refrigerator Condenser Fan Motor Kit
Part #833697
This condenser fan motor kit is designed for use with refrigerators. This fan draws air through the condenser coils and over the compressor. It does this with the goal of cooling the warm refrigerant before it enters the evaporator. When your fan or fan motor is not working your refrigerator will not cool properly. This is a 2-Watt, 115 V...Read moreolt motor that rotates the fan in a counter clockwise direction. This kit includes the hardware needed for installation, and a set of instructions. Before you begin any repair work make sure to unplug your appliance.
Read less

$47.40
In Stock
Single Outlet Water Valve Kit
Part #4318047
This part is a solenoid-operated switch located at the bottom of the refrigerator. When the water inlet valve is turned on, water is released from the supply line through the water valve and into the compact icemaker mold. The kit includes the mounting hardware and bracket plastic tubing fittings. The retaining nut must be cut off the pla...Read morestic water line and gently pushed into the new valve. To remove, press down on the ring that the tube slides into. Refer to the installation instructions for further guidance. Please note: the manufacturer has redesigned this part and it can appear different than the original. It has a new quick connection.
Read less

$7.47
In Stock
Screw
Part #WP488729
Metallic screw that is less than an inch long. Does not include the plastic washer.

$11.77
In Stock
Refrigerator Door Hinge Nylon Washer
Part #WP487576
Enhance your refrigerator's longevity and performance with this efficient Whirlpool Door Hinge Nylon Washer. Specifically crafted for some models of Whirlpool, KitchenAid, Maytag, Jenn-Air, Amana, Inglis, and Magic Chef, this door hinge washer plays a pivotal role in ensuring your fridge's door operates smoothly and securely. Constructed ...Read morefrom quality nylon, it promises durability and efficiency, providing excellent resistance to wear and tear from constant use. Don't forget to put on your work gloves for a safe installation. This is an original equipment manufacturer (OEM) component, signifying it's made by the same company that made your appliance. Consider cross-checking the compatibility with your refrigerator model for optimal performance.
Read less

$11.77
On Order

$40.65
In Stock
Refrigerator Tray
Part #WP841180A
This fourteen cube ice cube tray is eleven inches long. It is all white in color and is made entirely of plastic.

$36.85
In Stock
Spray Paint - 12 oz. - White
Part #350930
Appliance spray paint is a great way to cover up any chips and scratches that have appeared on your appliances. Instead of replacing the part entirely, this is an easy fix. This is also a great way to give a fresh new look to any handles or areas that have discoloring due to wear. Make sure to clean the area before you begin and wear a pr...Read moreotective mask for safety. Give the can a good shake and spray a few inches away from the surface. Apply the paint until the area is fully covered as desired. Wait until the paint has dried before using the appliance.
Read less

No Longer Available
Washer Inlet Hose Washer
Part #WPY013783
This inlet hose washer, also known as a high pressure inlet hose washer, is used in washing machines, refrigerators, freezers, and dishwashers. The function of this part is to create a watertight seal in the appliance. If your gasket gets dry and brittle over time it will start to crack and will lose its function. In this case, it is impo...Read morertant to replace it. Refer to the manual provided by the manufacturer for further installation instructions and accurate guidance. As a safety precaution, remember to unplug your washer from the power source before beginning.
Read less

No Longer Available
Refrigerator Defrost Thermostat
Part #WP52085-29
Facing issues with your range? The GE Surface Element Control Switch might be just what you need to get your appliance up and running smoothly again. This key component accomplishes a significant task?controlling the temperature of the surface element and switching it on and off as needed. By adjusting the heat your element generates, i...Read moret plays a pivotal role in cooking your meals to perfection. Remember, safety is paramount when you're dealing with appliances. Before starting the replacement process, make sure to unplug your range or switch off the circuit breaker linked to it. Donning work gloves can provide you with an extra layer of protection, decreasing the chance of mishaps during installation. Rest assured knowing that the GE Surface Element Control Switch, like all GE products, is designed with top-notch engineering and reliability in mind - turning your range into a dependable appliance for years to come. Please verify your range model to ensure compatibility with the GE Surface Element Control Switch. The reward? A seamless cooking experience making your kitchen routines enjoyable again. Cheers to delicious meals and a healthy appliance!
Read less

$7.47
In Stock
Refrigerator Hinge Washer
Part #WP487802

$7.47
Special Order
Water Inlet Hose Washer
Part #WP16123
If your clothes washer is leaking, it is likely that there could be an issue with one of the hoses. If the hoses are in working order, you should check the washers connecting the hose to your unit. Rubber washers are tasked with enhancing the seal between the hose and washer. A faulty or damaged washer will not be able to perform this pro...Read moreperly, and water will be able to leak from the poor connection. This OEM part is sold individually, so make sure you order the quantity that is needed. The washer measures 1 1/16 inches x 5/8 inches.
Read less
Common Symptoms of models starting with 106R14
How this model fails, and the parts that fix it.
Fridge too warm
Fixed by
these parts
these parts


Show All
Freezer section too warm
Fixed by
these parts
these parts
Show All
Leaking
Fixed by
these parts
these parts


Show All
Freezer not defrosting
Fixed by
these parts
these parts
Show All
Noisy
Fixed by
these parts
these parts
Show All
Will Not Start
Fixed by
these parts
these parts
Show All
Fridge and Freezer are too warm
Fixed by
these parts
these parts
Show All
Fridge runs too long
Fixed by
these parts
these parts
Show All
Ice maker not making ice
Fixed by
these parts
these parts

Show All
Door won’t open or close
Fixed by
these parts
these parts


Show All
Frost buildup
Fixed by
these parts
these parts
Show All
Too warm
Fixed by
these parts
these parts
Show All
Freezer too cold
Fixed by
these parts
these parts
Show All
Fridge too cold
Fixed by
these parts
these parts
Show All
Ice maker won’t dispense ice
Fixed by
these parts
these parts
Show All
Won’t start
Fixed by
these parts
these parts
Show All
Watch our pros, then fix it yourself.
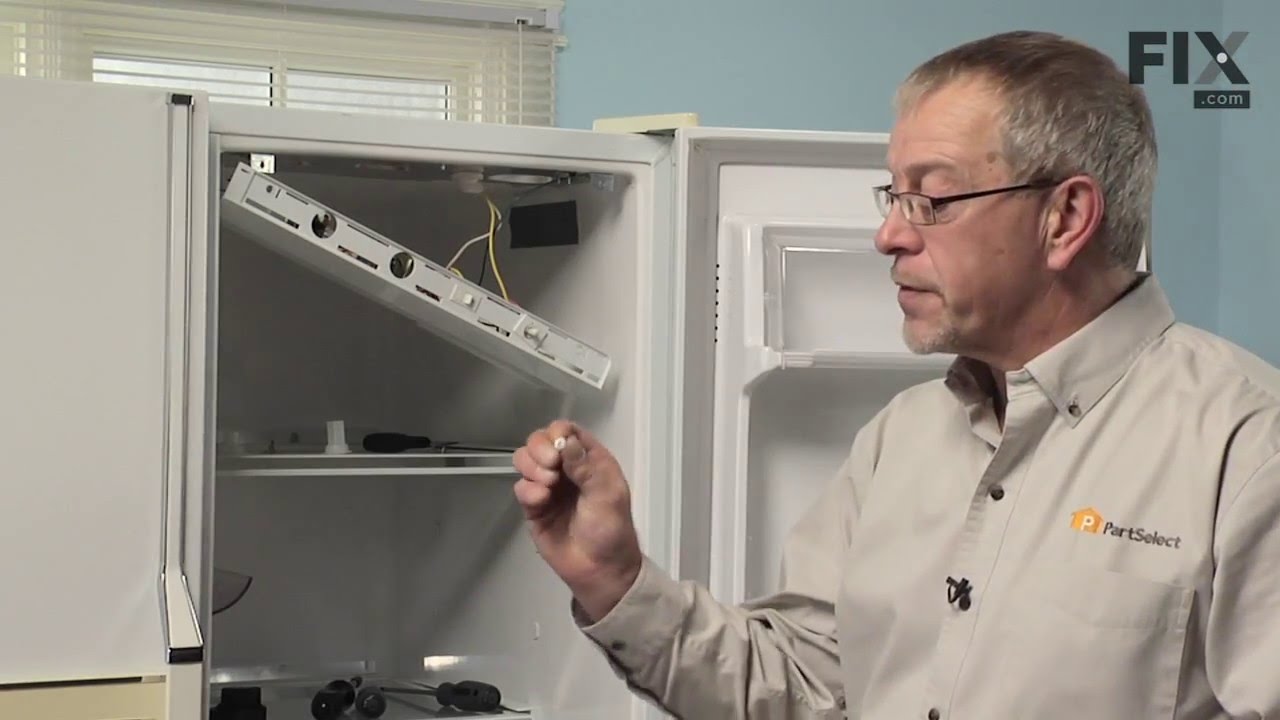

See how others fixed this model. Time, tools, difficulty, and steps that lead to victory!
View More