


 My Orders




106K KitchenAid Refrigerator - Overview
Models starting with 106K
Click on the best match to narrow your results.
Enter a part description. DIY Heroes keep it simple, eg. "belt" or "pump".
Search filter:
Clear Filter
Your search term must have 3 or more characters.

$120.55
In Stock
Replacement Ice Maker
Part #4317943
This ice maker (Complete Icemaker Assembly, Whirlpool Icemaker Kit, Ice Maker Assembly, Refrigerator Ice Maker, Icemaker) receives water from the water inlet valve, freezes it, and dispenses it into the ice bucket until the bucket is full. Ice makers will need to be replaced every 3-10 years depending on the frequency of usage, and water ...Read morequality. You can perform a voltage test with a multimeter or perform an inlet valve test. If you’re unable to make ice, or notice leaks then it may be a sign your ice maker is damaged and could be in need of a replacement. This model measures approximately 11x5 inches, is constructed of plastic and metal, and comes in black/silver. This ice maker is a complete assembly; the whole assembly attaches to the wall of your freezer. ***NOTE: Ice maker does NOT come with the bail or shut off arm. You must order them separately if required. It does come complete with flat and round plug wiring harness, the mounting hardware, and the instructions. The harness can be reused. The ice maker will not fit refrigerators that have the ice auger mounted on the door.
Read less

$70.95
In Stock
Icemaker Control Assembly
Part #W10190935
The “Icemaker Control Assembly” (Module & Motor Assembly, Ice Maker Control Module, Icemaker Module, Refrigerator Ice Maker Module) is what controls the actions of your ice maker. The control turns the timing cams and the ejector blades. It controls most of the basic parts and functions such as the heater, water inlet valve, the cube size...Read more, and cube ejection. If your ice maker control is broken it can no longer properly control the ice maker functions. It may not produce any ice, make small ice cubes, or have intermittent operation. This can occur due to normal wear and tear. The icemaker control assembly is attached to the ice maker mold, and is under the white cover. Test the icemaker control assembly by using a multimeter. If this reveals the assembly to be defective, you will need to replace this part. It is approximately 4.25 inches square, beige, and is constructed of plastic and metal. This replacement part features one icemaker control assembly, including the control module and the motor.
Read less

$30.53
In Stock

$53.20
In Stock

$19.30
In Stock
Refrigerator Light Bulb 10w
Part #WP22002263
This 10-watt clear incandescent light bulb is designed to provide reliable interior illumination for household appliances such as dryers and refrigerators. Measuring approximately 2 inches in length, it fits securely into standard appliance sockets and activates when the appliance door is opened, offering clear visibility inside the drum ...Read moreor compartment. The bulb is suitable for use in a wide range of models across multiple appliance brands and is engineered to deliver consistent performance and durability. Installation is straightforward—simply screw the bulb into the designated socket within the appliance. Ensure the appliance is powered off before installation to maintain safety.
Read less

$20.37
In Stock

$35.80
In Stock
Refrigerator Water Fill Cup & Bearing
Part #WP628356
This refrigerator ice maker fill cup dispenses the water into the ice cube mold during the fill cycle. Replacing the water fill cup is a possible solution if you notice that the ice maker is leaking, or not making/dispensing ice. If you notice the fill cup has been damaged or cracked; replace the part straight away. This water fill cup is...Read more a genuine OEM part and will fit most refrigerators, but check the list of compatible brands to make sure yours is included before purchasing.
Read less

$7.47
In Stock
Screw
Part #WP488729
Metallic screw that is less than an inch long. Does not include the plastic washer.

$28.42
In Stock
Evaporator Fan Blade
Part #WP2169142
If your refrigerator or freezer is too warm, or making noises, you may need to replace the fan blade. The fan blade attaches to the evaporator motor, which is in the freezer section, to help circulate the cold air into the refrigerator and freezer sections. The fan blade is white in color and made from plastic. This is a genuine OEM part...Read more. Please be sure to disconnect the power to your refrigerator before starting your repair.
Read less

$45.29
In Stock
Refrigerator Armshut
Part #W11342242
This ice level arm, also known as an ice shutoff arm, is designed to detect the level of ice within the ice bin of your ice maker or refrigerator and turn it off when enough ice has been made. When the ice maker is empty, the arm will be down. When the ice maker is full, the arm will be raised, and over time, wear and tear to the level ar...Read morem can cause the ice maker to stop making ice completely. To replace this arm, unplug your appliance and remove the ice making assembly, then pull the levelling arm out of the assembly and place the new one. Consisting of a long, angled metal arm and a plastic flap, this level arm is a genuine OEM part that is compatible with a wide-range of refrigerators and icemakers and measures at approximately 9-inches by 4.5-inches.
Read less

$153.95
In Stock
Refrigerator Nozzle And Tube Kit
Part #WP4388152
This kit is intended for use with refrigerators that have a water dispenser in the door.

$162.26
In Stock
Refrigerator Ice Mold
Part #WPW10190929
This is an ice maker mold and heater assembly for a refrigerator ice maker. It is used with modular style icemakers and is located in the freezer section of the refrigerator. This ice mold is flake resistant which prevents the coating on the mold from flaking into the ice cubes when the ice mold begins to wear. The ice mold forms the ice ...Read morecubes and the heater allows the ice cubes to fall from the ice mold to drop them into the ice bucket. You will need to remove the ice maker from the refrigerator to access the mold and heater assembly. This is a genuine replacement part.
Read less
Common Symptoms of models starting with 106K
How this model fails, and the parts that fix it.
Ice maker not making ice
Fixed by
these parts
these parts


Show All
Light not working
Fixed by
these parts
these parts


Show All
Ice maker won’t dispense ice
Fixed by
these parts
these parts

Show All
Leaking
Fixed by
these parts
these parts


Show All
Not dispensing water
Fixed by
these parts
these parts


Show All
Fridge too warm
Fixed by
these parts
these parts


Show All
Noisy
Fixed by
these parts
these parts

Show All
Ice maker dispenses too much ice
Fixed by
these parts
these parts


Show All
Will Not Start
Fixed by
these parts
these parts

Show All
Ice maker dispenses too little ice
Fixed by
these parts
these parts
Show All
Freezer section too warm
Fixed by
these parts
these parts

Show All
Won’t start
Fixed by
these parts
these parts
Show All
Freezer not defrosting
Fixed by
these parts
these parts
Show All
Too warm
Fixed by
these parts
these parts
Show All
Fridge runs too long
Fixed by
these parts
these parts
Show All
Watch our pros, then fix it yourself.
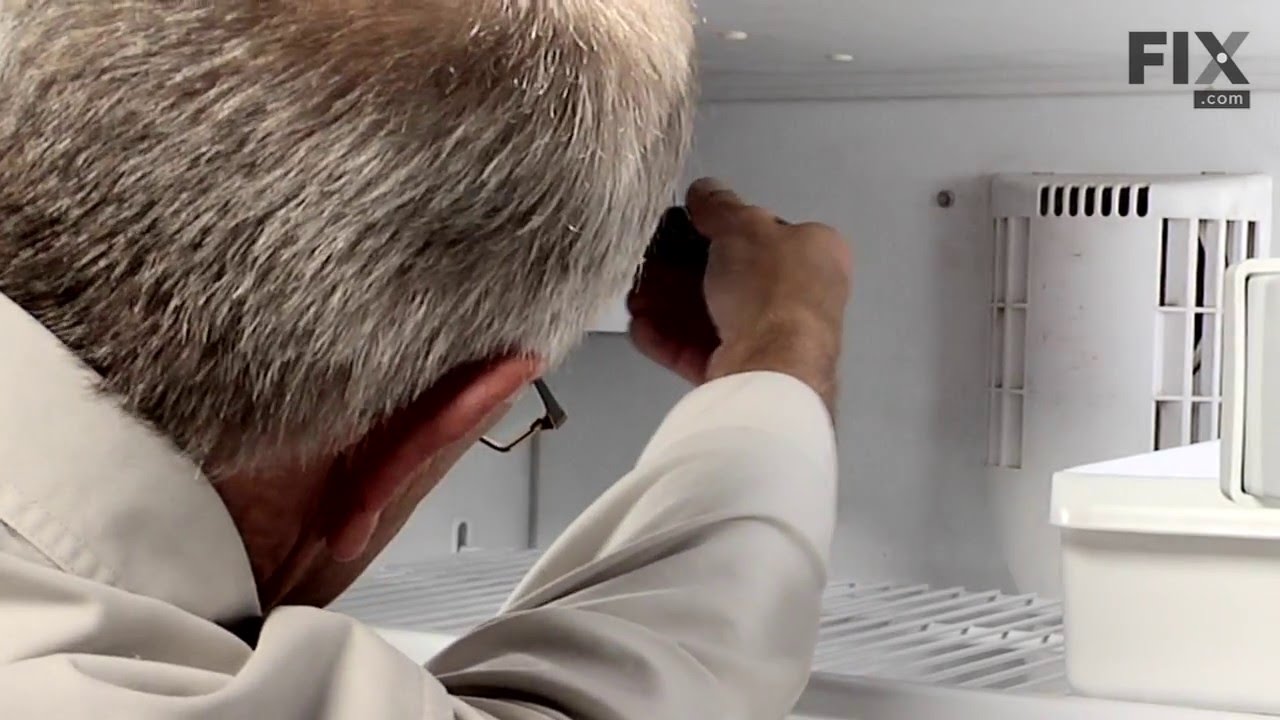

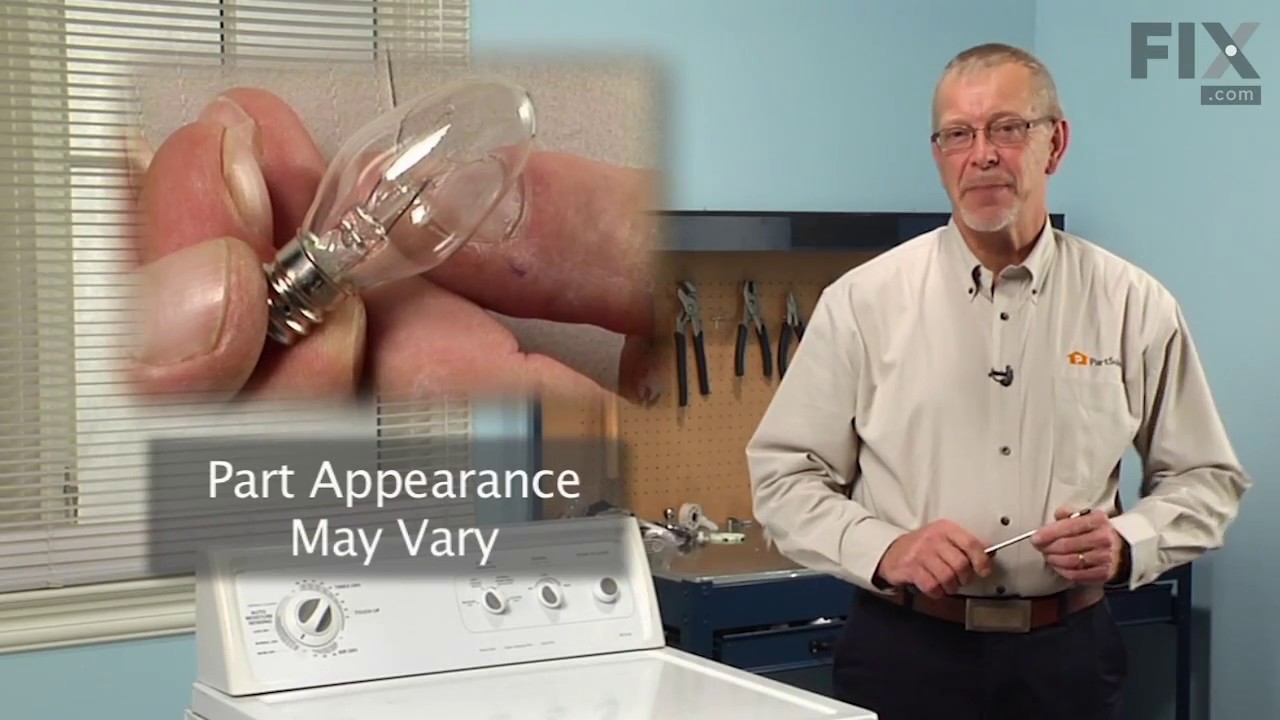

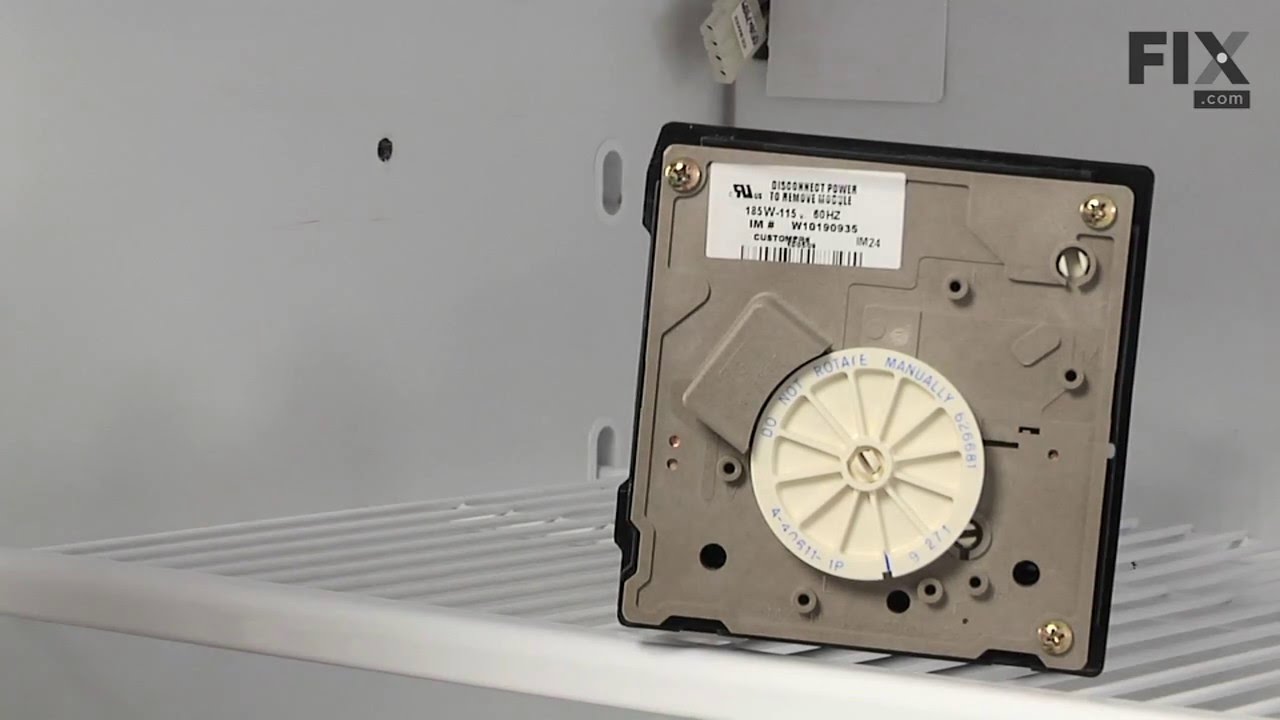
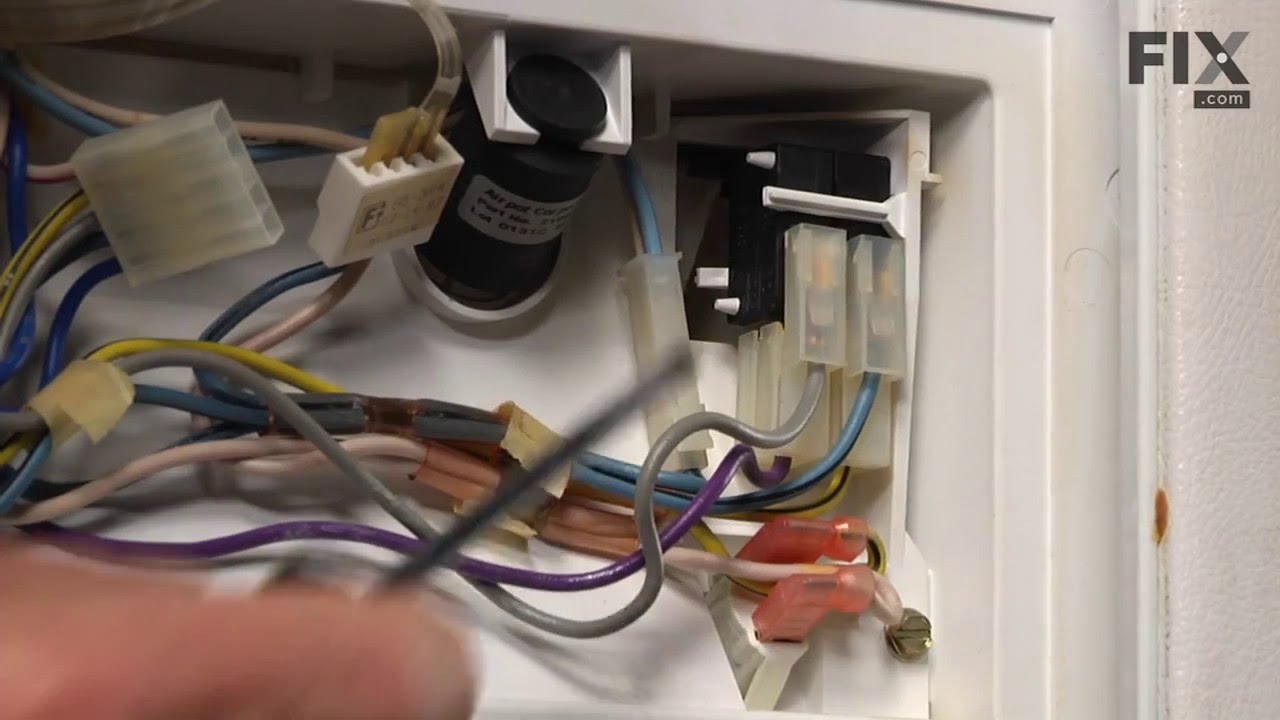
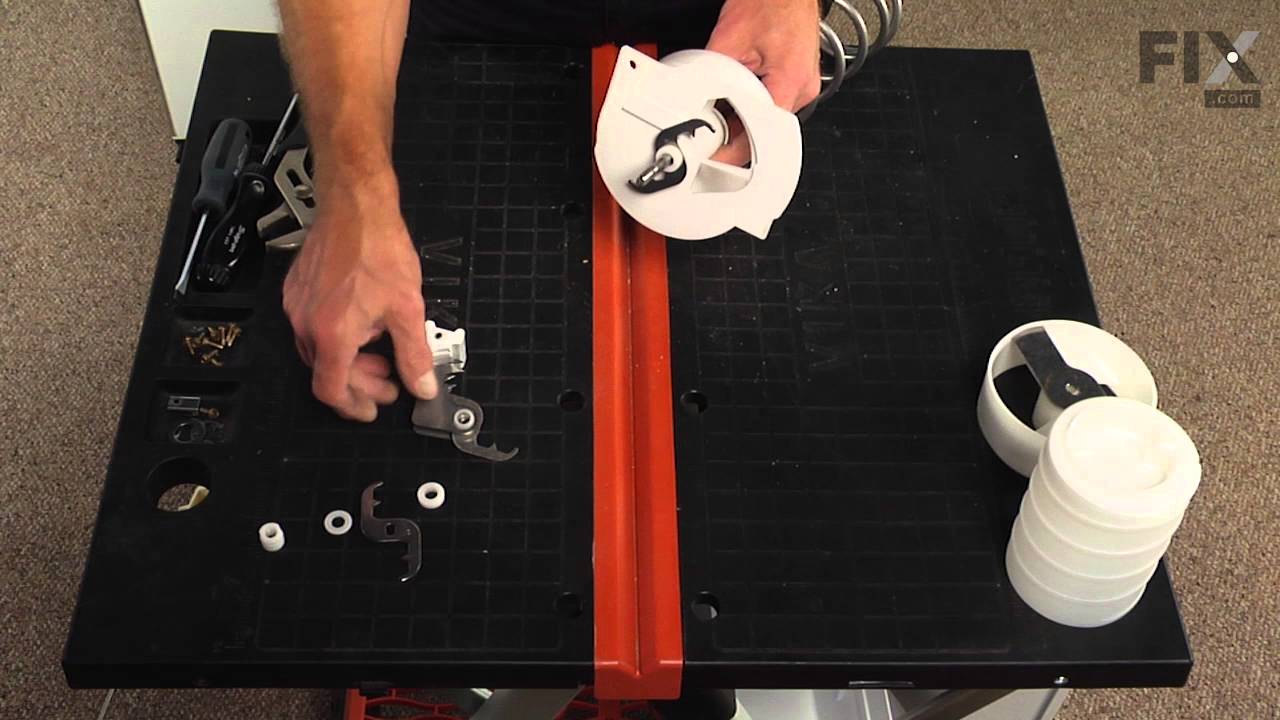
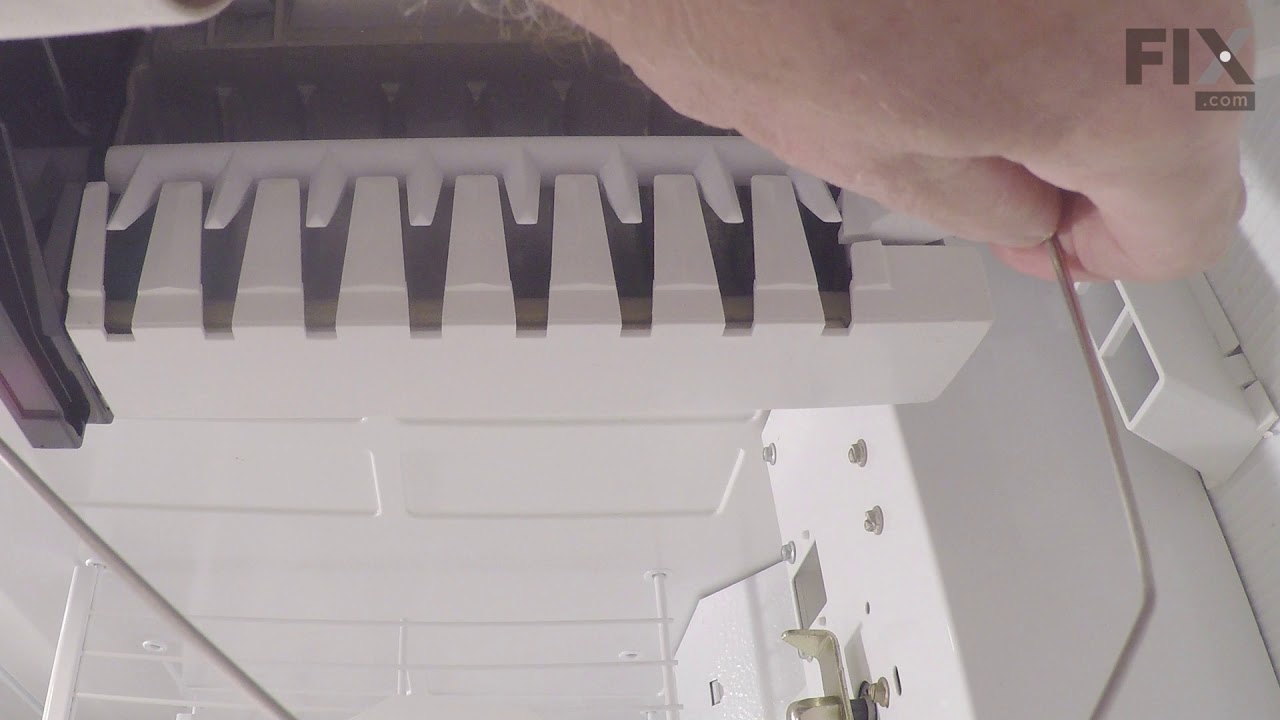
See how others fixed this model. Time, tools, difficulty, and steps that lead to victory!
View More