


 My Orders




1069658113 Kenmore Refrigerator - Overview

Enter a part description. DIY Heroes keep it simple, eg. "belt" or "pump".
Search filter:
Clear Filter
Your search term must have 3 or more characters.

$109.58
In Stock
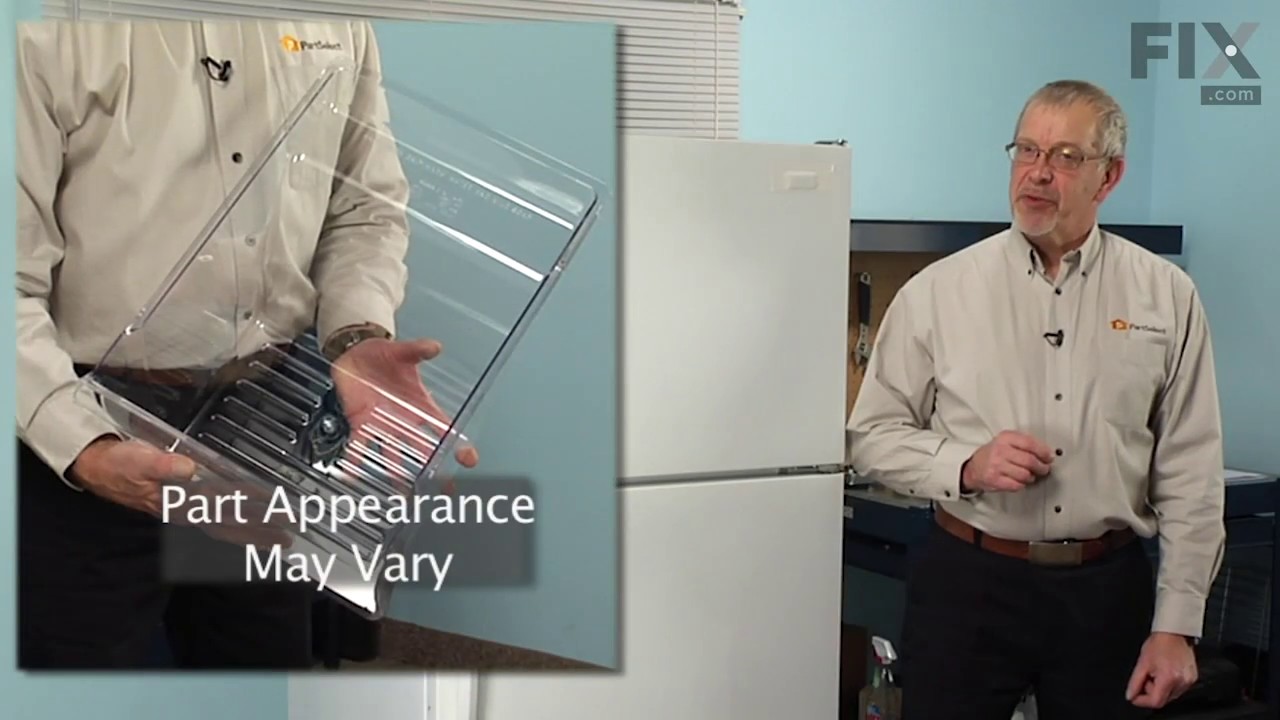
Refrigerator Crisper Drawer
Part #W10854037
The crisper drawer is clear plastic and is located inside the refrigerator. It is used to store fruits and vegetables at a certain temperature to ensure food will last longer. If your drawer is cracked, broken, or even getting stuck, this replacement could be the solution. First, open your refrigerator door and remove all the items from t...Read morehe crisper. Remember to remove the escutcheon from the old crisper and transfer onto the new crisper drawer by sliding and snapping it on. Refer to the instruction guide provided by the manufacturer for more detail and guidance.
Read less

$30.53
In Stock

$11.77
In Stock
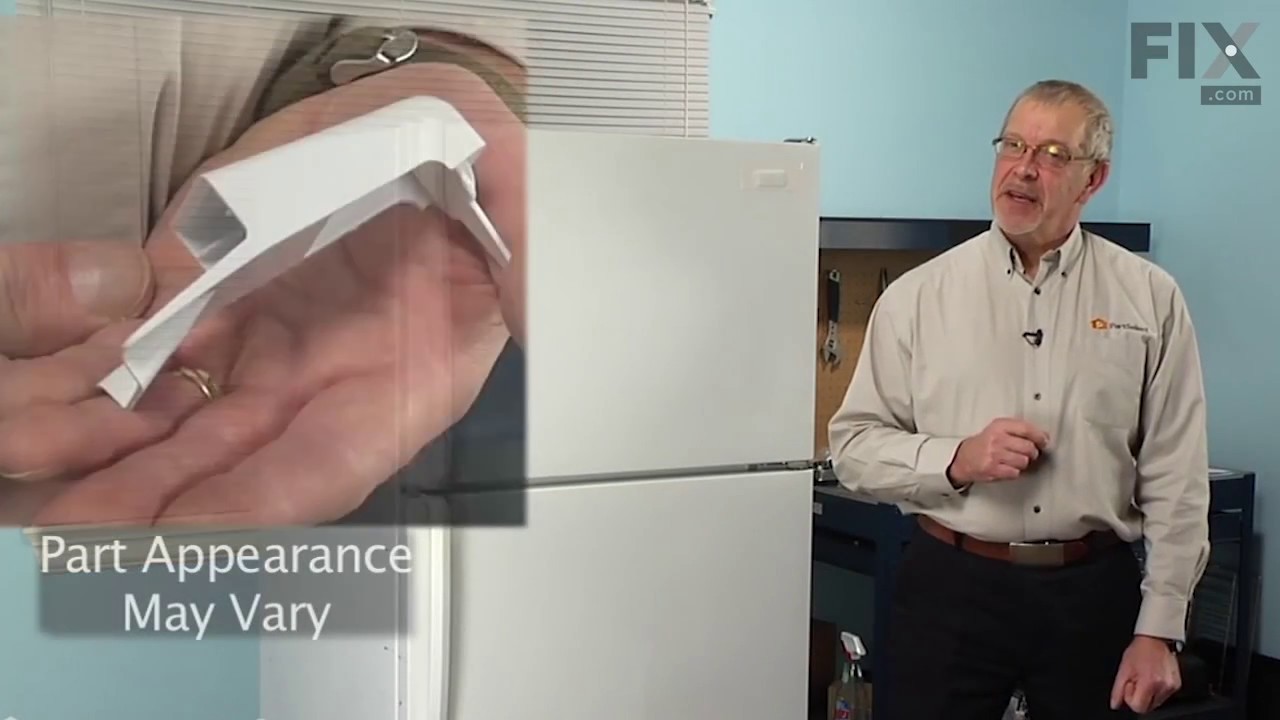
Refrigerator Door Shelf Retainer Bar End Cap
Part #WP2156003
The door shelf retainer bar end cap connects to the retainer bar on your refrigerator’s door shelf, and attaches it to the refrigerator door. If your shelf retainer bar has become disconnected, a damaged end cap could be the cause. To remove the end cap, first unhook the release tab on both ends of the retainer bar. Slide out the bar and ...Read morethe end caps, and slide out the defective cap. Now, simply replace the end cap and snap the bar with end caps back in place on the refrigerator door. This part is made of white plastic and is sold individually.
Read less

$32.63
In Stock
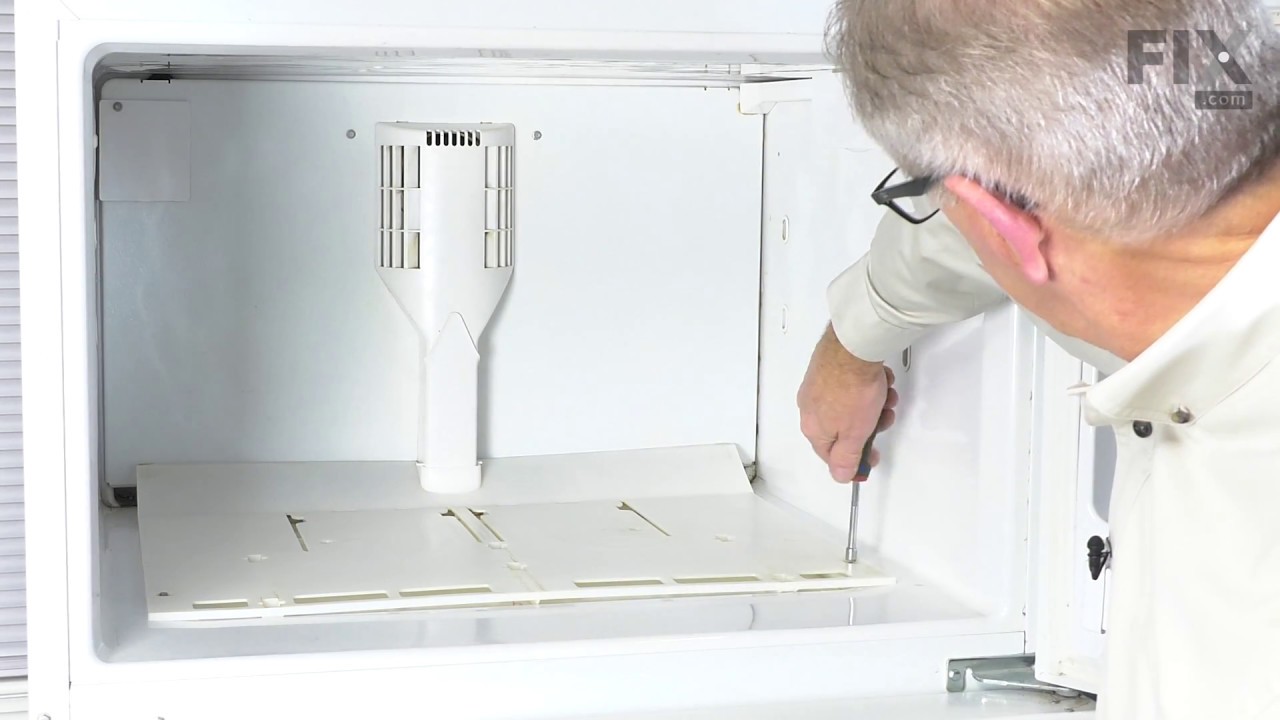
Refrigerator Bimetal Defrost Thermostat
Part #WP4387503
This is a bimetal defrost thermostat for your refrigerator. It stops the fridge from overheating during the defrost cycle by protecting the evaporator. This clip-on thermostat will sense the temperature increase in the evaporator during the defrost process, and will cycle the defrost heater off after the ice or frost is melted. The most c...Read moreommon reasons for needing to replace this part are if your unit is leaking, has inconsistent temperatures (too hot or too cold), you are seeing buildup of ice, or your appliance is running too long.
Read less

$10.70
In Stock

$26.82
In Stock
Refrigerator Crisper Drawer Rail
Part #WP2163835
This part goes in the center of the crisper shelf and acts as a support.

$24.15
In Stock
Touch-Up Paint - White
Part #72017
This touch-up paint can be used on a wide variety of household appliances. It is most often used on washers, dryer, refrigerators, dishwashers, ranges, freezers, trash compactors, or microwaves. It is an 18 ml, or.6 fluid ounces, bottle of touch-up paint. It also features a brush for easy application. This quick-drying, long-lasting paint...Read more is perfect for fixing any nicks, scratches, or chips on the exterior of your appliance. This paint is white in color, and provides a durable finish.
Read less

$7.47
In Stock
Screw
Part #WP488729
Metallic screw that is less than an inch long. Does not include the plastic washer.

$12.85
In Stock
BRACKET-DOOR STOP,ZINC
Part #W11745278
This hinge bracket, also known as a door stop, is attached to the bottom of the door and is used to limit how far the door swings out to protect the refrigerator itself, and any surrounding cabinets from potential damage. If your fridge is having issues opening or staying closed, check the hinges for any damage or cracking. To replace thi...Read mores bracket, simply remove the door off your refrigerator, unscrew and remove this bracket from the bottom of the door, and install the new one. This hinge bracket is an OEM replacement and is compatible with several different makes and models of refrigerator.
Read less

$111.43
In Stock
Crisper Drawer - Clear
Part #W10856580
This is a replacement crisper drawer for your refrigerator. It is made of clear plastic and is sold individually. The crisper drawer slides in and out of the refrigerator, and is used to store items. The main reason you would want to replace the crisper drawer, is if the old drawer is cracked, broken, or missing. This is an OEM part sourced directly from the manufacturer.

$7.47
In Stock

$56.33
In Stock
Refrigerator Door Shelf Trim
Part #WP2201061
Also known as door retainer bar. End caps are not included. White in color. Part needs to be cut to proper length.
Common Symptoms of the 1069658113
How this model fails, and the parts that fix it.
Light not working
Fixed by
these parts
these parts


Show All
Fridge too warm
Fixed by
these parts
these parts


Show All
Door won’t open or close
Fixed by
these parts
these parts


Show All
Leaking
Fixed by
these parts
these parts

Show All
Freezer not defrosting
Fixed by
these parts
these parts
Show All
Noisy
Fixed by
these parts
these parts


Show All
Freezer section too warm
Fixed by
these parts
these parts
Show All
Frost buildup
Fixed by
these parts
these parts

Show All
Will Not Start
Fixed by
these parts
these parts

Show All
Fridge and Freezer are too warm
Fixed by
these parts
these parts
Show All
Fridge too cold
Fixed by
these parts
these parts

Show All
Freezer too cold
Fixed by
these parts
these parts
Show All
Fridge runs too long
Fixed by
these parts
these parts
Show All
Door Sweating
Fixed by
these parts
these parts
Show All
Clicking sound
Fixed by
these parts
these parts
Show All
Too warm
Fixed by
these parts
these parts
Show All
Ice maker not making ice
Fixed by
these parts
these parts

Show All
Watch our pros, then fix it yourself.

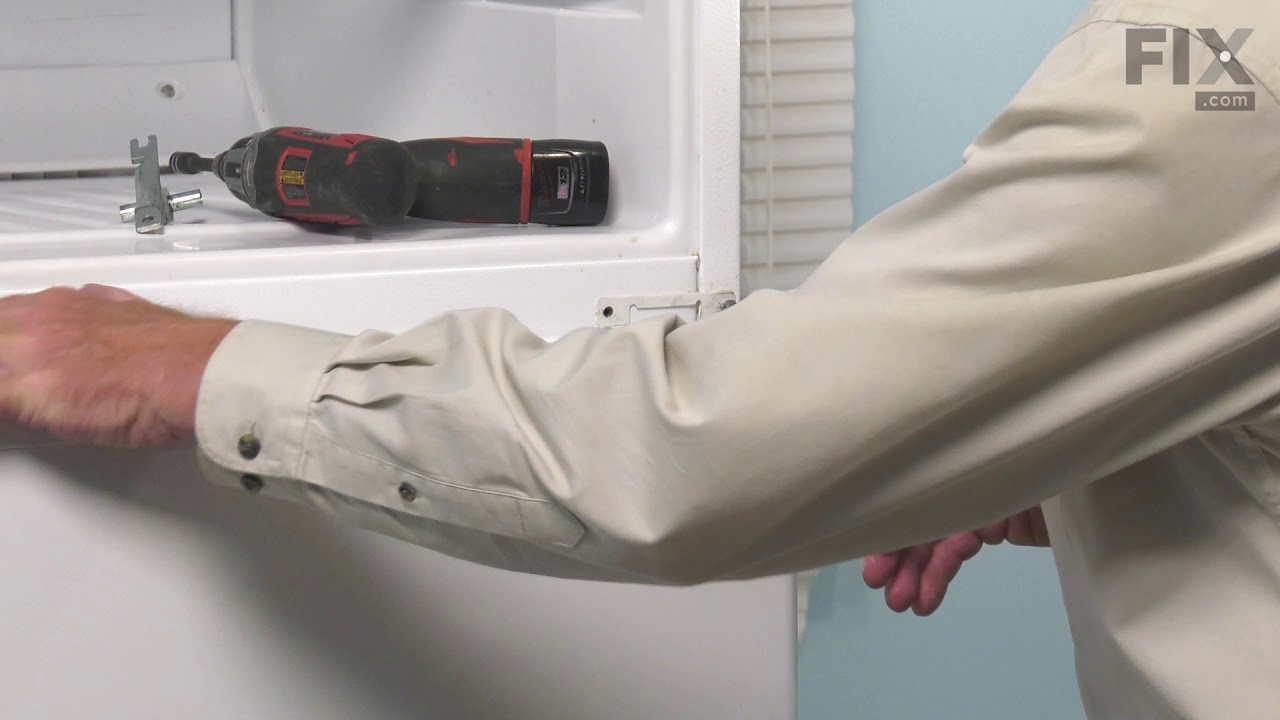

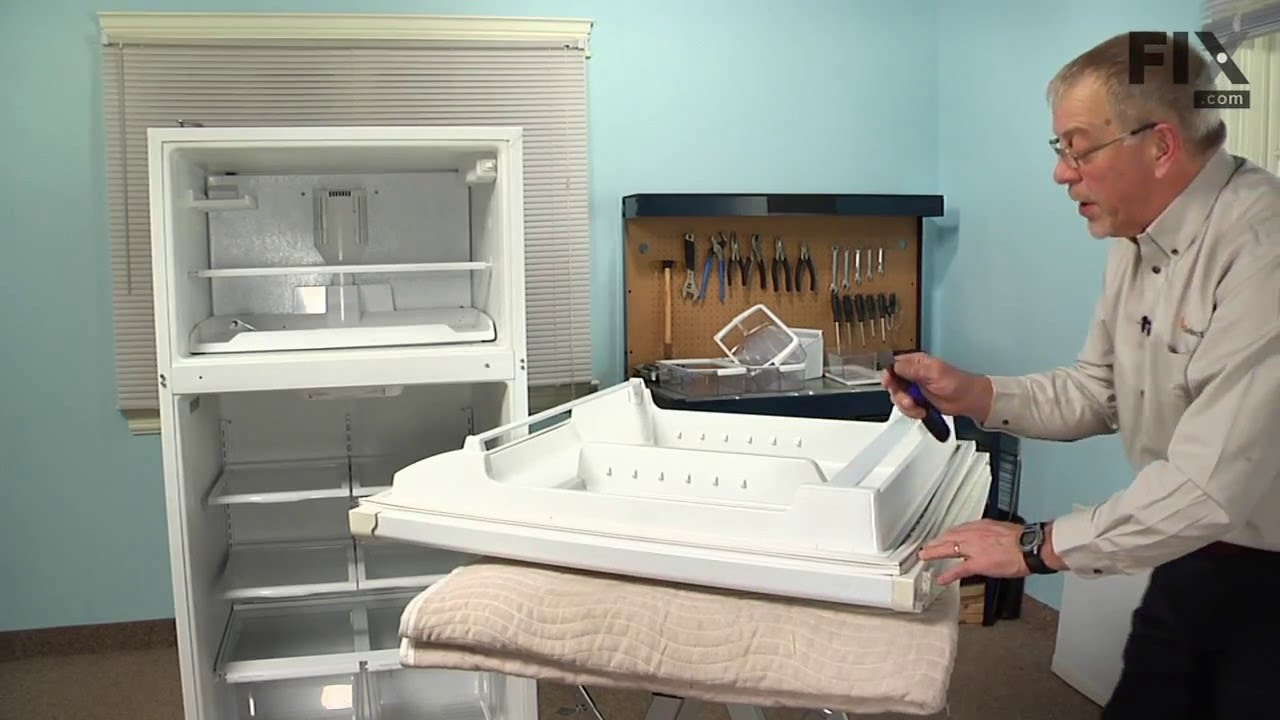
See how others fixed this model. Time, tools, difficulty, and steps that lead to victory!
View More