


 My Orders




1069542980 Kenmore Refrigerator - Overview
Diagrams for 1069542980
See every part. Know exactly what you need.

Enter a part description. DIY Heroes keep it simple, eg. "belt" or "pump".
Search filter:
Clear Filter
Your search term must have 3 or more characters.

$19.54
In Stock
Light Bulb - 40W
Part #8009
This an authentic OEM 40-Watt replacement light bulb, used in a number of household appliances. It is specially designed to withstand extreme temperatures, which is why these replacement bulbs are most often used to light the inside of refrigerators and ranges. It features a standard socket base, which means you simply unscrew the burnt-o...Read moreut bulb and screw in the replacement. Depending on the appliance you may require a screwdriver or nut driver to access the light bulb. We recommend you wear work gloves while handling this replacement part. It is constructed of glass and metal and is sold individually. Depending on the appliance and location of the bulb within it, you may want to consider disconnecting power and using a flashlight for easier access to unscrewing and re-screwing in your bulb during this repair.
Read less

$120.55
In Stock
Replacement Ice Maker
Part #4317943
This ice maker (Complete Icemaker Assembly, Whirlpool Icemaker Kit, Ice Maker Assembly, Refrigerator Ice Maker, Icemaker) receives water from the water inlet valve, freezes it, and dispenses it into the ice bucket until the bucket is full. Ice makers will need to be replaced every 3-10 years depending on the frequency of usage, and water ...Read morequality. You can perform a voltage test with a multimeter or perform an inlet valve test. If you’re unable to make ice, or notice leaks then it may be a sign your ice maker is damaged and could be in need of a replacement. This model measures approximately 11x5 inches, is constructed of plastic and metal, and comes in black/silver. This ice maker is a complete assembly; the whole assembly attaches to the wall of your freezer. ***NOTE: Ice maker does NOT come with the bail or shut off arm. You must order them separately if required. It does come complete with flat and round plug wiring harness, the mounting hardware, and the instructions. The harness can be reused. The ice maker will not fit refrigerators that have the ice auger mounted on the door.
Read less

$9.62
In Stock
Refrigerator Door Cam
Part #WPW10329686
The Door Cam is a black plastic part which helps the door pivot shut while keeping the door and hinge in proper alignment. Lubricating this part upon installation may help it move easier. It attaches onto the door hinge and should be replaced if broken or if there is noticeable damage. Refer to your model number and user manual to ensure...Read more this is the correct part for you. To do this repair you will need a 5/6 nut driver, a 5/16 socket, and a ratchet. For safety purposes, do not forget to turn off your appliance before making this repair. Note that this piece is black, and as per the manufacturer requires a new screw to mount the door cam which is sold individually. Please also note that this is the closing cam for the lower door, and the upper door cam is sold as a separate kit.
Read less

$70.95
In Stock
Icemaker Control Assembly
Part #W10190935
The “Icemaker Control Assembly” (Module & Motor Assembly, Ice Maker Control Module, Icemaker Module, Refrigerator Ice Maker Module) is what controls the actions of your ice maker. The control turns the timing cams and the ejector blades. It controls most of the basic parts and functions such as the heater, water inlet valve, the cube size...Read more, and cube ejection. If your ice maker control is broken it can no longer properly control the ice maker functions. It may not produce any ice, make small ice cubes, or have intermittent operation. This can occur due to normal wear and tear. The icemaker control assembly is attached to the ice maker mold, and is under the white cover. Test the icemaker control assembly by using a multimeter. If this reveals the assembly to be defective, you will need to replace this part. It is approximately 4.25 inches square, beige, and is constructed of plastic and metal. This replacement part features one icemaker control assembly, including the control module and the motor.
Read less

$34.74
In Stock
Refrigerator Bimetal Defrost Thermostat
Part #WPW10225581
If you have ice building up in your freezer, or if your freezer is getting too warm during the defrost cycle you may need to replace the bi-metal defrost thermostat. The function of the defrost bi-metal thermostat is to clip onto the evaporator and protect your evaporator from overheating during the defrost cycle. If your refrigerator doe...Read mores not defrost properly you can test both the thermostat and the heater to figure out which part is at fault. For this repair, you will need a Phillips screwdriver, a 1/4 inch nut driver, a flat blade screwdriver, a pair of wire strippers, a roll of electrical tape, and a few butt splice connectors.
Read less

$25.75
In Stock
Shelf Support Stud - White
Part #4388538
This kit contains two options - One that is a push and turn and the other that is a screw in.

$18.65
In Stock
Ice Maker Water Fill Tube Kit
Part #WP2196157
The icemaker water fill tube provides water to the icemaker so it can produce ice and dispense water. If you notice that your ice maker is not making or dispensing ice, or is leaking, you may need to replace the water fill tube. This water fill tube kit comes with a fill tube and a compression nut. This part is made of white plastic and i...Read mores approximately 10 inches in length. The ice maker water fill tube is in the rear of the fridge. To complete this repair, you will need a 1/4 inch nut driver and a utility knife. Before beginning this repair, you may want to disconnect the water and power supply to the refrigerator.
Read less

$10.70
In Stock

$20.37
In Stock

No Longer Available

$86.34
In Stock

$51.61
In Stock
Dual Outlet Valve Kit
Part #4318046
This dual water inlet valve regulates the flow of water to both the ice maker and water dispensing system in a refrigerator, ensuring consistent and reliable operation. Operating on standard household voltage, it uses separate solenoids to control each water outlet independently, helping maintain proper performance for ice production and ...Read morewater delivery. Replacement is often recommended if the refrigerator experiences leaking, reduced or no water flow, or issues with ice making. Constructed from durable materials for long-term use, this component is a common repair solution for bottom-mount and side-by-side refrigerator designs and typically installs with basic hand tools to restore normal water supply function.
Read less
Common Symptoms of the 1069542980
How this model fails, and the parts that fix it.
Ice maker not making ice
Fixed by
these parts
these parts


Show All
Leaking
Fixed by
these parts
these parts

Show All
Door won’t open or close
Fixed by
these parts
these parts

Show All
Ice maker won’t dispense ice
Fixed by
these parts
these parts

Show All
Not dispensing water
Fixed by
these parts
these parts

Show All
Fridge too warm
Fixed by
these parts
these parts


Show All
Freezer not defrosting
Fixed by
these parts
these parts
Show All
Light not working
Fixed by
these parts
these parts


Show All
Clicking sound
Fixed by
these parts
these parts
Show All
Freezer section too warm
Fixed by
these parts
these parts
Show All
Fridge and Freezer are too warm
Fixed by
these parts
these parts
Show All
Ice maker dispenses too much ice
Fixed by
these parts
these parts


Show All
Fridge too cold
Fixed by
these parts
these parts
Show All
Frost buildup
Fixed by
these parts
these parts
Show All
Freezer too cold
Fixed by
these parts
these parts
Show All
Door Sweating
Fixed by
these parts
these parts

Show All
Noisy
Fixed by
these parts
these parts
Show All
Will Not Start
Fixed by
these parts
these parts

Show All
Ice maker dispenses too little ice
Fixed by
these parts
these parts
Show All
Too warm
Fixed by
these parts
these parts
Show All
Fridge runs too long
Fixed by
these parts
these parts
Show All
Won’t start
Fixed by
these parts
these parts
Show All
Watch our pros, then fix it yourself.
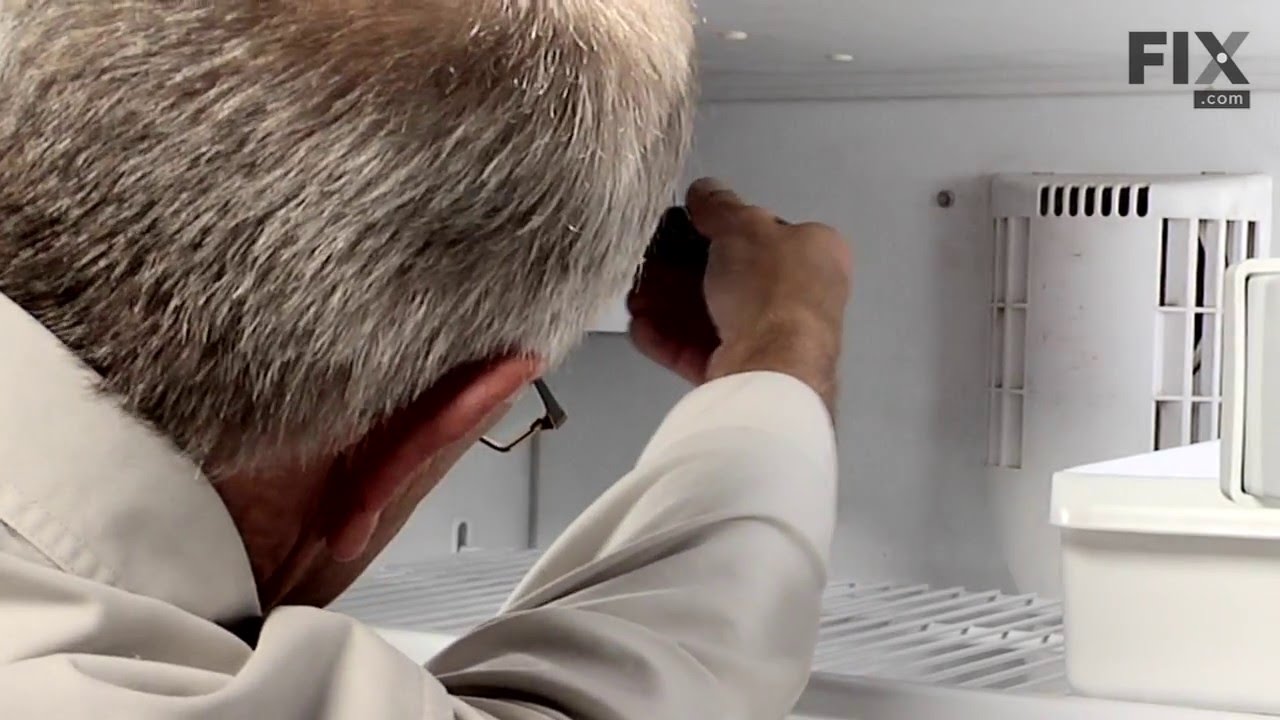

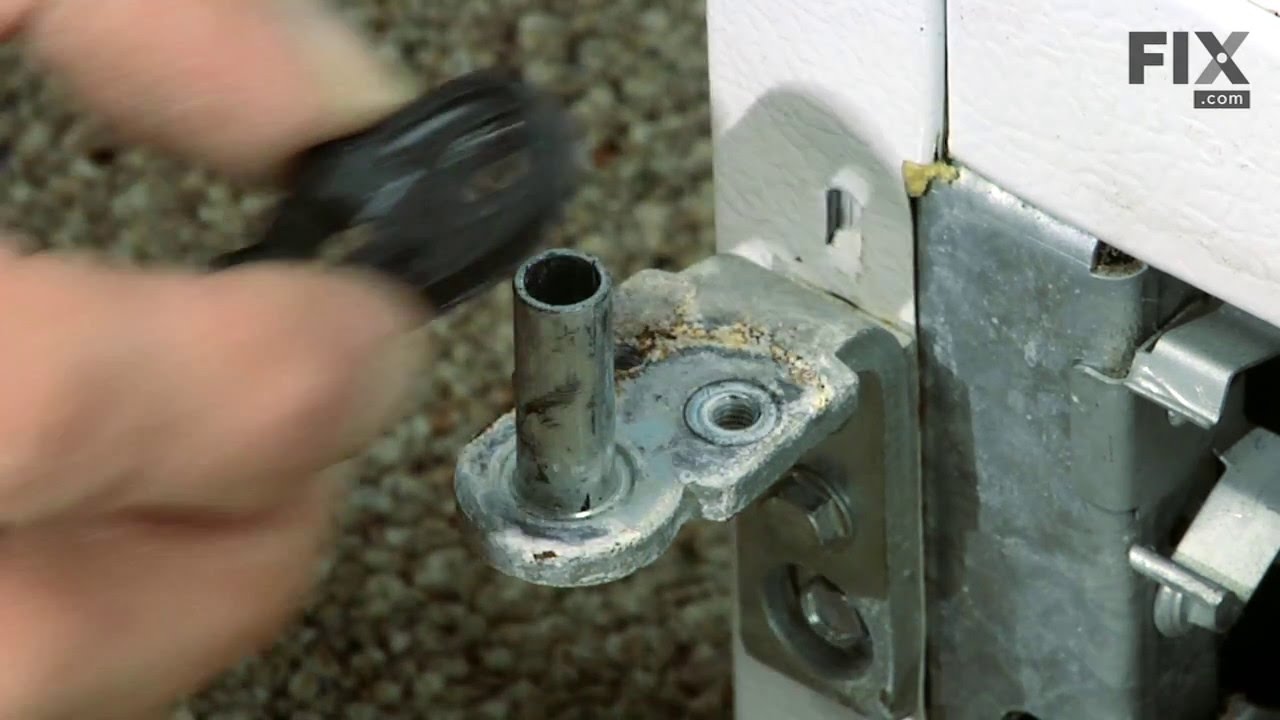

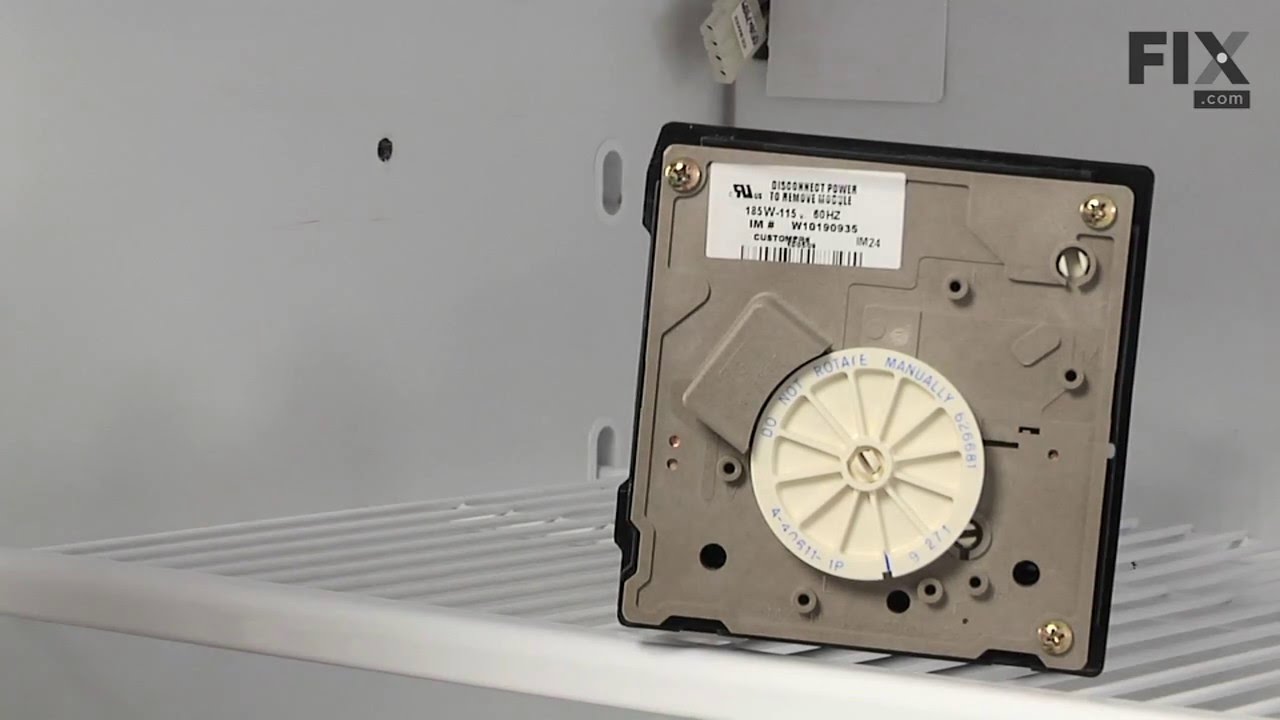
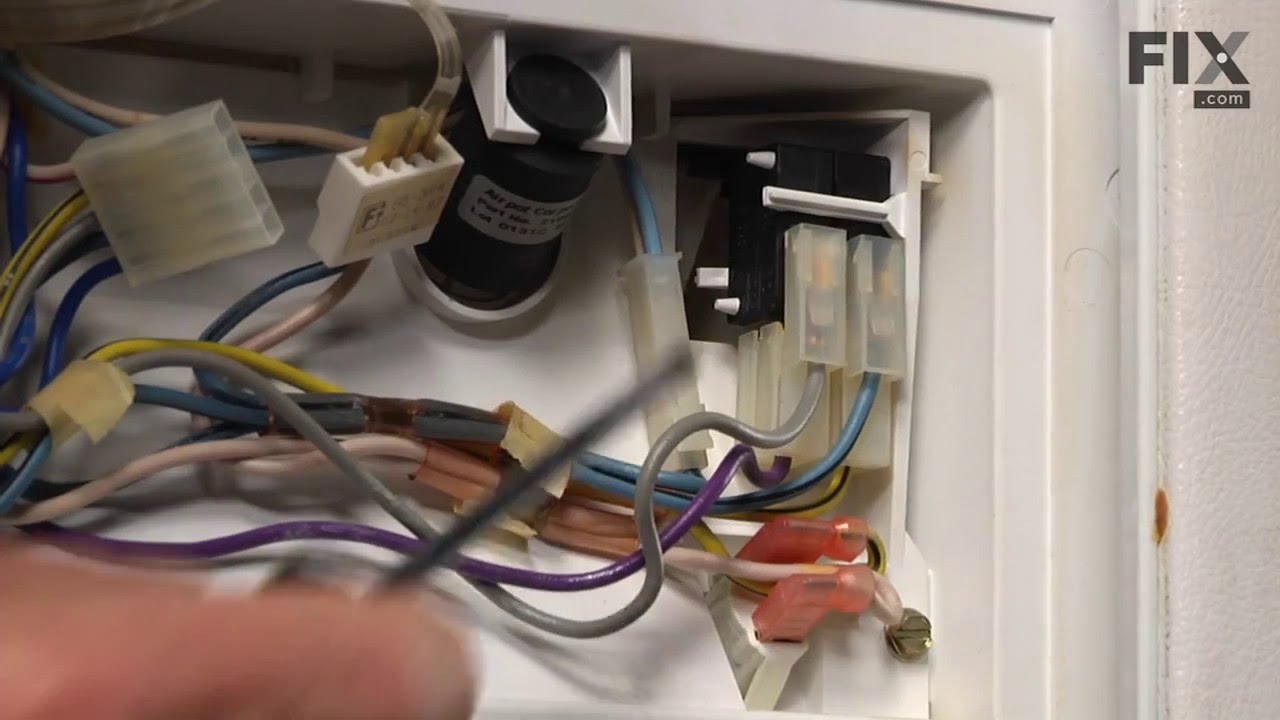

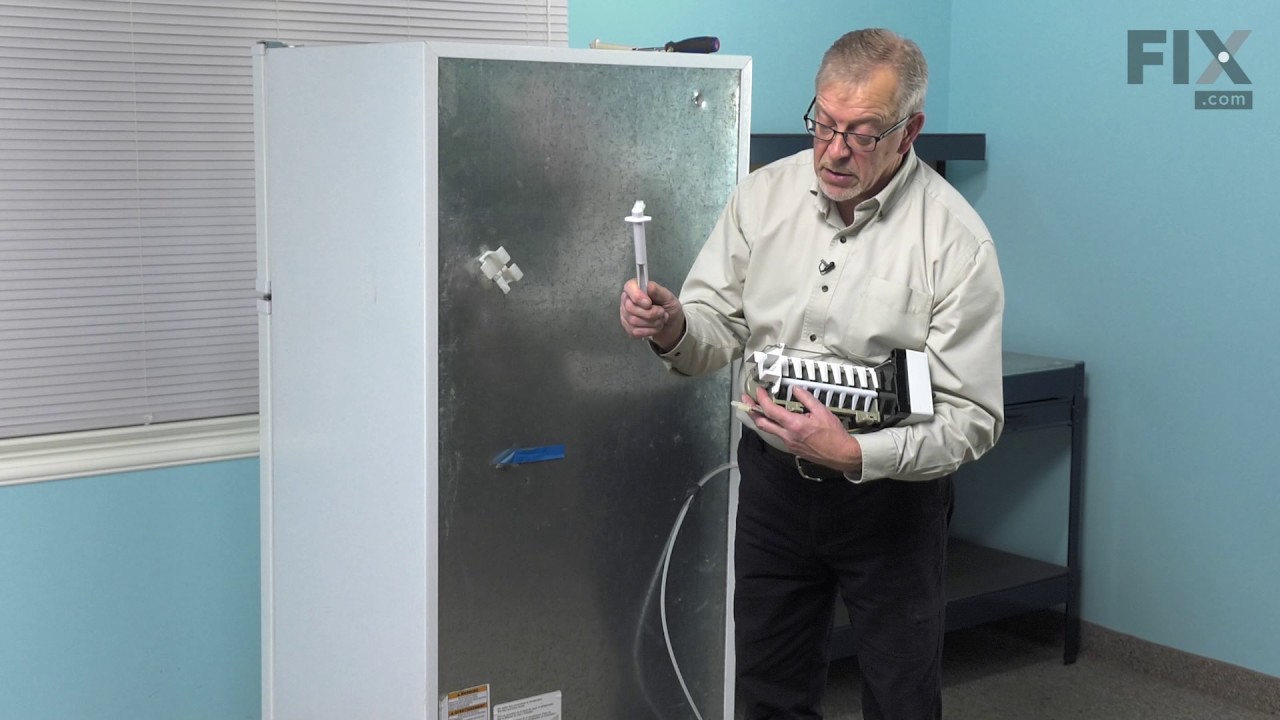
See how others fixed this model. Time, tools, difficulty, and steps that lead to victory!
View More