


 My Orders




10689589701 Kenmore Ice Maker - Overview
Diagrams for 10689589701
See every part. Know exactly what you need.


Enter a part description. DIY Heroes keep it simple, eg. "belt" or "pump".
Search filter:
Clear Filter
Your search term must have 3 or more characters.

$73.04
In Stock
Thermistor
Part #WPW10503764
This is a bin thermostat made for standalone ice makers to activate the ice maker shut-off when bin is full. It senses how much ice is in the bin to determine if it should produce more ice or activate shut-off. The bin thermostat may need to be replaced if bin is overfilled, underfilled, or not producing ice. Thermistor can be tested with...Read more an ohm meter. This part is made of plastic and metal, and is white in color. This is an authentic part sourced from the original manufacturer.
Read less

$44.23
In Stock
Door Light Switch
Part #WP2149705
The purpose of the light switch in your refrigerator is to automatically turn on the light when the door is opened. If the light does not come on automatically when you open the door, the contacts inside the light switch may be burned out, meaning it is time to replace the switch. This package contains both the new light switch and a smal...Read morel plastic spacer. To complete this repair, you will need to remove the control panel section of your refrigerator. The only tools you will require for this repair are a 1/4-inch nut driver and maybe a small flat blade screwdriver. Be sure to disconnect the power source from the refrigerator before completing this repair.
Read less

$7.47
In Stock

$18.22
In Stock
Ice Maker Scoop
Part #W11420408
This ice maker scoop is an OEM refrigerator part designed to retrieve ice from the ice maker bin. It is made of plastic and measures approximately 10 3/4 inches in length and 4 inches in width. The scoop is designed to fit inside the ice bin for easy access. You will need to replace the scoop if it is cracked, broken, or lost. Discard the old scoop and insert the new one into its designated compartment.

$63.64
In Stock

$7.47
Special Order

$7.47
In Stock

$9.62
In Stock

$7.47
In Stock

$48.45
In Stock
Leveling Leg
Part #8193716
Leveling leg Now includes two different sizes. Use the one for your model. If you need two legs you will need to purchase a QTY of two of this kit.

$11.77
In Stock

$9.62
In Stock
Washer Push-In Nut
Part #WP692400
Common Symptoms of the 10689589701
How this model fails, and the parts that fix it.

Watch our pros, then fix it yourself.
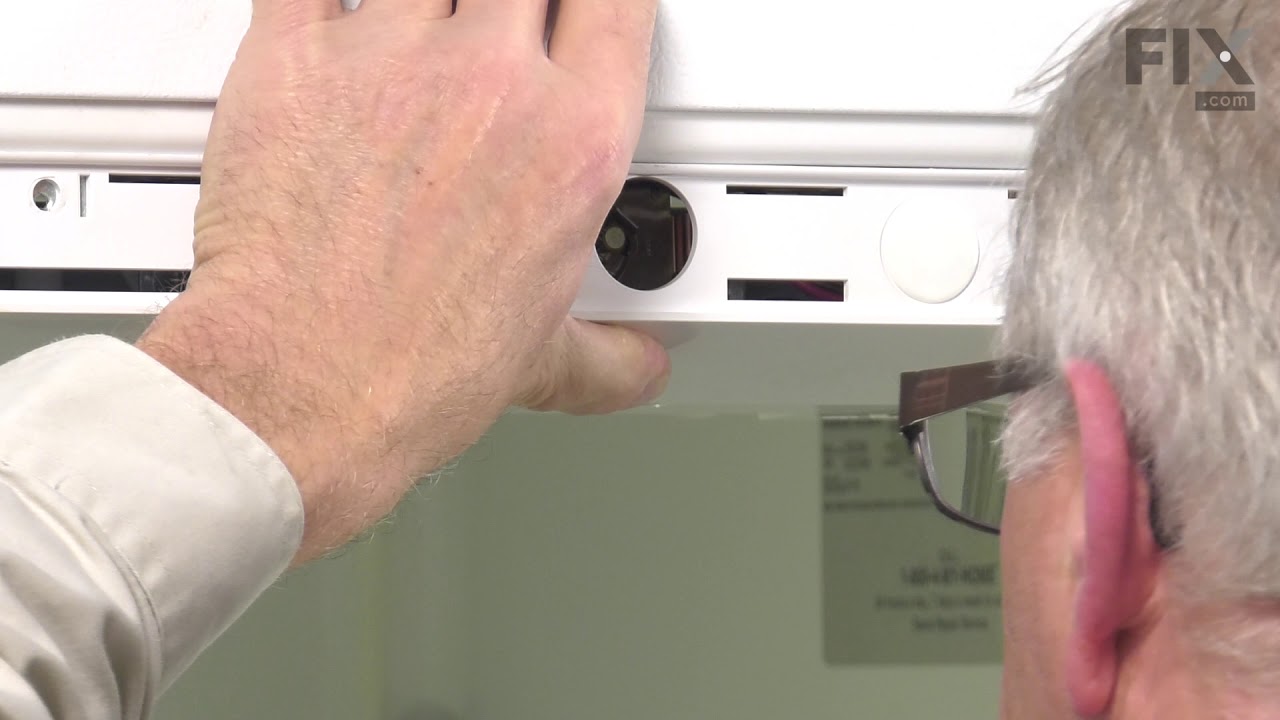
See how others fixed this model. Time, tools, difficulty, and steps that lead to victory!
View More