


 My Orders




10689583701 Kenmore Ice Maker - Overview
Diagrams for 10689583701
See every part. Know exactly what you need.


Enter a part description. DIY Heroes keep it simple, eg. "belt" or "pump".
Search filter:
Clear Filter
Your search term must have 3 or more characters.

$27.36
In Stock
Water Tube Kit
Part #W10823511
This is the replacement water tube kit for your refrigerator. This tubing is made of plastic, is 1/4 inch in diameter, and comes with 2 inserts. This tube may be longer than the original tube, and may need to be cut. This water tube transports water to the ice and water dispensers. If your refrigerator is leaking, or if the ice and water ...Read moredispensers are not dispensing properly, you may need to replace this tube. This part is sold individually and is an OEM part sourced directly from the manufacturer.
Read less

$75.58
In Stock
PUMP
Part #W11566405
For an ice maker to form ice, water circulates over the evaporator plate. This OEM recirculating pump moves that water and is rated at 12 V, 60 Hz, and 13 W. Check your appliances model number to confirm compatibility. Disconnect power and wear work gloves before installation.

$73.04
In Stock
Thermistor
Part #WPW10503764
Monitor when stored ice reaches capacity with this ice maker bin temperature sensor. Its electrical resistance changes with temperature, providing feedback to the control board. When accumulated ice cools the sensor, the system can pause production until more storage space is available. A faulty sensor may cause overflowing or stop ice pr...Read moreoduction before the bin is full. Replacing a failed thermistor helps restore accurate bin temperature feedback. Disconnect appliance power before installation, secure the wiring connector, and return the sensor to its designated mounting position. This is an OEM part sourced directly from the manufacturer.
Read less

$44.23
In Stock
Door Light Switch
Part #WP2149705
The purpose of the light switch in your refrigerator is to automatically turn on the light when the door is opened. If the light does not come on automatically when you open the door, the contacts inside the light switch may be burned out, meaning it is time to replace the switch. This package contains both the new light switch and a smal...Read morel plastic spacer. To complete this repair, you will need to remove the control panel section of your refrigerator. The only tools you will require for this repair are a 1/4-inch nut driver and maybe a small flat blade screwdriver. Be sure to disconnect the power source from the refrigerator before completing this repair.
Read less

$163.15
In Stock
Complete Ice Cutter Grid Assembly
Part #WP2313637
The 1-inch squares on this 15-inch OEM cutting grid cut an ice slab into cubes. It is for a freestanding ice maker, so confirm compatibility with your appliance model. Disconnect power before installation, wear work gloves, and reconnect the cutter-grid harness correctly.

$49.50
In Stock
Ice Cutting Grid Wire
Part #4387020
This ice cutting grid wire separates sheets of ice into cubes in compatible ice makers. The kit contains approximately 10 feet of wire and eight mounting screws. Two kits are needed to replace the wires running in both directions of the grid. A broken wire may leave an ice sheet sitting on the grid without being cut into cubes. Inspect th...Read moree wire and check the grid harness connection when this happens, since a loose connection can cause similar problems. Follow the kit instructions for fitting and securing the replacement wire. This is an OEM part sourced directly from the manufacturer.
Read less

$170.41
In Stock
Ice Maker Water Inlet Valve
Part #WPW10217917
Controlled water filling starts with this ice maker water inlet valve, which opens when it receives an electrical signal and closes when filling is complete. It regulates incoming water so the appliance has the supply needed for ice production. A restricted passage, failed solenoid, or damaged valve body may cause incomplete fills, reduce...Read mored ice output, or leaks. Replacing a faulty valve helps restore proper water intake. Disconnect power and shut off the water supply before installation, then check all connections for leaks after restoring water pressure. This is an OEM part sourced directly from the manufacturer.
Read less

No Longer Available
Temperature Sensor
Part #WPW10548509
This is a temperature sensor. It may also be known as an ice maker sensor and is used in conjunction with your ice machine. This piece is roughly 3.5 inches long, almost 2.5 inches wide, and includes the necessary wiring connector. You will find this part located in the water pump area of the ice cube maker. The function of this part is t...Read moreo determine the water level within the water reservoir. Once the water level reaches a certain point, the sensor will signal the controls to fill the reservoir.
Read less

$75.04
In Stock
Ice Maker Pump
Part #W11566407
During flushing, an ice makers reservoir drain pump removes water from the reservoir. This OEM part has a multi-pin electrical connector. Confirm fit against your ice makers model and disconnect power before installation.

$34.74
In Stock
Ice Maker Drain Fastener Cap
Part #WP2185696
This is a drain fastener cap and is used in conjunction with your freezer/refrigerator. This model is almost 1.5 inches in diameter, half an inch thick, and is white in color. This piece will fasten to the bottom of the water pan in your ice maker. It keeps the water in the water pan from leaking into your appliance. If your drain cap is ...Read moreloose or broken, the liquid from the water pan will empty and you will have no ice or very thin ice. Make sure when replacing this part to secure the drain cap tightly.
Read less

$7.47
In Stock

$51.61
In Stock
Ice Maker Water Distributor Tube
Part #W10863947
The water distributor tube distributes water from the reservoir to the evaporator plate.
Common Symptoms of the 10689583701
How this model fails, and the parts that fix it.
Light not working
Fixed by
these parts
these parts

Show All
Leaking
Fixed by
these parts
these parts

Show All
Ice maker not making ice
Fixed by
these parts
these parts
Show All
Not dispensing water
Fixed by
these parts
these parts
Show All
Watch our pros, then fix it yourself.
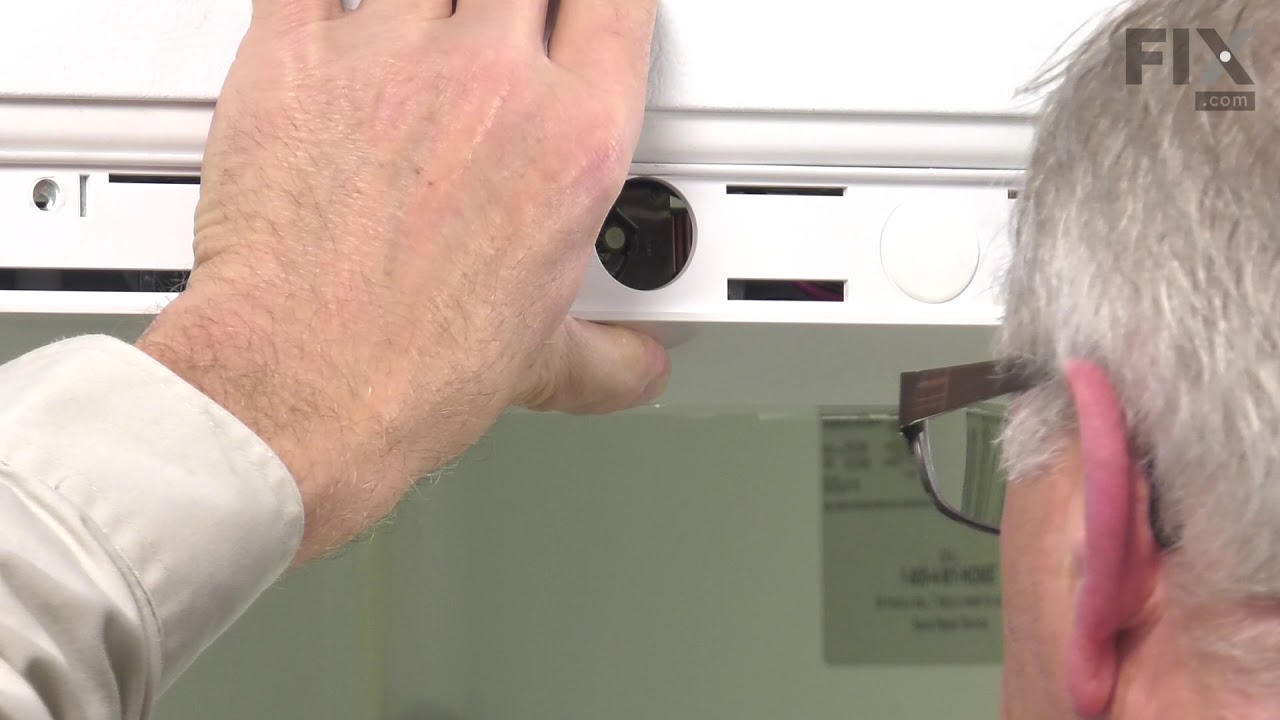
See how others fixed this model. Time, tools, difficulty, and steps that lead to victory!
View More