


 My Orders




1068665 Kenmore Refrigerator - Overview
Models starting with 1068665
Click on the best match to narrow your results.
Enter a part description. DIY Heroes keep it simple, eg. "belt" or "pump".
Search filter:
Clear Filter
Your search term must have 3 or more characters.

$30.53
In Stock

$54.24
In Stock
Light Socket Kit
Part #4387478
The light socket in your refrigerator houses the light bulb and connects it to the power source. If your refrigerator light is not coming on when you open the door, you may need to replace the light socket. Before you replace the light socket, be sure that your light bulb is in working condition, as this may solve the same problem. This l...Read moreight socket kit comes with 2 wire connectors, a light shield, and the new socket. The wire connectors that come with this kit are included so your new socket can replace a variety of old ones. If this light socket is different than your original, you will need to use the connectors to make it fit your refrigerator. Be sure to follow the instructions provided, so this part will fit your refrigerator properly.
Read less

$11.77
In Stock
Refrigerator Door Hinge Nylon Washer
Part #WP487576
Enhance your refrigerator's longevity and performance with this efficient Whirlpool Door Hinge Nylon Washer. Specifically crafted for some models of Whirlpool, KitchenAid, Maytag, Jenn-Air, Amana, Inglis, and Magic Chef, this door hinge washer plays a pivotal role in ensuring your fridge's door operates smoothly and securely. Constructed ...Read morefrom quality nylon, it promises durability and efficiency, providing excellent resistance to wear and tear from constant use. Don't forget to put on your work gloves for a safe installation. This is an original equipment manufacturer (OEM) component, signifying it's made by the same company that made your appliance. Consider cross-checking the compatibility with your refrigerator model for optimal performance.
Read less

$40.65
In Stock
Refrigerator Tray
Part #WP841180A
This fourteen cube ice cube tray is eleven inches long. It is all white in color and is made entirely of plastic.

$7.47
In Stock

$7.47
In Stock

$7.47
In Stock
Refrigerator Single Hex Head Screw
Part #WP489069
Sold individually. The size of this screw is 1/4" hex head and 10-12 x 1/2".

$11.77
In Stock

$8.55
In Stock

$17.15
Special Order
Refrigerator Leveler
Part #W11117769
This is an OEM part that is made of metal and sold individually. The leveling leg is generally used with refrigerators, dryers, freezers, ranges, cooktops, and microwaves. The leveling leg is meant to keep your appliance steady and level to the floor. If you notice your appliance is uneven to the floor it may need to have the leveling leg...Read more replaced. You will notice that the bottom of the leveling leg has a smooth surface to ensure moving your appliance does not require as much effort. This part screws into a pre-drilled hole underneath the appliance.
Read less

$162.57
In Stock
Door Gasket
Part #2188436A
This white door gasket is used to make an air-tight seal for the cabinet when the door is closed.

$18.22
In Stock
Common Symptoms of models starting with 1068665
How this model fails, and the parts that fix it.
Light not working
Fixed by
these parts
these parts


Show All
Door won’t open or close
Fixed by
these parts
these parts

Show All
Frost buildup
Fixed by
these parts
these parts

Show All
Watch our pros, then fix it yourself.

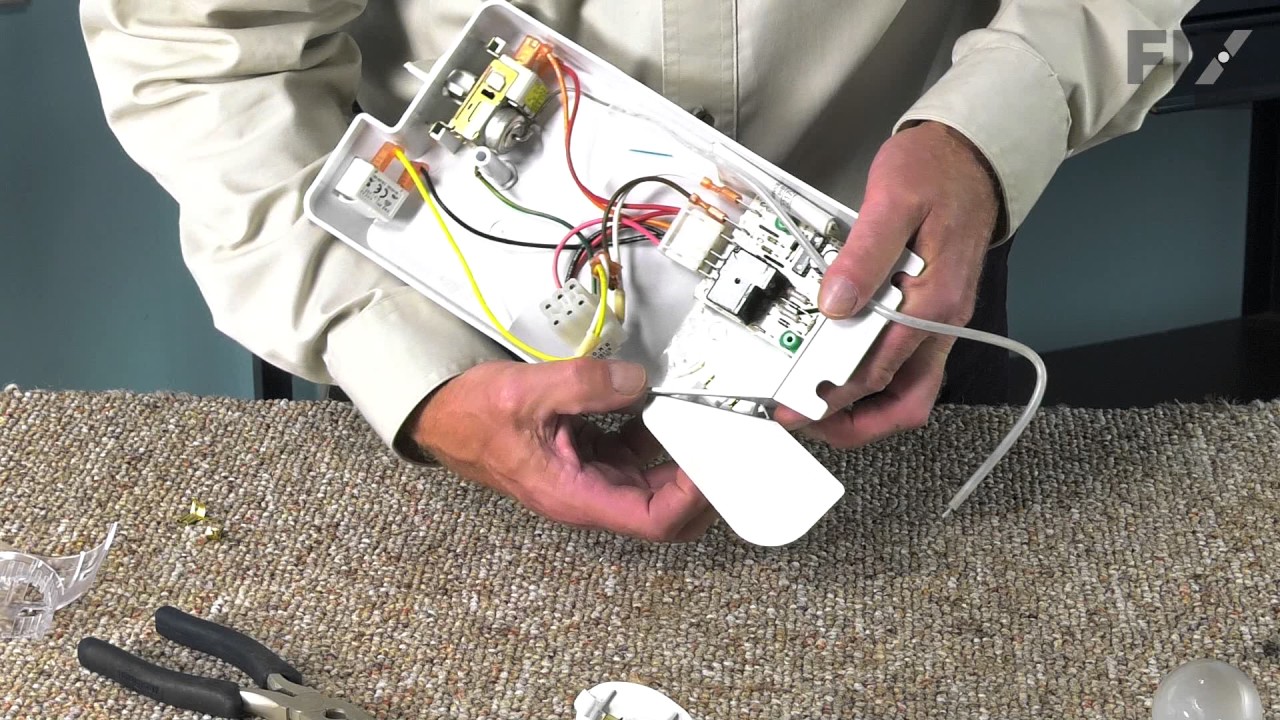
See how others fixed this model. Time, tools, difficulty, and steps that lead to victory!
View More