


 My Orders




1068609342 Kenmore Refrigerator - Overview
Diagrams for 1068609342
See every part. Know exactly what you need.

Enter a part description. DIY Heroes keep it simple, eg. "belt" or "pump".
Search filter:
Clear Filter
Your search term must have 3 or more characters.

$19.54
In Stock
Light Bulb - 40W
Part #8009
This an authentic OEM 40-Watt replacement light bulb, used in a number of household appliances. It is specially designed to withstand extreme temperatures, which is why these replacement bulbs are most often used to light the inside of refrigerators and ranges. It features a standard socket base, which means you simply unscrew the burnt-o...Read moreut bulb and screw in the replacement. Depending on the appliance you may require a screwdriver or nut driver to access the light bulb. We recommend you wear work gloves while handling this replacement part. It is constructed of glass and metal and is sold individually. Depending on the appliance and location of the bulb within it, you may want to consider disconnecting power and using a flashlight for easier access to unscrewing and re-screwing in your bulb during this repair.
Read less

$30.53
In Stock

$65.73
In Stock
Refrigerator Condenser Fan Motor Kit
Part #833697
This condenser fan motor kit is designed for use with refrigerators. This fan draws air through the condenser coils and over the compressor. It does this with the goal of cooling the warm refrigerant before it enters the evaporator. When your fan or fan motor is not working your refrigerator will not cool properly. This is a 2-Watt, 115 V...Read moreolt motor that rotates the fan in a counter clockwise direction. This kit includes the hardware needed for installation, and a set of instructions. Before you begin any repair work make sure to unplug your appliance.
Read less

$18.65
In Stock
Ice Maker Water Fill Tube Kit
Part #WP2196157
The icemaker water fill tube provides water to the icemaker so it can produce ice and dispense water. If you notice that your ice maker is not making or dispensing ice, or is leaking, you may need to replace the water fill tube. This water fill tube kit comes with a fill tube and a compression nut. This part is made of white plastic and i...Read mores approximately 10 inches in length. The ice maker water fill tube is in the rear of the fridge. To complete this repair, you will need a 1/4 inch nut driver and a utility knife. Before beginning this repair, you may want to disconnect the water and power supply to the refrigerator.
Read less

$47.40
In Stock
Single Outlet Water Valve Kit
Part #4318047
This part is a solenoid-operated switch located at the bottom of the refrigerator. When the water inlet valve is turned on, water is released from the supply line through the water valve and into the compact icemaker mold. The kit includes the mounting hardware and bracket plastic tubing fittings. The retaining nut must be cut off the pla...Read morestic water line and gently pushed into the new valve. To remove, press down on the ring that the tube slides into. Refer to the installation instructions for further guidance. Please note: the manufacturer has redesigned this part and it can appear different than the original. It has a new quick connection.
Read less

$27.36
In Stock
Water Tube Kit
Part #W10823511
This is the replacement water tube kit for your refrigerator. This tubing is made of plastic, is 1/4 inch in diameter, and comes with 2 inserts. This tube may be longer than the original tube, and may need to be cut. This water tube transports water to the ice and water dispensers. If your refrigerator is leaking, or if the ice and water ...Read moredispensers are not dispensing properly, you may need to replace this tube. This part is sold individually and is an OEM part sourced directly from the manufacturer.
Read less

$69.91
In Stock
Evaporator Fan Motor Kit
Part #482731
The evaporator is found in the back of the freezer. This kit comes with two mounting grommets, two sleeves (not to be used on porcelain models), two #8 mounting screws, and a push-on fan blade. If you are experiencing symptoms such as the fridge making loud noises (generally stemming from the freezer compartment), or the fridge/freezer fe...Read moreeling warm in temperature, this may indicate a need to replace your evaporator fan motor. This part pulls air into the evaporator coils and then disperses the air in a continuous motion throughout the refrigerator and freezer.
NOTE: NO LONGER ABLE TO GET BRACKETS. SEE PART INSTRUCTIONS IN SERVICE MATTERS INSTRUCT SHEET# W11500157 11/20KC.
Read less

$7.47
In Stock
Screw
Part #WP488729
Metallic screw that is less than an inch long. Does not include the plastic washer.

$54.24
In Stock
Light Socket Kit
Part #4387478
The light socket in your refrigerator houses the light bulb and connects it to the power source. If your refrigerator light is not coming on when you open the door, you may need to replace the light socket. Before you replace the light socket, be sure that your light bulb is in working condition, as this may solve the same problem. This l...Read moreight socket kit comes with 2 wire connectors, a light shield, and the new socket. The wire connectors that come with this kit are included so your new socket can replace a variety of old ones. If this light socket is different than your original, you will need to use the connectors to make it fit your refrigerator. Be sure to follow the instructions provided, so this part will fit your refrigerator properly.
Read less

$11.77
On Order
Refrigerator Compression Nut
Part #WP627018
The compression nut is used as a connection between the water supply line and other components in your refrigerator such as your ice maker and your water dispenser. Tools required for this repair include a pair of pliers and a socket set. Before installing this part you should take all perishable foods out of your refrigerator and store t...Read morehem somewhere cool, unplug the refrigerator from the power source, and shut off the water supply. This repair may require you to wear work gloves to protect your hands, and is considered an easy do-it-yourself fix.
Read less

$133.45
In Stock
Fresh Food Door Gasket
Part #2188450A
This white fresh food door gasket is used to seal the refrigerator door when closed to keep the cool air inside and the room air out.

No Longer Available
Common Symptoms of the 1068609342
How this model fails, and the parts that fix it.
Light not working
Fixed by
these parts
these parts


Show All
Leaking
Fixed by
these parts
these parts


Show All
Noisy
Fixed by
these parts
these parts


Show All
Fridge too warm
Fixed by
these parts
these parts
Show All
Ice maker not making ice
Fixed by
these parts
these parts
Show All
Freezer section too warm
Fixed by
these parts
these parts
Show All
Fridge and Freezer are too warm
Fixed by
these parts
these parts
Show All
Fridge runs too long
Fixed by
these parts
these parts
Show All
Will Not Start
Fixed by
these parts
these parts
Show All
Door Sweating
Fixed by
these parts
these parts


Show All
Not dispensing water
Fixed by
these parts
these parts
Show All
Door won’t open or close
Fixed by
these parts
these parts


Show All
Ice maker won’t dispense ice
Fixed by
these parts
these parts
Show All
Too warm
Fixed by
these parts
these parts
Show All
Watch our pros, then fix it yourself.



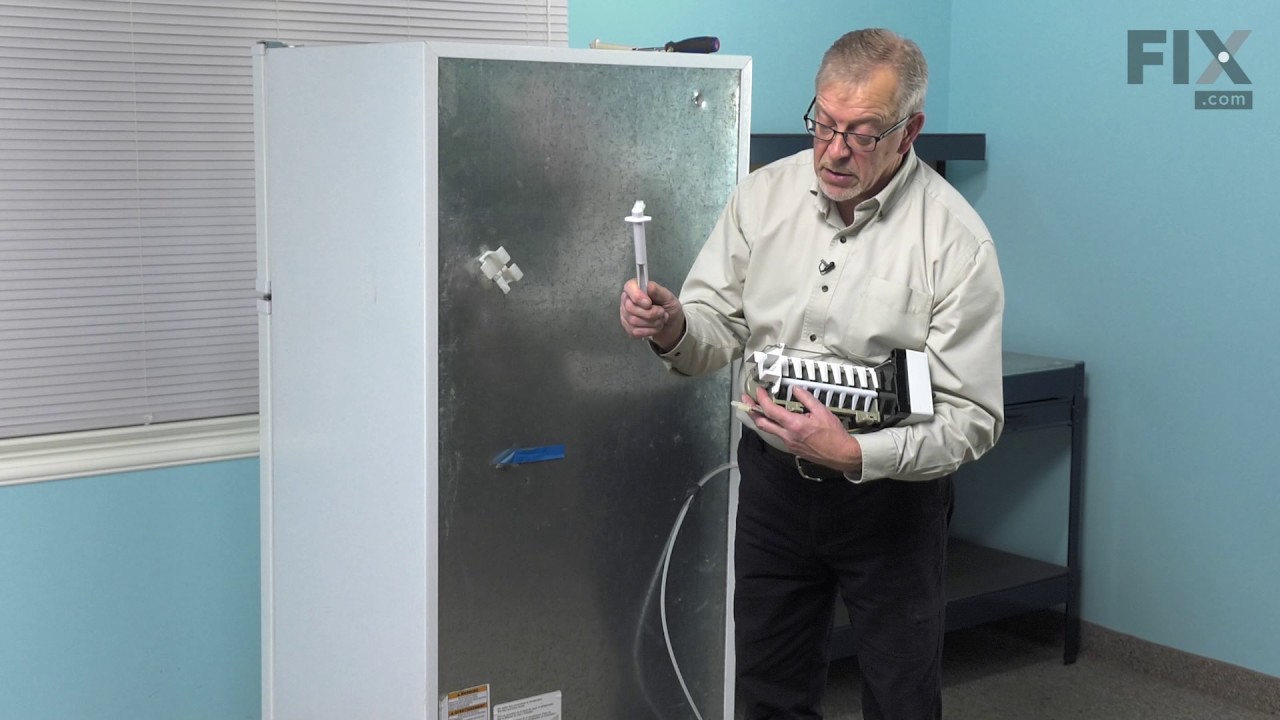
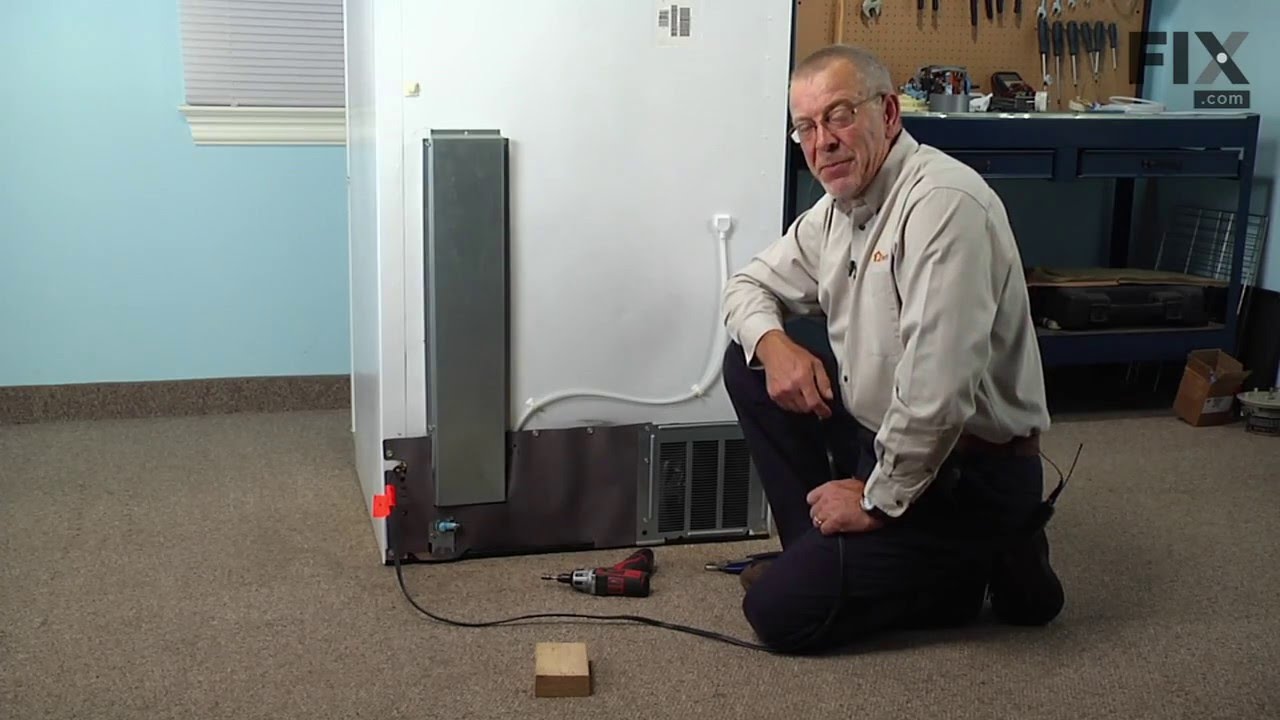
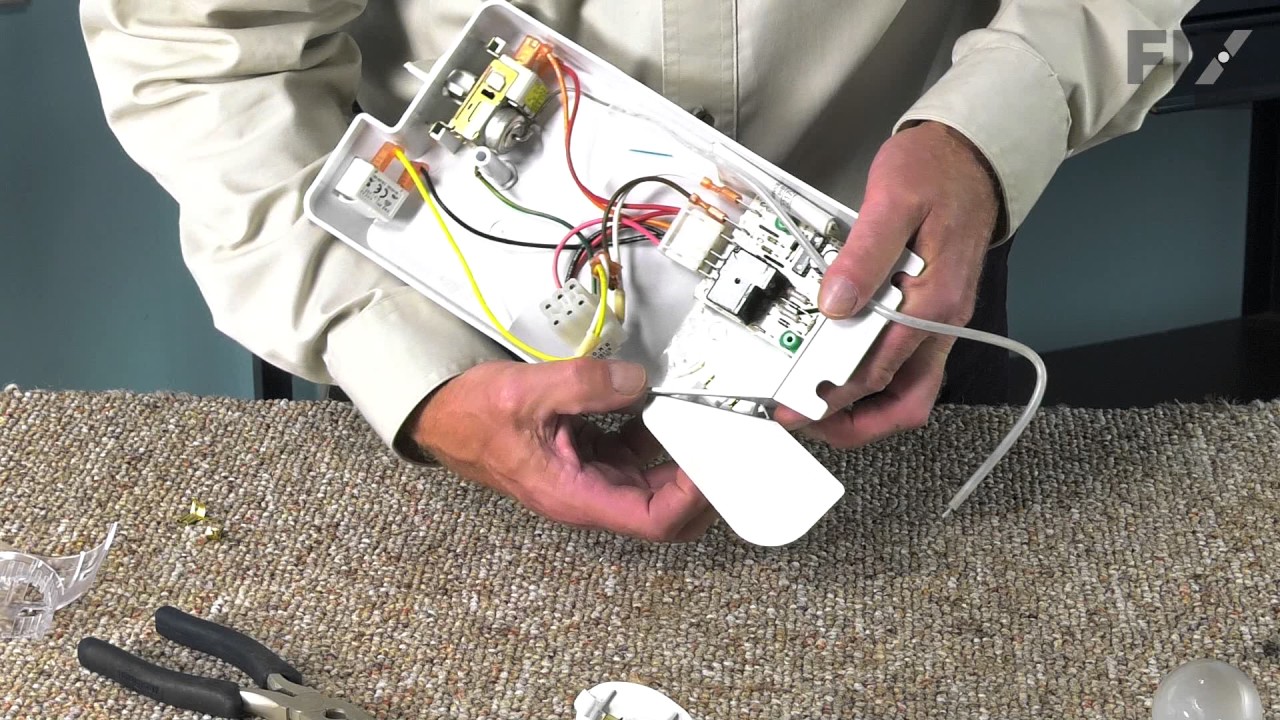
See how others fixed this model. Time, tools, difficulty, and steps that lead to victory!
View More