



 My Orders




1067502120 Kenmore Refrigerator - Overview
Diagrams for 1067502120
See every part. Know exactly what you need.

Enter a part description. DIY Heroes keep it simple, eg. "belt" or "pump".
Search filter:
Clear Filter
Your search term must have 3 or more characters.

$120.55
In Stock
Replacement Ice Maker
Part #4317943
This ice maker (Complete Icemaker Assembly, Whirlpool Icemaker Kit, Ice Maker Assembly, Refrigerator Ice Maker, Icemaker) receives water from the water inlet valve, freezes it, and dispenses it into the ice bucket until the bucket is full. Ice makers will need to be replaced every 3-10 years depending on the frequency of usage, and water ...Read morequality. You can perform a voltage test with a multimeter or perform an inlet valve test. If you’re unable to make ice, or notice leaks then it may be a sign your ice maker is damaged and could be in need of a replacement. This model measures approximately 11x5 inches, is constructed of plastic and metal, and comes in black/silver. This ice maker is a complete assembly; the whole assembly attaches to the wall of your freezer. ***NOTE: Ice maker does NOT come with the bail or shut off arm. You must order them separately if required. It does come complete with flat and round plug wiring harness, the mounting hardware, and the instructions. The harness can be reused. The ice maker will not fit refrigerators that have the ice auger mounted on the door.
Read less

$47.40
In Stock
Single Outlet Water Valve Kit
Part #4318047
This part is a solenoid-operated switch located at the bottom of the refrigerator. When the water inlet valve is turned on, water is released from the supply line through the water valve and into the compact icemaker mold. The kit includes the mounting hardware and bracket plastic tubing fittings. The retaining nut must be cut off the pla...Read morestic water line and gently pushed into the new valve. To remove, press down on the ring that the tube slides into. Refer to the installation instructions for further guidance. Please note: the manufacturer has redesigned this part and it can appear different than the original. It has a new quick connection.
Read less

$27.36
In Stock
Water Tube Kit
Part #W10823511
This is the replacement water tube kit for your refrigerator. This tubing is made of plastic, is 1/4 inch in diameter, and comes with 2 inserts. This tube may be longer than the original tube, and may need to be cut. This water tube transports water to the ice and water dispensers. If your refrigerator is leaking, or if the ice and water ...Read moredispensers are not dispensing properly, you may need to replace this tube. This part is sold individually and is an OEM part sourced directly from the manufacturer.
Read less

$11.77
In Stock
Refrigerator Compression Nut
Part #WP627018
The compression nut is used as a connection between the water supply line and other components in your refrigerator such as your ice maker and your water dispenser. Tools required for this repair include a pair of pliers and a socket set. Before installing this part you should take all perishable foods out of your refrigerator and store t...Read morehem somewhere cool, unplug the refrigerator from the power source, and shut off the water supply. This repair may require you to wear work gloves to protect your hands, and is considered an easy do-it-yourself fix.
Read less

$11.77
In Stock

$7.47
Special Order
Water Inlet Hose Washer
Part #WP16123
If your clothes washer is leaking, it is likely that there could be an issue with one of the hoses. If the hoses are in working order, you should check the washers connecting the hose to your unit. Rubber washers are tasked with enhancing the seal between the hose and washer. A faulty or damaged washer will not be able to perform this pro...Read moreperly, and water will be able to leak from the poor connection. This OEM part is sold individually, so make sure you order the quantity that is needed. The washer measures 1 1/16 inches x 5/8 inches.
Read less

$9.62
In Stock
Plastic Tubing Inserts - 4 Included
Part #4387491
This is a plastic tubing insert kit for a refrigerator ice maker. This kit includes a package of four tubing inserts. The kit does not include other parts such as the ice maker water fill tube kit or ice maker fill tube gasket, so consider ordering those parts if necessary. The inserts are used with 1/4-inch plastic tubing. The inserts at...Read moretach on the end of the water tubing to provide a smooth and solid connection between the water tubing and the clamp that attaches the tubing to the water fill valve. This is an OEM part from the genuine manufacturer.
Read less

$11.77
In Stock
Refrigerator Water Hose Clamp
Part #WP488878
This water hose clamp is used in your refrigerator to support the water tube. If the tubing or hose is working, but is loose inside the unit, the clamp, which is supposed to support it in place, could be broken or damaged. If this is a symptom of yours, you should replace the clamp. These tube clamps are sold individually, the screw is no...Read moret included. Make sure to unplug your refrigerator from the power source before installing this part. Refer to the manual provided by the manufacturer for further instructions.
Read less

$11.77
In Stock

$48.45
In Stock
Ice Pan
Part #W11625904
This ice pan is a replacement storage component designed to hold and collect produced ice. It is commonly replaced when cracked, warped, or damaged.

$11.77
In Stock
Transformer Screw
Part #WP488787
This screw is sold individually. It is a genuine OEM replacement part, and it is designed for use with refrigerators. Most often it is used with the ice bucket ice deflector, retainer clip, and front cover. Due to varied uses we recommend referring to model-specific diagrams for exact placement. This screw measures 8-18 by 1/2 inch.

$18.22
In Stock
Common Symptoms of the 1067502120
How this model fails, and the parts that fix it.
Ice maker not making ice
Fixed by
these parts
these parts


Show All
Leaking
Fixed by
these parts
these parts
Show All
Ice maker won’t dispense ice
Fixed by
these parts
these parts
Show All
Ice maker dispenses too little ice
Fixed by
these parts
these parts
Show All
Ice maker dispenses too much ice
Fixed by
these parts
these parts
Show All
Not dispensing water
Fixed by
these parts
these parts

Show All
Won’t start
Fixed by
these parts
these parts
Show All
Watch our pros, then fix it yourself.
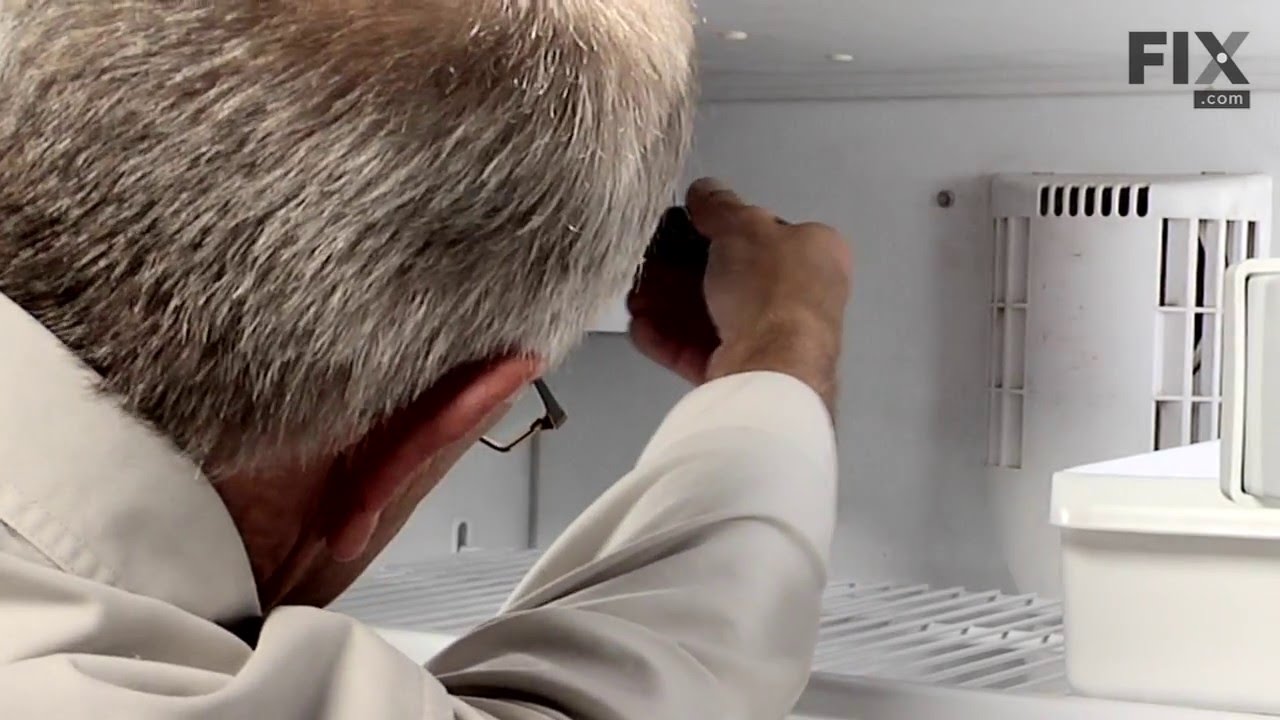
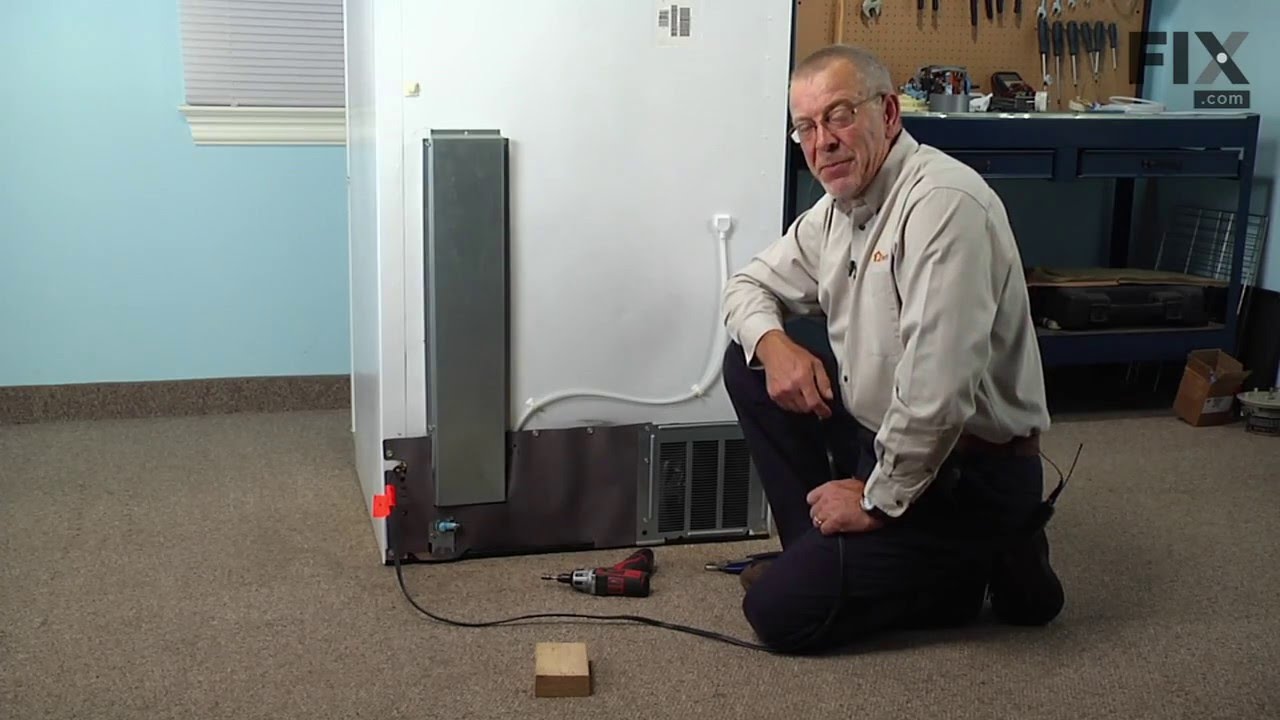
See how others fixed this model. Time, tools, difficulty, and steps that lead to victory!
View More