



 My Orders




10673142300 Kenmore Refrigerator - Overview
Diagrams for 10673142300
See every part. Know exactly what you need.

Enter a part description. DIY Heroes keep it simple, eg. "belt" or "pump".
Search filter:
Clear Filter
Your search term must have 3 or more characters.

$70.95
In Stock
Icemaker Control Assembly
Part #W10190935
The “Icemaker Control Assembly” (Module & Motor Assembly, Ice Maker Control Module, Icemaker Module, Refrigerator Ice Maker Module) is what controls the actions of your ice maker. The control turns the timing cams and the ejector blades. It controls most of the basic parts and functions such as the heater, water inlet valve, the cube size...Read more, and cube ejection. If your ice maker control is broken it can no longer properly control the ice maker functions. It may not produce any ice, make small ice cubes, or have intermittent operation. This can occur due to normal wear and tear. The icemaker control assembly is attached to the ice maker mold, and is under the white cover. Test the icemaker control assembly by using a multimeter. If this reveals the assembly to be defective, you will need to replace this part. It is approximately 4.25 inches square, beige, and is constructed of plastic and metal. This replacement part features one icemaker control assembly, including the control module and the motor.
Read less

$109.58
In Stock
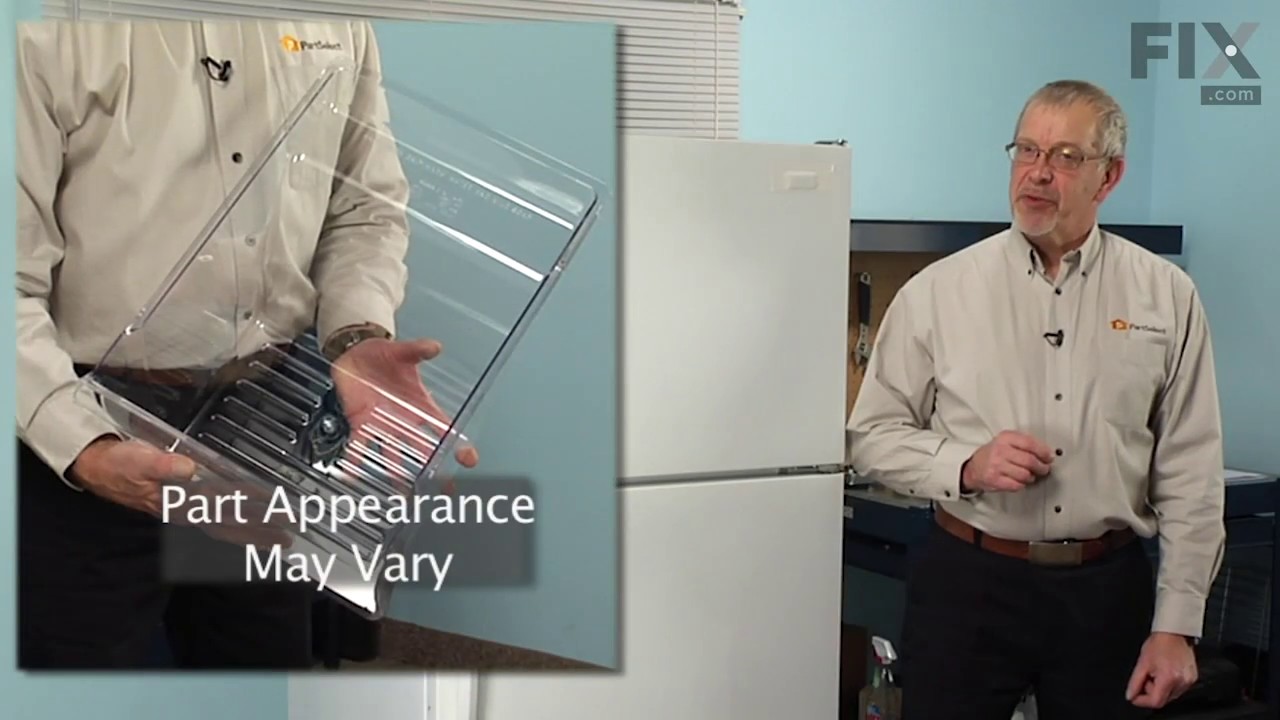
Refrigerator Crisper Drawer
Part #W10854037
The crisper drawer is clear plastic and is located inside the refrigerator. It is used to store fruits and vegetables at a certain temperature to ensure food will last longer. If your drawer is cracked, broken, or even getting stuck, this replacement could be the solution. First, open your refrigerator door and remove all the items from t...Read morehe crisper. Remember to remove the escutcheon from the old crisper and transfer onto the new crisper drawer by sliding and snapping it on. Refer to the instruction guide provided by the manufacturer for more detail and guidance.
Read less

$30.53
In Stock

$45.29
In Stock
Refrigerator Capacitor
Part #WPW10662129
This capacitor (Refrigerator and Freezer Compressor Run Capacitor, Run Capacitor) provides the voltage or energy current required to start the compressor and keep it running. It allows the compressor in your appliance to easily cycle on and off. This capacitor mounts directly onto the compressor starting relay. If the capacitor is faulty ...Read morethe compressor may get unusually hot and draw excessive amperage. It the compressor overheats, it may fail to run until it cools down again. The compressor may also get noisy from overheating. If this part is totally electrically open, it is defective (often due to overheating) and needs to be replaced. The part measures 1 inch by 1-1/2 inches, and is constructed of plastic with two metal wire terminals. This item includes 1 capacitor, sold individually. This part comes in black.
Read less

$55.29
In Stock
Refrigerator Single Water Inlet Valve
Part #WP2315576
The single water inlet valve, also known as a water solenoid valve, is used for refrigerators. This part is a solenoid-operated switch that releases water from the supply line to the water valve and into the icemaker mold when activated. If your icemaker is making small cubes, does not dispense ice or water, or leaks, this replacement cou...Read moreld solve the issue. The tools needed for this repair are a 1/4 inch nut driver and a utility knife. Refer to the diagram provided by the manufacturer for further instructions. As a safety precaution, remember to unplug your dryer from the power source.
Read less

$32.63
In Stock
Refrigerator Bimetal Defrost Thermostat
Part #WP4387503
This is a bimetal defrost thermostat for your refrigerator. It stops the fridge from overheating during the defrost cycle by protecting the evaporator. This clip-on thermostat will sense the temperature increase in the evaporator during the defrost process, and will cycle the defrost heater off after the ice or frost is melted. The most c...Read moreommon reasons for needing to replace this part are if your unit is leaking, has inconsistent temperatures (too hot or too cold), you are seeing buildup of ice, or your appliance is running too long.
Read less

$53.20
In Stock
Refrigerator Evaporator Fan Motor
Part #WPW10189703
This is a 60 Hertz, 120-volt evaporator fan motor for your refrigerator. This part is located in the back of the freezer, and circulates air over the refrigerator coils. These coils will convert the heat into cool air, which is then circulated. The most common reason for needing to replace the motor is if the temperature in your freezer a...Read morend fridge are inconsistent, or there is no air circulating at all. You will need a quarter inch nut driver and a pair of needle nose pliers for this repair. Note: This motor uses 2 brackets, which are sold separately.
Read less

$126.63
In Stock
Meat Drawer
Part #WP2218132K
This refrigerator meat drawer offers a sturdy and reliable replacement for the original compartment, helping to keep your food items organized and easily accessible. Designed to fit select refrigerator models, it slides smoothly into place and provides dedicated storage for meats and other perishables. The drawer is sold individually, mak...Read moreing it a convenient solution for replacing a single damaged or missing unit. Be sure to check compatibility with your appliance before ordering.
Read less

$10.70
In Stock

$64.69
In Stock
Refrigerator Bin Door Shelf
Part #WP2204812
Also known as a cantilever shelf as they are supported by the back of the shelf itself to the door of your refrigerator.

$17.15
In Stock

$58.42
In Stock
Common Symptoms of the 10673142300
How this model fails, and the parts that fix it.
Ice maker not making ice
Fixed by
these parts
these parts


Show All
Light not working
Fixed by
these parts
these parts


Show All
Fridge too warm
Fixed by
these parts
these parts


Show All
Leaking
Fixed by
these parts
these parts

Show All
Will Not Start
Fixed by
these parts
these parts


Show All
Freezer section too warm
Fixed by
these parts
these parts
Show All
Fridge and Freezer are too warm
Fixed by
these parts
these parts
Show All
Door won’t open or close
Fixed by
these parts
these parts


Show All
Freezer not defrosting
Fixed by
these parts
these parts

Show All
Noisy
Fixed by
these parts
these parts


Show All
Ice maker won’t dispense ice
Fixed by
these parts
these parts

Show All
Clicking sound
Fixed by
these parts
these parts
Show All
Too warm
Fixed by
these parts
these parts
Show All
Fridge runs too long
Fixed by
these parts
these parts
Show All
Frost buildup
Fixed by
these parts
these parts
Show All
Fridge too cold
Fixed by
these parts
these parts
Show All
Not dispensing water
Fixed by
these parts
these parts
Show All
Freezer too cold
Fixed by
these parts
these parts
Show All
Won’t start
Fixed by
these parts
these parts
Show All
Ice maker dispenses too much ice
Fixed by
these parts
these parts
Show All
Door Sweating
Fixed by
these parts
these parts
Show All
Watch our pros, then fix it yourself.


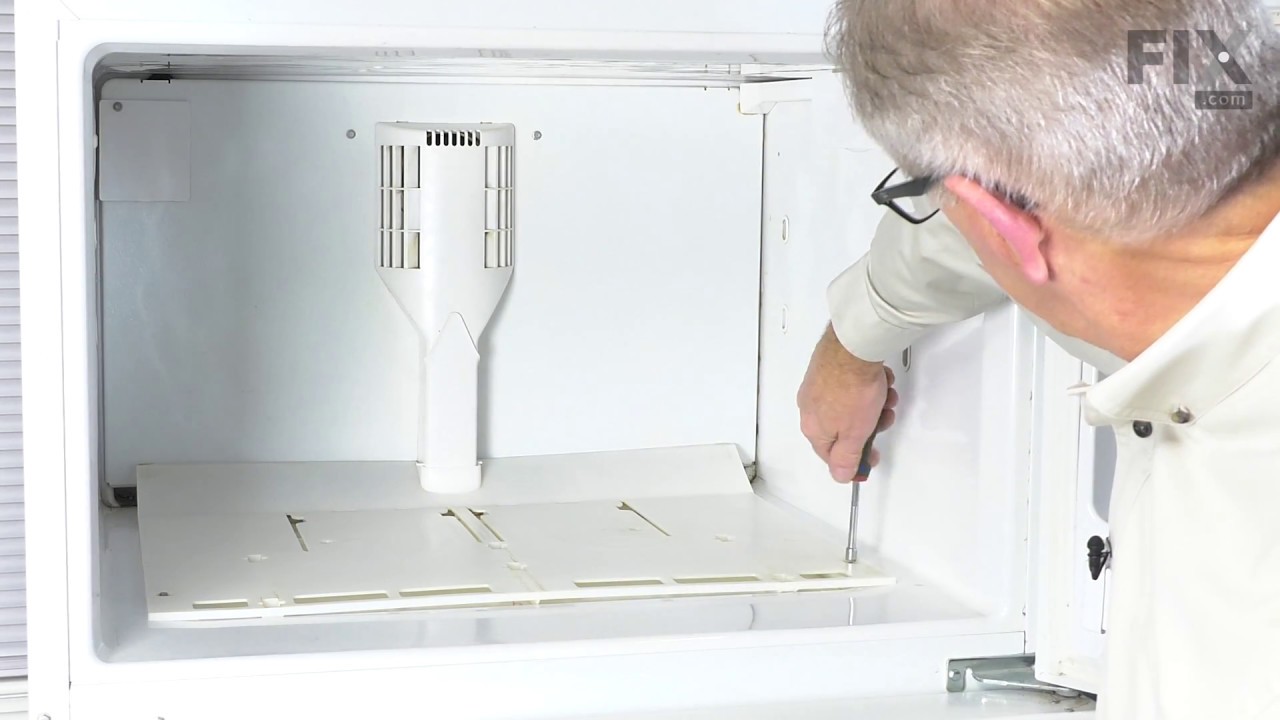
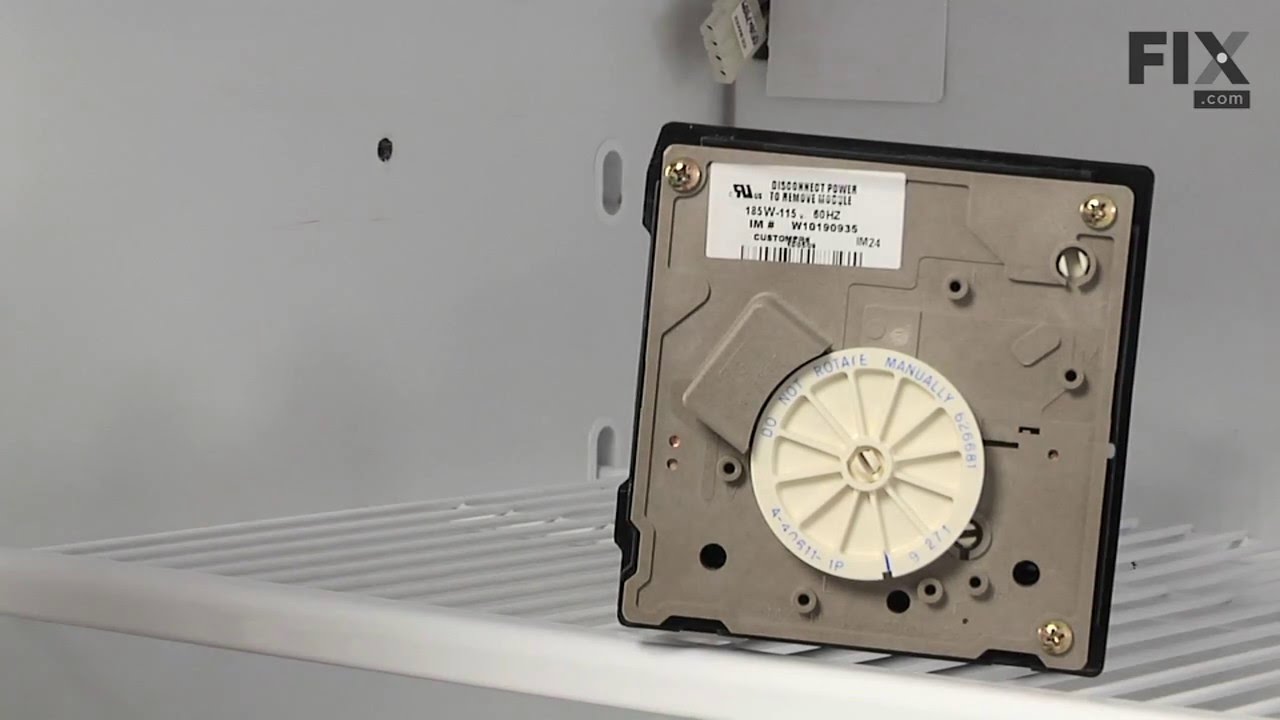
See how others fixed this model. Time, tools, difficulty, and steps that lead to victory!
View More