


 My Orders




106723140 Kenmore Freezer - Overview

Enter a part description. DIY Heroes keep it simple, eg. "belt" or "pump".
Search filter:
Clear Filter
Your search term must have 3 or more characters.

$19.54
In Stock
Light Bulb - 40W
Part #8009
This an authentic OEM 40-Watt replacement light bulb, used in a number of household appliances. It is specially designed to withstand extreme temperatures, which is why these replacement bulbs are most often used to light the inside of refrigerators and ranges. It features a standard socket base, which means you simply unscrew the burnt-o...Read moreut bulb and screw in the replacement. Depending on the appliance you may require a screwdriver or nut driver to access the light bulb. We recommend you wear work gloves while handling this replacement part. It is constructed of glass and metal and is sold individually. Depending on the appliance and location of the bulb within it, you may want to consider disconnecting power and using a flashlight for easier access to unscrewing and re-screwing in your bulb during this repair.
Read less

$34.74
In Stock
Defrost Timer
Part #W10822278
The Defrost Timer (Defrost control) acts like a clock by switching on the defrost heater circuit after a predetermined amount of compressor run time. This allows the defrost circuit to clear the evaporator of ice or frost to maintain proper airflow. If this part is not working, it can lead to temperature increases in your refrigerator. If...Read more the compressor circuit fails, no cooling will take place; if the defrost circuit isn't activated, ice will quickly build up on the evaporator coils and reduce airflow and efficiency. If the timer doesn't advance or if the contacts have no continuity, the timer will need to be replaced. This part is located inside of the control housing on most models, and is approximately 3 inches long and 2.5 inches wide. This part is constructed of plastic and metal, and comes in white. It features 1 defrost timer, along with all necessary mounting hardware and installation instructions
Read less

$7.47
In Stock

$7.47
In Stock

$7.47
In Stock
Screw
Part #WP488729
Metallic screw that is less than an inch long. Does not include the plastic washer.

$54.24
In Stock
Light Socket Kit
Part #4387478
The light socket in your refrigerator houses the light bulb and connects it to the power source. If your refrigerator light is not coming on when you open the door, you may need to replace the light socket. Before you replace the light socket, be sure that your light bulb is in working condition, as this may solve the same problem. This l...Read moreight socket kit comes with 2 wire connectors, a light shield, and the new socket. The wire connectors that come with this kit are included so your new socket can replace a variety of old ones. If this light socket is different than your original, you will need to use the connectors to make it fit your refrigerator. Be sure to follow the instructions provided, so this part will fit your refrigerator properly.
Read less

$11.77
In Stock
Refrigerator Door Hinge Nylon Washer
Part #WP487576
Enhance your refrigerator's longevity and performance with this efficient Whirlpool Door Hinge Nylon Washer. Specifically crafted for some models of Whirlpool, KitchenAid, Maytag, Jenn-Air, Amana, Inglis, and Magic Chef, this door hinge washer plays a pivotal role in ensuring your fridge's door operates smoothly and securely. Constructed ...Read morefrom quality nylon, it promises durability and efficiency, providing excellent resistance to wear and tear from constant use. Don't forget to put on your work gloves for a safe installation. This is an original equipment manufacturer (OEM) component, signifying it's made by the same company that made your appliance. Consider cross-checking the compatibility with your refrigerator model for optimal performance.
Read less

$7.47
In Stock
Refrigerator Hinge Washer
Part #WP487802

$7.47
On Order

$11.77
In Stock

$8.55
Special Order

$11.77
In Stock
Transformer Screw
Part #WP488787
This screw is sold individually. It is a genuine OEM replacement part, and it is designed for use with refrigerators. Most often it is used with the ice bucket ice deflector, retainer clip, and front cover. Due to varied uses we recommend referring to model-specific diagrams for exact placement. This screw measures 8-18 by 1/2 inch.
Common Symptoms of the 106723140
How this model fails, and the parts that fix it.
Fridge too warm
Fixed by
these parts
these parts

Show All
Freezer not defrosting
Fixed by
these parts
these parts
Show All
Freezer section too warm
Fixed by
these parts
these parts
Show All
Leaking
Fixed by
these parts
these parts
Show All
Will Not Start
Fixed by
these parts
these parts
Show All
Light not working
Fixed by
these parts
these parts

Show All
Fridge and Freezer are too warm
Fixed by
these parts
these parts
Show All
Fridge runs too long
Fixed by
these parts
these parts
Show All
Door won’t open or close
Fixed by
these parts
these parts


Show All
Frost buildup
Fixed by
these parts
these parts
Show All
Freezer too cold
Fixed by
these parts
these parts
Show All
Fridge too cold
Fixed by
these parts
these parts
Show All
Too warm
Fixed by
these parts
these parts
Show All
Noisy
Fixed by
these parts
these parts
Show All
Won’t start
Fixed by
these parts
these parts
Show All
Watch our pros, then fix it yourself.

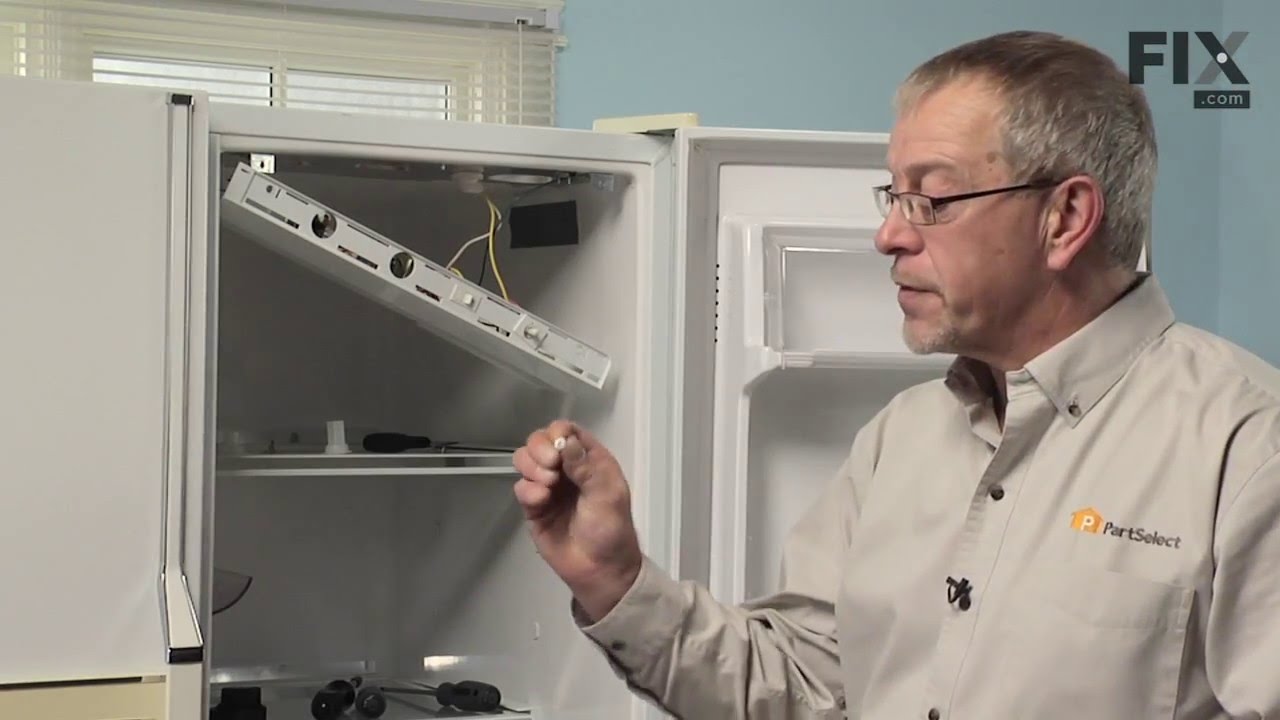
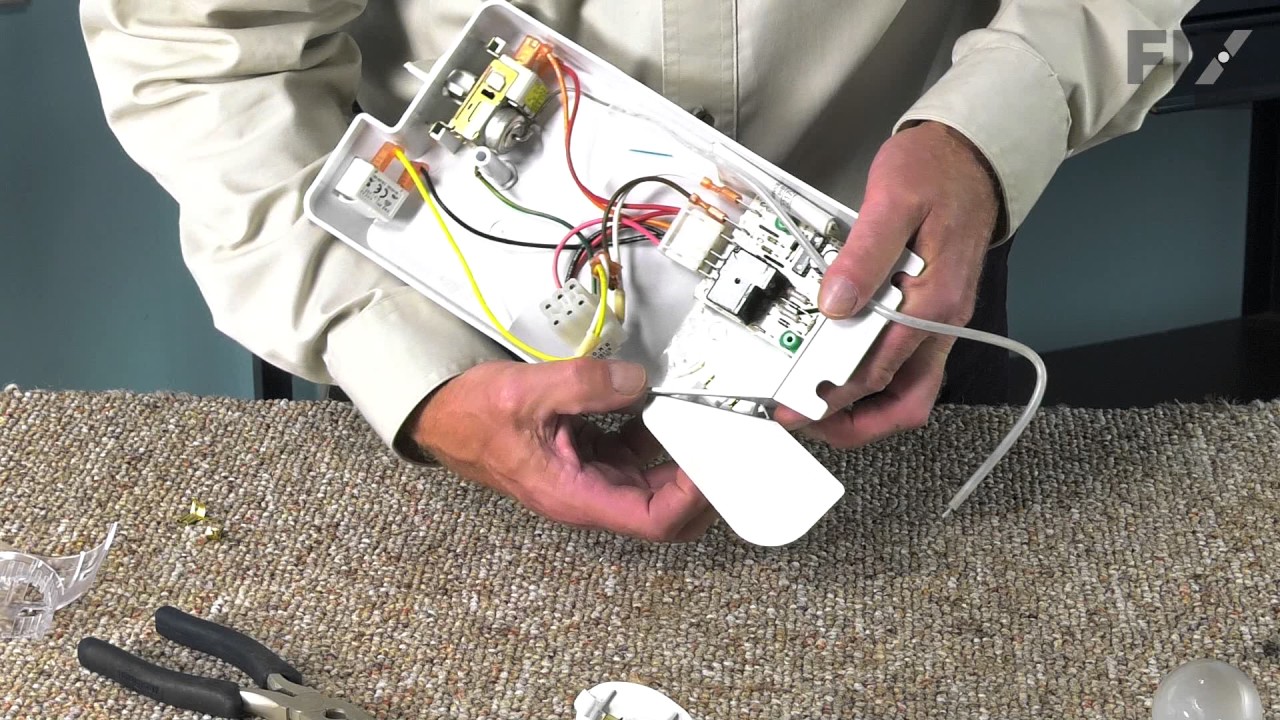
See how others fixed this model. Time, tools, difficulty, and steps that lead to victory!
View More