


 My Orders




106626334 Kenmore Ice Maker - Overview
Diagrams for 106626334
See every part. Know exactly what you need.

Enter a part description. DIY Heroes keep it simple, eg. "belt" or "pump".
Search filter:
Clear Filter
Your search term must have 3 or more characters.

$120.55
In Stock
Replacement Ice Maker
Part #4317943
This ice maker (Complete Icemaker Assembly, Whirlpool Icemaker Kit, Ice Maker Assembly, Refrigerator Ice Maker, Icemaker) receives water from the water inlet valve, freezes it, and dispenses it into the ice bucket until the bucket is full. Ice makers will need to be replaced every 3-10 years depending on the frequency of usage, and water ...Read morequality. You can perform a voltage test with a multimeter or perform an inlet valve test. If you’re unable to make ice, or notice leaks then it may be a sign your ice maker is damaged and could be in need of a replacement. This model measures approximately 11x5 inches, is constructed of plastic and metal, and comes in black/silver. This ice maker is a complete assembly; the whole assembly attaches to the wall of your freezer. ***NOTE: Ice maker does NOT come with the bail or shut off arm. You must order them separately if required. It does come complete with flat and round plug wiring harness, the mounting hardware, and the instructions. The harness can be reused. The ice maker will not fit refrigerators that have the ice auger mounted on the door.
Read less

$47.40
In Stock
Single Outlet Water Valve Kit
Part #4318047
This part is a solenoid-operated switch located at the bottom of the refrigerator. When the water inlet valve is turned on, water is released from the supply line through the water valve and into the compact icemaker mold. The kit includes the mounting hardware and bracket plastic tubing fittings. The retaining nut must be cut off the pla...Read morestic water line and gently pushed into the new valve. To remove, press down on the ring that the tube slides into. Refer to the installation instructions for further guidance. Please note: the manufacturer has redesigned this part and it can appear different than the original. It has a new quick connection.
Read less

$11.77
In Stock

$50.56
Special Order
Refrigerator Ejector Arm
Part #WP627843
This is an ejector arm, and it is used in conjunction with your refrigerator. The function of this part is to act as a cube ejector inside your ice maker. The arm will rotate inside the ice maker to allow the ice cubes to fall out of the marker and into the ice bucket. This part is made entirely of plastic, is white in color, and has eigh...Read moret teeth. It measures just over 9 inches long, and one and a half inches wide. To make this installation the tools you will need include a quarter-inch nut driver, a flat-head screwdriver, and a Phillips screwdriver.
Read less

No Longer Available
Spacer
Part #625834

No Longer Available
Ice Maker Drive Gear
Part #WP628210
If your ice maker is not producing ice, it could be due to a faulty, damaged, or broken drive gear. The ice maker drive gear attaches to the cam to turn the ice cube tray. Check the alignment of the drive gear and make sure the teeth are not stripped or broken. Also, check and clear anything that could be stopping the gear from turning pr...Read moreoperly. If there is damage to the gear it should be replaced. Before you start this repair, remember to disconnect the water and power to your unit.
Read less

No Longer Available
SWTCH-MICR
Part #625851

$50.56
Special Order
Bracket
Part #WP2256087

No Longer Available
CAM-DRIVE
Part #625913

No Longer Available
SPRING-ARM
Part #480855
No Longer Available
DISCONTINUED
Part #798654
No Longer Available
DISCONTINUED
Part #625893
Common Symptoms of the 106626334
How this model fails, and the parts that fix it.
Ice maker not making ice
Fixed by
these parts
these parts


Show All
Leaking
Fixed by
these parts
these parts
Show All
Ice maker won’t dispense ice
Fixed by
these parts
these parts
Show All
Ice maker dispenses too little ice
Fixed by
these parts
these parts
Show All
Ice maker dispenses too much ice
Fixed by
these parts
these parts
Show All
Won’t start
Fixed by
these parts
these parts
Show All
Not dispensing water
Fixed by
these parts
these parts

Show All
Watch our pros, then fix it yourself.
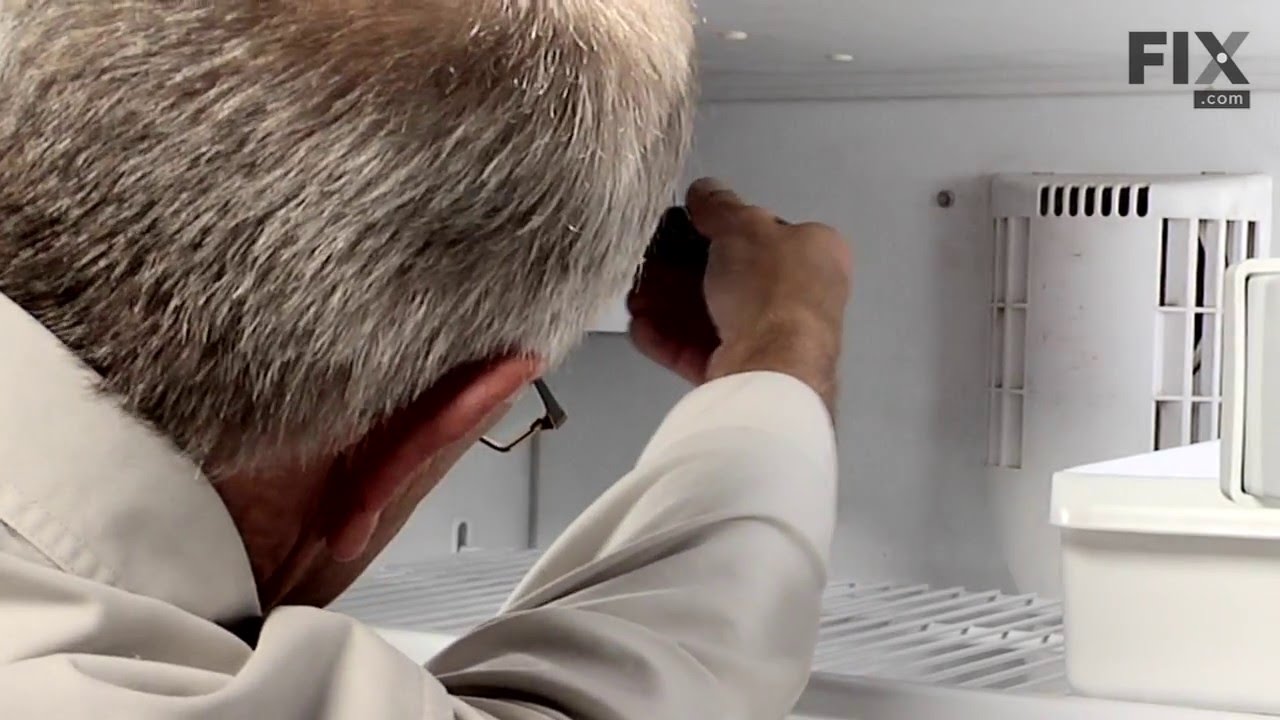
See how others fixed this model. Time, tools, difficulty, and steps that lead to victory!
View More