


 My Orders




1065907890 Kenmore Refrigerator - Overview

Enter a part description. DIY Heroes keep it simple, eg. "belt" or "pump".
Search filter:
Clear Filter
Your search term must have 3 or more characters.

$34.74
In Stock
Refrigerator Bimetal Defrost Thermostat
Part #WPW10225581
If you have ice building up in your freezer, or if your freezer is getting too warm during the defrost cycle you may need to replace the bi-metal defrost thermostat. The function of the defrost bi-metal thermostat is to clip onto the evaporator and protect your evaporator from overheating during the defrost cycle. If your refrigerator doe...Read mores not defrost properly you can test both the thermostat and the heater to figure out which part is at fault. For this repair, you will need a Phillips screwdriver, a 1/4 inch nut driver, a flat blade screwdriver, a pair of wire strippers, a roll of electrical tape, and a few butt splice connectors.
Read less

No Longer Available
Refrigerator Start Relay
Part #W10920279
This is a push-on start relay for your refrigerator. It attaches to the compressor and starts it by briefly boosting it. It will then shut off as soon as the motor is up to the required speed. You may need a new relay if your appliance is too warm or will not start. The tools you will need to make this repair include a flat-blade screwdri...Read morever and a pair of needle-nose pliers. This start relay measures to be just over one square inch.
Read less

$9.62
Special Order
Speed Nut
Part #WP486692
The speed nut (also referred to as a condenser motor fan nut), fits onto the condenser fan motor. The motor for this fan turns on simultaneously with the evaporator and the compressor motors, so a malfunction in the condenser fan motor could cause your fridge to cycle on and off more frequently or run too warm, or too noisily. Make sure t...Read morehat the speed nut is properly attached and tight. Check the nut for any signs of wear or damage. If the nut is damaged and refuses to tighten, you should replace the part immediately. Remember to unplug your refrigerator before starting this repair.
Read less

$9.62
In Stock

$68.86
In Stock
Defrost Heater Assembly
Part #WP2323197
The defrost heater keeps the cooling coils from frosting over.

No Longer Available
Refrigerator Evaporator Drain Pan
Part #WP842041
This tray is used to collect the access water from the cooling system to prevent water from leaking on to your floor.

$52.67
In Stock
Refrigerator Terminal Cover
Part #WP2162358
This is a terminal cover for the compressor in a refrigerator. This covers the relay and overload switch on the compressor. Once you have gained access to the terminal cover, you will see that the cover is held on by a tension or retaining clip. Simply pop the cover off and replace with the new cover. The cover is made of plastic and is b...Read morelack in color. It measure less than 3 inches long and less than 3 inches wide. This is a genuine replacement part from the original manufacturer.
Read less

No Longer Available
Condenser Fan Blade
Part #WP1108179
This fan blade circulates air over the condenser. It mounts onto the shaft of the condenser fan motor.

$11.77
Special Order
Terminal Cover
Part #WP61002138

$13.92
In Stock
Fan Motor Bracket
Part #WP2181929

$7.47
On Order
Wire Assembly (Production)
Part #WP2172890

$11.77
In Stock
CLIP
Part #489396
Common Symptoms of the 1065907890
How this model fails, and the parts that fix it.
Fridge too warm
Fixed by
these parts
these parts


Show All
Freezer not defrosting
Fixed by
these parts
these parts
Show All
Freezer section too warm
Fixed by
these parts
these parts
Show All
Fridge and Freezer are too warm
Fixed by
these parts
these parts
Show All
Will Not Start
Fixed by
these parts
these parts
Show All
Fridge too cold
Fixed by
these parts
these parts
Show All
Frost buildup
Fixed by
these parts
these parts
Show All
Freezer too cold
Fixed by
these parts
these parts
Show All
Too warm
Fixed by
these parts
these parts
Show All
Fridge runs too long
Fixed by
these parts
these parts
Show All
Clicking sound
Fixed by
these parts
these parts
Show All
Leaking
Fixed by
these parts
these parts

Show All
Watch our pros, then fix it yourself.

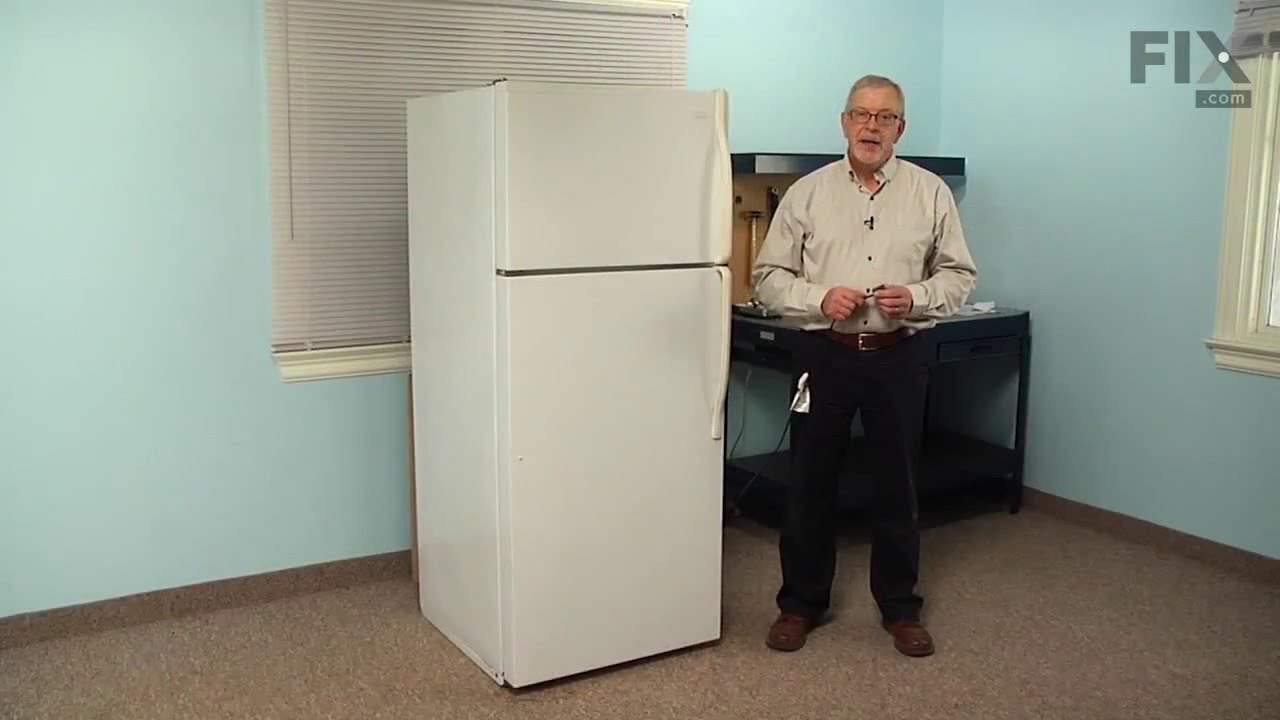
See how others fixed this model. Time, tools, difficulty, and steps that lead to victory!
View More