


 My Orders




10651799411 Kenmore Refrigerator - Overview
Diagrams for 10651799411
See every part. Know exactly what you need.


Enter a part description. DIY Heroes keep it simple, eg. "belt" or "pump".
Search filter:
Clear Filter
Your search term must have 3 or more characters.

$84.45
In Stock
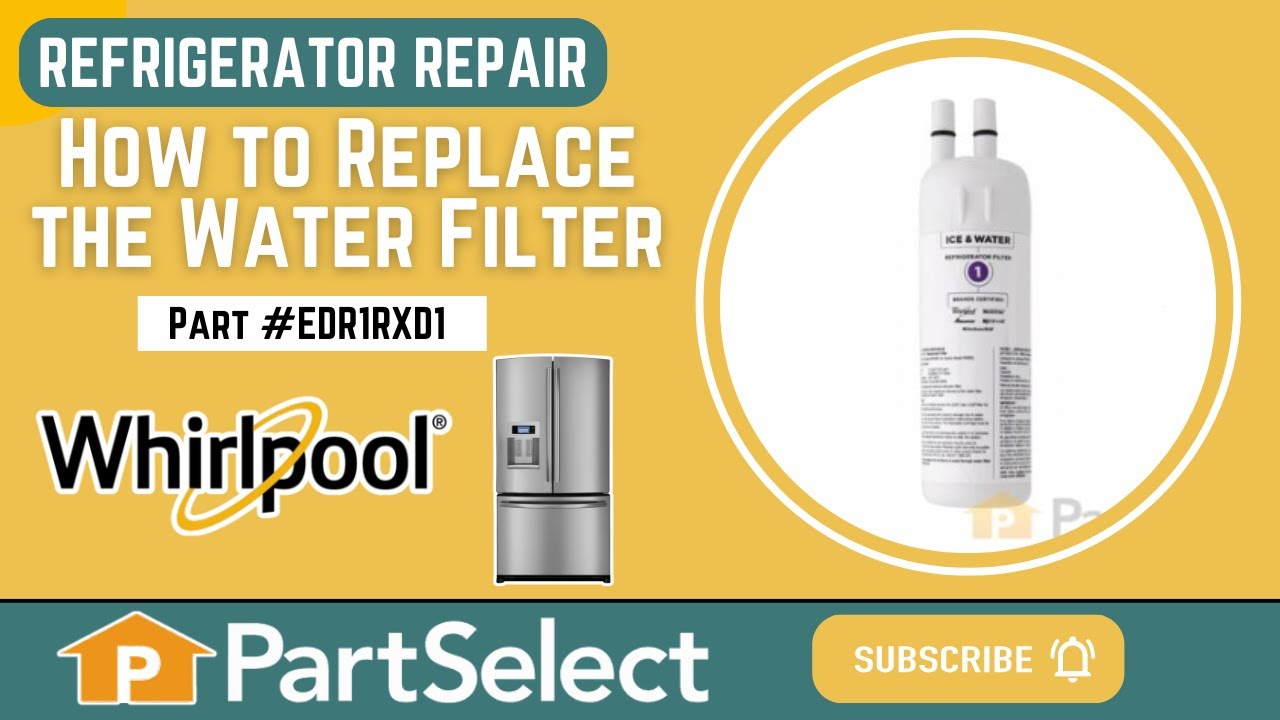
Refrigerator Ice and Water Filter
Part #EDR1RXD1
The EDR1RXD1 water filter provides clean, fresh-tasting water by reducing contaminants such as lead, chlorine, and particulates. Designed for easy installation, this filter ensures your refrigerator water and ice are safe and refreshing with every use

$9.62
In Stock
Refrigerator Lower Door Closing Cam
Part #WP2182179
The lower door closing cam is used in refrigerator doors, it can be located on the fresh food side or the freezer side. It helps hold the door open. This cam is made out of plastic, so it might crack or wear down over time. If your door will not open and close properly you may need to replace the door closing cam. To successfully install ...Read morethis part, you will need a 5/16 nut driver and a small flat blade screwdriver. Before you begin, unplug your appliance and disconnect the water supply. Lubricating this part may help with installation. This replacement part is sold individually. This part will fit both the left and right side of your refrigerator door. To make the repair, remove the top hinge cover, then the top hinge support. Lift the door from the bottom support and remove the old door cams. Replace the cams, using a little lubricant if necessary, and place the door back on the lower hinge support. Replace the top hinge support and your repair is complete!
Read less

$59.47
In Stock
Refrigerator Crisper Drawer With Handle
Part #WP2188664
This OEM, clear convertible meat drawer can be used to store meats or vegetables and is designed for the lower portion of your refrigerator, generally. It has its own cold air duct to allow cold air from the freezer to flow into the drawer. You could have a broken or faulty drawer if you find that the food is kept within is spoiling or dr...Read moreying out quickly. The drawer should slide open and closed with ease. If your drawer will not easily slide open or closed, check the tracks that the drawer slides on. If the tracks are not damaged, the drawer itself could be at fault and should be replaced. Inspect it for visible damage like cracking or warping, which should be obvious. This part measures approximately 16 7/16 inches wide x 14 5/16 inches deep x 7 5/8 inches high and is a genuine OEM replacement part. It is sold individually. Note that there are several different types and options for the lower vegetable and meat drawers for your refrigerator, and you should check your user manual carefully to ensure that this is the drawer you are looking for.
Read less

$35.80
In Stock
Gallon Door Bin - Clear
Part #WPW10710203
This clear refrigerator door shelf bin is a genuine OEM replacement part designed for select Whirlpool, Kenmore, and Maytag models. Made from high-quality, food-grade PS plastic, it securely holds jars, bottles, and other items on the right-hand side of the upper refrigerator door. The bin features reinforced edges for added durability an...Read mored wear resistance, and some versions include a built-in soda can organizer for enhanced storage. Installation is tool-free, with the bin snapping directly into the designated slot. Compatibility should be verified using your refrigerator’s model number prior to installation.
Read less

$175.68
In Stock
Refrigerator Slide-Out Shelf with Glass
Part #WPW10276348
Reach stored food more easily with this refrigerator slide-out glass shelf assembly. Its clear glass surface provides visible storage, while the raised white plastic frame helps contain minor spills before they reach lower shelves. Cracked glass, broken frame edges, or damaged sliding surfaces may make the shelf unsafe or difficult to mov...Read moree. Replacing a damaged assembly helps restore stable storage and smooth access. Remove food before handling the shelf, and let cold glass reach room temperature before washing to reduce the risk of cracking. This is an OEM part sourced directly from the manufacturer.
Read less

$34.74
In Stock
Refrigerator Bimetal Defrost Thermostat
Part #WPW10225581
If you have ice building up in your freezer, or if your freezer is getting too warm during the defrost cycle you may need to replace the bi-metal defrost thermostat. The function of the defrost bi-metal thermostat is to clip onto the evaporator and protect your evaporator from overheating during the defrost cycle. If your refrigerator doe...Read mores not defrost properly you can test both the thermostat and the heater to figure out which part is at fault. For this repair, you will need a Phillips screwdriver, a 1/4 inch nut driver, a flat blade screwdriver, a pair of wire strippers, a roll of electrical tape, and a few butt splice connectors.
Read less

$53.20
In Stock

$159.59
On Order
Refrigerator Shelf Frame with Glass
Part #WPW10276341
Restore a stable surface for food storage with this refrigerator glass shelf assembly. Its clear glass panel makes items below easy to see, while the smooth surface allows spills and food residue to wipe away easily. Cracks, chips, or damaged supports may leave the shelf unsafe or unable to hold containers securely. Replacing a damaged as...Read moresembly helps restore organized, accessible storage. Remove all food before handling the shelf, wear gloves around broken glass, and let cold glass reach room temperature before washing to reduce the risk of cracking. This is an OEM part sourced directly from the manufacturer.
Read less

$134.34
In Stock
Crisper Cover with Glass
Part #W10508993
This refrigerator crisper drawer cover provides a shelf above the drawer while helping keep the storage area below enclosed. The clear glass surface holds food containers and makes it easy to see items underneath. Its plastic frame supports the glass and helps guide the drawer as it slides open and closed. Cracked glass, a broken frame, o...Read morer damaged drawer supports may make the cover unsafe to use. Replacing a damaged cover restores useful shelf space and helps the drawer move smoothly. This is an OEM part sourced directly from the manufacturer.
Read less

$133.36
In Stock
Refrigerator Shelf Glass
Part #W10864399
For a refrigerator storage surface, this 16-1/2 x 13-inch glass shelf slides into designated slots without tools. Confirm it fits your refrigerator before ordering.

$93.27
In Stock
Snack Pan - Clear
Part #WP2309517
In the refrigerator’s fresh-food compartment, this clear OEM drawer holds snack packs and other items. It slides into place below the upper shelf.

$111.43
In Stock
Refrigerator Crisper Pan (Clear)
Part #WPW10178772
This refrigerator crisper drawer provides a separate space for storing fruits and vegetables in the fresh food compartment. Its clear plastic walls make contents easy to see, while raised sides keep produce contained and organized. Cracks, broken edges, or damaged sliding surfaces may cause sticking, spills, or difficulty opening and clos...Read moreing the drawer. Replacing a damaged bin helps restore convenient storage and smoother access. Empty the old drawer before removal, and wash the replacement with mild soap and water before adding produce. This is an OEM part sourced directly from the manufacturer.
Read less
Common Symptoms of the 10651799411
How this model fails, and the parts that fix it.
Door won’t open or close
Fixed by
these parts
these parts


Show All
Fridge too warm
Fixed by
these parts
these parts


Show All
Light not working
Fixed by
these parts
these parts


Show All
Leaking
Fixed by
these parts
these parts


Show All
Ice maker won’t dispense ice
Fixed by
these parts
these parts


Show All
Ice maker not making ice
Fixed by
these parts
these parts


Show All
Noisy
Fixed by
these parts
these parts


Show All
Clicking sound
Fixed by
these parts
these parts


Show All
Freezer not defrosting
Fixed by
these parts
these parts

Show All
Fridge and Freezer are too warm
Fixed by
these parts
these parts

Show All
Not dispensing water
Fixed by
these parts
these parts


Show All
Freezer section too warm
Fixed by
these parts
these parts
Show All
Will Not Start
Fixed by
these parts
these parts
Show All
Fridge too cold
Fixed by
these parts
these parts
Show All
Freezer too cold
Fixed by
these parts
these parts
Show All
Frost buildup
Fixed by
these parts
these parts
Show All
Too warm
Fixed by
these parts
these parts
Show All
Door Sweating
Fixed by
these parts
these parts
Show All
Ice maker dispenses too little ice
Fixed by
these parts
these parts
Show All
Fridge runs too long
Fixed by
these parts
these parts
Show All
Won’t start
Fixed by
these parts
these parts
Show All
Watch our pros, then fix it yourself.
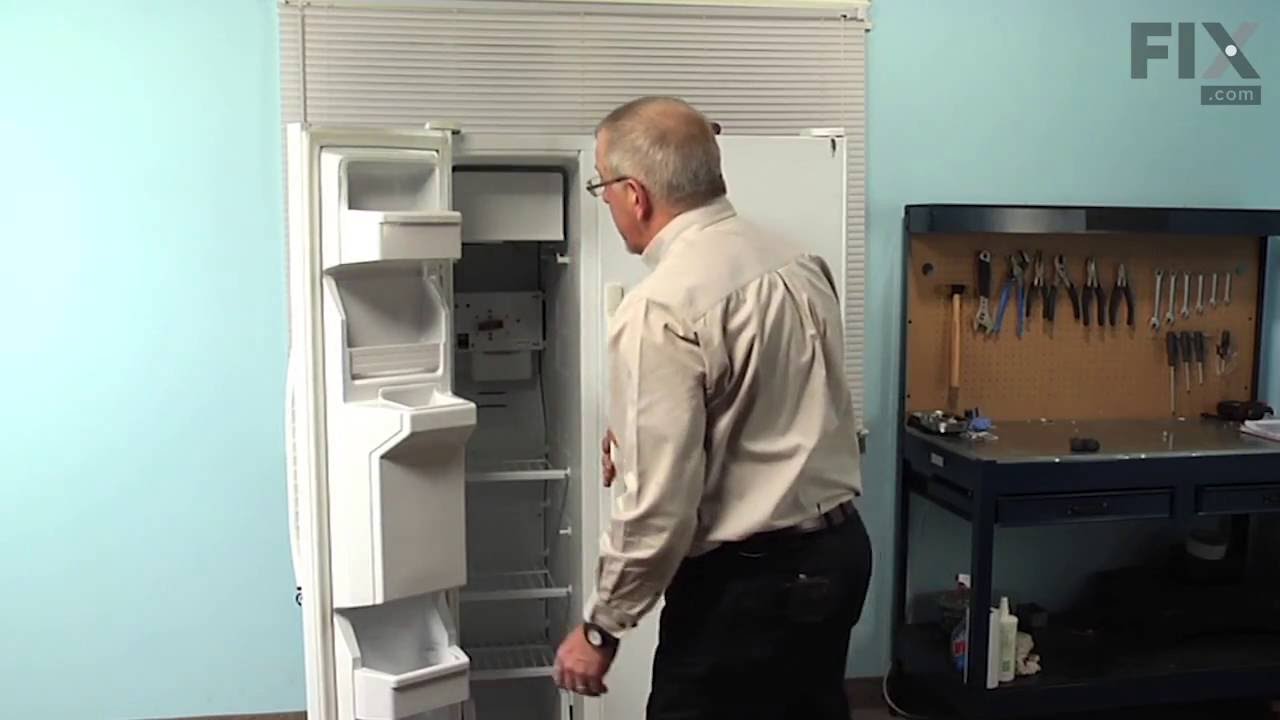
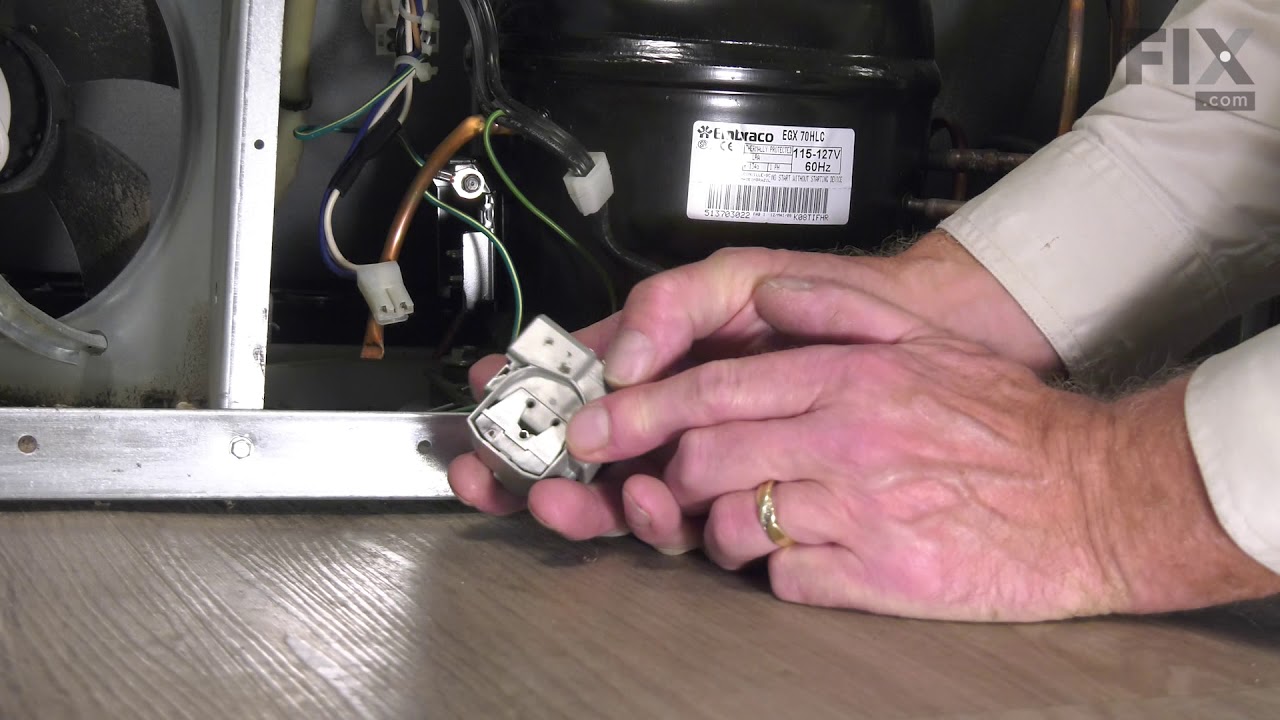
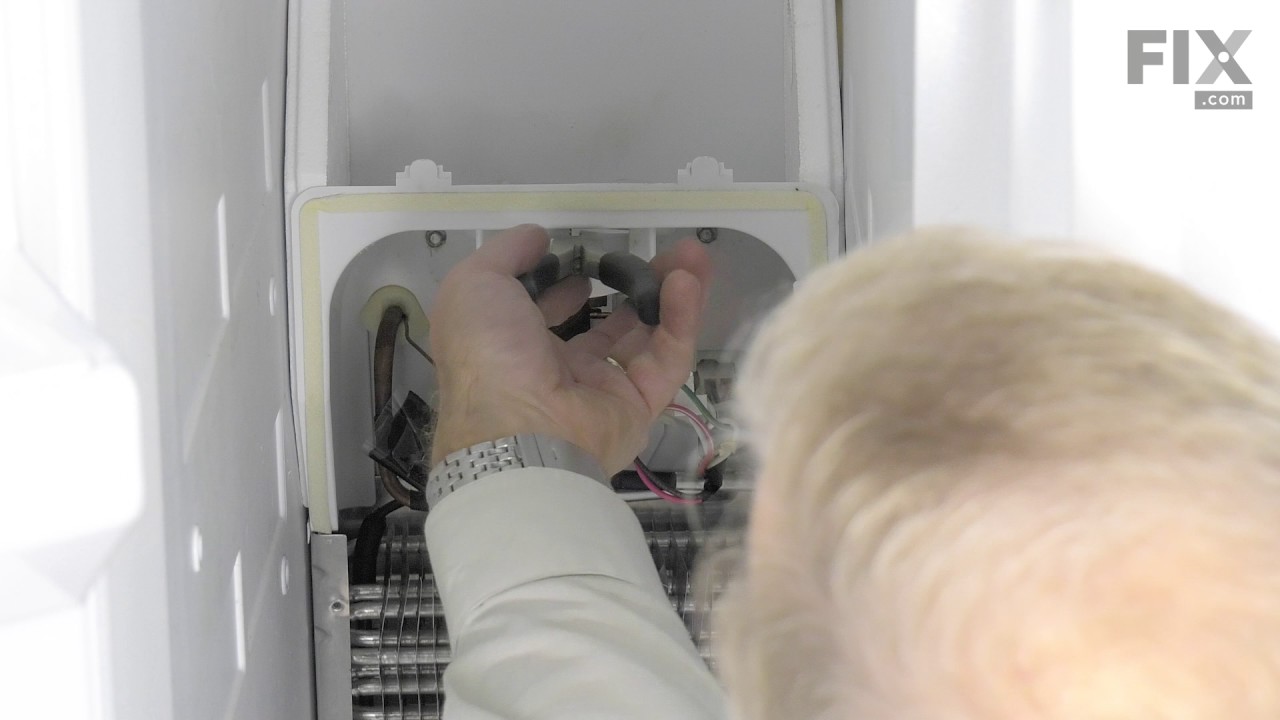
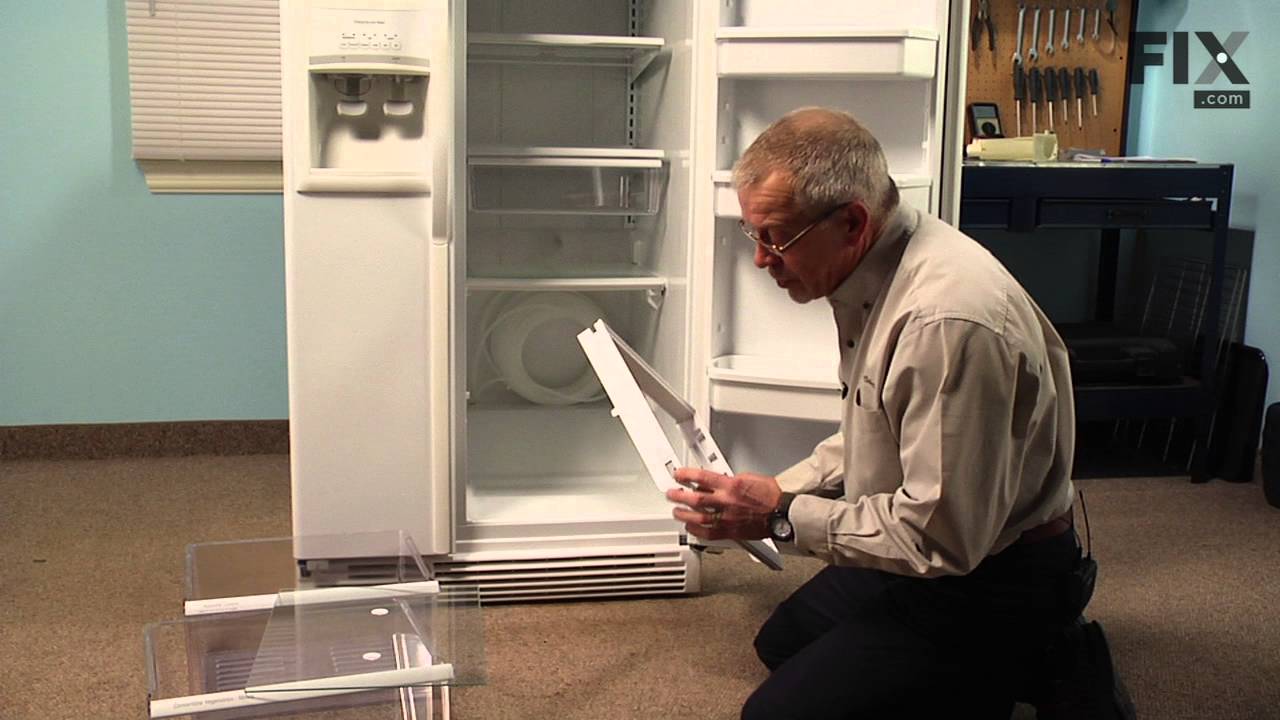
See how others fixed this model. Time, tools, difficulty, and steps that lead to victory!
View More