


 My Orders




10651753717 Kenmore Refrigerator - Overview
Diagrams for 10651753717
See every part. Know exactly what you need.


Enter a part description. DIY Heroes keep it simple, eg. "belt" or "pump".
Search filter:
Clear Filter
Your search term must have 3 or more characters.

$45.29
In Stock
Refrigerator Capacitor
Part #WPW10662129
This capacitor (Refrigerator and Freezer Compressor Run Capacitor, Run Capacitor) provides the voltage or energy current required to start the compressor and keep it running. It allows the compressor in your appliance to easily cycle on and off. This capacitor mounts directly onto the compressor starting relay. If the capacitor is faulty ...Read morethe compressor may get unusually hot and draw excessive amperage. It the compressor overheats, it may fail to run until it cools down again. The compressor may also get noisy from overheating. If this part is totally electrically open, it is defective (often due to overheating) and needs to be replaced. The part measures 1 inch by 1-1/2 inches, and is constructed of plastic with two metal wire terminals. This item includes 1 capacitor, sold individually. This part comes in black.
Read less

$53.20
In Stock

$30.53
In Stock
Door Switch
Part #W11396033
The refrigerator light and fan circuit uses this three-terminal rocker arm switch. It is an OEM replacement part. Disconnect power before working on this electrical part.

$11.77
In Stock
Refrigerator Screw
Part #WPW10661886
This mounting screw is a genuine OEM replacement part for the door handle in your refrigerator. If you are having trouble shutting the refrigerator door, or opening it, replacing this screw can help solve the issue. Replacing this part is easy and requires minimal disassembly of the refrigerator end cap handle. Your will need a screwdriver to complete this repair.

$27.36
In Stock
Water Tube Kit
Part #W10823511
This is the replacement water tube kit for your refrigerator. This tubing is made of plastic, is 1/4 inch in diameter, and comes with 2 inserts. This tube may be longer than the original tube, and may need to be cut. This water tube transports water to the ice and water dispensers. If your refrigerator is leaking, or if the ice and water ...Read moredispensers are not dispensing properly, you may need to replace this tube. This part is sold individually and is an OEM part sourced directly from the manufacturer.
Read less

$62.60
In Stock
Door Shelf
Part #WP2309941
This refrigerator door shelf bar creates a front barrier that keeps bottles, jars, and condiments securely on the door shelf. Made of white plastic, it snaps into the inner door liner to help prevent stored items from sliding forward when the door opens or closes. Cracks or broken locking tabs may leave the bar loose or unable to hold ite...Read morems in place. Replacing a damaged bar restores the shelf barrier. Empty the shelf before removal, then press the new bar into place until both ends lock securely. This is an OEM part sourced directly from the manufacturer.
Read less

No Longer Available
Touch-Up Paint - White
Part #72017
This touch-up paint can be used on a wide variety of household appliances. It is most often used on washers, dryer, refrigerators, dishwashers, ranges, freezers, trash compactors, or microwaves. It is an 18 ml, or.6 fluid ounces, bottle of touch-up paint. It also features a brush for easy application. This quick-drying, long-lasting paint...Read more is perfect for fixing any nicks, scratches, or chips on the exterior of your appliance. This paint is white in color, and provides a durable finish.
Read less

$11.77
In Stock
Refrigerator Screw
Part #WP489497
This appliance hex washer head screw secures brackets, hinges, or other mounted components in place. Its six-sided head provides a firm grip for a socket or nut driver, while the built-in washer spreads pressure across the mounting surface. A missing screw, stripped thread, or damaged head may allow attached parts to loosen, shift, or rat...Read moretle. Replacing a damaged fastener helps restore a secure attachment. Disconnect appliance power before servicing, support any attached components, and tighten carefully to avoid damaging the threads or mounting surface. This is an OEM part sourced directly from the manufacturer.
Read less

$11.77
In Stock

$28.42
In Stock
Evaporator Fan Blade
Part #WP2169142
A warm refrigerator or noisy evaporator fan can indicate a problem with the fan blade. This white, four-blade OEM part circulates cold air over the refrigerator’s evaporator coils. Confirm fit using your refrigerator’s model number.

$75.13
In Stock
Refrigerator Dairy Compartment Door
Part #WP2256101
This refrigerator dairy compartment door keeps butter, spreads, and cheeses enclosed inside the door bin. The clear plastic cover lets you see stored items while giving the compartment a tidy, finished appearance. Built-in hinge pins allow it to pivot for access and close over the opening. Cracks, broken pins, or warped edges may leave th...Read moree cover loose or unable to close properly. Replacing a damaged flap restores convenient coverage. Empty the compartment before installation and gently fit the side pins into their holders without forcing them. This is an OEM part sourced directly from the manufacturer.
Read less

$9.62
In Stock
Common Symptoms of the 10651753717
How this model fails, and the parts that fix it.
Light not working
Fixed by
these parts
these parts


Show All
Fridge too warm
Fixed by
these parts
these parts


Show All
Ice maker won’t dispense ice
Fixed by
these parts
these parts


Show All
Will Not Start
Fixed by
these parts
these parts
Show All
Leaking
Fixed by
these parts
these parts


Show All
Fridge and Freezer are too warm
Fixed by
these parts
these parts
Show All
Freezer section too warm
Fixed by
these parts
these parts
Show All
Noisy
Fixed by
these parts
these parts

Show All
Ice maker not making ice
Fixed by
these parts
these parts

Show All
Door won’t open or close
Fixed by
these parts
these parts


Show All
Clicking sound
Fixed by
these parts
these parts
Show All
Too warm
Fixed by
these parts
these parts

Show All
Not dispensing water
Fixed by
these parts
these parts

Show All
Ice maker dispenses too little ice
Fixed by
these parts
these parts
Show All
Fridge runs too long
Fixed by
these parts
these parts
Show All
Freezer not defrosting
Fixed by
these parts
these parts
Show All
Fridge too cold
Fixed by
these parts
these parts
Show All
Frost buildup
Fixed by
these parts
these parts
Show All
Won’t start
Fixed by
these parts
these parts
Show All
Watch our pros, then fix it yourself.
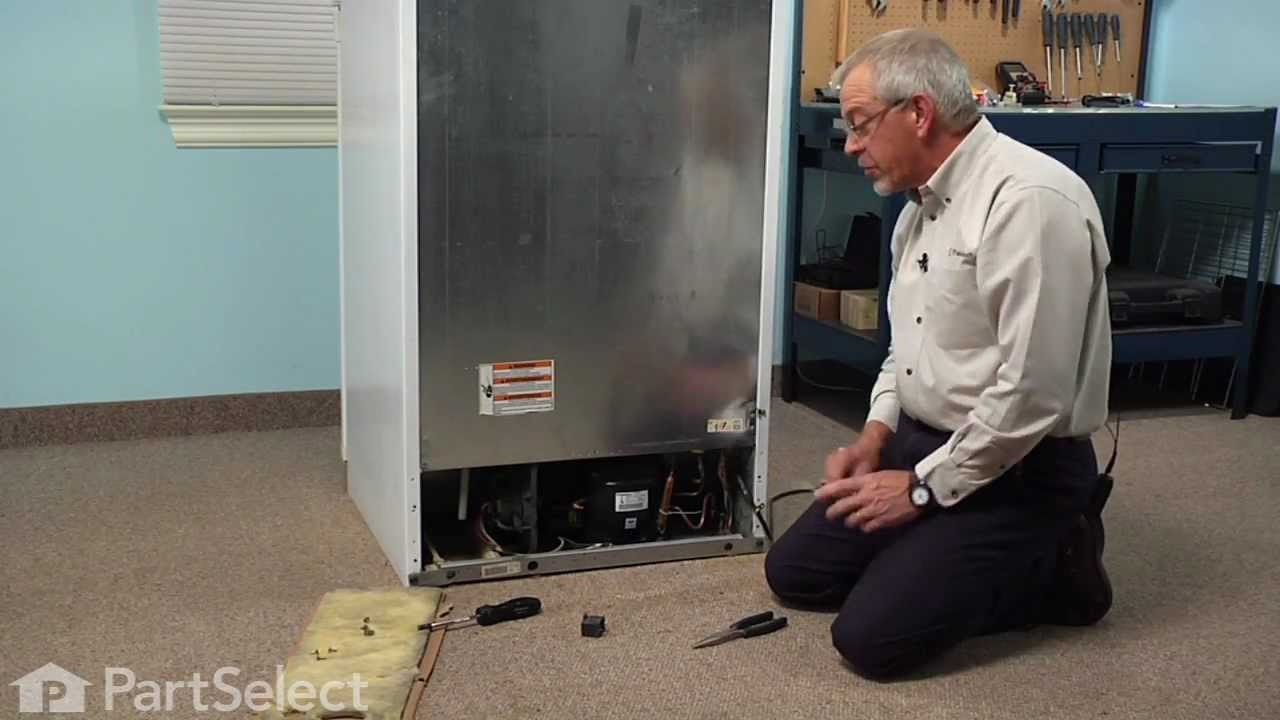
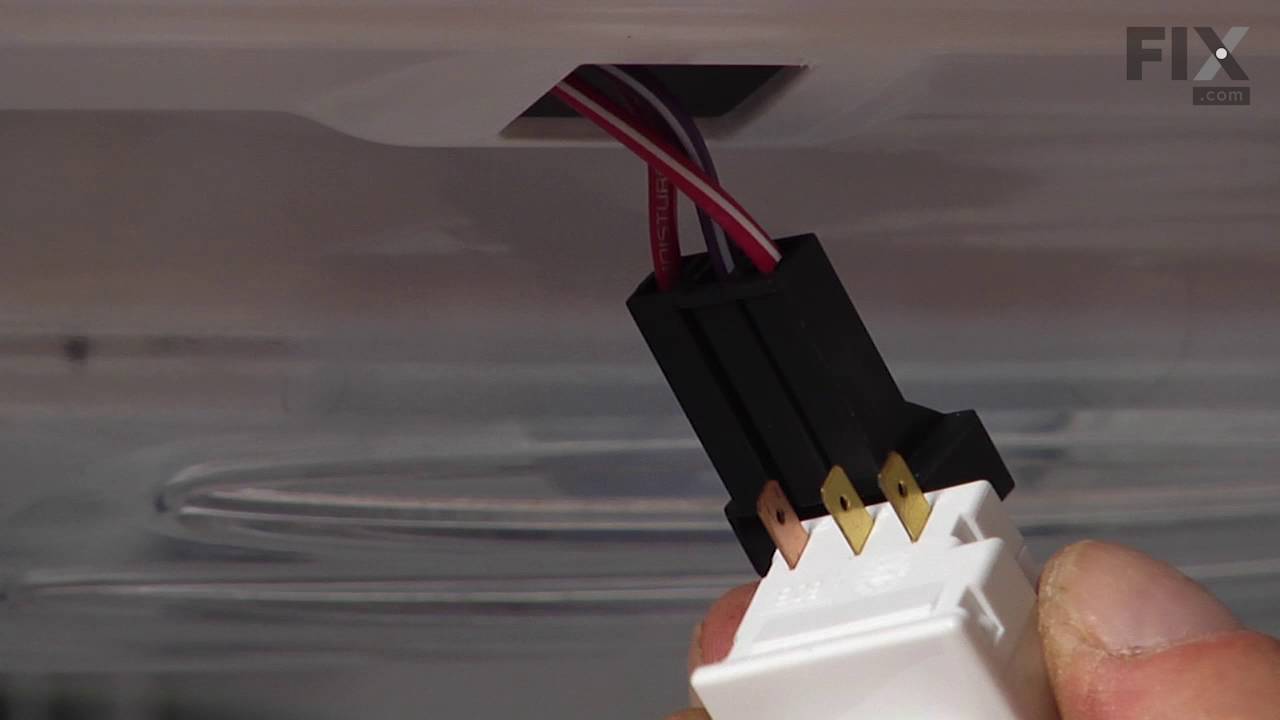
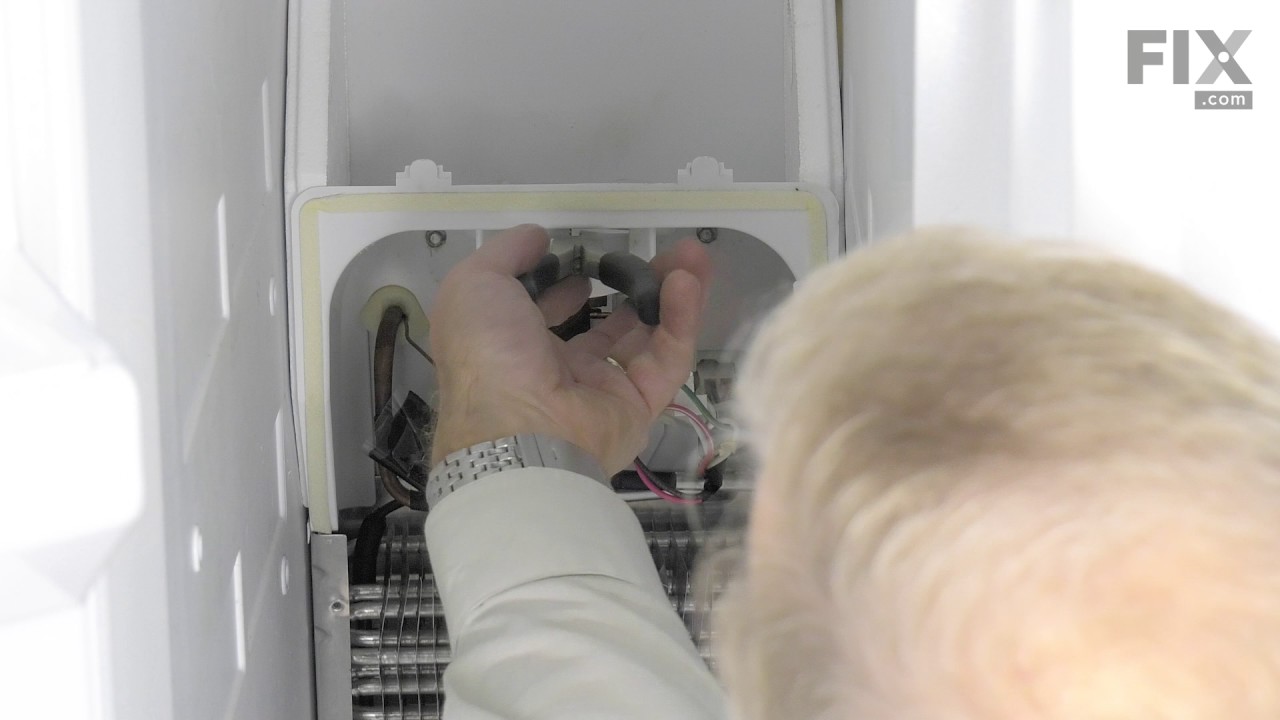

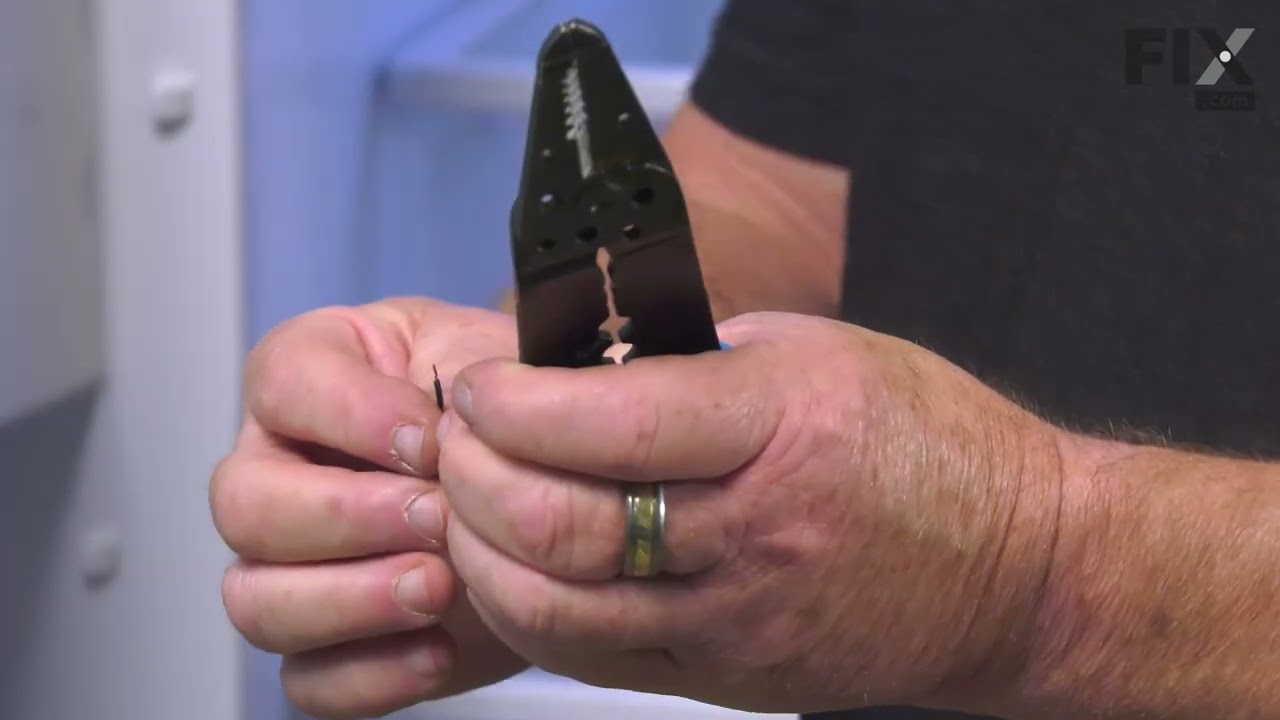
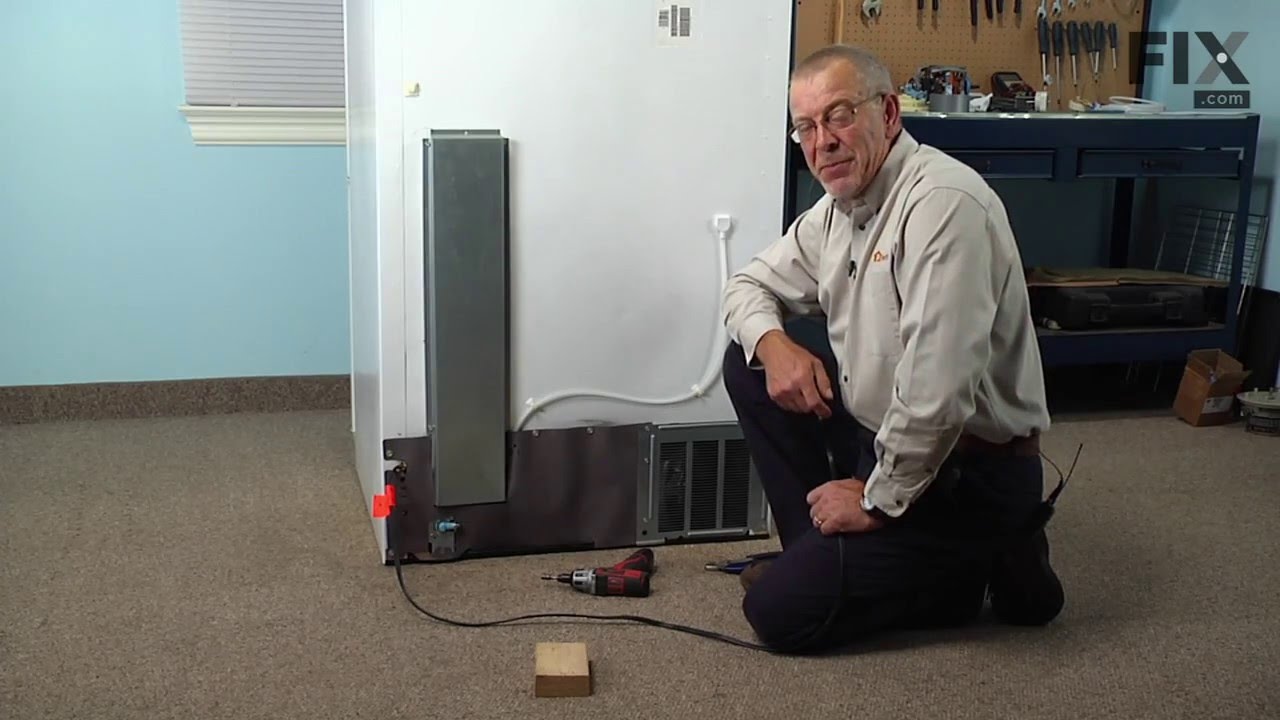
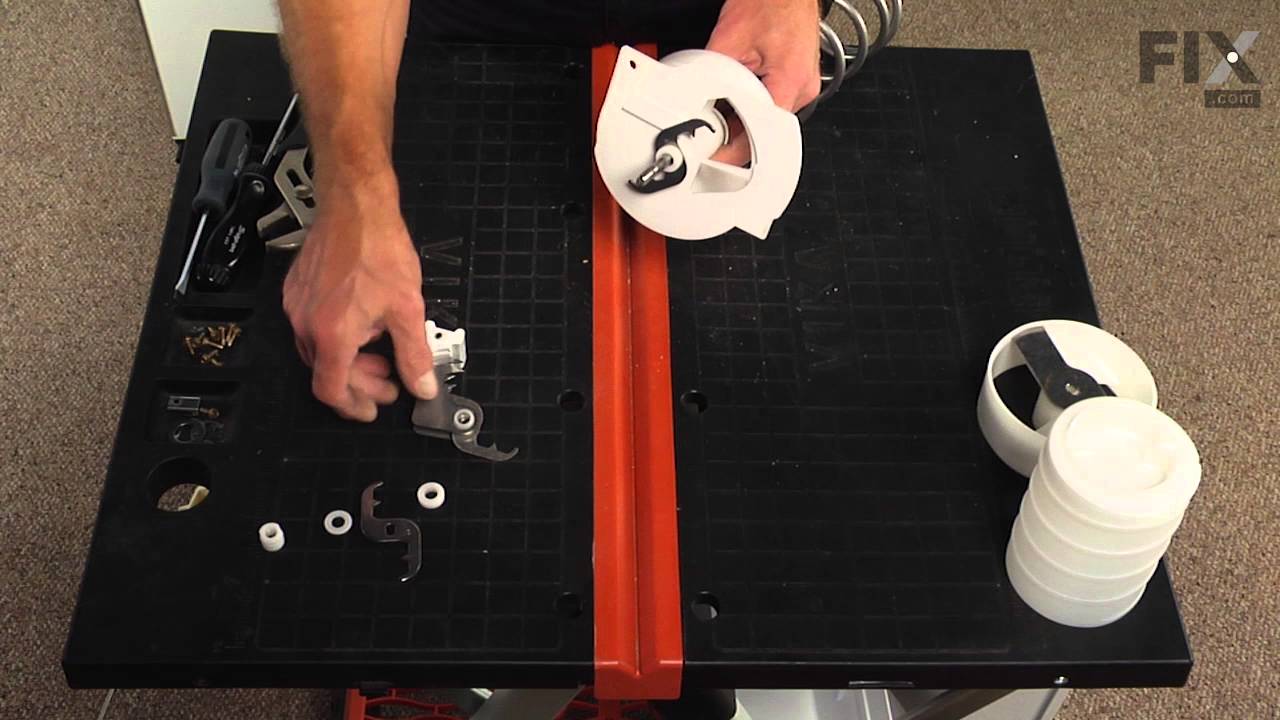
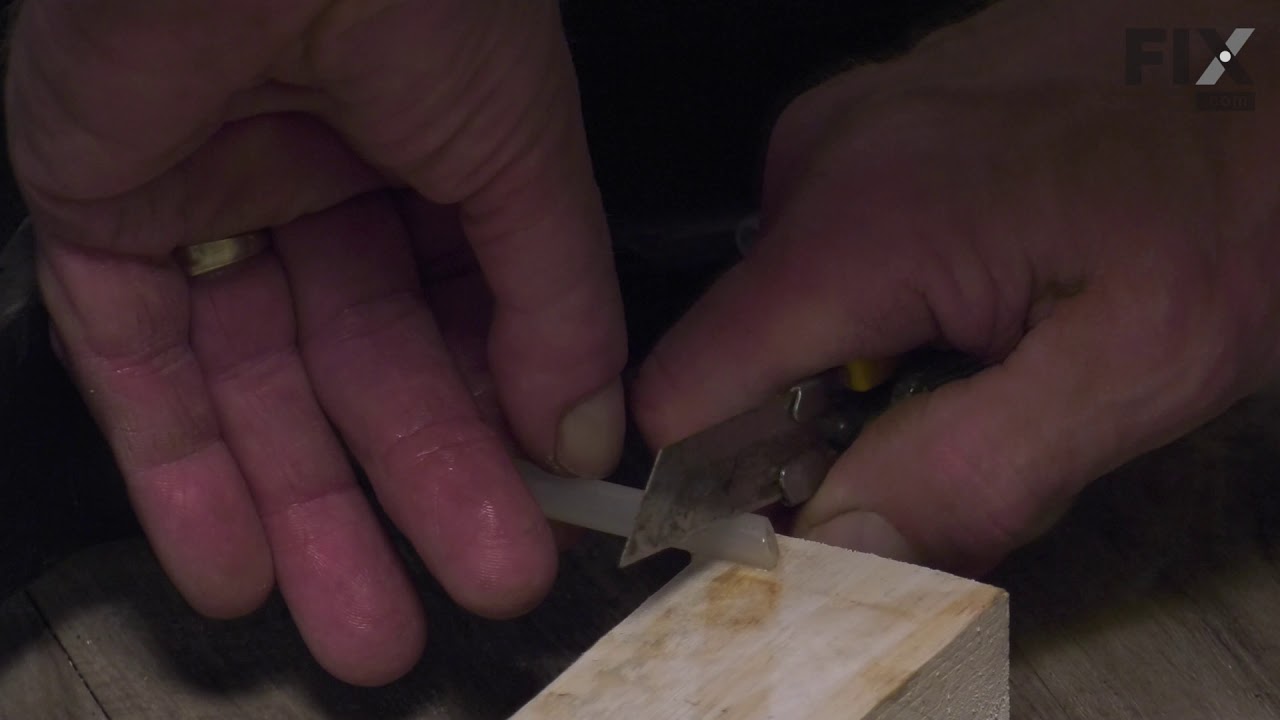
See how others fixed this model. Time, tools, difficulty, and steps that lead to victory!
View More