


 My Orders




1065171 Kenmore Refrigerator - Overview
Models starting with 1065171
Click on the best match to narrow your results.
- 10651712410 Kenmore Refrigerator (Kenmore Refrigerator 10651712410)
- 10651712411 Kenmore Refrigerator (Kenmore Refrigerator 10651712411)
- 10651713410 Kenmore Refrigerator (Refrigerator)
- 10651713411 Kenmore Refrigerator (Refrigerator)
- 10651719410 Kenmore Refrigerator (Kenmore Refrigerator 10651719410)
- 10651719411 Kenmore Refrigerator (Kenmore Refrigerator 10651719411)
- 10651719413 Kenmore Refrigerator (Kenmore Refrigerator 10651719413)
Enter a part description. DIY Heroes keep it simple, eg. "belt" or "pump".
Search filter:
Clear Filter
Your search term must have 3 or more characters.

$17.15
In Stock
Refrigerator Air Filter
Part #W10311524
This Refrigerator Air Filter is a white 1.8x3.2" plastic filter which neutralizes odor and bacteria in the air. It should be replaced every six months at a minimum. Refer to your user manual and model number to see if this filter is right for your fridge. Location for storage of the air filter may vary from model to model, but generally, ...Read moreyou will find a small cover on the back-middle-top of your fridge, which can be popped off to reveal the air filter, which can be easily changed out from there. This part does not come sold with the indicator; it is the filter only. Sold individually.
Read less

$30.53
In Stock

$34.74
In Stock
Refrigerator Bimetal Defrost Thermostat
Part #WPW10225581
If you have ice building up in your freezer, or if your freezer is getting too warm during the defrost cycle you may need to replace the bi-metal defrost thermostat. The function of the defrost bi-metal thermostat is to clip onto the evaporator and protect your evaporator from overheating during the defrost cycle. If your refrigerator doe...Read mores not defrost properly you can test both the thermostat and the heater to figure out which part is at fault. For this repair, you will need a Phillips screwdriver, a 1/4 inch nut driver, a flat blade screwdriver, a pair of wire strippers, a roll of electrical tape, and a few butt splice connectors.
Read less

$30.53
In Stock
Door Switch
Part #W11396033
This light switch may also be known as a refrigerator door switch or a light switch kit, and is compatible with your refrigerator. The function of the refrigerator door switch is to turn on the light when your fridge door is open, and to make sure it is off when your refrigerator door is closed. The reason you would need to replace this p...Read moreart is if your light is not turning on when your door is open. For this repair, you will need a putty knife, and a small flat-blade screwdriver.
Read less

$11.77
In Stock
Refrigerator Screw
Part #WPW10661886
This mounting screw is a genuine OEM replacement part for the door handle in your refrigerator. If you are having trouble shutting the refrigerator door, or opening it, replacing this screw can help solve the issue. Replacing this part is easy and requires minimal disassembly of the refrigerator end cap handle. Your will need a screwdriver to complete this repair.

$24.15
In Stock
Touch-Up Paint - White
Part #72017
This touch-up paint can be used on a wide variety of household appliances. It is most often used on washers, dryer, refrigerators, dishwashers, ranges, freezers, trash compactors, or microwaves. It is an 18 ml, or.6 fluid ounces, bottle of touch-up paint. It also features a brush for easy application. This quick-drying, long-lasting paint...Read more is perfect for fixing any nicks, scratches, or chips on the exterior of your appliance. This paint is white in color, and provides a durable finish.
Read less

$11.77
In Stock

$28.42
In Stock
Evaporator Fan Blade
Part #WP2169142
If your refrigerator or freezer is too warm, or making noises, you may need to replace the fan blade. The fan blade attaches to the evaporator motor, which is in the freezer section, to help circulate the cold air into the refrigerator and freezer sections. The fan blade is white in color and made from plastic. This is a genuine OEM part...Read more. Please be sure to disconnect the power to your refrigerator before starting your repair.
Read less

$12.85
In Stock
Refrigerator Seal
Part #WP2198628
This part is a replacement refrigerator drive shaft seal for your refrigerator. The drive shaft seal protects the auger motor from water and condensation that may leak down the drive shaft from the ice bucket. If the seal is broken, water and condensation can get in, causing the ice maker to fail. To replace the seal, first remove the ice...Read more bucket from your freezer. Then remove the two screws on the drive shaft holder, and use a pair of pliers to remove the drive shaft. At this point you can remove the seal from the drive shaft. Be sure to clean the area that the seal sits in before you reinstall the drive shaft. This part is white in color and is about an inch in diameter. The seal is sold individually.
Read less

$9.62
In Stock

$105.47
In Stock
Single Primary Water Inlet Valve
Part #WPW10238100
When energized, this part releases water from the supply line into the ice mold.

$98.81
In Stock
Icemaker Motor Kit
Part #8201515
This kit includes the module motor, ejector arm, and ice stripper arm. The complete icemaker is sold separately.
Common Symptoms of models starting with 1065171
How this model fails, and the parts that fix it.
Light not working
Fixed by
these parts
these parts


Show All
Fridge too warm
Fixed by
these parts
these parts


Show All
Freezer not defrosting
Fixed by
these parts
these parts

Show All
Ice maker not making ice
Fixed by
these parts
these parts


Show All
Leaking
Fixed by
these parts
these parts


Show All
Ice maker won’t dispense ice
Fixed by
these parts
these parts


Show All
Noisy
Fixed by
these parts
these parts

Show All
Door won’t open or close
Fixed by
these parts
these parts


Show All
Freezer section too warm
Fixed by
these parts
these parts

Show All
Fridge too cold
Fixed by
these parts
these parts
Show All
Fridge and Freezer are too warm
Fixed by
these parts
these parts
Show All
Not dispensing water
Fixed by
these parts
these parts
Show All
Frost buildup
Fixed by
these parts
these parts
Show All
Freezer too cold
Fixed by
these parts
these parts
Show All
Too warm
Fixed by
these parts
these parts
Show All
Fridge runs too long
Fixed by
these parts
these parts
Show All
Clicking sound
Fixed by
these parts
these parts
Show All
Door Sweating
Fixed by
these parts
these parts
Show All
Will Not Start
Fixed by
these parts
these parts
Show All
Watch our pros, then fix it yourself.
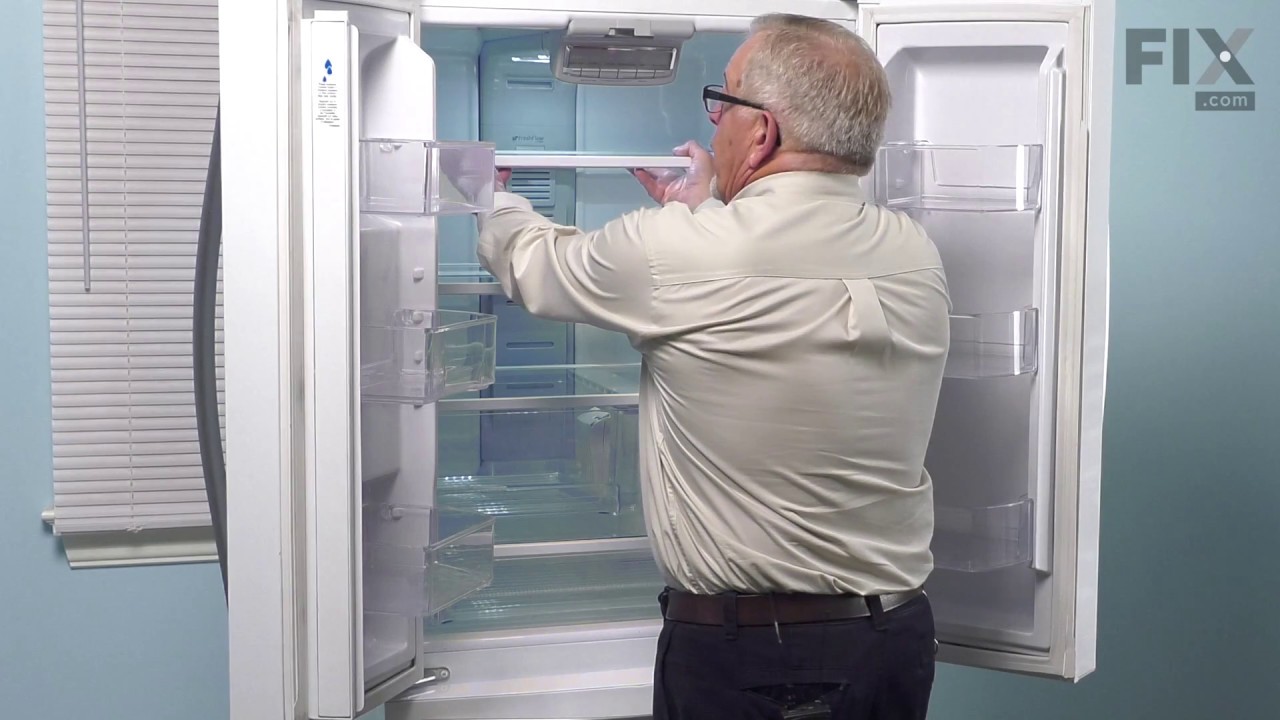




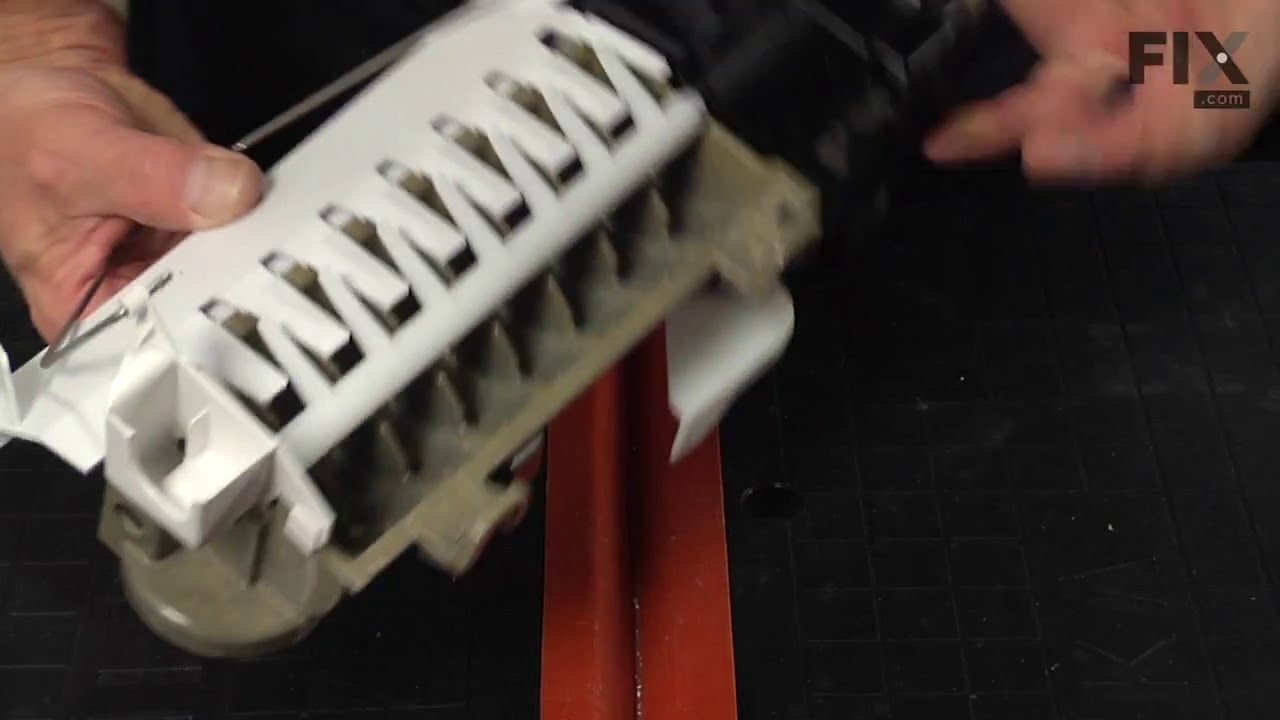
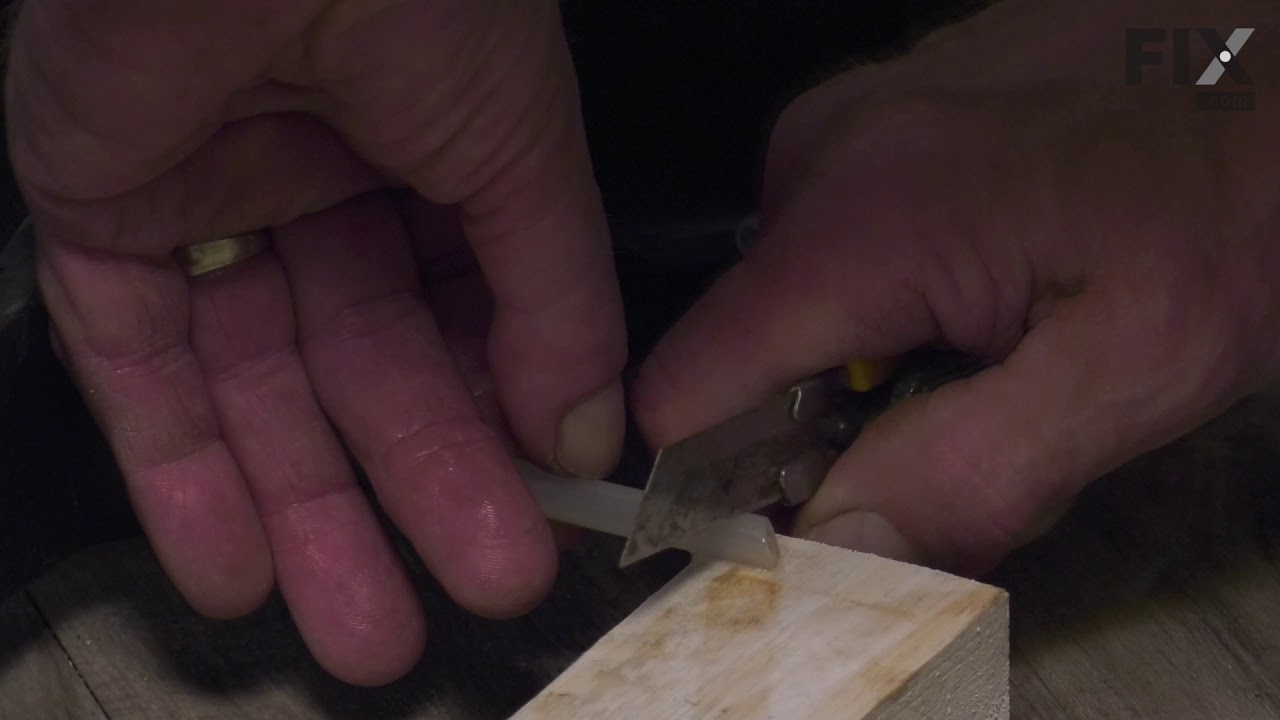
See how others fixed this model. Time, tools, difficulty, and steps that lead to victory!
View More