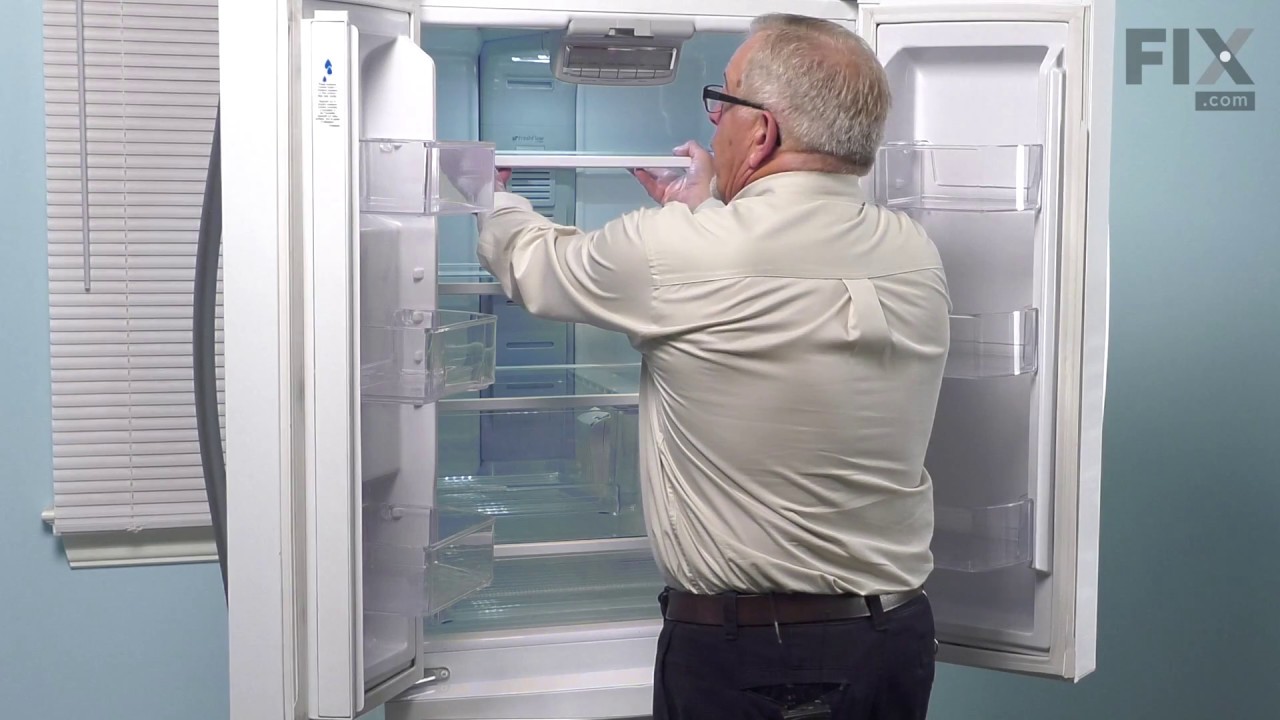
This Refrigerator Air Filter is a white 1.8x3.2" plastic filter which neutralizes odor and bacteria in the air. It should be replaced every six months at a minimum. Refer to your user manual and model number to see if this filter is right for your fridge. Location for storage of the air filter may vary from model to model, but generally, ...Read moreyou will find a small cover on the back-middle-top of your fridge, which can be popped off to reveal the air filter, which can be easily changed out from there. This part does not come sold with the indicator; it is the filter only. Sold individually.
If your refrigerator’s interior light is not working, the door switch may be the cause. It turns the light off when the door closes. This is an OEM part. Confirm compatibility using your refrigerator’s model number.
If you have ice building up in your freezer, or if your freezer is getting too warm during the defrost cycle you may need to replace the bi-metal defrost thermostat. The function of the defrost bi-metal thermostat is to clip onto the evaporator and protect your evaporator from overheating during the defrost cycle. If your refrigerator doe...Read mores not defrost properly you can test both the thermostat and the heater to figure out which part is at fault. For this repair, you will need a Phillips screwdriver, a 1/4 inch nut driver, a flat blade screwdriver, a pair of wire strippers, a roll of electrical tape, and a few butt splice connectors.
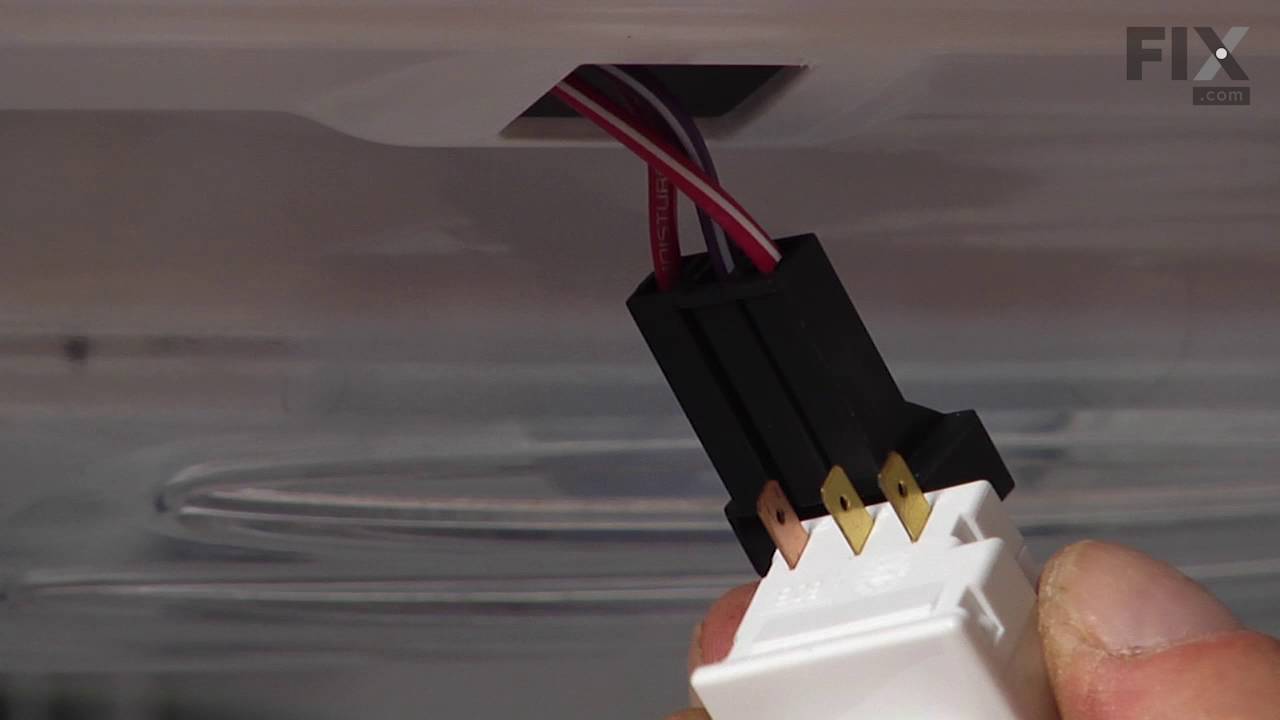
The refrigerator light and fan circuit uses this three-terminal rocker arm switch. It is an OEM replacement part. Disconnect power before working on this electrical part.
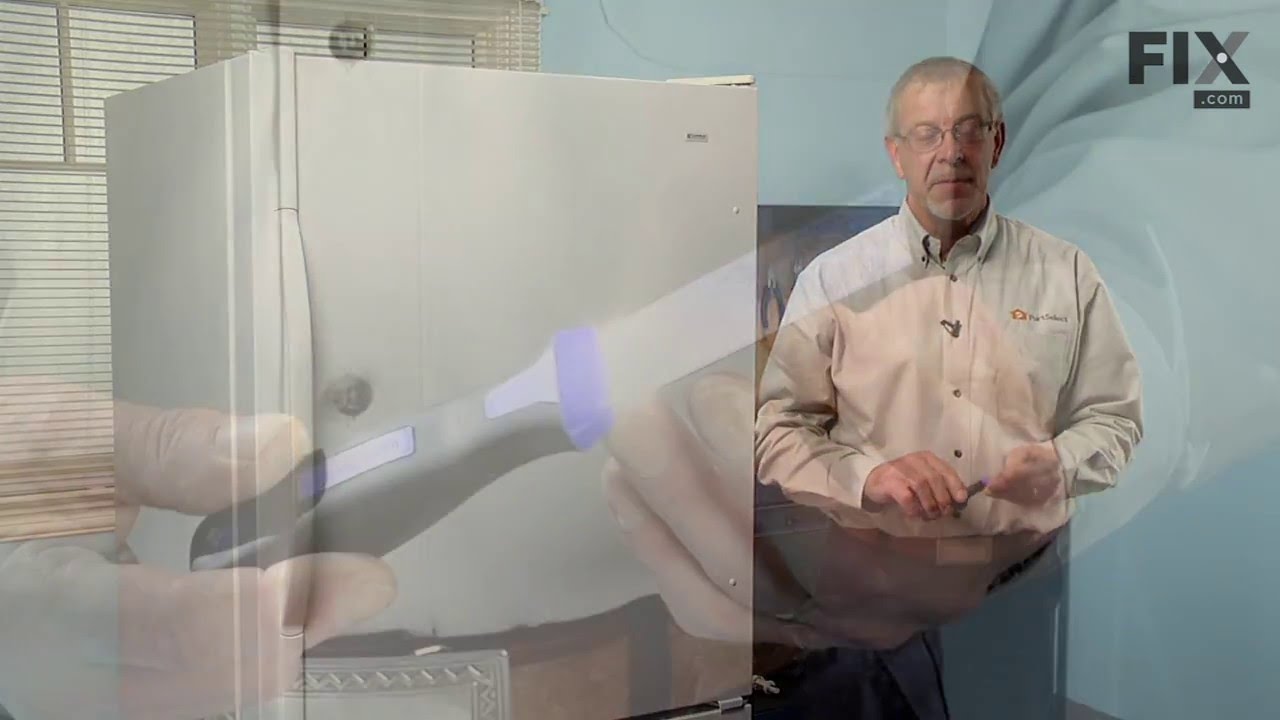
This mounting screw is a genuine OEM replacement part for the door handle in your refrigerator. If you are having trouble shutting the refrigerator door, or opening it, replacing this screw can help solve the issue. Replacing this part is easy and requires minimal disassembly of the refrigerator end cap handle. Your will need a screwdriver to complete this repair.
This touch-up paint can be used on a wide variety of household appliances. It is most often used on washers, dryer, refrigerators, dishwashers, ranges, freezers, trash compactors, or microwaves. It is an 18 ml, or.6 fluid ounces, bottle of touch-up paint. It also features a brush for easy application. This quick-drying, long-lasting paint...Read more is perfect for fixing any nicks, scratches, or chips on the exterior of your appliance. This paint is white in color, and provides a durable finish.
A warm refrigerator or noisy evaporator fan can indicate a problem with the fan blade. This white, four-blade OEM part circulates cold air over the refrigerator’s evaporator coils. Confirm fit using your refrigerator’s model number.
This refrigerator ice dispenser drive shaft seal forms a barrier around the shaft beneath the ice bucket. It helps keep moisture and condensation from reaching the auger motor and inner door area. A torn, brittle, or worn seal may allow water to pass through, leading to leaks, rust, or moisture buildup near the dispenser mechanism. Replac...Read moreing a damaged seal helps protect the motor area and restore the barrier around the shaft. Unplug the refrigerator before accessing the drive assembly or removing the shaft. This is an OEM part sourced directly from the manufacturer.
Leaking, no water dispensing, or an ice maker that is not making ice can be associated with the refrigerator’s water inlet valve. The valve supplies water to both the ice maker and dispenser, but these symptoms alone do not confirm it is faulty. This OEM valve is for select refrigerators; check fit against your refrigerator’s model number.
Ask our experts a question about this model and we'll get back to you as soon as possible!
We may have answered a similar question already! Search questions and answers left by others using simple keywords like "fit", "broken", "easy", or "quality" to find questions that match.
Search filter:
Clear Filter
Your search term must have 3 or more characters.
Sort by:
Prev
1
Next
Sorry, we couldn't find any existing answers that matched.Try using some different or simpler keywords, or submit your new question by using the "Ask a Question" button above!
Jerome - For model number 10651173310
July 10, 2023
I have 3 interior freezer modules out in my Kenmore unit. My ice machine light works fine, but the 2 above interior modules & the left side interior module has not been working for months now. Do I need to replace all 3 modules?
Hello Jerome, thank you for the great question. The freezer led lights are part PS12347525, since they are in series if one is faulty they would all go out, to check which is faulty you can swap them out one at a time with a known good led light. We hope this information is useful!
There is a sensor light that beams inside the ice maker and that beam no longer works so the refrigerator doesn’t make ice
Hi Charles, thank you for reaching out. Based on our understanding, the issue could be with the ice level control board, part number W10898445. It uses an invisible infrared beam to check if the ice bin is full. If the receiver board can't see the beam, the refrigerator assumes the bin is completely full and shuts off ice production. You may need to replace it to fix the issue. We hope this solves your problem!
See how others fixed this model. Time, tools, difficulty, and steps that lead to victory!View More
Search repair tips from other customers using simple keywords like "replace", "fit", "remove", "inspect". DIY doesn't mean you have to do it alone!
Search filter:
Clear Filter
Your search term must have 3 or more characters.
Fridge was getting too warm, ice buildup on coils.
159 of 188 peoplefound this instruction helpful.
Cathy from Winter Park, FL
A Bit Difficult
15 - 30 mins
Nutdriver
WARNING: REPLACING THIS PART REQUIRES CUTTING AND SPLICING ELECTRICAL WIRES. RISK OF ELECTRICAL SHOCK OR FIRE. DO NOT ATTEMPT THIS REPAIR IF YOU ARE NOT EXPERIENCED WITH ELECTRICAL WIRING.
Part Info: The bi-metal strip is clipped onto the evaporator coils and is designed to regulate the defrost coil temperature. If it is n
... Read moreot functioning properly you may notice ice buildup preventing air flow (and preventing proper refrigeration), or more rarely the freezer side may get too warm during the defrost cycle.
1: UNPLUG THE FRIDGE! If there is ice buildup, wait until the ice has melted. A box fan blowing at the ice will help melt it more quickly.
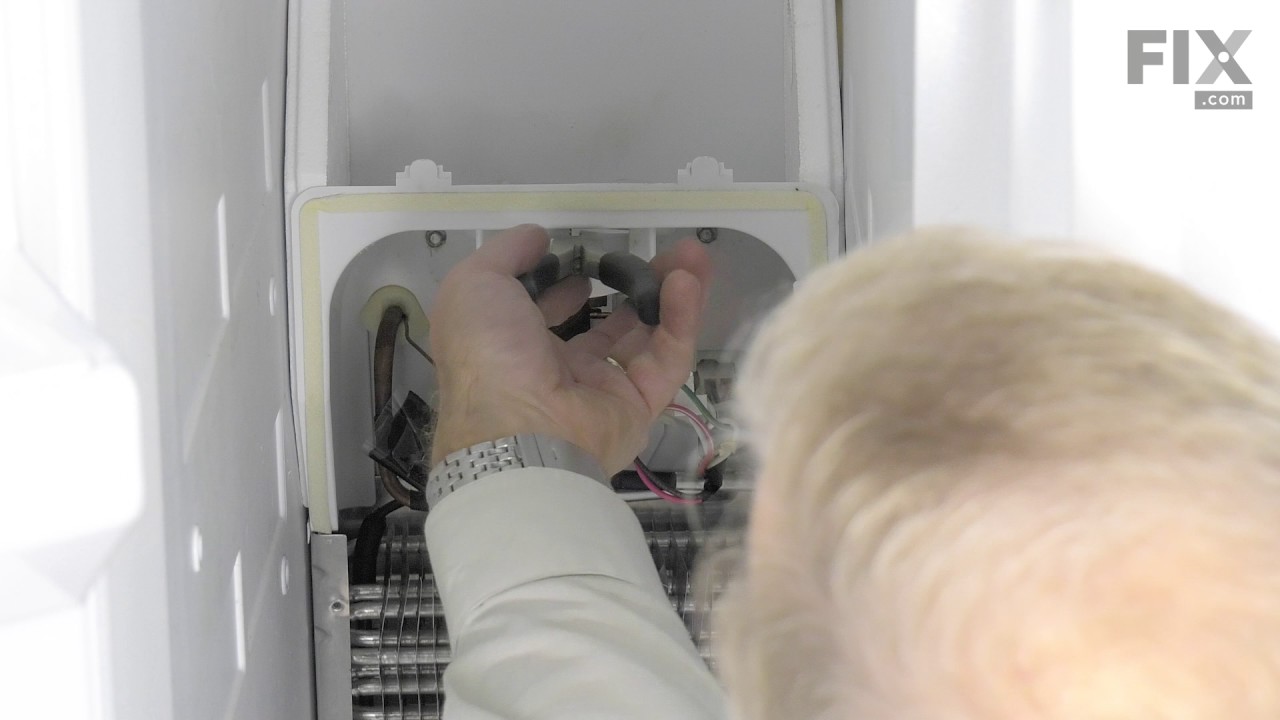
2: Remove the panel covering the evaporator coils. It's located inside the fridge, on the freezer side.
3: Un-clip the bi-metal strip from the evaporator coils.
4: Unplug the wires from the evaporator fan, defrost coil and bi-metal strip, then disconnect the main connector that is plugged into the rear wall.
5: Clip both wires to the old ( bad ) bi-metal strip. Cut close to the casing of the bi-metal strip so there are long wires to splice onto.
6: Strip 1/4 to 1/2 inches of insulation off of the ends of the wires ( depending on the size of the wire-nuts you use). Twist the bare wires slightly to prevent fraying.
7: Do the same for the ends of the wires on the (new) bi-metal strip.
8: Take the ends of the wires belonging to the (new) bi-metal strip and the wires coming from the main plug. Take the like-colored wires, and twist the bare metal ends together.
9: Twist on wire nuts, for both sets of wires. Make sure they are snug, with no bare wire showing.
10: Tape over the wire nuts with electrical tape. Tape over the wires nuts in a spiral fashion, completely covering the nut and both wires that are now spliced together. This will prevent accidental shorting.
11: Plug the main plug back into the rear wall of the fridge. Also re-connect the connectors to the evaporator fan and defrost coil. Make sure the clips on the connectors are snug to ensure a good connection.
12: Clip the new bi-metal strip onto the coils, in the same spot as before. ( Usually just after the small incoming copper tubing that connects to the coils, known as the expansion valve. That is usually the coldest spot on the coils during operation).
13: Replace the panel that covers the coils.
14: Plug the fridge back in... Now you fridge should defrost correctly. If it does not, your defrost coil could be burned out, or the control board could be faulty.
Read less
Was this helpful?
Thank you for voting!
Lights inside refrigerator not working
138 of 259 peoplefound this instruction helpful.
Clint from Rayville, MO
Really Easy
Less than 15 mins
Screw drivers
I used a flat-head screwdriver to pop out the old light rocker switch. Then, I unplugged the wires, plugged them into the new light rocker switch, and then popped the new switch into the hole. That's it! Lights began working again.
Was this helpful?
Thank you for voting!
Our Refrigerator and freezer stopped working
60 of 71 peoplefound this instruction helpful.
Anna from Lincoln, RI
Easy
Less than 15 mins
Screw drivers
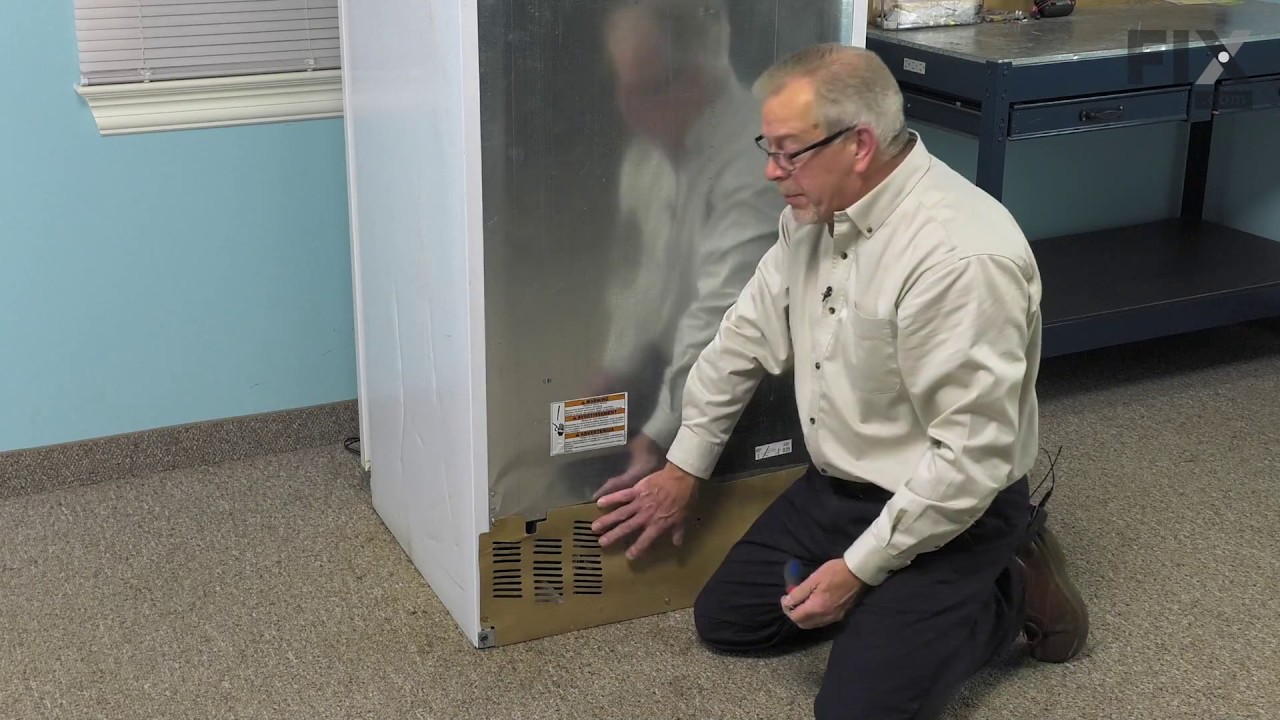
I had read on a fix it site that the start device for the compressor on this particular model was known to fail after 3-5 years. When we received the part it looked like something that just plugged into the compressor. My husband unscrewed the panel in the back of the fridge and saw the part on the compressor. He first removed the thre
... Read moree wires that it was connected to, and the wires were inside a plug so all he had to do was remove the plug from the start device. He then removed the old start device from the compressor. Plugged in the wire plug into the new start device, and pushed in the new start device into the compressor. There was also another black part plugged into the old start device that he plugged inot the new start device that connected to the compressor. Our freezer and refrigerator starting working. Within a couple of hours our freezer had made ice.


 My Orders