


 My Orders




10651159111 Kenmore Refrigerator - Overview

Enter a part description. DIY Heroes keep it simple, eg. "belt" or "pump".
Search filter:
Clear Filter
Your search term must have 3 or more characters.

$11.77
In Stock

$105.47
In Stock
Single Primary Water Inlet Valve
Part #WPW10238100
When energized, this part releases water from the supply line into the ice mold.

No Longer Available
Washer Inlet Hose Washer
Part #WPY013783
This inlet hose washer, also known as a high pressure inlet hose washer, is used in washing machines, refrigerators, freezers, and dishwashers. The function of this part is to create a watertight seal in the appliance. If your gasket gets dry and brittle over time it will start to crack and will lose its function. In this case, it is impo...Read morertant to replace it. Refer to the manual provided by the manufacturer for further installation instructions and accurate guidance. As a safety precaution, remember to unplug your washer from the power source before beginning.
Read less

$9.62
In Stock
Foot Brake
Part #WPW10141622
Introducing the Whirlpool Refrigerator Leveling Leg. This genuine OEM part supports your refrigerator, ensuring it remains stability and level. The height of the leveling leg can be adjusted to suit your unique refrigerator model, providing you with versatility and customization. This leveling leg is compatible with some models of Whirlpo...Read moreol, KitchenAid, Maytag, Jenn-Air, Amana, Inglis, and Magic Chef fridges. For a smooth installation, we recommend wearing work gloves to protect your hands. Verify your model compatibility before purchase.
Read less

$25.75
In Stock

$9.62
In Stock

$23.60
In Stock

$43.18
In Stock
Door Hinge
Part #W11409290
This hinge supports smooth opening and closing of an appliance door while maintaining proper alignment. Reliable hinge operation prevents sagging and seal issues. Replacing a worn hinge restores stable, easy door movement.

$75.13
In Stock
Kickplate Grille - Midnight Gray
Part #WPW10713153
Revamp your refrigerator with our Midnight Grey Toe Kick Plate. Specially designed by Whirlpool, this genuine OEM part is ideal to quickly refresh the aesthetics of your appliance while ensuring optimum performance. This toe grille seamlessly attaches at the base of your refrigerator, channeling air into the machine compartment to effecti...Read morevely cool the condenser. Resistant to wear and tear, it promotes efficient airflow within the appliance. Don't forget to double-check the compatibility of your model before ordering, as subtle differences in size and shape can occur. Stay protected by wearing work gloves during installation.
Read less

$19.30
In Stock
HINGE-DOOR
Part #W11573587

$52.67
In Stock
Water Tube
Part #WPW10279882
You've got a problem?a busted range element. Here's our solution: the GE Element Radiant 6 Warmer. Simply put, it's a replacement part that will get your range working like a dream again. This isn't just another part?it's the core system that brings the heat to your cooking. It's placed on top of your range, working tirelessly to provide...Read more the essential heat your meals need to cook to perfection. Before you place the GE Element Radiant 6 Warmer into your range, do remember to disconnect the appliance or switch off your circuit breaker for safety. It's also a good idea to wear protective gloves during the swap. Safety first, always! With GE you're not just getting a part; you're getting a promise?a commitment to the very finest appliance parts designed to deliver constant, reliable heat for every cooking experience. Get your range working like new again by introducing the GE Element Radiant 6 Warmer into your kitchen today. Now, let's get cooking.
Read less

$20.37
In Stock
Bottom Door Hinge & Cam - White - Refrigerator Side
Part #W10500000
Common Symptoms of the 10651159111
How this model fails, and the parts that fix it.
Leaking
Fixed by
these parts
these parts


Show All
Not dispensing water
Fixed by
these parts
these parts
Show All
Ice maker not making ice
Fixed by
these parts
these parts
Show All
Door won’t open or close
Fixed by
these parts
these parts

Show All
Watch our pros, then fix it yourself.
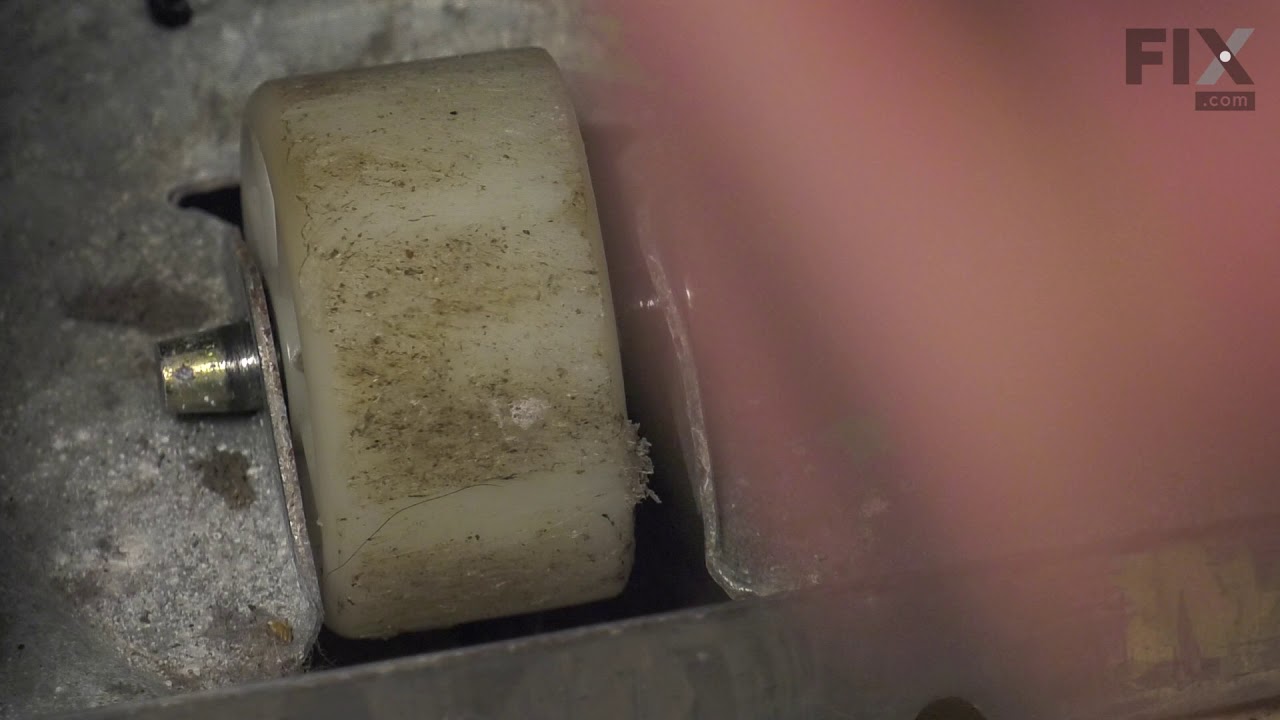
See how others fixed this model. Time, tools, difficulty, and steps that lead to victory!
View More