


 My Orders




10651051990 Kenmore Refrigerator - Overview
Diagrams for 10651051990
See every part. Know exactly what you need.

Enter a part description. DIY Heroes keep it simple, eg. "belt" or "pump".
Search filter:
Clear Filter
Your search term must have 3 or more characters.

$9.62
In Stock
Refrigerator Lower Door Closing Cam
Part #WP2182179
The lower door closing cam is used in refrigerator doors, it can be located on the fresh food side or the freezer side. It helps hold the door open. This cam is made out of plastic, so it might crack or wear down over time. If your door will not open and close properly you may need to replace the door closing cam. To successfully install ...Read morethis part, you will need a 5/16 nut driver and a small flat blade screwdriver. Before you begin, unplug your appliance and disconnect the water supply. Lubricating this part may help with installation. This replacement part is sold individually. This part will fit both the left and right side of your refrigerator door. To make the repair, remove the top hinge cover, then the top hinge support. Lift the door from the bottom support and remove the old door cams. Replace the cams, using a little lubricant if necessary, and place the door back on the lower hinge support. Replace the top hinge support and your repair is complete!
Read less

$9.62
In Stock
Refrigerator Door Cam
Part #WPW10329686
The Door Cam is a black plastic part which helps the door pivot shut while keeping the door and hinge in proper alignment. Lubricating this part upon installation may help it move easier. It attaches onto the door hinge and should be replaced if broken or if there is noticeable damage. Refer to your model number and user manual to ensure...Read more this is the correct part for you. To do this repair you will need a 5/6 nut driver, a 5/16 socket, and a ratchet. For safety purposes, do not forget to turn off your appliance before making this repair. Note that this piece is black, and as per the manufacturer requires a new screw to mount the door cam which is sold individually. Please also note that this is the closing cam for the lower door, and the upper door cam is sold as a separate kit.
Read less

$17.15
In Stock
Refrigerator Control Bracket
Part #WP2180226
This is a control bracket for your refrigerator, and may also be known as the dispenser control bracket. The function of this part is to hold the micro switches and the light socket in the freezer dispenser section in place. Its measurements are roughly 9 inches long and 5 inches high, and this model comes in white. The tools you will nee...Read mored in order to do this repair include a Phillips screw driver, a quarter-inch nut-driver, and a pair of needle-nose pliers. If your ice dispenser is not working properly, your bracket could be the problem.
Read less

$17.15
In Stock
Refrigerator Ice Guide
Part #WP2180224
This is a refrigerator ice guide that is made entirely of clear plastic. This ice guide is located in the freezer door. Turn your refrigerator ice dispenser off before replacing the part. This is a simple repair, and the only tool you will need is a small flat blade screwdriver to push on the pivot tab on the bottom of the ice guide. Do n...Read moreot worry about breaking the side or pivot tabs on your existing ice guide because it will be discarded anyway. This is a genuine manufacturer replacement part.
Read less

$34.74
In Stock
Refrigerator Bimetal Defrost Thermostat
Part #WPW10225581
If you have ice building up in your freezer, or if your freezer is getting too warm during the defrost cycle you may need to replace the bi-metal defrost thermostat. The function of the defrost bi-metal thermostat is to clip onto the evaporator and protect your evaporator from overheating during the defrost cycle. If your refrigerator doe...Read mores not defrost properly you can test both the thermostat and the heater to figure out which part is at fault. For this repair, you will need a Phillips screwdriver, a 1/4 inch nut driver, a flat blade screwdriver, a pair of wire strippers, a roll of electrical tape, and a few butt splice connectors.
Read less

$53.20
In Stock

No Longer Available
Ice Door Kit
Part #W10823377
In this kit you will find the support, the ice door, spring, and delay. The heater ribbon is no longer needed and therefore will not be included with this part. This kit works in the dispenser chute to let ice through when it is being dispensed. If you have the following symptoms such as: door sweating, difficulty opening or closing door,...Read more frost buildup, warm freezer section, or problems with ice dispensing, then this is a solution. The tools needed for this repair are a putty knife, needle nose pliers, and 1/4 inch nut driver. Wear work gloves to protect your hands when performing this repair.
Read less

$25.75
In Stock
Shelf Support Stud - White
Part #4388538
This kit contains two options - One that is a push and turn and the other that is a screw in.

$18.65
In Stock
Ice Maker Water Fill Tube Kit
Part #WP2196157
The icemaker water fill tube provides water to the icemaker so it can produce ice and dispense water. If you notice that your ice maker is not making or dispensing ice, or is leaking, you may need to replace the water fill tube. This water fill tube kit comes with a fill tube and a compression nut. This part is made of white plastic and i...Read mores approximately 10 inches in length. The ice maker water fill tube is in the rear of the fridge. To complete this repair, you will need a 1/4 inch nut driver and a utility knife. Before beginning this repair, you may want to disconnect the water and power supply to the refrigerator.
Read less

$11.77
In Stock
Refrigerator Door Shelf Retainer Bar End Cap
Part #WP2196190
This white door shelf retainer bar end cap is sold individually. Use it for the left side of your refrigerator door shelf retainer bar.

$21.45
In Stock
Screw
Part #W11233072
This is a multi-use and multi-appliance screw. It can be used on a microwave, refrigerator, range/oven, air conditioner, dehumidifier, washer, or dryer. The measurements of this screw are 8 x 1/2 inch. It has 6 threads. Refer to the manual provided by the manufacturer for further information on repair and accurate guidance. Remember to wear work gloves as a safety precaution.

$20.37
In Stock
Common Symptoms of the 10651051990
How this model fails, and the parts that fix it.
Door won’t open or close
Fixed by
these parts
these parts


Show All
Not dispensing water
Fixed by
these parts
these parts


Show All
Ice maker won’t dispense ice
Fixed by
these parts
these parts


Show All
Leaking
Fixed by
these parts
these parts


Show All
Fridge too warm
Fixed by
these parts
these parts


Show All
Ice maker not making ice
Fixed by
these parts
these parts


Show All
Clicking sound
Fixed by
these parts
these parts

Show All
Light not working
Fixed by
these parts
these parts


Show All
Noisy
Fixed by
these parts
these parts

Show All
Freezer not defrosting
Fixed by
these parts
these parts
Show All
Door Sweating
Fixed by
these parts
these parts
Show All
Freezer section too warm
Fixed by
these parts
these parts
Show All
Ice maker dispenses too much ice
Fixed by
these parts
these parts


Show All
Frost buildup
Fixed by
these parts
these parts

Show All
Fridge and Freezer are too warm
Fixed by
these parts
these parts
Show All
Fridge too cold
Fixed by
these parts
these parts
Show All
Freezer too cold
Fixed by
these parts
these parts
Show All
Too warm
Fixed by
these parts
these parts
Show All
Ice maker dispenses too little ice
Fixed by
these parts
these parts
Show All
Fridge runs too long
Fixed by
these parts
these parts
Show All
Will Not Start
Fixed by
these parts
these parts
Show All
Watch our pros, then fix it yourself.
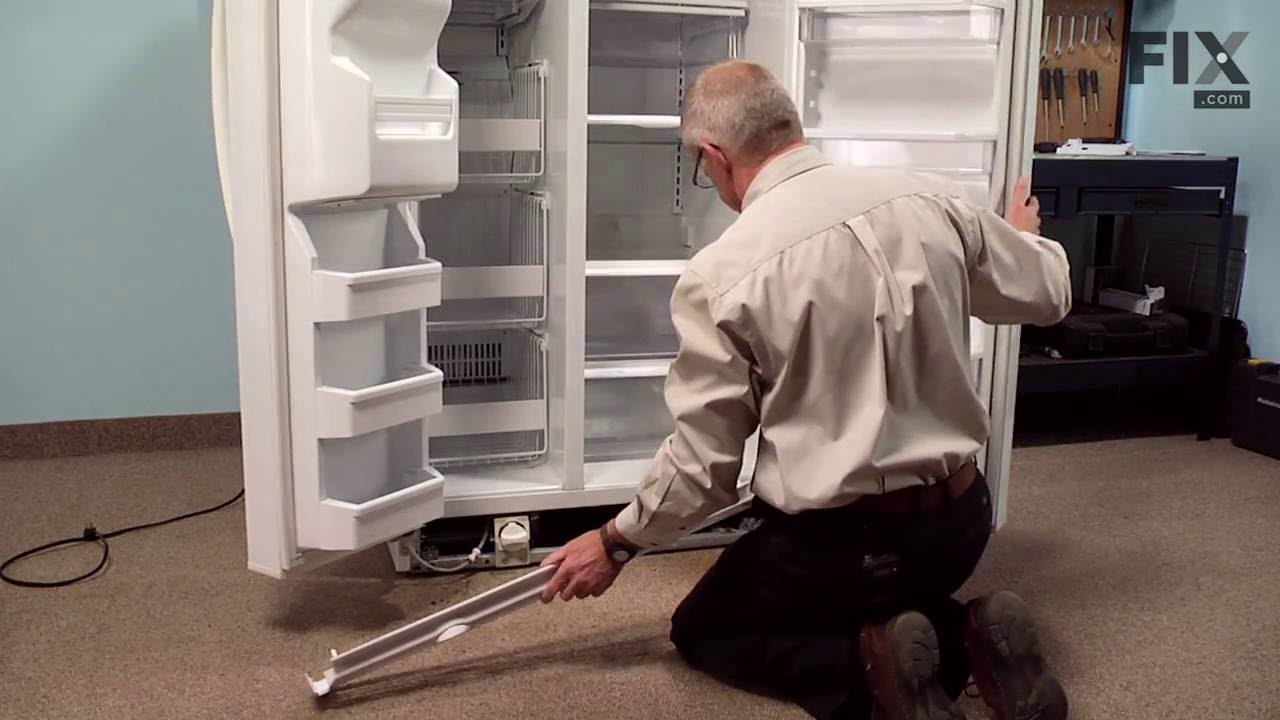
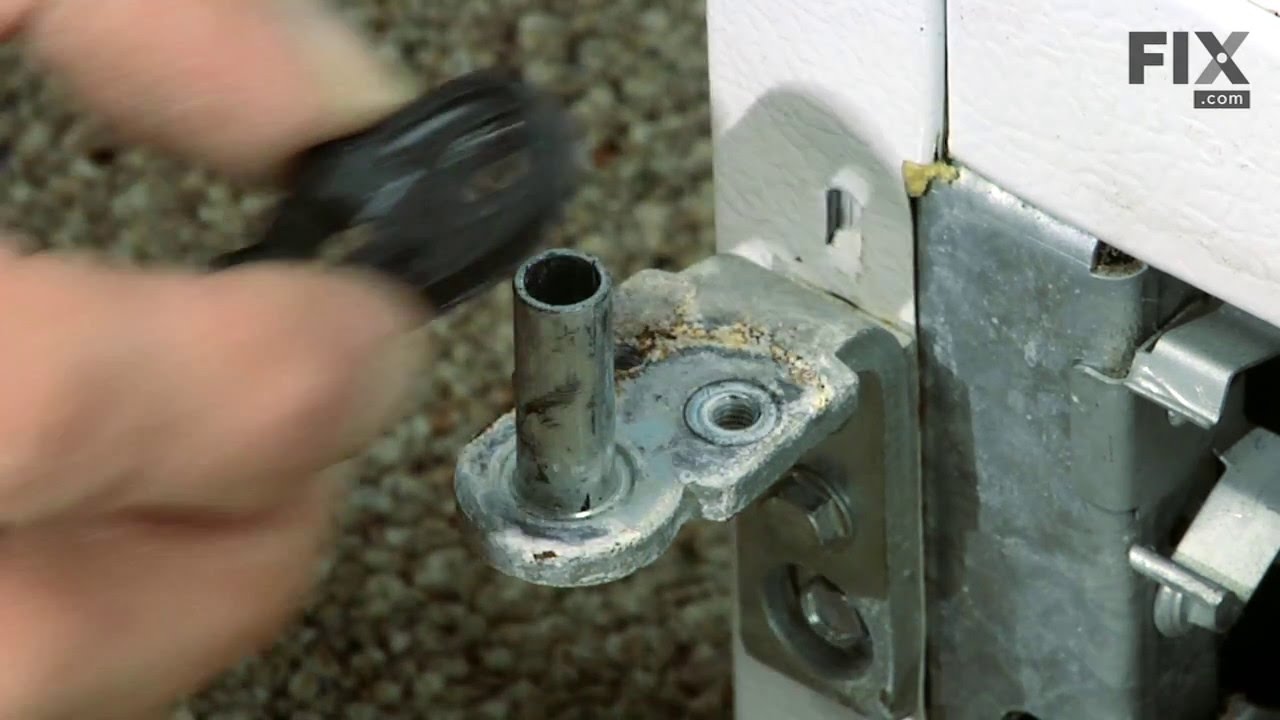

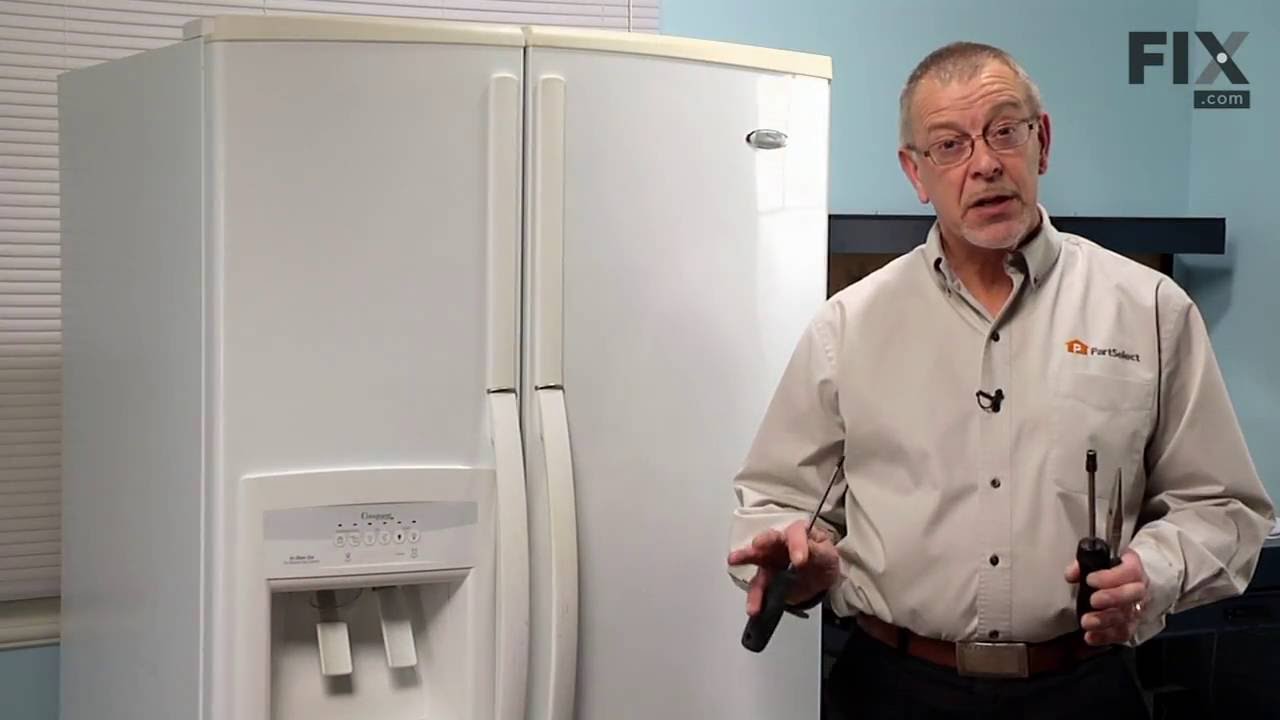

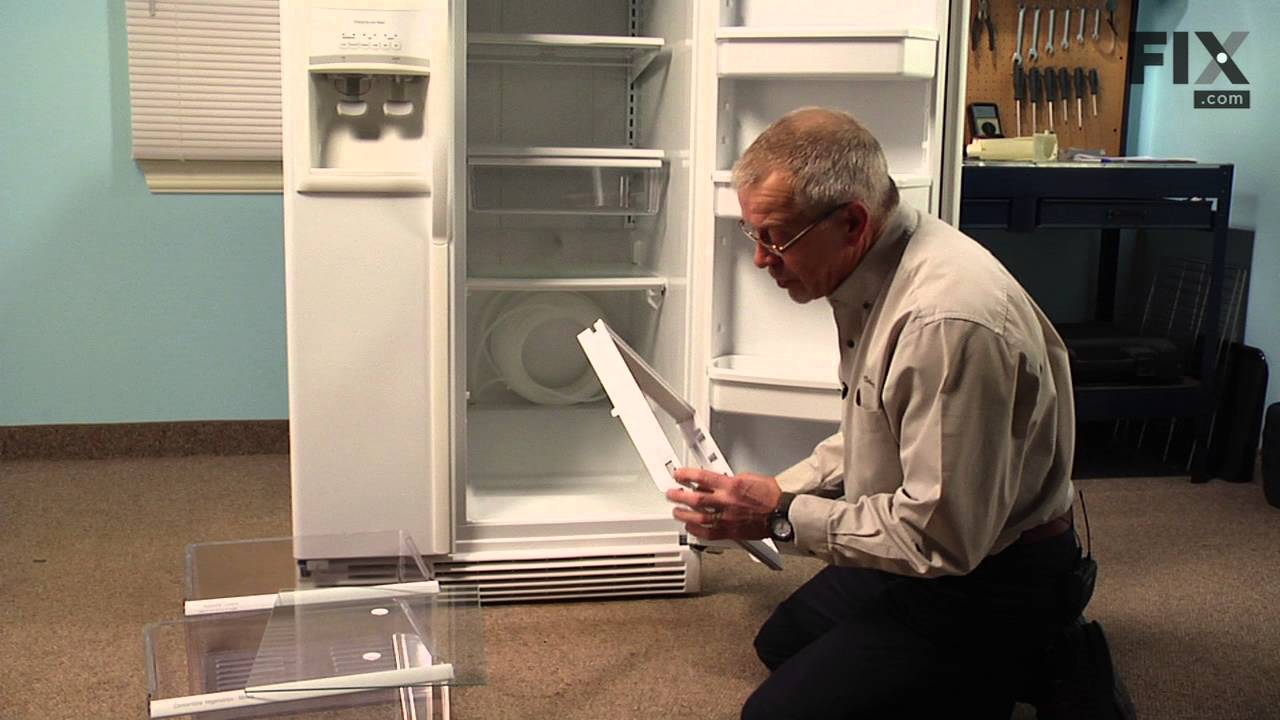
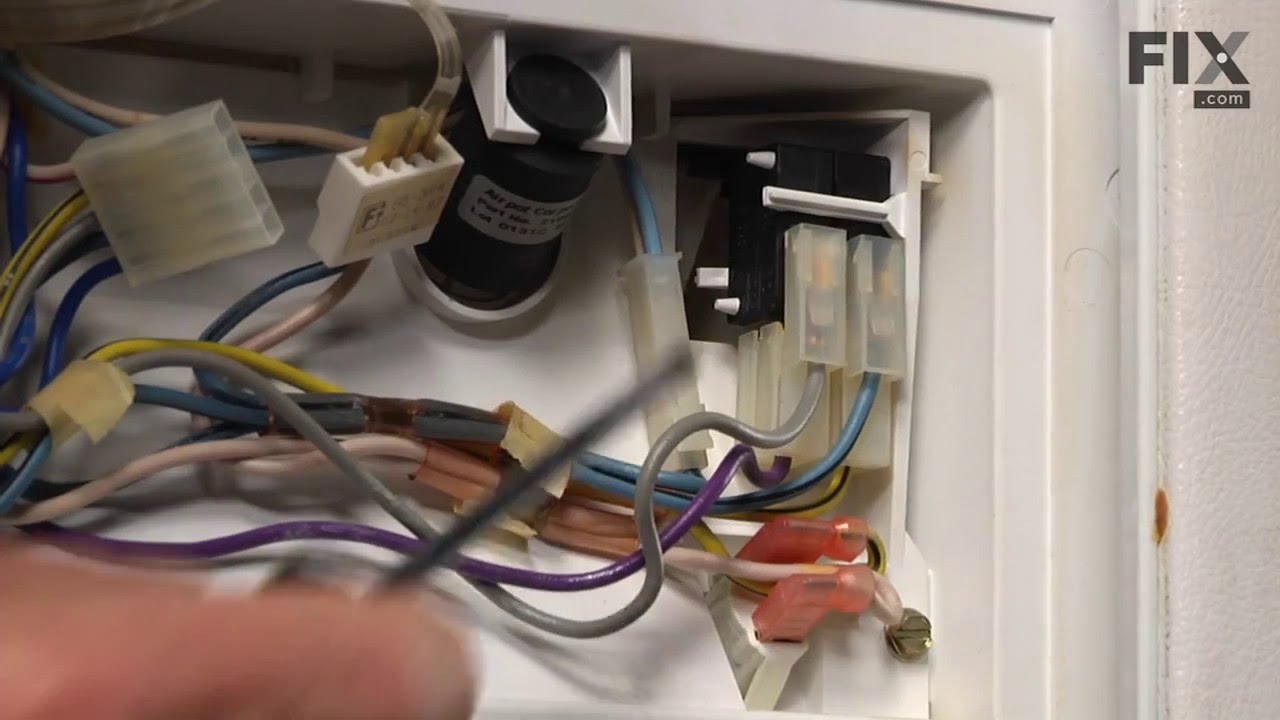
See how others fixed this model. Time, tools, difficulty, and steps that lead to victory!
View More
Search repair tips from other customers using simple keywords like "replace", "fit", "remove", "inspect". DIY doesn't mean you have to do it alone!
Search filter:
Clear Filter
Your search term must have 3 or more characters.
Front Door Ice Wouldn't Work And Air Going Into Freezer
498 of 612 people
found this instruction helpful.
Thanks to the pictorial diagram, I was able to order correct parts. It was just a matter of removal of broken parts and replacing them. Ice maker now working and air is no longer getting into freezer which was freezing up ice maker. Thanks for timely delivery, now I am able to use ice dispenser, which I haven't used for long time. Tha
... Read more
nks
Read less
Other Parts Used:

Was this helpful?
Thank you for voting!
Refigerator door was not closing all the way if not pushed shut.
394 of 419 people
found this instruction helpful.
Remove the top hinge cover. Removed the top hinge support. Lifted the door from the bottom support. Old door cams were worn completly flat. Replaced the lower door cam and closing cam use a little vasalene for lubricant on the cam surfaces. Placed the door back on the lower hinge support. Replaced the top hinge support. Door is cl
... Read more
osing great now.
Thanks for the quick part deliver.
Thanks for the quick part deliver.
Read less
Other Parts Used:
Was this helpful?
Thank you for voting!