


 My Orders




106508802 Kenmore Dryer - Overview

Enter a part description. DIY Heroes keep it simple, eg. "belt" or "pump".
Search filter:
Clear Filter
Your search term must have 3 or more characters.

$8.55
In Stock
Door Catch Kit
Part #279570
This part replaces your appliances latch (Door Latch Kit, Door Catch, Dryer Door Latch Kit). On your appliance you will find both a strike and a catch. The strike is mounted on the body of the dryer, while the catch is mounted on the dryer door. These two parts work together to keep your dryer door closed. The catch holds the door strike ...Read moreto keep the door closed during the drying cycle. If the door does not latch closed, you won’t be able to start a drying cycle. If this part is malfunctioning, you may not be able to open or close your door. In some instances, it may seem like your door is closing, but if it is not latching properly you won’t be able to start your drying cycle. You should replace this part as soon as it’s malfunctioning. Your dryer may run even though the latch is malfunctioning, but it is unsafe if the dryer continues to run while the door is open. This replacement part features 1 door latch kit which includes 2 strikes, 3 catches, and a set of instructions. This model is constructed of plastic and metal, and comes in white/silver.
Read less

$97.46
In Stock
Drive Motor with Pulley
Part #279827
This OEM drive motor is designed to operate the drum in electric and gas dryers by turning the drive belt, enabling proper rotation during drying cycles. Compatible with most Whirlpool-incorporated dryer brands manufactured before 1996, it includes a pre-attached pulley, which is not available separately. If the motor has shorted out or f...Read moreailed, the drum will no longer spin, and replacement is necessary to restore full functionality. Installation requires disconnecting the dryer from its power source before removing the old motor and installing the new one. This component is sold individually and meets original equipment standards for performance and reliability.
Read less

$9.62
In Stock
Dryer Door Switch Actuator
Part #WP691581
This black actuator spring with white rubber tip is used for both dryer doors and washer lids.

$22.52
In Stock
Lid Switch
Part #W10820036
This washer/dryer lid or door switch kit serves as a critical safety component, designed to prevent the appliance from operating when the lid or door is open. It ensures that the washer does not fill or spin and the dryer does not start unless the door is securely closed, helping to avoid water spills and potential safety hazards. The kit...Read more includes all necessary components for installation and is compatible with a wide range of top-loading washers and front-loading dryers. Installation typically involves disconnecting power, accessing the control panel or door area, and replacing the switch using standard tools. The switch is compact and designed to fit seamlessly within the appliance’s housing, with dimensions approximately 2.5 inches in length, 1 inch in width, and 1 inch in height. It features a neutral color finish that blends with most appliance interiors.
Read less

$48.45
In Stock
Cycling Thermostat - Limit 135/155
Part #WP694674
Cycling themostats continually cycle the heating element off and on to maintain a constant inner temperature within the dryer. This particular cycling thermostat can be adjusted between 135 and 155 degrees Fahrenheit. The differential of this thermostat is 20 degrees, meaning that with this thermostat, the heating element will cycle back on once the internal temperature drops by 20 degrees.

$7.47
In Stock

$12.85
In Stock
Front Top Lock
Part #WP18776
This part is used to secure the top panel to the cabinet. Sold individually.

$11.13
In Stock

$7.47
In Stock

$10.19
Special Order

$67.82
In Stock

$9.62
In Stock
Common Symptoms of the 106508802
How this model fails, and the parts that fix it.
Door won’t close
Fixed by
these parts
these parts

Show All
Noisy
Fixed by
these parts
these parts


Show All
Won’t Start
Fixed by
these parts
these parts


Show All
Door Pops Open
Fixed by
these parts
these parts
Show All
Drum Not Spinning
Fixed by
these parts
these parts
Show All
Will Not Start
Fixed by
these parts
these parts
Show All
Will not drain
Fixed by
these parts
these parts
Show All
Too hot
Fixed by
these parts
these parts

Show All
Will not agitate
Fixed by
these parts
these parts
Show All
Lid or door won’t close
Fixed by
these parts
these parts
Show All
Not Heating
Fixed by
these parts
these parts
Show All
Running With Door Open
Fixed by
these parts
these parts
Show All
Watch our pros, then fix it yourself.
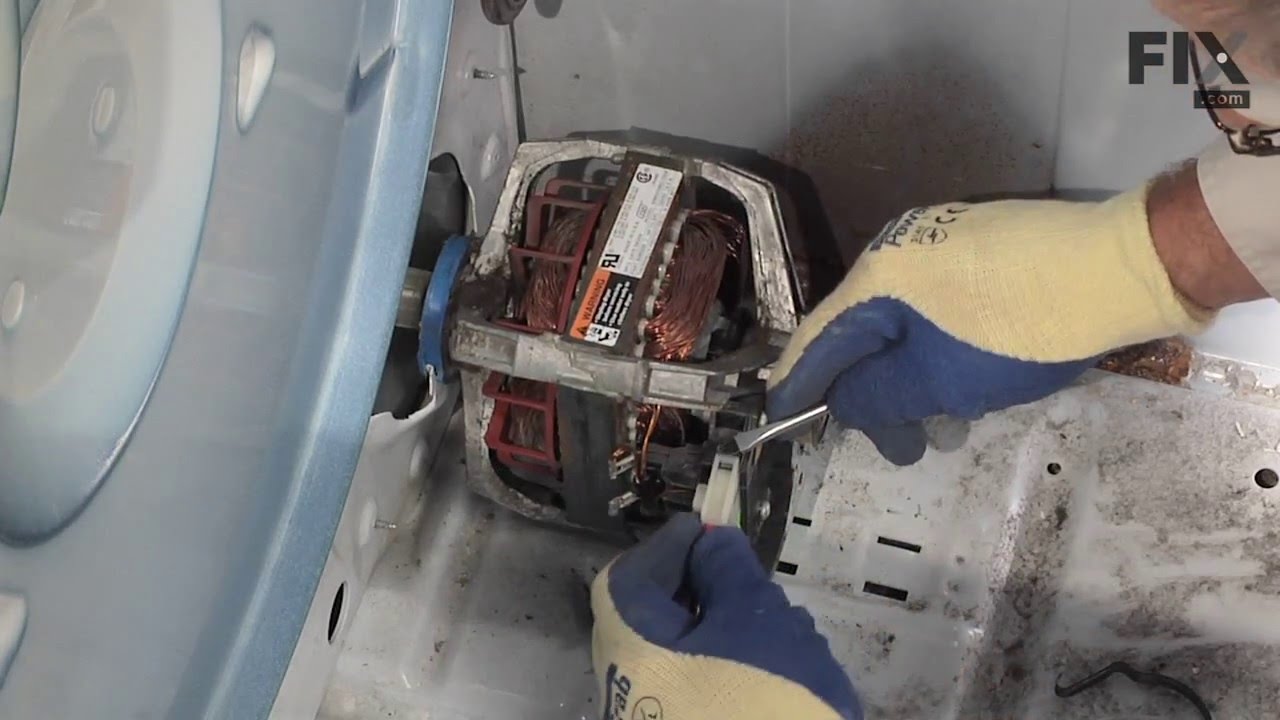
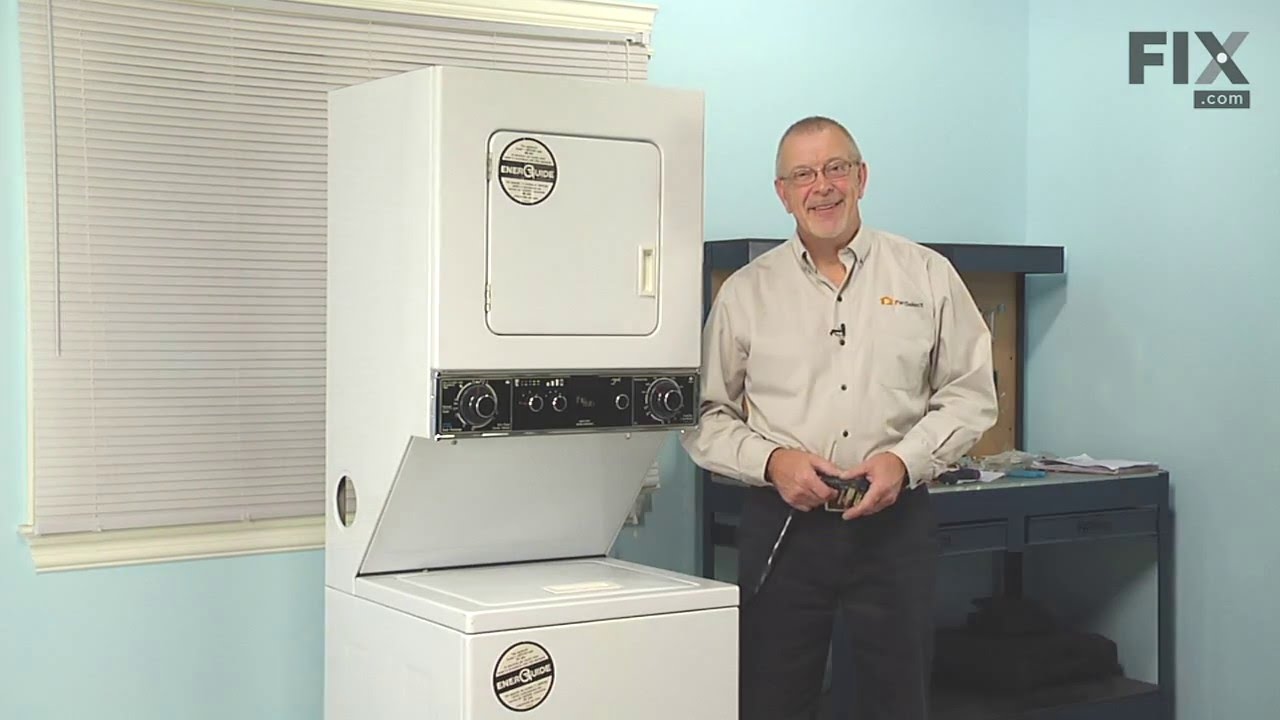
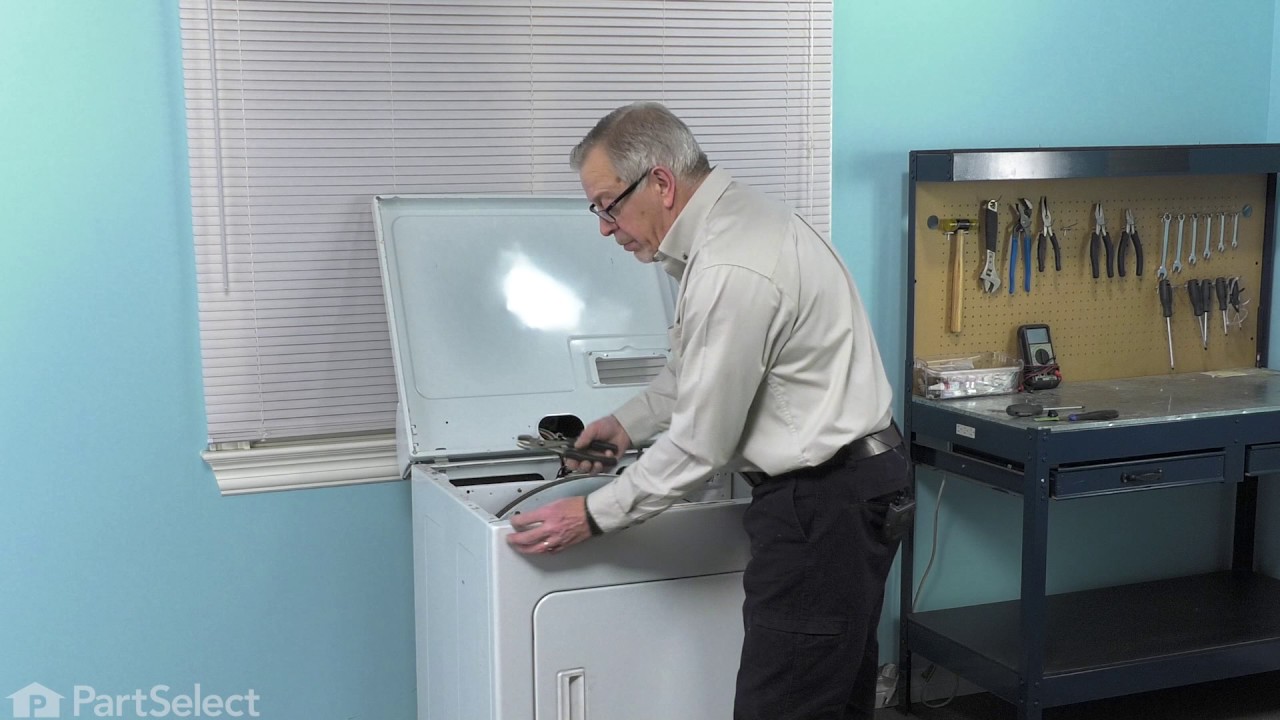

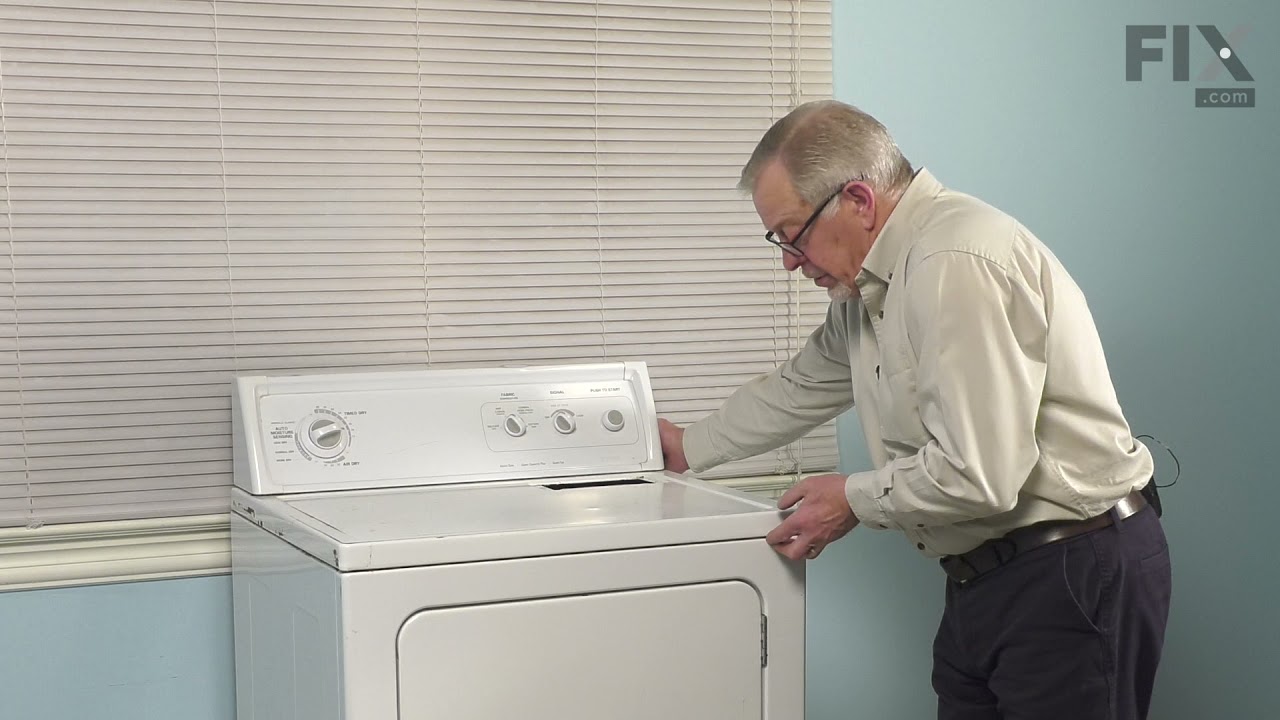
See how others fixed this model. Time, tools, difficulty, and steps that lead to victory!
View More