


 My Orders




1046 - Overview
Models starting with 1046
Click on the best match to narrow your results.
- 1046 (Type 100) Black and Decker Electric Drill (1/4 Variable Speed Reversible Holgun)
- 1046 (Type 102) Black and Decker Electric Drill (1/4 Variable Speed Reversible Holgun)
- 1046 (Type 101) Black and Decker Electric Drill (1/4 Variable Speed Reversible Holgun)
- 1046 Chapin Sprayer (Industrial Viton Cleaner Trigger Sprayer)
- 1046 Frigidaire Dishwasher (DISHWASHER)
- 1046-0 Briggs and Stratton Pressure Washer (3,500 PSI Pressure Washer)
- 1046-90 (Type 100) Black and Decker Electric Drill (Kett Power Unit 18 Gallons)
- 10460-1 General Electric Range
- 10460-2 General Electric Range
- 10460-3 General Electric Range
- 10461-1 General Electric Range
- 10461-2 General Electric Range
- 10461-3 General Electric Range
- 10462038A Frigidaire Range (Range)
- 10462137 Frigidaire Range Hood (Vent Hood)
- 10462142 Frigidaire Range Hood
Enter a part description. DIY Heroes keep it simple, eg. "belt" or "pump".
Search filter:
Clear Filter
Your search term must have 3 or more characters.

$22.52
In Stock
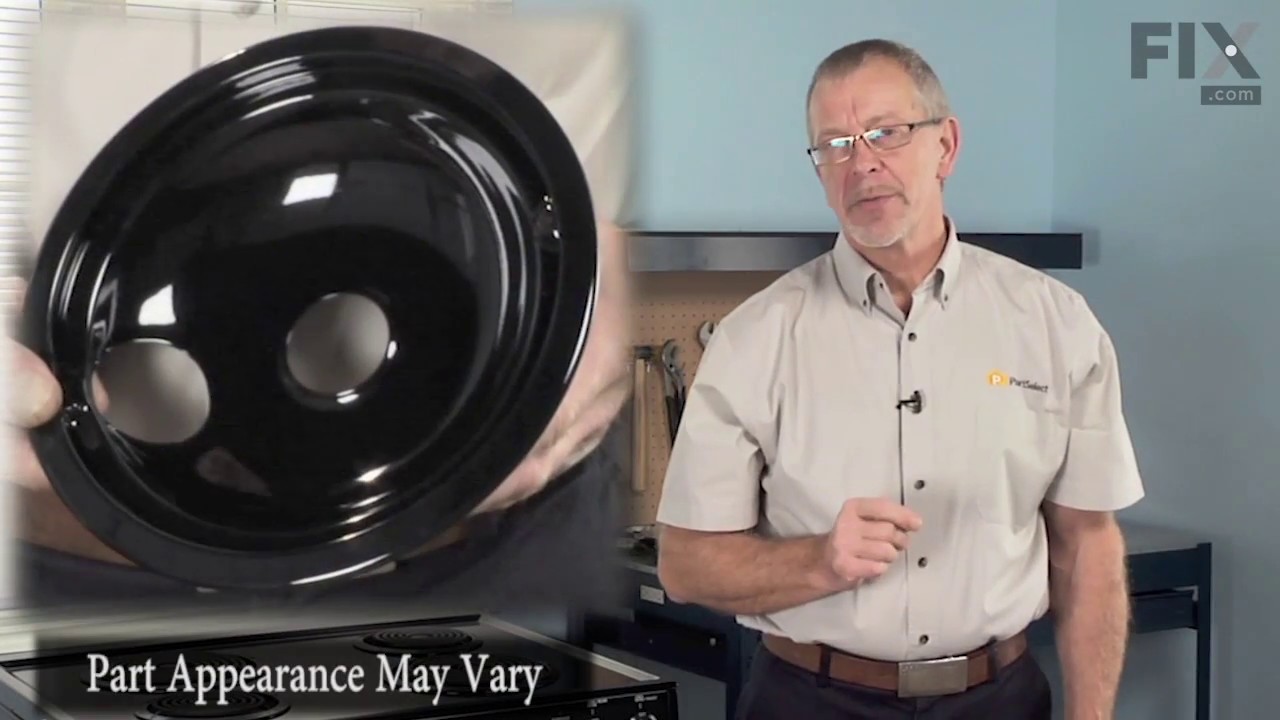
Burner Bowl - 8 Inch
Part #WB31T10015
This part is located beneath the element and catches any spills.

$18.22
In Stock
Burner Bowl - 6 Inch
Part #WB31T10014
This burner bowl is also known as a burner drip bowl or burner drip pan, and is designed for use with your cooktop or range. It is black in color and is approximately 6 inches in diameter. It can be found beneath the element and catches spills. If your old burner bowl is damaged or missing, you may need to replace it with this part.

$21.95
In Stock
Light Bulb - 40W
Part #40A15
This 40-Watt light bulb is sold individually.
It is specially designed to withstand extreme temperatures, so this bulb is compatible with a variety of appliance types including refrigerators, ranges, microwaves, and dryers. It features a frosted glass bulb with a standard metal socket base, which allows you to easily unscrew the burnt-out light and twist the new bulb into place.

$56.38
In Stock
Door Handle End Cap
Part #WB07K10043
This white end cap is sold individually. One cap is required for each end of the oven door handle.

$40.60
In Stock
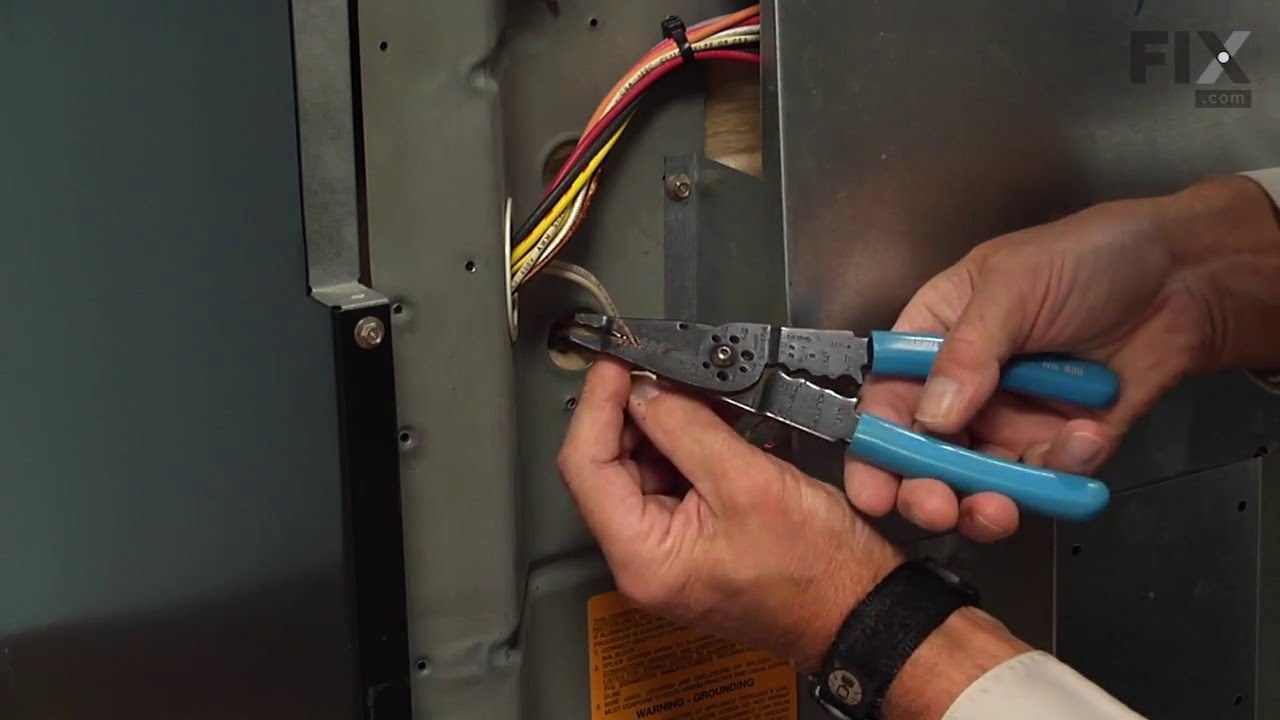
Main Terminal Block Kit
Part #5304409888
Terminal block kits are also known as terminal boards, or terminal strips, and they are found in a wide variety of household appliances. Most often in ranges, wall ovens, and dryers. This kit attaches the power cord to the inner wiring of your appliance. If the terminal block is faulty, your appliance will not get the power it needs to op...Read moreerate properly. When removing the old block pay close attention to the wire placement, this will make installing your new part much easier. If you notice any of the wires or wire terminals are corroded or damaged they will also need to be replaced.
Read less

$147.53
In Stock
Oven Sensor
Part #WB21X5301
It is possible that your oven is cold because of a fault in the temperature sensor. The temperature sensor regulates oven temperature in modern ranges, like a thermostat. It is on the back wall near the broiler on the top wall. On a newer oven, there may be a fault code displayed. Faulty temperature sensors are often responsible for F3 an...Read mored F4 error messages on an electric range. Check your manual or the manufacturer website to find out the proper resistance of the temperature sensor. To check your sensor, unplug the oven and use a multi-meter to see if your sensor is at the correct resistance.
Read less

$53.85
In Stock
Temperature Sensor
Part #5304504897
The temperature sensor, also known as an oven probe, helps measure the temperature within the oven cavity. If your oven is too hot, not heating evenly, has little to no heat when baking, or flashing F3/F4 error messages on your control board, you may need to replace this part. This part measures 6" long and is made of metal. Please make s...Read moreure to disconnect the power to your oven range before starting this repair. This temperature sensor is a genuine OEM part.
Read less

No Longer Available
Element Grommet
Part #5300806833
This grommet is used in a number of household appliances. Most often it is used in the dishwasher as part of the assembly that mounts and holds the heating element in place. This replacement part is made out of rubber, which helps create a seal between the element and the appliance. This grommet is sold individually. If you are replacing ...Read morethe heating element, or the brass nut that holds it in place, we recommend you replace the grommet at the same time. Before you begin any repair work on your dishwasher, make sure you have unplugged it and shut off the water supply.
Read less

$31.86
In Stock

$45.11
In Stock
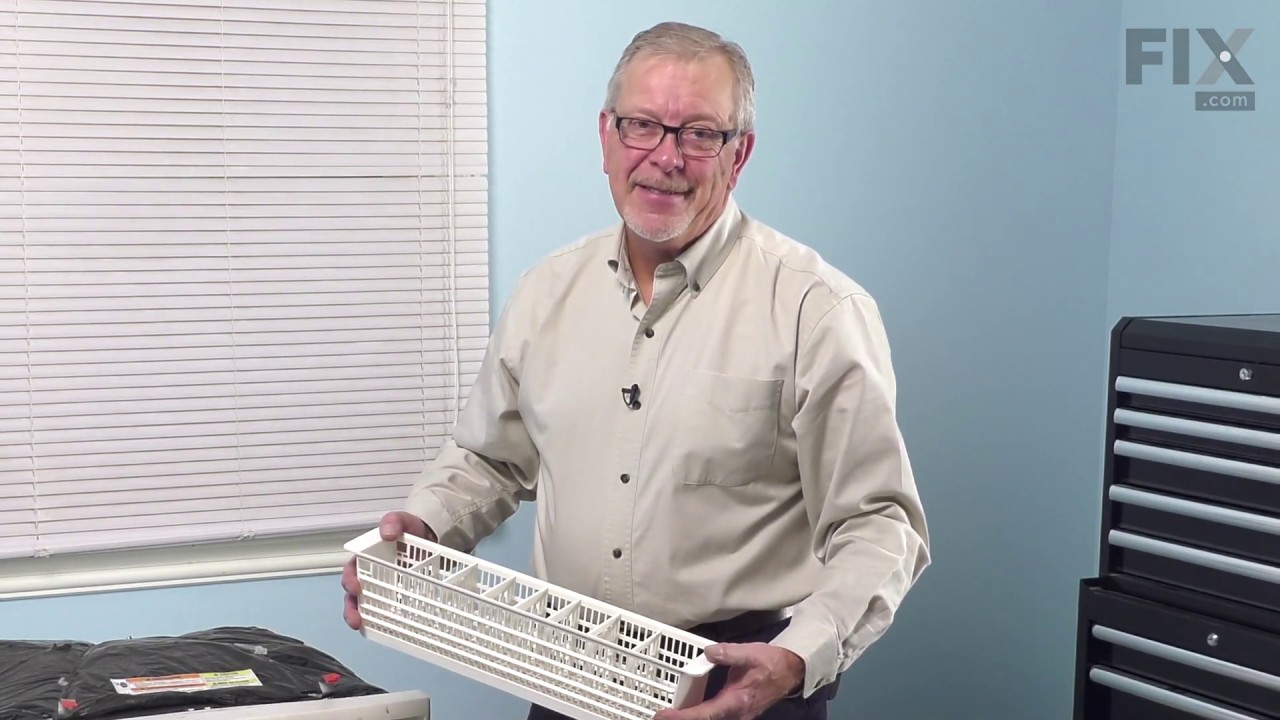
BASKET
Part #5304509753
This is a basket for your dishwasher. It sits in the lower dishrack and holds small utensils during a washing cycle. This basket has six smaller sections where you can separate your cutlery into specific groups. This silverware holder is made entirely of plastic with a crisscross pattern allowing water and small food particles to pass thr...Read moreough it during the cleaning process. This model is grey and roughly 14 inches long, about 6 inches high, and almost 4 inches thick.
Read less

$48.35
Special Order
Door Handle
Part #WB15X10018
This is just the handle. The end caps for this handle must be ordered separately if needed.

$73.04
In Stock
Exact Part matches for your search term

No Longer Available
No Longer Available
$28.17
Special Order
Common Symptoms of models starting with 1046
How this model fails, and the parts that fix it.
Little to no heat when baking
Fixed by
these parts
these parts


Show All
Oven is too hot
Fixed by
these parts
these parts
Show All
Oven not heating evenly
Fixed by
these parts
these parts
Show All
Leaking
Fixed by
these parts
these parts


Show All
Will Not Start
Fixed by
these parts
these parts
Show All
Element will not heat
Fixed by
these parts
these parts
Show All
Little to no heat when broiling
Fixed by
these parts
these parts
Show All
Watch our pros, then fix it yourself.


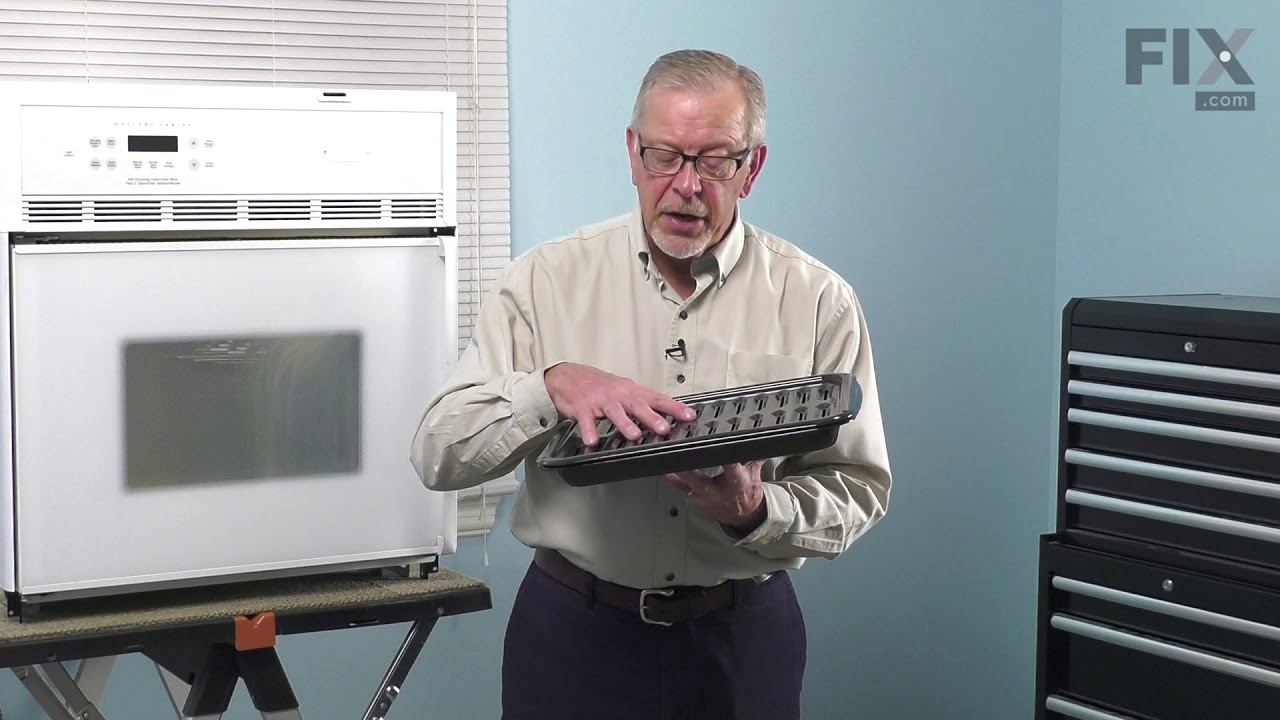
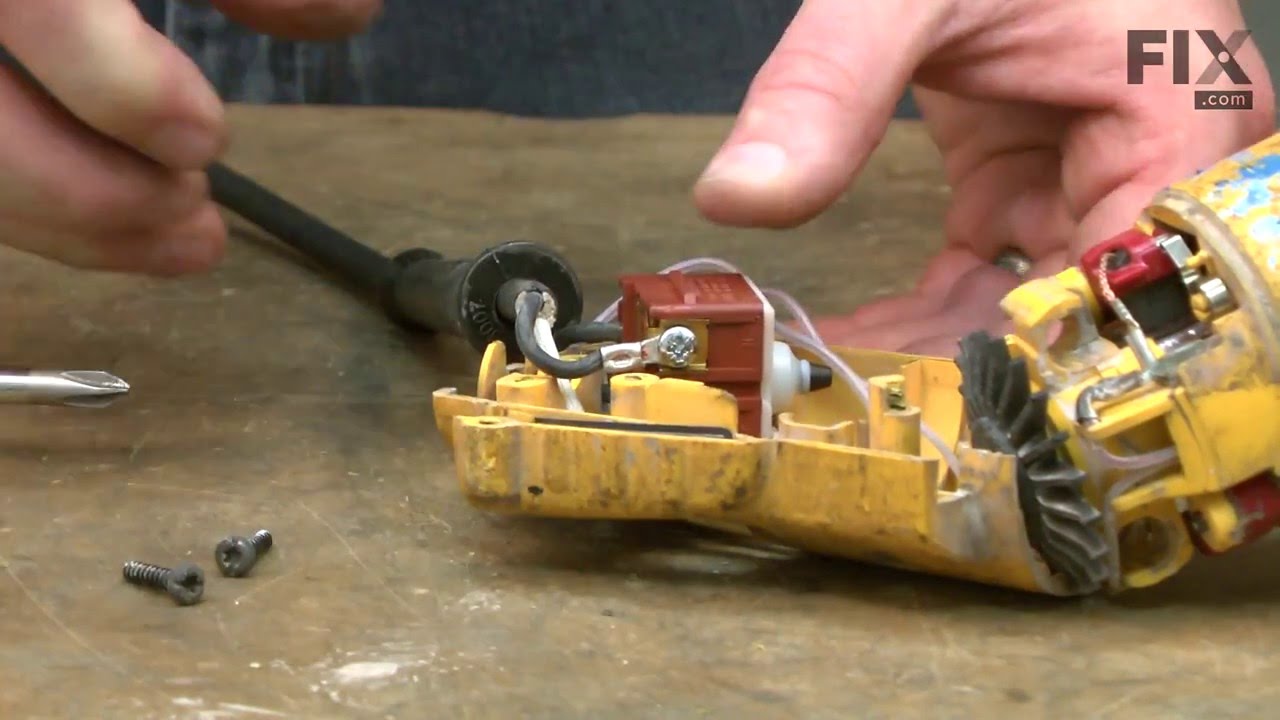
See how others fixed this model. Time, tools, difficulty, and steps that lead to victory!
View More