


 My Orders




1044 - Overview
Models starting with 1044
Click on the best match to narrow your results.
- 1044 Bissell Upright Vacuum (Powerglide Pet)
- 1044 Turco Grill (BBQ)
- 1044 (91-0) Abu Garcia Spinning Reels (Abu Garcia)
- 1044-0 Briggs and Stratton Pressure Washer (3,000 PSI Pressure Washer)
- 1044-1 Briggs and Stratton Pressure Washer (3,000 PSI Pressure Washer)
- 10441-1 General Electric Range
- 10441-2 General Electric Range
- 10441-3 General Electric Range
Enter a part description. DIY Heroes keep it simple, eg. "belt" or "pump".
Search filter:
Clear Filter
Your search term must have 3 or more characters.

$22.52
In Stock
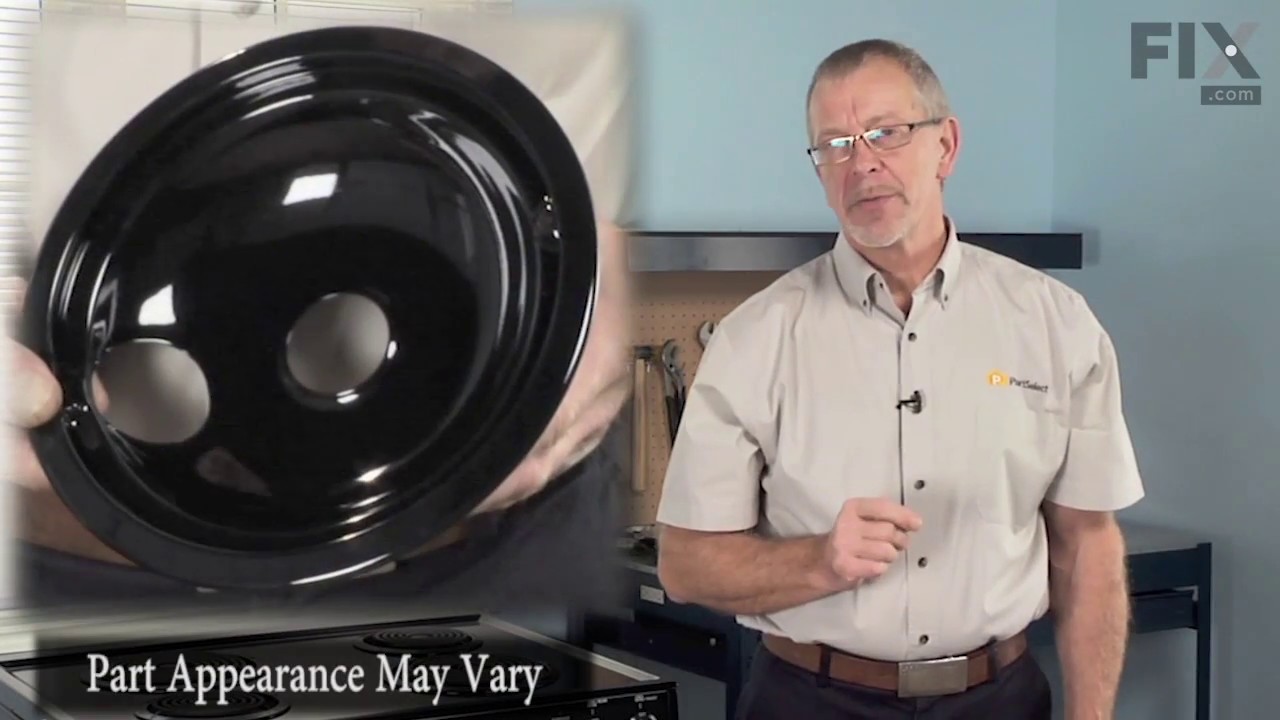
Burner Bowl - 8 Inch
Part #WB31T10015
This part is located beneath the element and catches any spills.

$18.22
In Stock
Burner Bowl - 6 Inch
Part #WB31T10014
This burner bowl is also known as a burner drip bowl or burner drip pan, and is designed for use with your cooktop or range. It is black in color and is approximately 6 inches in diameter. It can be found beneath the element and catches spills. If your old burner bowl is damaged or missing, you may need to replace it with this part.

$56.38
In Stock
Door Handle End Cap
Part #WB07K10043
This white end cap is sold individually. One cap is required for each end of the oven door handle.

$48.35
Special Order
Door Handle
Part #WB15X10018
This is just the handle. The end caps for this handle must be ordered separately if needed.

$73.04
In Stock

$24.09
Special Order
Washer - 12 Pack
Part #WB1X119D

No Longer Available
Leveling Leg
Part #WB2X8248

$111.62
Special Order
Gasket
Part #WB2X2058
This genuine OEM oven door gasket is designed to create a tight, heat-resistant seal between the oven door and the cooking cavity. By preventing heat from escaping, it helps maintain consistent cooking temperatures and supports efficient oven operation. Replacing a worn, torn, or damaged gasket can resolve issues such as heat loss, uneven...Read more cooking, or longer preheat times, restoring proper performance with a simple, direct-fit installation.
Read less

$28.28
In Stock
O-Ring Kit
Part #705001
This item is an authentic OEM sourced O-ring kit that replaces worn or damaged O-rings for the gun, hose and wand.Unfortunately, over time o-rings will wear out and they may begin to crack eventually requiring replacements. Refer to the appropriate diagrams for your model to ensure the correct replacement procedure. A screwdriver and a wr...Read moreench set might be needed to take apart and reassemble the equipment. Note, this kit is sold as an individual item.
Read less

$6.40
On Order
Washer, 5/16
Part #703350
This flat washer is an OEM part that is silver in color, made of metal, and its job in your equipment is to spread load and pressure under a bolt. It can have multiple uses depending on your equipment, and can be used in a lot of different equipment, so be sure to consult your owners manual or check your part number to ensure this fits yo...Read moreur model. Over time the washer may become damaged; watch for cupping from over-tightening as a leading cause.
This is a very easy part to repair and does not require any tools.
Read less

$37.91
Special Order
SCREW
Part #WR2X9260

$10.83
In Stock
Mount, Vibration
Part #21217GS
This is a genuine replacement part that has been sourced from the original manufacturer to be used with generators and pressure washers from Briggs & Stratton and Snapper. The vibration mount fits between the engine and the frame assembly and is used to reduce vibration between the motor and frame. This item is sold as an individual replacement part.
Exact Part matches for your search term

No Longer Available
No Longer Available
No Longer Available

$4.08
Special Order
M6x12mm Hex Bolt
This part number matches the current model number 1044
Part #1044
This is an authentic Patio Comfort replacement part, sourced from the original manufacturer for use with outdoor patio heaters. The metal bolt is commonly used to secure the panels support brackets. This bolt is available as an individual replacement part, please note six bolts may be required.
No Longer Available
$4.63
Special Order
Common Symptoms of models starting with 1044
How this model fails, and the parts that fix it.

Watch our pros, then fix it yourself.
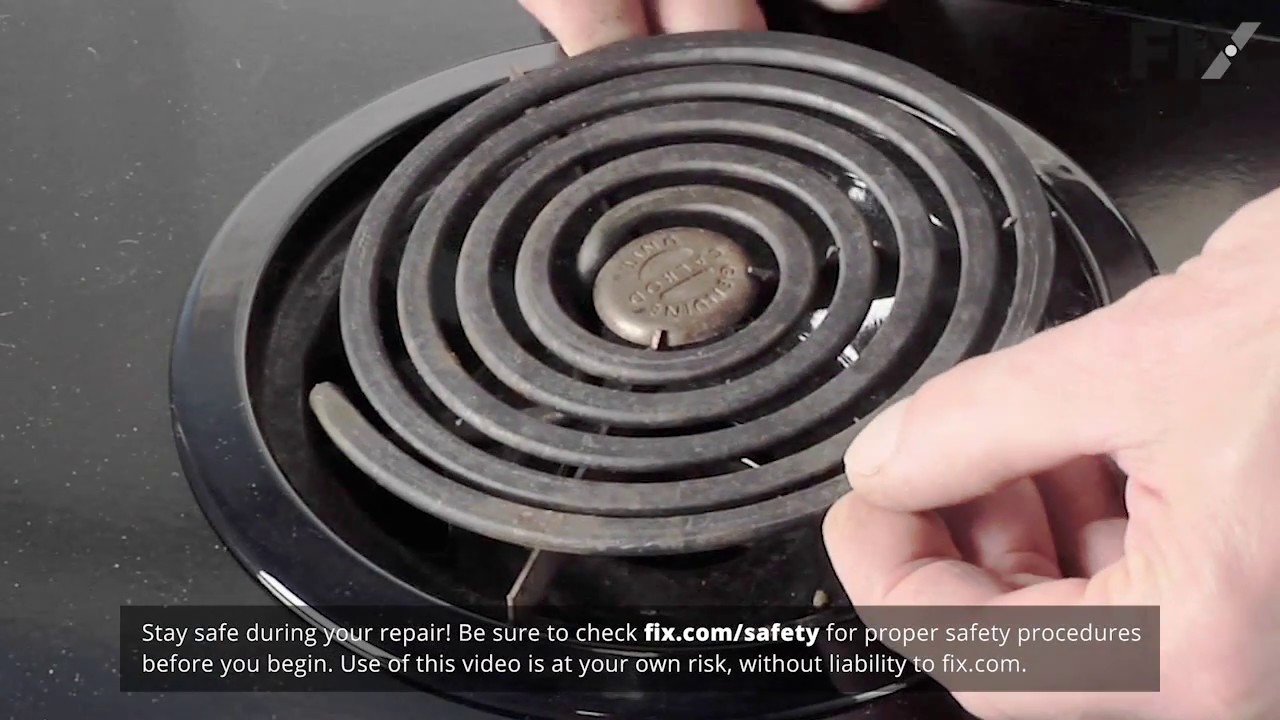
See how others fixed this model. Time, tools, difficulty, and steps that lead to victory!
View More